This guide walks through how to approach a spa-inspired bathroom renovation realistically – whether you're doing a full remodel or making targeted upgrades to an existing space.
What Makes a Bathroom Feel Like a Spa (and Why Most Miss It)
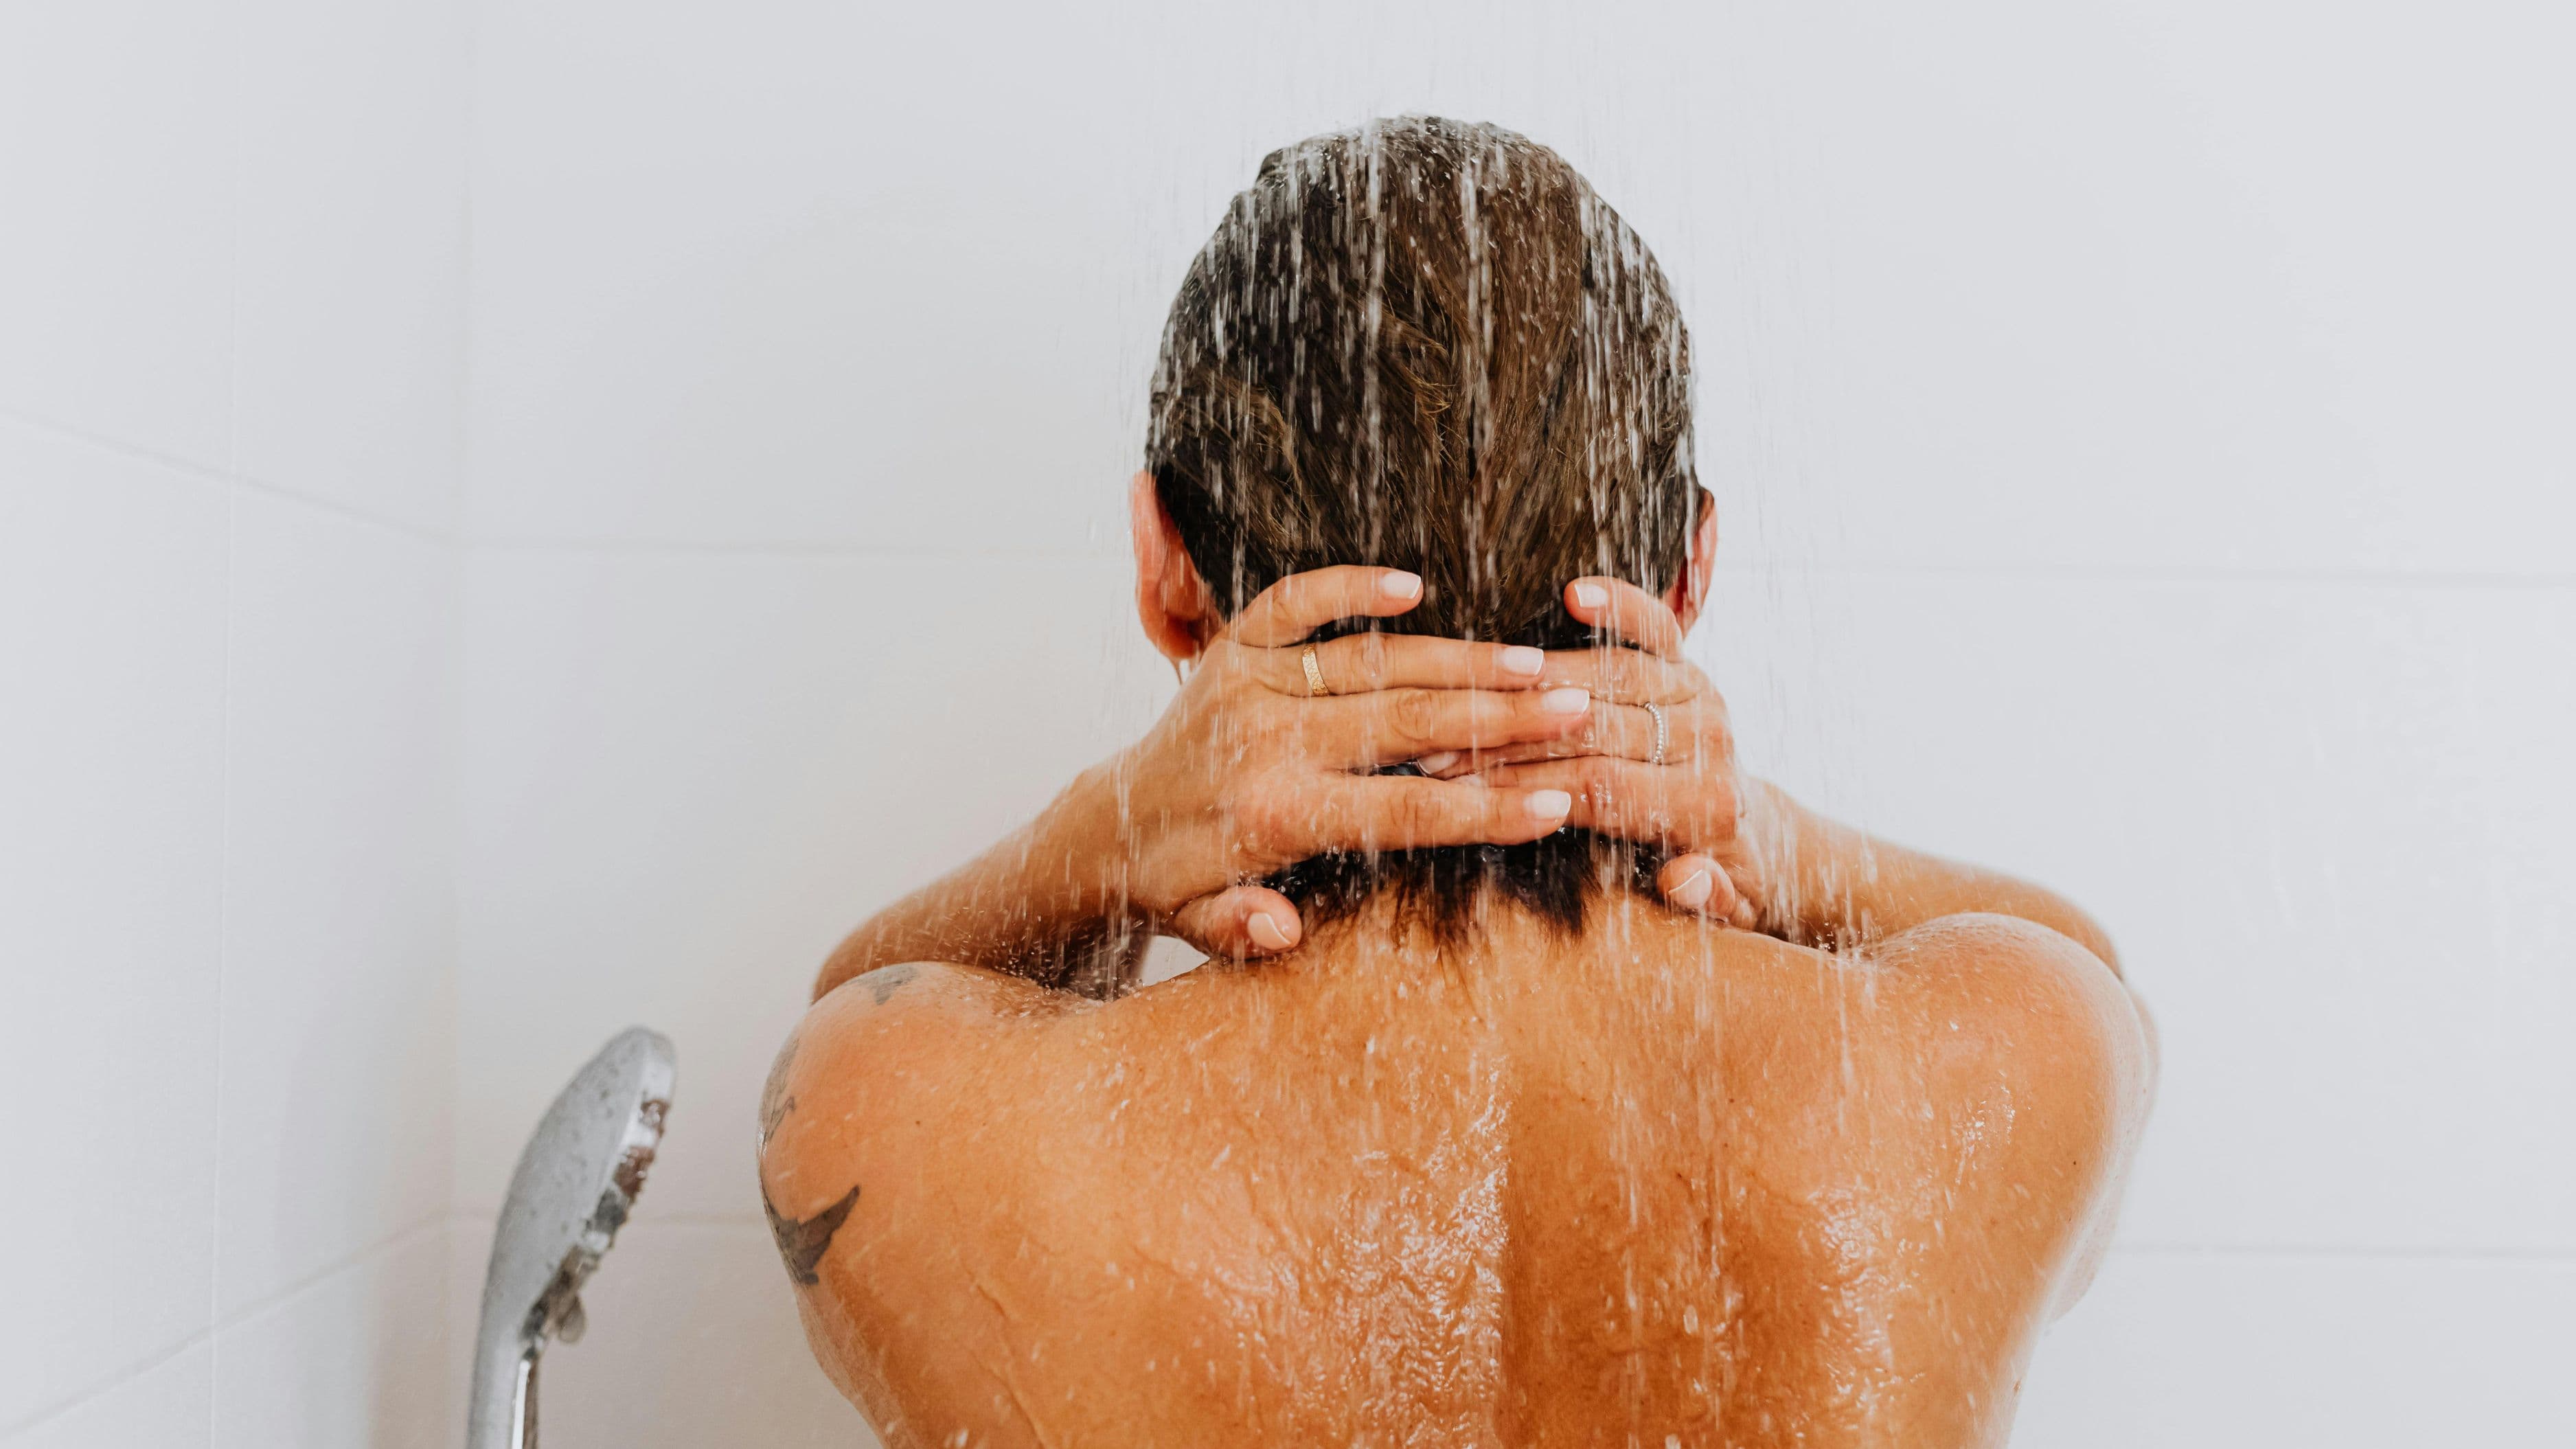
Before jumping into specific upgrades, it helps to understand what actually creates the spa effect. It's not any single feature – it's a combination of sensory conditions: warmth, humidity control, soft light, clean lines, natural materials, and an absence of visual noise. Spas work because every detail is intentional and nothing competes for your attention.
Most home bathrooms fail on three fronts: harsh overhead lighting that creates unflattering shadows, poor ventilation that makes the room feel damp and stuffy after a shower, and too much visual clutter from open storage, mismatched products, and busy tile patterns. Fixing those three things alone gets you most of the way there, even before you add any premium finishes.
Step 1: Start With the Layout and Storage
Before choosing materials or fixtures, assess whether your current layout is working for you. In a spa bathroom, everything has a designated place and nothing is left out on the counter. If your layout doesn't support that – if you have no good place for towels, products, or toiletries except on the vanity top – adding beautiful finishes won't help much. The space will still feel cluttered.
Look for opportunities to add recessed storage. A recessed medicine cabinet takes up almost no wall depth but moves everything off the counter. Recessed niches in the shower area, built directly into the wall between studs, create clean product storage that feels architectural rather than improvised. If you have a vanity with open shelving below, enclosed cabinet doors on the same base unit make the space look immediately calmer. These are relatively low-cost changes that have an outsized effect on how organized and intentional the room feels.
If your bathroom is genuinely too small for all the functions you're asking of it, a layout reconfiguration – moving the vanity, relocating the toilet, or expanding a shower into unused floor area – may be worth considering before spending money on finishes. Changing layout requires plumbing work and is at the higher end of renovation cost, but it changes the fundamental usability of the space in ways no amount of tile or lighting can.
Cost range: Recessed niche installation: $200–$600 (labor and materials). Recessed medicine cabinet: $150–$500 installed. Vanity with enclosed storage: $400–$1,200 depending on size and material.
Step 2: Get the Lighting Right
Bathroom lighting is where most renovations fall short, and it's one of the highest-impact changes you can make for relatively low cost. A single overhead can light or a basic bar fixture above the mirror creates harsh shadows that make everything – including you – look worse. Spa bathrooms layer their light.
The core principle is task lighting at face level plus ambient fill. Sconces on either side of the mirror (rather than above it) eliminate shadows and provide even, flattering light for grooming. Wall-mounted sconces flanking the mirror at approximately eye height, spaced about 28–36 inches apart depending on your mirror width, are the standard approach used in professional bathroom design. A dimmer switch on all bathroom lighting circuits is one of the cheapest upgrades you can make (usually $20–$40 per switch plus an electrician's labor to wire it, or DIY if you're comfortable) and immediately transforms the room's ability to shift between bright functional mode and low, ambient mode for a bath.
Recessed lighting in the shower or over the tub specifically – using fixtures rated for wet locations – is another meaningful addition. It makes the shower itself feel more like a considered space rather than an afterthought. LED options are widely available in warm color temperatures (2700K–3000K) that produce the soft, incandescent-like quality that reads as comfortable and relaxing rather than clinical.
If you want to take it further, a heated towel rail wired with a timer or smart switch can warm the bathroom slightly before you use it, reinforcing the sensory experience without requiring a full heating system upgrade.
Cost range: Side sconces: $100–$400 for fixtures plus installation. Dimmer switches: $20–$60 each plus electrician labor if not DIY. Wet-location recessed lights: $80–$200 per fixture installed.
Step 3: Choose Materials That Age Well and Feel Considered
The material palette is where the visual character of the bathroom comes from. Spa bathrooms tend toward natural materials, muted tones, and textural variety rather than high gloss and busy pattern. The goal is something that reads as calm and coherent, not stimulating or trendy.
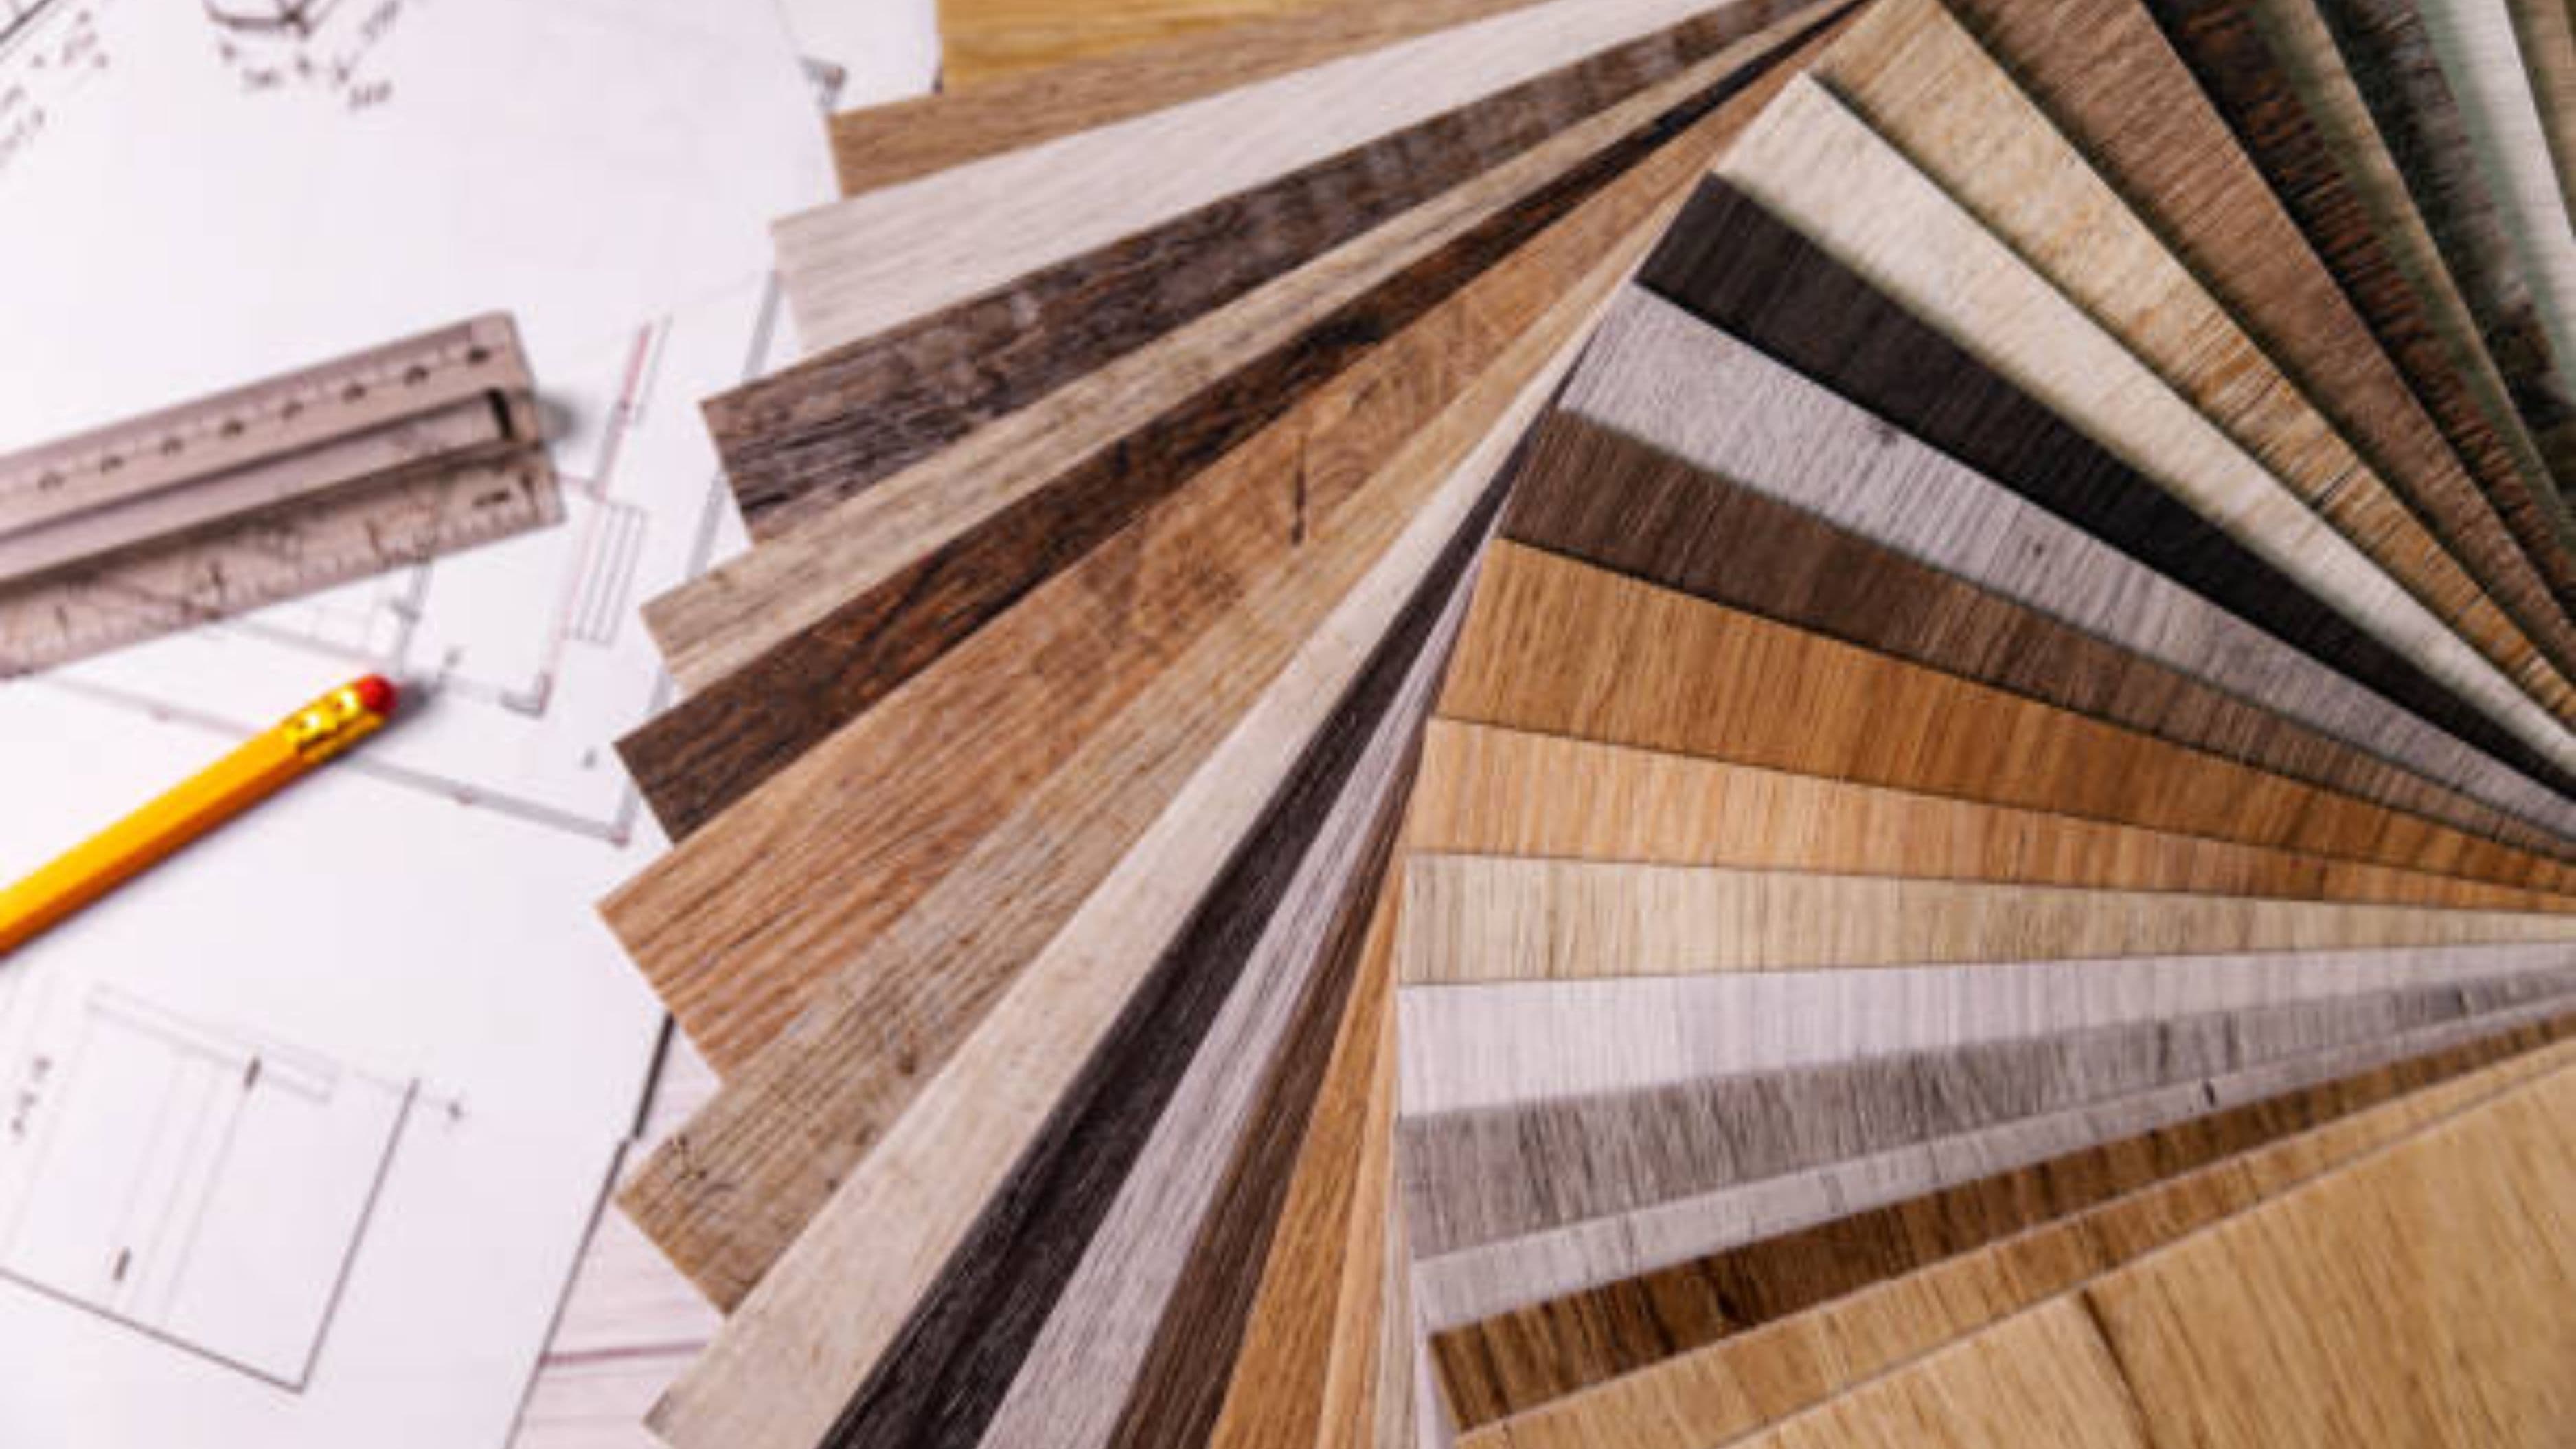
For floors and walls: Large-format tiles (12x24 inches and larger) create fewer grout lines and make a space feel cleaner and more expansive than smaller tiles. Matte or honed finishes are more forgiving than high-gloss surfaces – they show fewer water spots and feel more natural underfoot and to the touch. Warm neutrals, soft whites, warm grays, and stone-look porcelain tiles are durable choices that photograph well and don't date quickly. If you want texture, a fluted or ribbed tile feature wall in the shower or behind the vanity adds visual interest without requiring a busy pattern.
For the vanity: Floating vanities (wall-mounted rather than floor-standing) make small bathrooms feel larger by exposing floor area. A wood-look finish or natural wood veneer on vanity doors adds warmth that a purely white bathroom often lacks. Quartz countertops are a practical choice for bathroom vanities – more stain and moisture resistant than marble, available in a wide range of looks, and lower maintenance.
For fixtures and hardware: A cohesive finish across all hardware – faucet, towel bars, robe hooks, and shower fittings – makes a bathroom look designed rather than assembled from whatever was available. Brushed nickel, matte black, and brushed brass are all current finishes that work well with neutral palettes and won't feel dated in five years the way some finishes do. Mixing finishes can work but requires intention – if you do it, limit it to two finishes and repeat each one in at least two places.
Cost range: Large-format floor tile: $3–$10 per square foot for material. Floating vanity: $600–$2,500 depending on size and finish. Matching hardware set: $200–$600.
Step 4: Upgrade the Shower Experience
The shower is the functional centerpiece of a spa bathroom, and upgrading it doesn't require a full enclosure replacement. Some of the most effective shower upgrades are fixture-level changes that can be made with moderate plumbing work.
A rainfall shower head mounted overhead – either ceiling-mounted or on an extended arm from the wall – adds a sensory dimension that a standard wall-mounted head doesn't match. Rainfall heads are now widely available at moderate price points ($80–$300 for the fixture itself), and installation is often straightforward if your existing supply pipe is in a usable position. Combined with a handheld head on a slide bar, you get both the luxury overhead experience and the practical flexibility of a handheld.
Frameless or semi-frameless glass shower enclosures are one of the highest-impact visual upgrades in a bathroom. The absence of a metal frame makes the shower feel larger and the glass cleaner. A frameless shower door costs significantly more than a framed one ($900–$2,500+ installed versus $200–$600 for framed), but it changes the visual weight of the entire bathroom. If budget is a constraint, a semi-frameless option in the middle price range gives you much of the same effect.
A bench in the shower, either a floating one tiled to match the walls or a small teak seat, adds both function and the visual language of a spa. Teak is a good choice for shower bench surfaces because of its natural water resistance – it doesn't need sealing and holds up well in a wet environment without warping.
Cost range: Rainfall shower head: $80–$300. Frameless shower door: $900–$2,500+ installed. Teak shower bench: $80–$300.
Step 5: Control Humidity and Air Quality
No matter how well the visual elements are executed, a bathroom that smells damp, fogs up immediately, or leaves condensation on every surface doesn't feel like a spa. Ventilation is the unsexy element that makes everything else work better.
Building codes require bathroom ventilation fans rated in CFM (cubic feet per minute) for your room size. As a baseline, you need 1 CFM per square foot of bathroom area, with a minimum of 50 CFM for most residential bathrooms. Many existing fans are undersized, particularly in older homes. Replacing an undersized fan with one appropriately rated for your bathroom size is a straightforward DIY project if you can access the attic or ceiling space above, or a quick job for an electrician.
Higher-end fans with humidity sensors automatically activate when moisture rises above a set threshold and shut off when the room dries out – eliminating the need to remember to run the fan and ensuring it actually runs long enough after you finish your shower to clear the moisture. These run $80–$180 for the unit. Some also include a built-in heater and light, which simplifies ceiling fixtures in a small bathroom.
For additional comfort, a heated floor under tile (an electric radiant mat installed beneath the tile layer) removes the cold-floor problem entirely. Electric radiant heating mats are a viable DIY project for confident renovators, typically running $10–$15 per square foot for materials, with the thermostat and electrical connection requiring a licensed electrician.
Cost range: Upgraded ventilation fan: $80–$200 installed. Humidity-sensing fan: $80–$180 for the unit. Radiant floor heating: $10–$15 per square foot in materials plus electrical work.
Step 6: The Finishing Details That Complete the Effect
Once the structural and functional elements are right, a few carefully chosen finishing details bring the whole picture together without adding visual clutter.
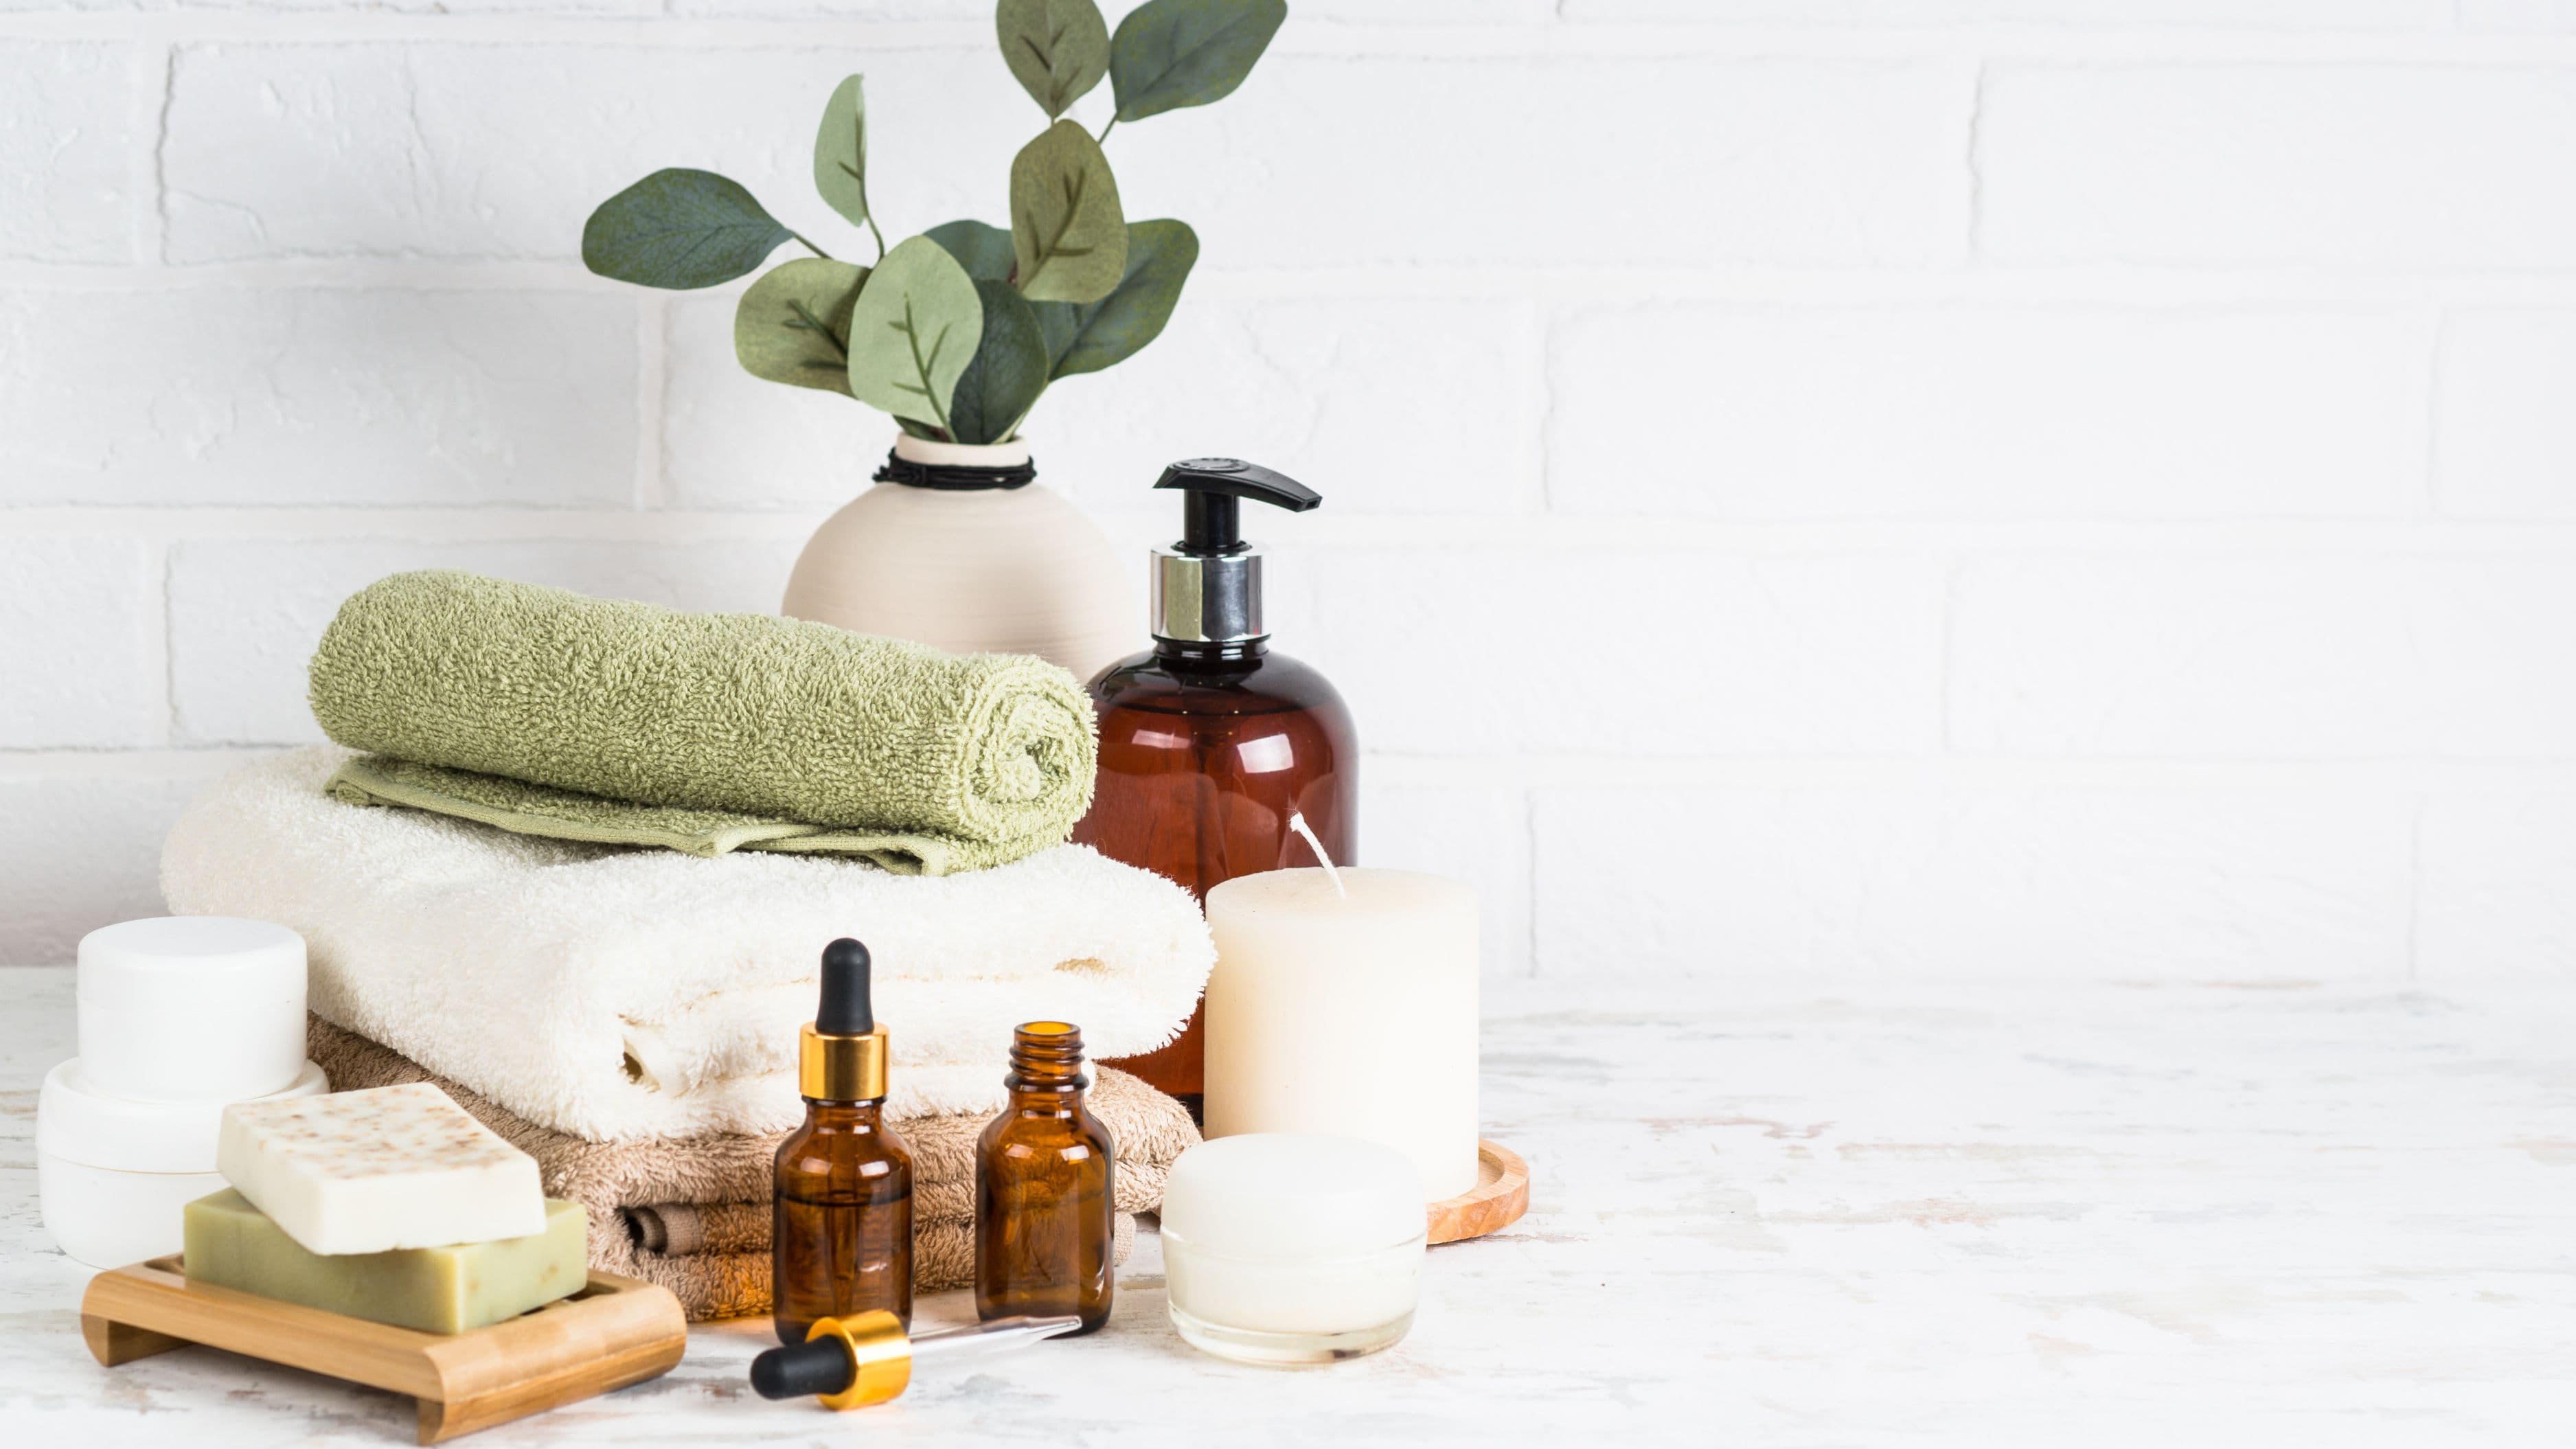
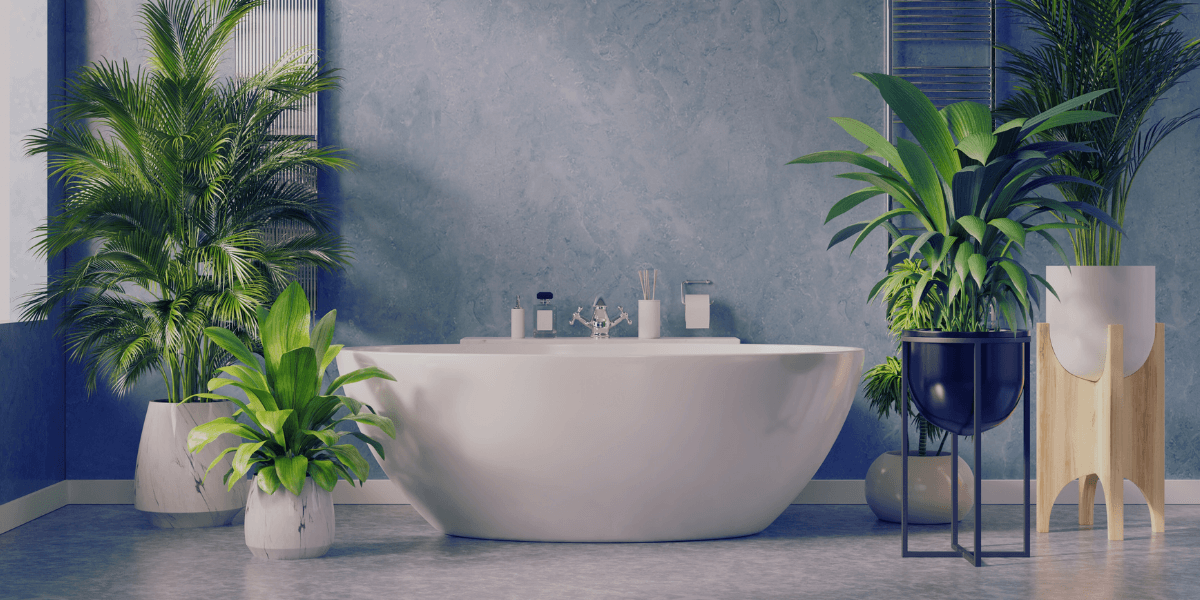
A large, frameless mirror or a mirror with a simple, thin-framed surround makes the space feel open and deliberate. A chunky ornate mirror frame competes with the calm aesthetic you're building. Soft, high-pile towels in a consistent neutral palette, stored on a heated towel rail rather than a bar, reinforce the luxury quality every time you reach for one. A small plant – something tolerant of humidity like a pothos, snake plant, or air plant in a clean ceramic pot – adds a natural element that breaks up hard surfaces without requiring maintenance.
A tray on the vanity countertop with a candle, a small bottle of hand cream, and a soap dish imposes order on the things that do need to live on the surface. The difference between products lined up randomly and the same items organized on a tray is entirely visual, but it's significant.
These finishing details cost relatively little but depend entirely on the foundation being right first. They're the final 10% that completes the picture – not a substitute for the other 90%.
What to Avoid
Avoid going too trendy with tile. A shower tiled entirely in bold geometric pattern or dark zellige tile might photograph beautifully but can feel overwhelming to actually use and may date quickly. Save pattern for a single feature wall or floor, and keep the rest of the room calm.
Don't skip the ventilation upgrade to save money. Inadequate ventilation causes mold, peeling paint, and persistent dampness that no amount of design work can compensate for. It's also one of the less expensive improvements on this list relative to its impact on the space's long-term condition.
Avoid mixing too many materials or hardware finishes. The visual coherence of a spa bathroom comes from restraint – a clear palette of two or three materials and one or two hardware finishes, repeated consistently throughout the space. Adding a fourth material or a third finish breaks the calm and creates the visual noise you're trying to eliminate.
Don't confuse a big budget with a good result. Some of the most effective spa bathroom transformations come from improving lighting, clearing out clutter, and adding a few well-chosen fixtures – not from full gut renovations. Identify the specific elements that are undermining your current bathroom's feel and address those directly.
FAQ
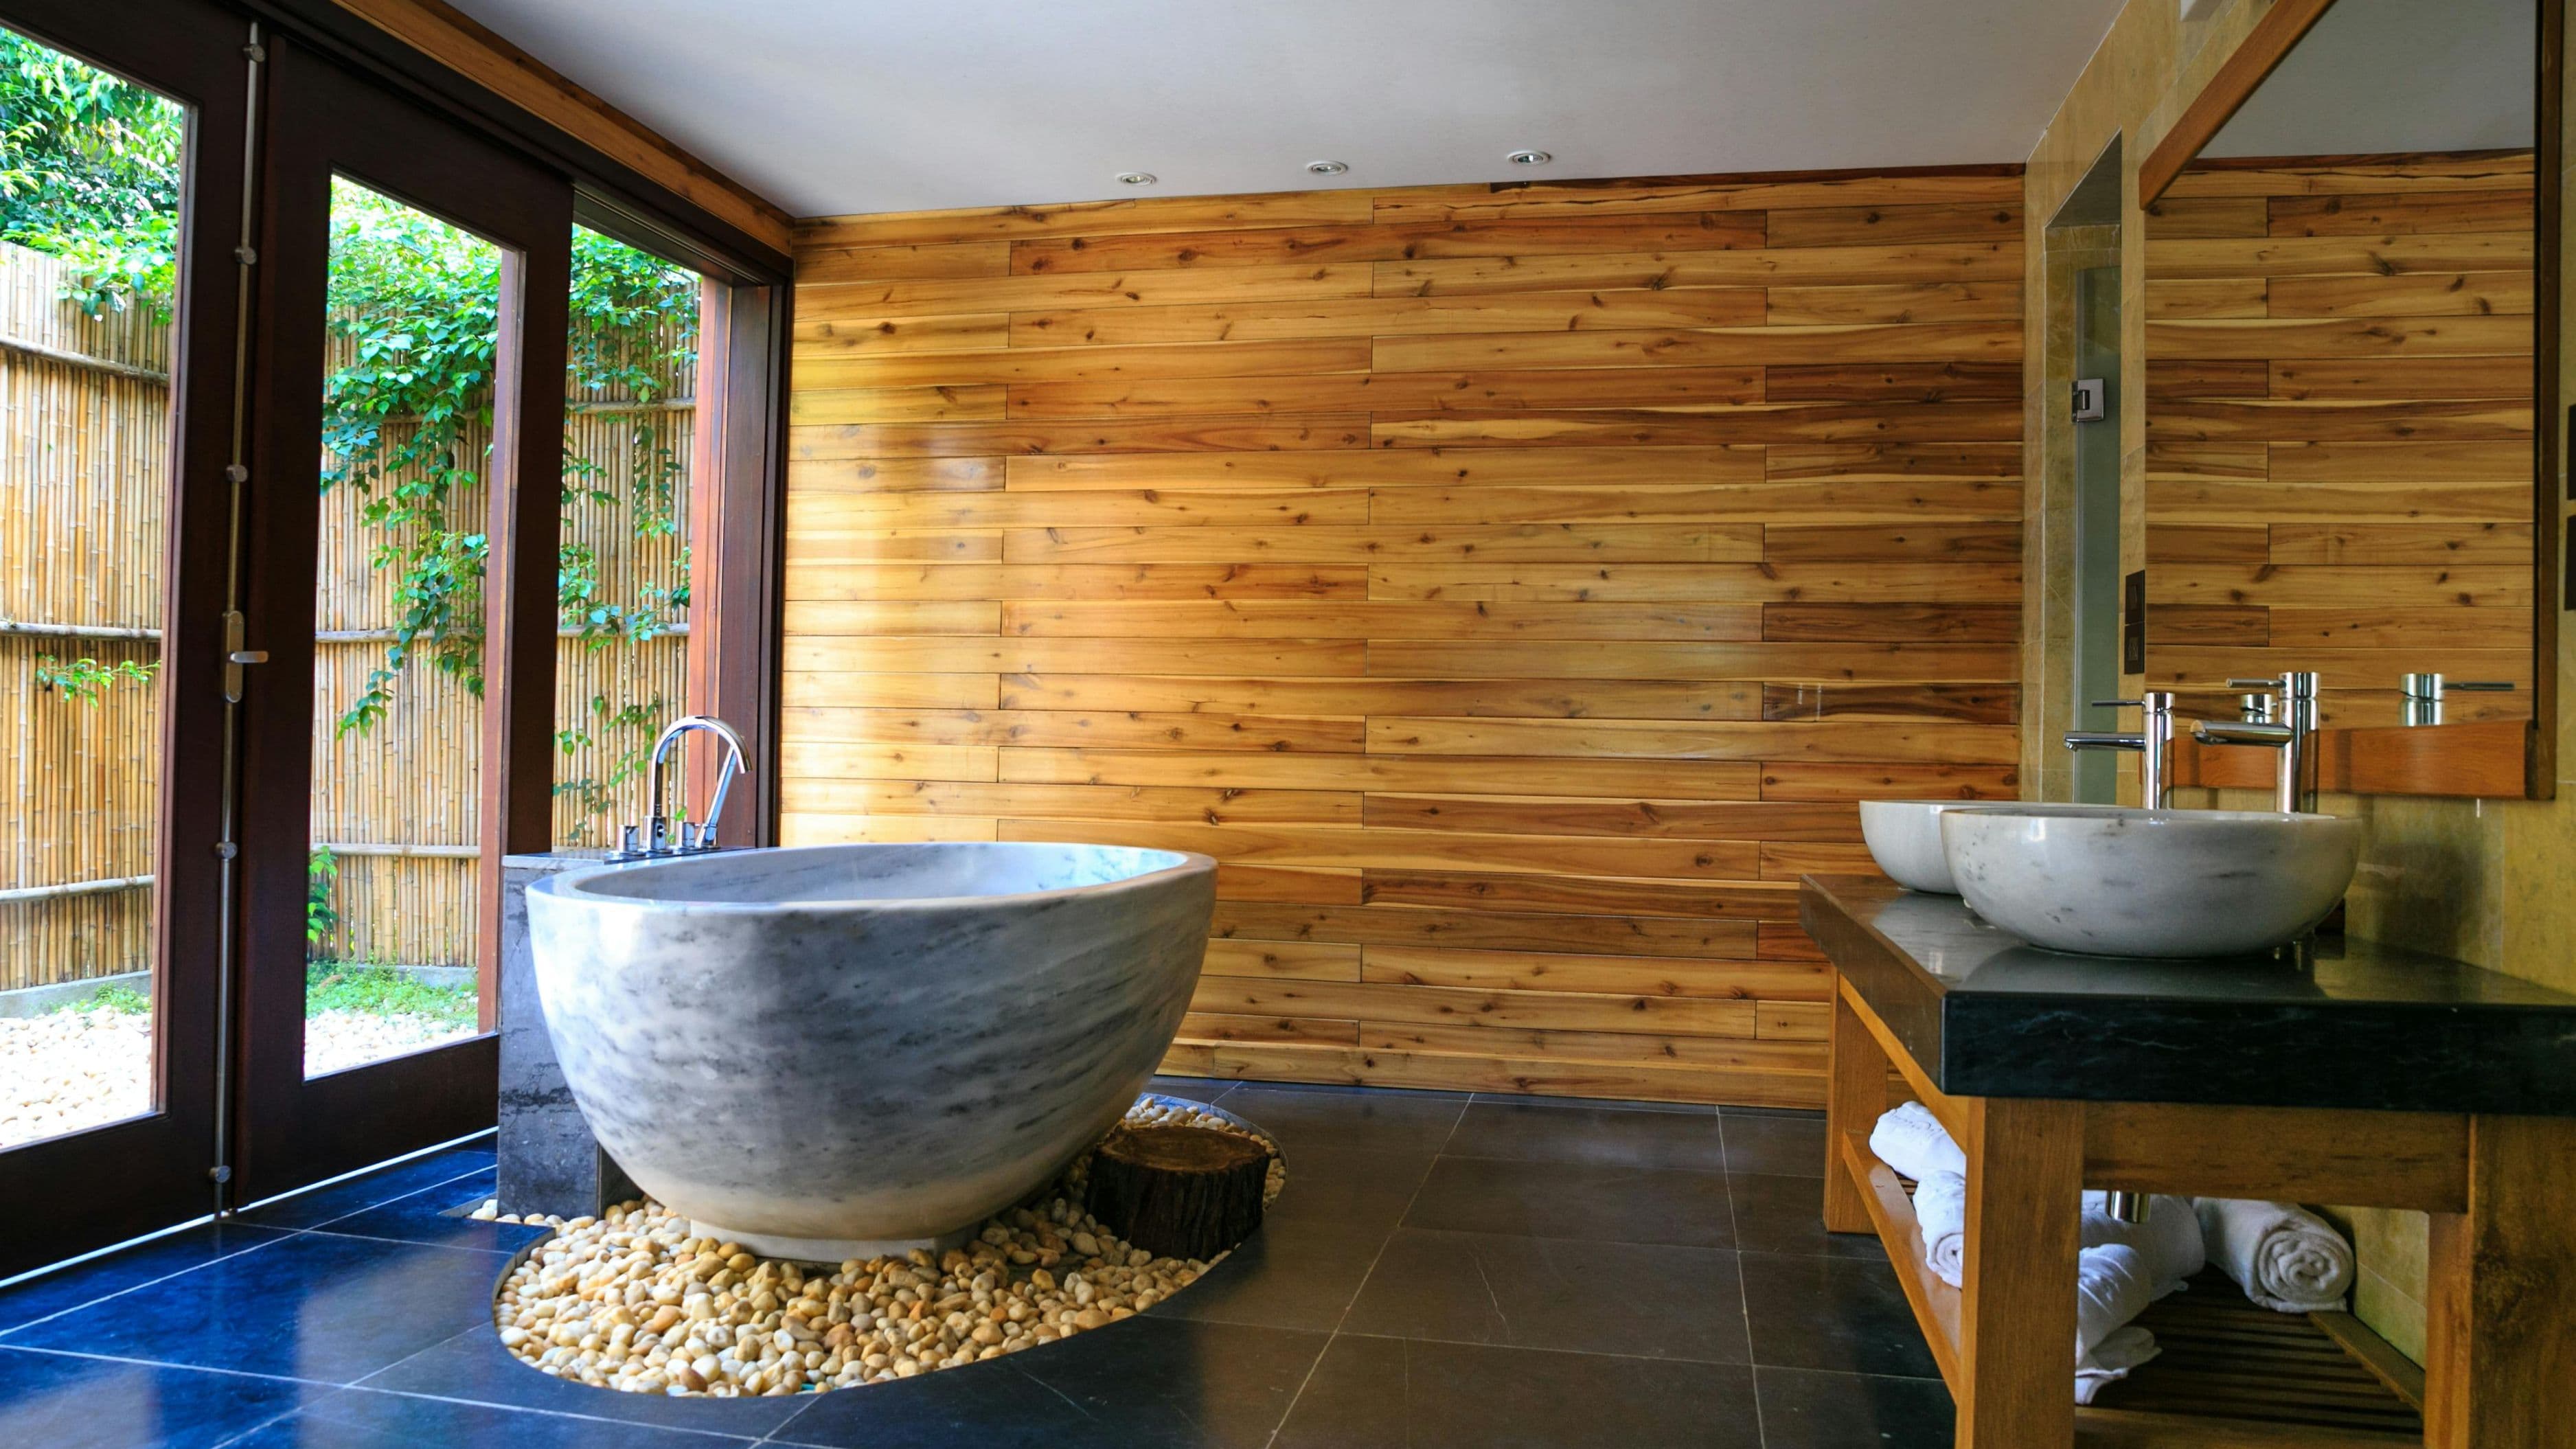
Do I need a freestanding tub for a spa bathroom? No. A freestanding tub is a beautiful focal point but it requires floor space most bathrooms don't have, and it's a significant cost item ($800–$4,000+ for the tub, plus plumbing relocation if needed). A well-designed shower with good fixtures and lighting achieves the spa feel more effectively than a tub in a cramped space. Only add a freestanding tub if you have the floor area for it to breathe and you actually use a bath regularly.
What's the most impactful single upgrade in a bathroom renovation? Lighting, by a significant margin. Replacing a single harsh overhead with side-mounted sconces and adding a dimmer switch transforms how the room looks and feels at minimal cost compared to tile or fixture replacement. If budget is limited, start with lighting.
How do I make a small bathroom feel like a spa? Focus on removing visual clutter first – enclosed storage, a recessed medicine cabinet, and cleared countertops do more than any cosmetic change. Then address lighting and replace the mirror with a larger one to maximize the sense of space. Large-format tile with minimal grout lines and a floating vanity that exposes floor area both make small bathrooms feel more open.
What tile color works best for a spa bathroom? Warm neutrals – soft whites, warm greiges, taupe, and stone tones – are the most consistently successful backgrounds for a spa aesthetic. They read as calm, work with most lighting conditions, and don't limit your flexibility when updating accessories or fixtures in the future. Cool grays and stark whites work too but can feel clinical without careful lighting.
Should I hire a contractor or DIY a bathroom renovation? Cosmetic work – painting, installing hardware, replacing fixtures, adding a mirror, updating lighting – is manageable DIY for most homeowners. Tile work requires more skill and patience but is learnable. Plumbing changes, electrical work beyond basic fixture swaps, and anything involving moving walls or changing the layout should involve licensed professionals. The cost of fixing poorly done plumbing or electrical work typically exceeds the cost of hiring it out correctly the first time.
Wrapping Up
A bathroom that genuinely feels like a spa is the result of intentional decisions across a handful of key areas: layout and storage that eliminates visual noise, layered lighting with dimmer control, a calm and coherent material palette, a shower experience worth stepping into, and proper ventilation to support it all. None of these require an unlimited budget – they require clarity about what's actually undermining your current bathroom and a focused approach to fixing those specific things. Start with lighting and storage, then build from there. The result is a room you'll actually look forward to using.
📚 Sources
Bathroom ventilation fan sizing guide – Home Ventilating Institute: https://www.hvi.org/resources/publications/ventilation-guide/
Radiant floor heating installation guide – This Old House: https://www.thisoldhouse.com/heating-cooling/21017013/all-about-radiant-floor-heating
Bathroom remodel cost guide – HomeAdvisor (Angi): https://www.angi.com/articles/how-much-does-bathroom-remodel-cost.htm
Tile selection and installation standards – Tile Council of North America: https://www.tcnatile.com/homeowners/tile-installation-guide.html
Bathroom lighting design principles – Architectural Lighting Magazine: https://www.archlighting.com/technology/led-illumination/bathroom-lighting-design_o
Building codes for bathroom ventilation – IRC Section M1507 overview via ICC: https://codes.iccsafe.org/content/IRC2021/chapter-15-exhaust-systems
🔍 Explore Related Topics