


The installation process itself is DIY-friendly for anyone comfortable with basic carpentry tools. Here's how to do it right, what it costs, and what to avoid.
Why Front Door Replacement Has Such Strong ROI
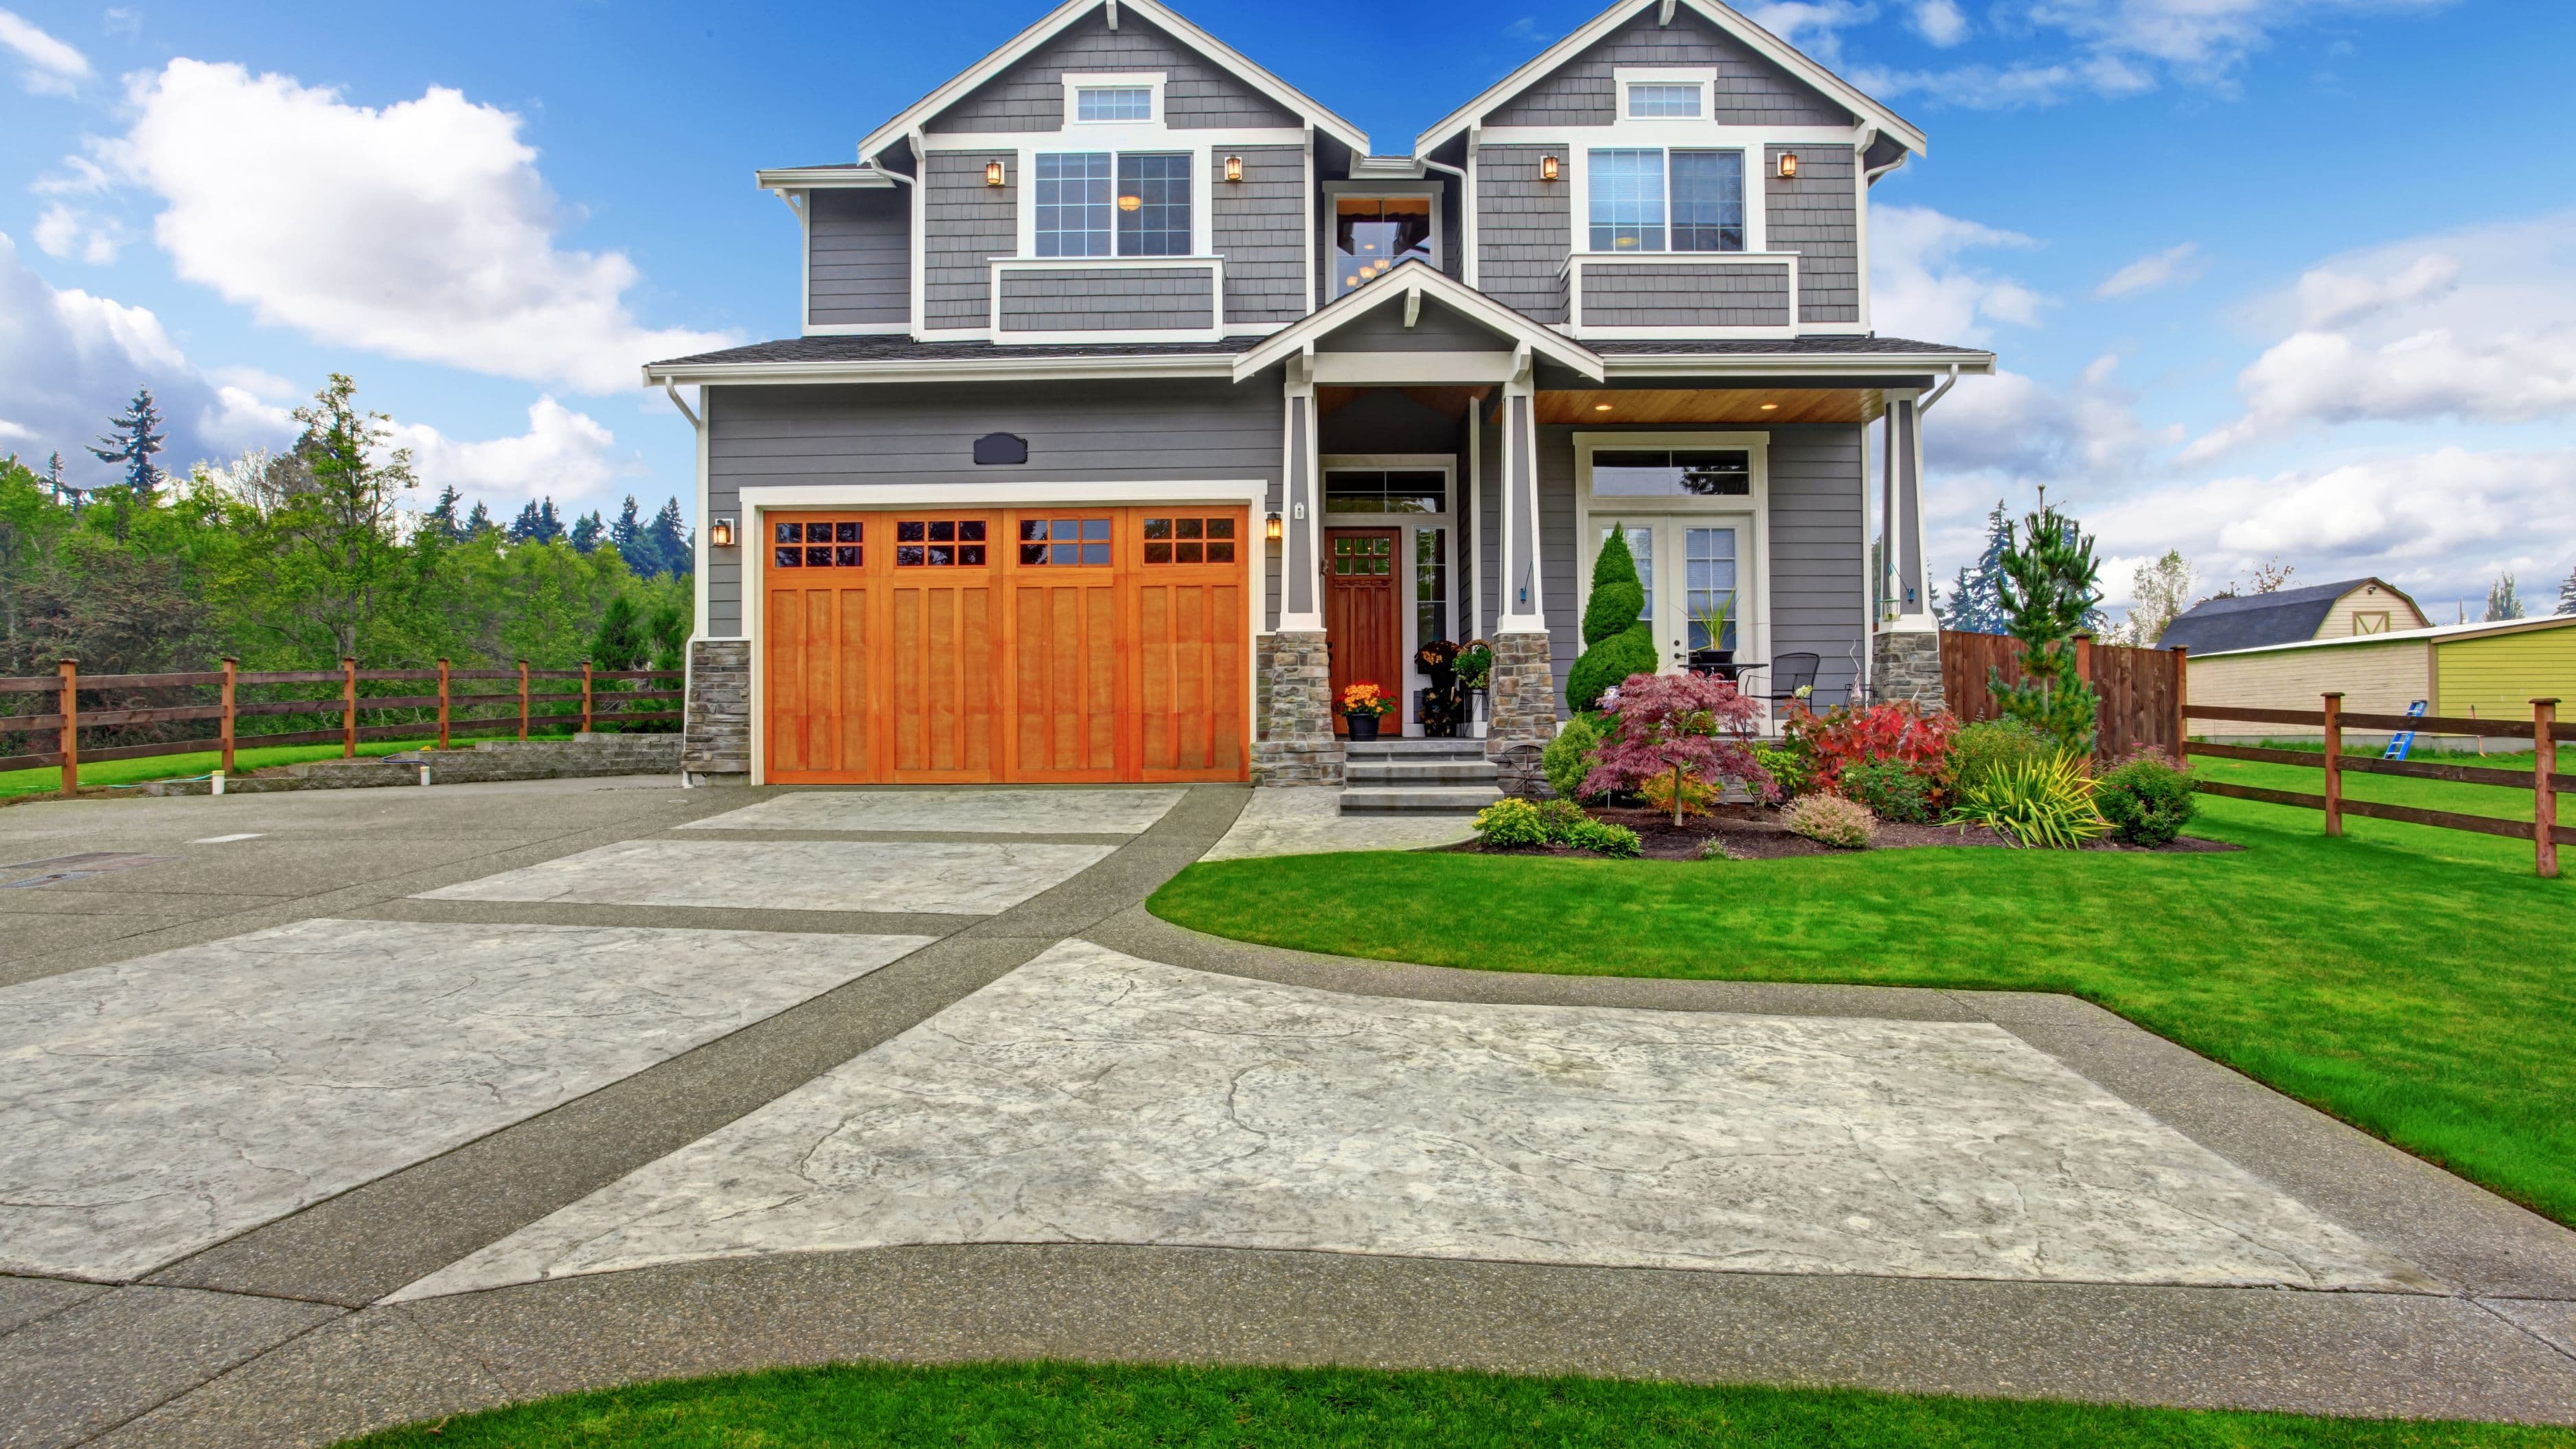
The front door is one of the first things a buyer, appraiser, or neighbor sees. It sets an immediate impression about the condition and care of the entire property. An aging, weathered, or energy-inefficient door can undercut the appeal of an otherwise well-maintained home, while a new door – particularly a quality steel or fiberglass model – signals exactly the opposite.
Beyond aesthetics, the financial case is straightforward. A new entry door with modern weatherstripping and energy-efficient core material reduces air infiltration, which translates to measurable savings on heating and cooling costs. The Department of Energy estimates that drafts through doors and windows can account for 25–30% of residential heating and cooling energy use. A well-sealed replacement door addresses a meaningful portion of that loss.
Steel entry doors hold the record for highest ROI in the Cost vs. Value data primarily because they're durable, affordable, low-maintenance, and come factory-primed and ready for paint. Fiberglass doors cost more upfront but offer better insulation performance and resist denting and warping in climates with significant temperature swings.
Choosing the Right Replacement Door
Before buying a door, you need to know a few measurements and make a few decisions that will shape the entire project.
Measure the existing rough opening – not the door itself, but the framed opening in your wall. The standard size for most US entry doors is 36 inches wide by 80 inches tall, but older homes often have 32-inch or 34-inch openings. Measure width at three points (top, middle, bottom) and height on both sides to catch any irregularities. If your opening is non-standard, you'll need a custom door or a door and frame combination sized to your opening.
Prehung vs. slab door – For a full replacement, a prehung door (door already mounted in a new frame) is almost always the right choice. It eliminates the complexity of trying to fit a new door to an existing frame that may have settled out of square over the years. Slab doors (door only, no frame) are more appropriate when you're replacing a warped door but the existing frame is sound and perfectly plumb.
Material: Steel doors are the best-value choice for most homeowners – typically $300–$800 for a quality prehung unit, durable, low-maintenance, and excellent at resisting forced entry. They can dent, and they're not ideal for environments with extreme sun exposure (they can expand and stick in high heat), but for the majority of climates they're the right call.
Fiberglass doors cost $600–$2,500+ but won't rust, resist denting and warping, can be stained to mimic wood grain convincingly, and offer superior insulation values. For coastal climates, extreme temperature ranges, or homes where the door gets direct sun most of the day, fiberglass justifies the premium.
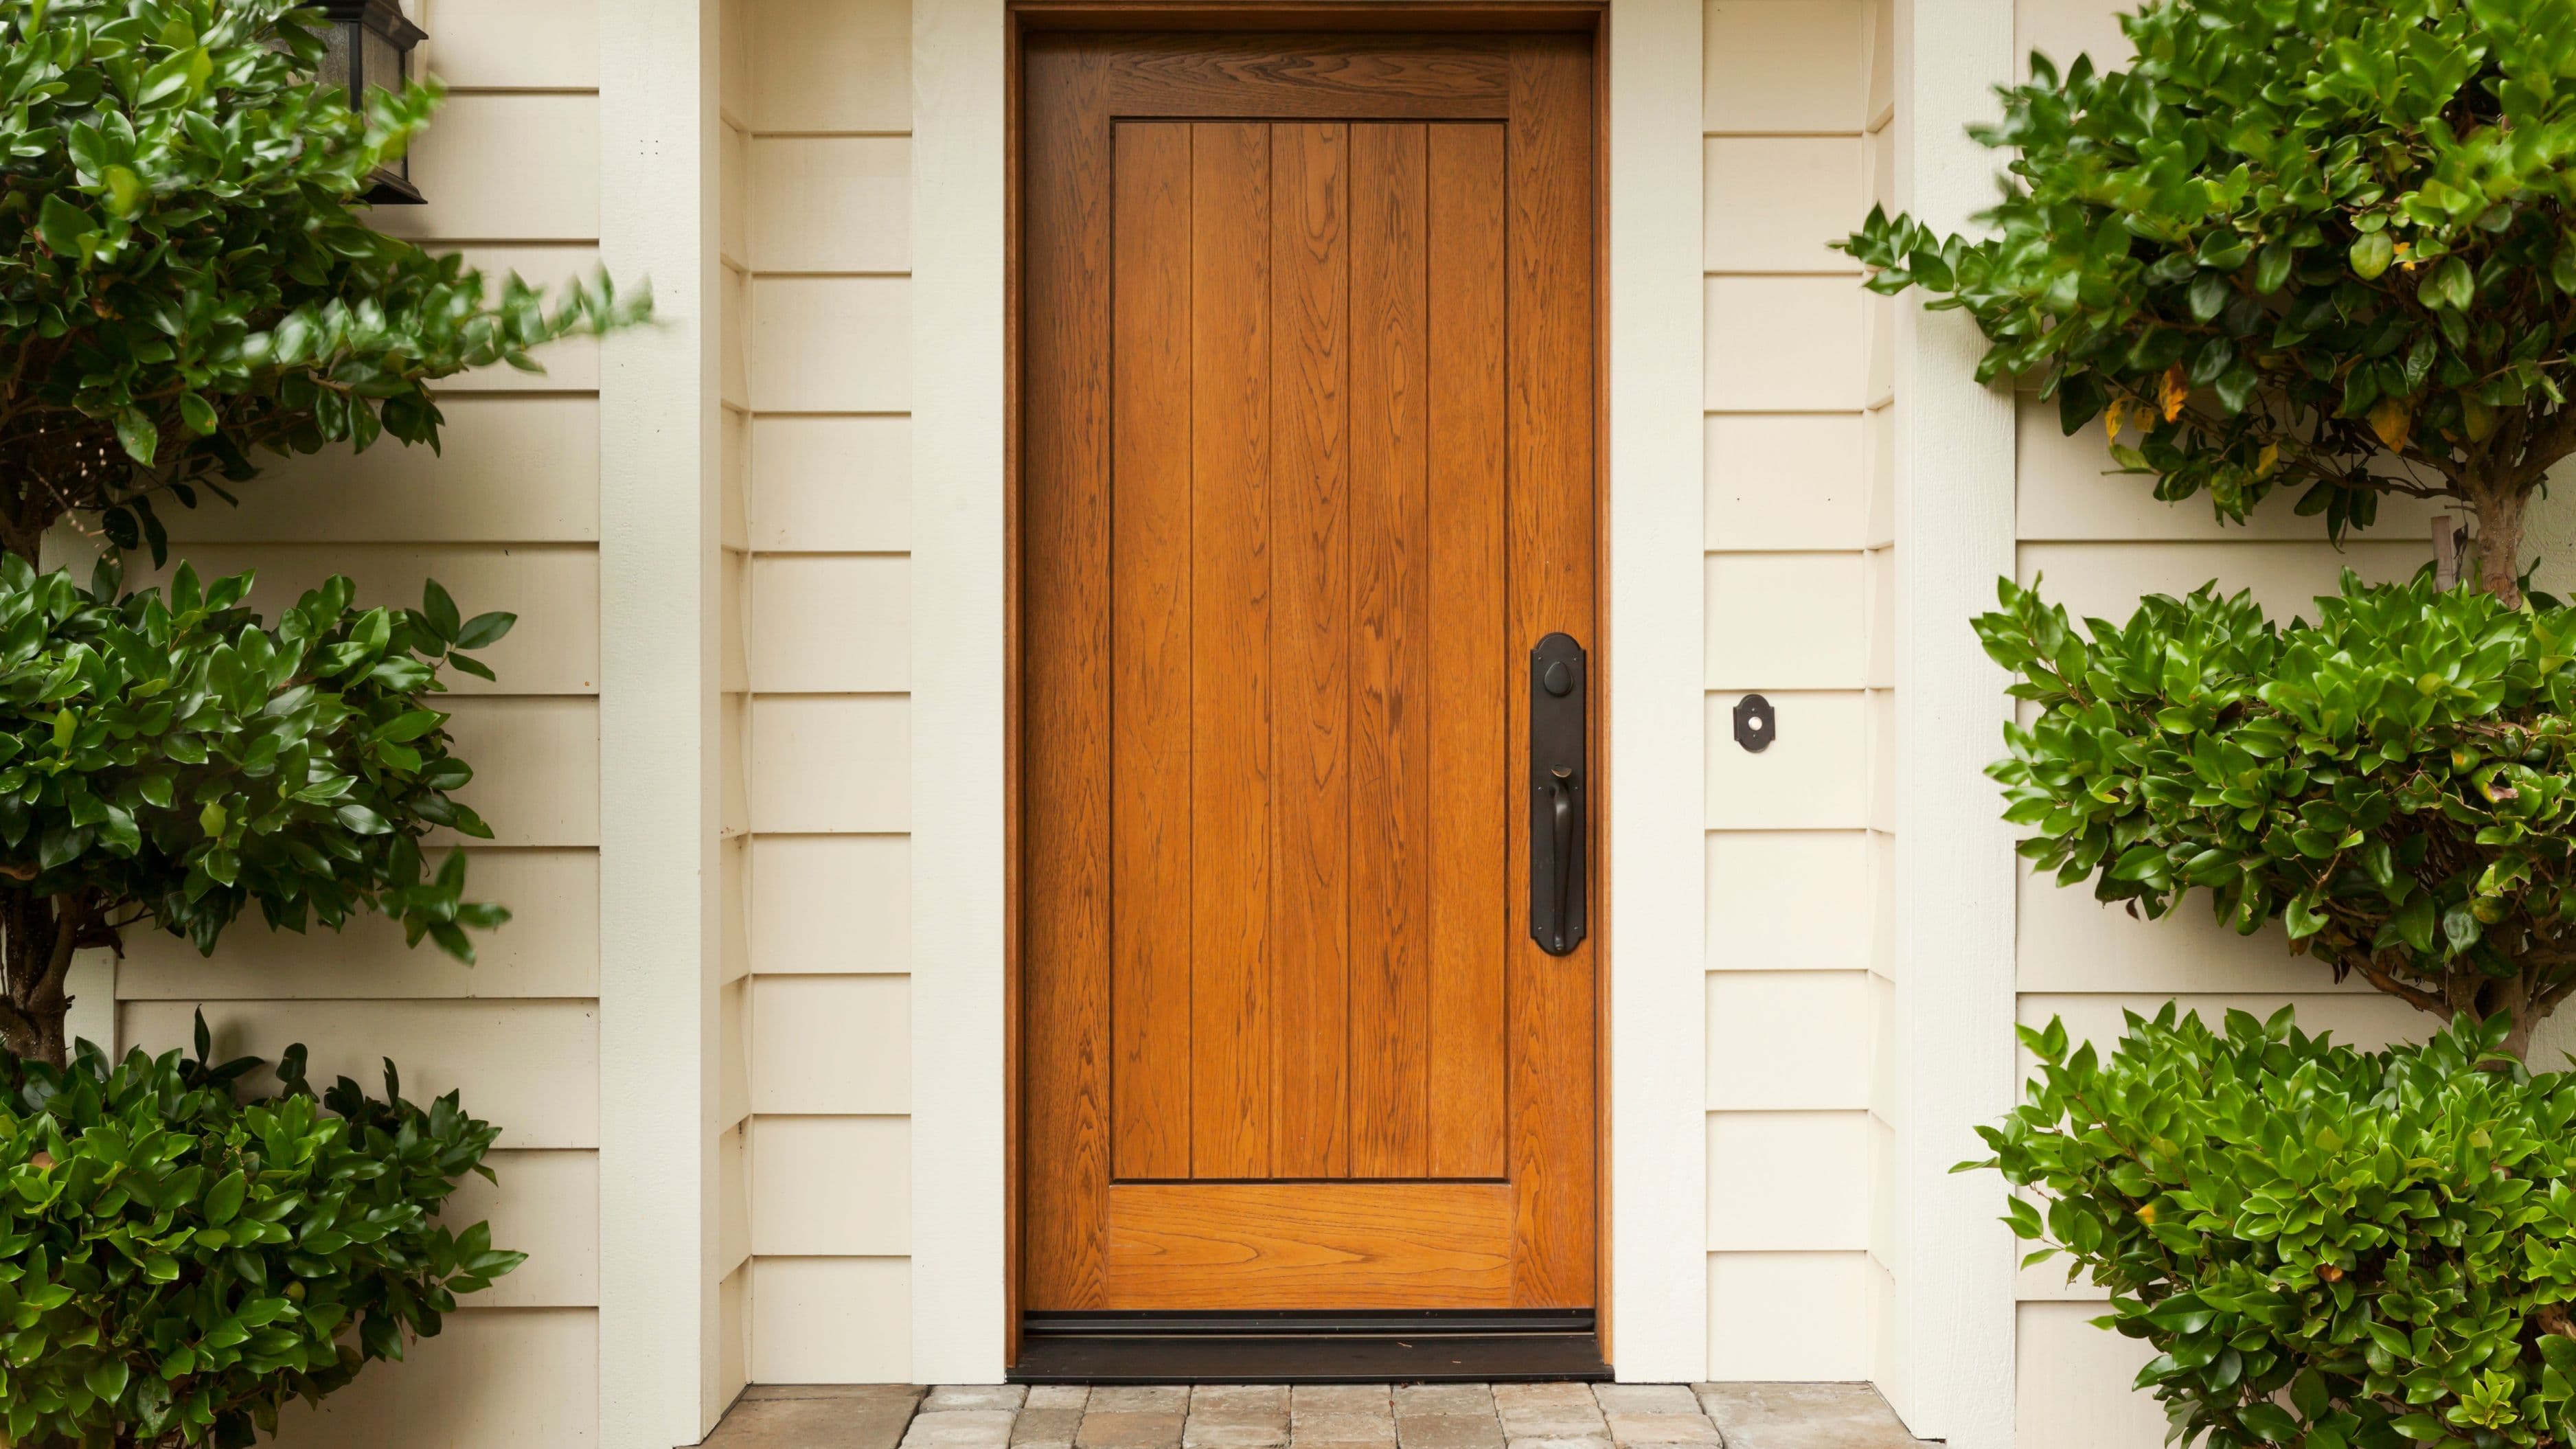
Wood doors are the most beautiful option and a natural fit for historic or craftsman-style homes, but they require more maintenance – periodic refinishing or repainting every few years – and are the most susceptible to warping and weather damage. Budget $500–$3,000+ depending on species and style.
Hardware and glass – Decide on hardware finish (satin nickel, matte black, oil-rubbed bronze), whether you want sidelights or a glass insert, and what lockset configuration makes sense for your security needs. A deadbolt rated ANSI Grade 1 is the minimum for exterior security; a smart lock or keypad deadbolt adds modern convenience with minimal additional complexity.
What You'll Need
Tools:
Tape measure and level
Circular saw or reciprocating saw (for removing the old door unit)
Drill and bits
Pry bar and hammer
Caulking gun
Shims (cedar shims are standard)
Utility knife
Safety glasses and work gloves
Materials:
Prehung door unit
Exterior-grade caulk (paintable silicone or polyurethane-based)
Expanding foam insulation (low-expansion, designed for doors and windows)
3-inch exterior screws for the hinge side
Lockset and deadbolt (if not included with door)
Time estimate: 3–6 hours for a straight replacement of a standard prehung door. Add time if you're dealing with an out-of-square opening, rot in the existing frame, or trim work that needs replacing.
Cost estimate: $400–$1,200 in materials for a quality steel or fiberglass prehung door, hardware, caulk, and insulation. Hiring a contractor for installation typically adds $200–$500 depending on your region and job complexity.
Step-by-Step: Replacing a Prehung Entry Door
Step 1 – Remove the Interior Trim
Using a utility knife, score along the edge of the interior casing trim to break the paint seal. Carefully pry the trim away from the wall using a flat pry bar, working gradually along its length to avoid cracking the drywall. Set the trim aside if it's in good condition – you'll likely reuse it.
Step 2 – Cut Any Exterior Caulk and Remove the Old Door Unit
From outside, score the caulk line around the exterior trim with a utility knife. Use a reciprocating saw to cut through any nails or fasteners holding the old door frame to the rough opening. With a helper, carefully remove the old door unit from the opening. Inspect the rough opening, sill, and surrounding framing for any rot or water damage. Probe with a screwdriver – soft or crumbling wood needs to be repaired or replaced before the new door goes in. This step is where skipping inspections comes back to bite people.
Step 3 – Prepare the Opening
Check the sill for level and the jack studs (the vertical framing members on each side) for plumb using a level. If the opening is more than ¼ inch out of plumb, you'll need to shim it before the new door goes in or you'll end up with a door that doesn't swing or seal properly. Clean out any old caulk, insulation, or debris from the opening.
Apply a bead of exterior caulk along the bottom of the rough opening before setting the new door – this helps seal the sill area before the new unit sits on top of it.
Step 4 – Set the New Door Unit
With a helper, tip the prehung door unit into the opening from the exterior side. Center it in the opening and set it on the sill. Check that the unit is plumb on the hinge side first – this is the most important side, since the hinge side determines whether the door swings correctly. Insert shims between the door frame and the rough opening as needed to bring the hinge side to plumb.
Step 5 – Fasten the Hinge Side
Once the hinge side is plumb and shimmed, drive 3-inch exterior screws through the pre-drilled holes in the hinge-side jamb, through the shims, and into the jack stud behind them. Check plumb again after each fastener – screwing into an unsupported shim can pull the jamb out of position. Don't overtighten; you want snug, not bowed.
Step 6 – Check the Door Swing and Adjust the Latch Side
Open and close the door several times and check the gap around the perimeter. The gap between the door slab and the frame should be even – roughly 1/8 inch – all the way around. Shim and fasten the latch side and then the top of the frame, checking the gap after each adjustment. A door that's slightly off now will be noticeably problematic after the first season of temperature changes.
Once the gap is even and the door swings cleanly, install the deadbolt lockset according to the manufacturer's instructions and verify that the latch and deadbolt both engage smoothly with the strike plate.
Step 7 – Insulate and Seal
Fill the gap between the door frame and the rough opening framing with low-expansion foam insulation. Standard expanding foam can bow the jamb if it's used in excess around a door frame – use the type labeled "window and door" or "minimal expanding" foam specifically. Fill gaps fully but don't pack them.
From outside, apply a continuous bead of exterior caulk around the perimeter of the door frame where it meets the exterior siding or brick mold. Tool the caulk smooth with a wet finger. This seal is what keeps weather out at the perimeter.
Step 8 – Reinstall Trim and Finish
Reattach the interior casing trim you removed in Step 1, nailing it in place and filling nail holes with wood filler. Touch up paint on the interior and exterior as needed. Allow caulk to cure per the manufacturer's instructions before painting over it.
What to Avoid
Skipping the rough opening inspection. Rot at the sill or in the surrounding framing is common, especially in older homes or climates with significant rain exposure. A new door installed over rotted framing will fail sooner than expected and may void the door's warranty. Take the time to probe the wood and repair anything soft before the new unit goes in.
Using standard expanding foam instead of door-and-window foam. Regular foam expands with significant force and can bow a door jamb enough to prevent the door from latching or create binding during temperature changes. Always use minimal-expanding foam labeled for door and window applications.
Not checking plumb before fastening. The hinge side sets everything. If it's out of plumb, the door won't hang right, the gap won't be even, and adjustments get progressively harder to make. Take the extra time with the level before driving any screws.
Choosing the wrong size. Measure the rough opening, not the existing door. Doors can shift and compress over years of settlement, and the door that's currently in the opening may not be the original size. If you buy based on the existing door measurement and it doesn't match the opening, you'll be making an unplanned return trip.
Rushing the caulk and foam. Both need to cure fully before the door is painted and exposed to weather. Applying paint over uncured caulk causes adhesion failures that require you to redo the seal within a season.
FAQ
Can I replace a front door myself if I've never done it before? Yes, with realistic expectations. A prehung door replacement is a beginner-to-intermediate project – you don't need specialized skills, but you do need patience with the plumb and gap adjustments and a helper for lifting the unit into place. Budget more time than you think you need for your first attempt.
How much does a front door replacement increase home value? Based on Remodeling magazine's Cost vs. Value data, a steel entry door replacement typically returns 65–90% of the project cost in added home value – among the highest ratios of any renovation. On a $1,000 project, that's $650–$900 in added value, plus the immediate functional and aesthetic benefits.
How do I know if I need a new frame or just a new door slab? If your existing frame is plumb, square, undamaged, and free of rot, a slab replacement is viable. If the frame is rotted, out of square, or damaged by weather or insects, a full prehung replacement is the right approach. When in doubt, prehung – it removes the variable of an aging frame from the equation entirely.
What's the most energy-efficient door material? Fiberglass doors with polyurethane foam cores offer the best insulation values (up to R-8 compared to R-2 to R-4 for steel). For maximum energy efficiency, particularly in extreme climates, fiberglass is the clear choice. For most climates, a properly weatherstripped steel door performs well enough that the fiberglass premium may not be worth the cost difference.
Do I need a permit to replace a front door? In most jurisdictions, a straight door-for-door replacement in the same opening doesn't require a permit. Expanding the opening, adding a sidelight that requires structural modification, or making changes in a historic district may require permits. Check with your local building department before starting if you're unsure.
📚 Sources
Remodeling Magazine – Cost vs. Value Report: https://www.remodeling.hw.net/cost-vs-value/2023/
U.S. Department of Energy – Air sealing your home (windows and doors): https://www.energy.gov/energysaver/air-sealing-your-home
This Old House – How to install a prehung exterior door: https://www.thisoldhouse.com/doors/21015247/how-to-install-a-prehung-exterior-door
National Association of Realtors – Remodeling impact report: https://www.nar.realtor/research-and-statistics/research-reports/remodeling-impact
-jhajrFUGfI3zCQGjpAWcxuNPi1zUTB.jpg&w=3840&q=75)