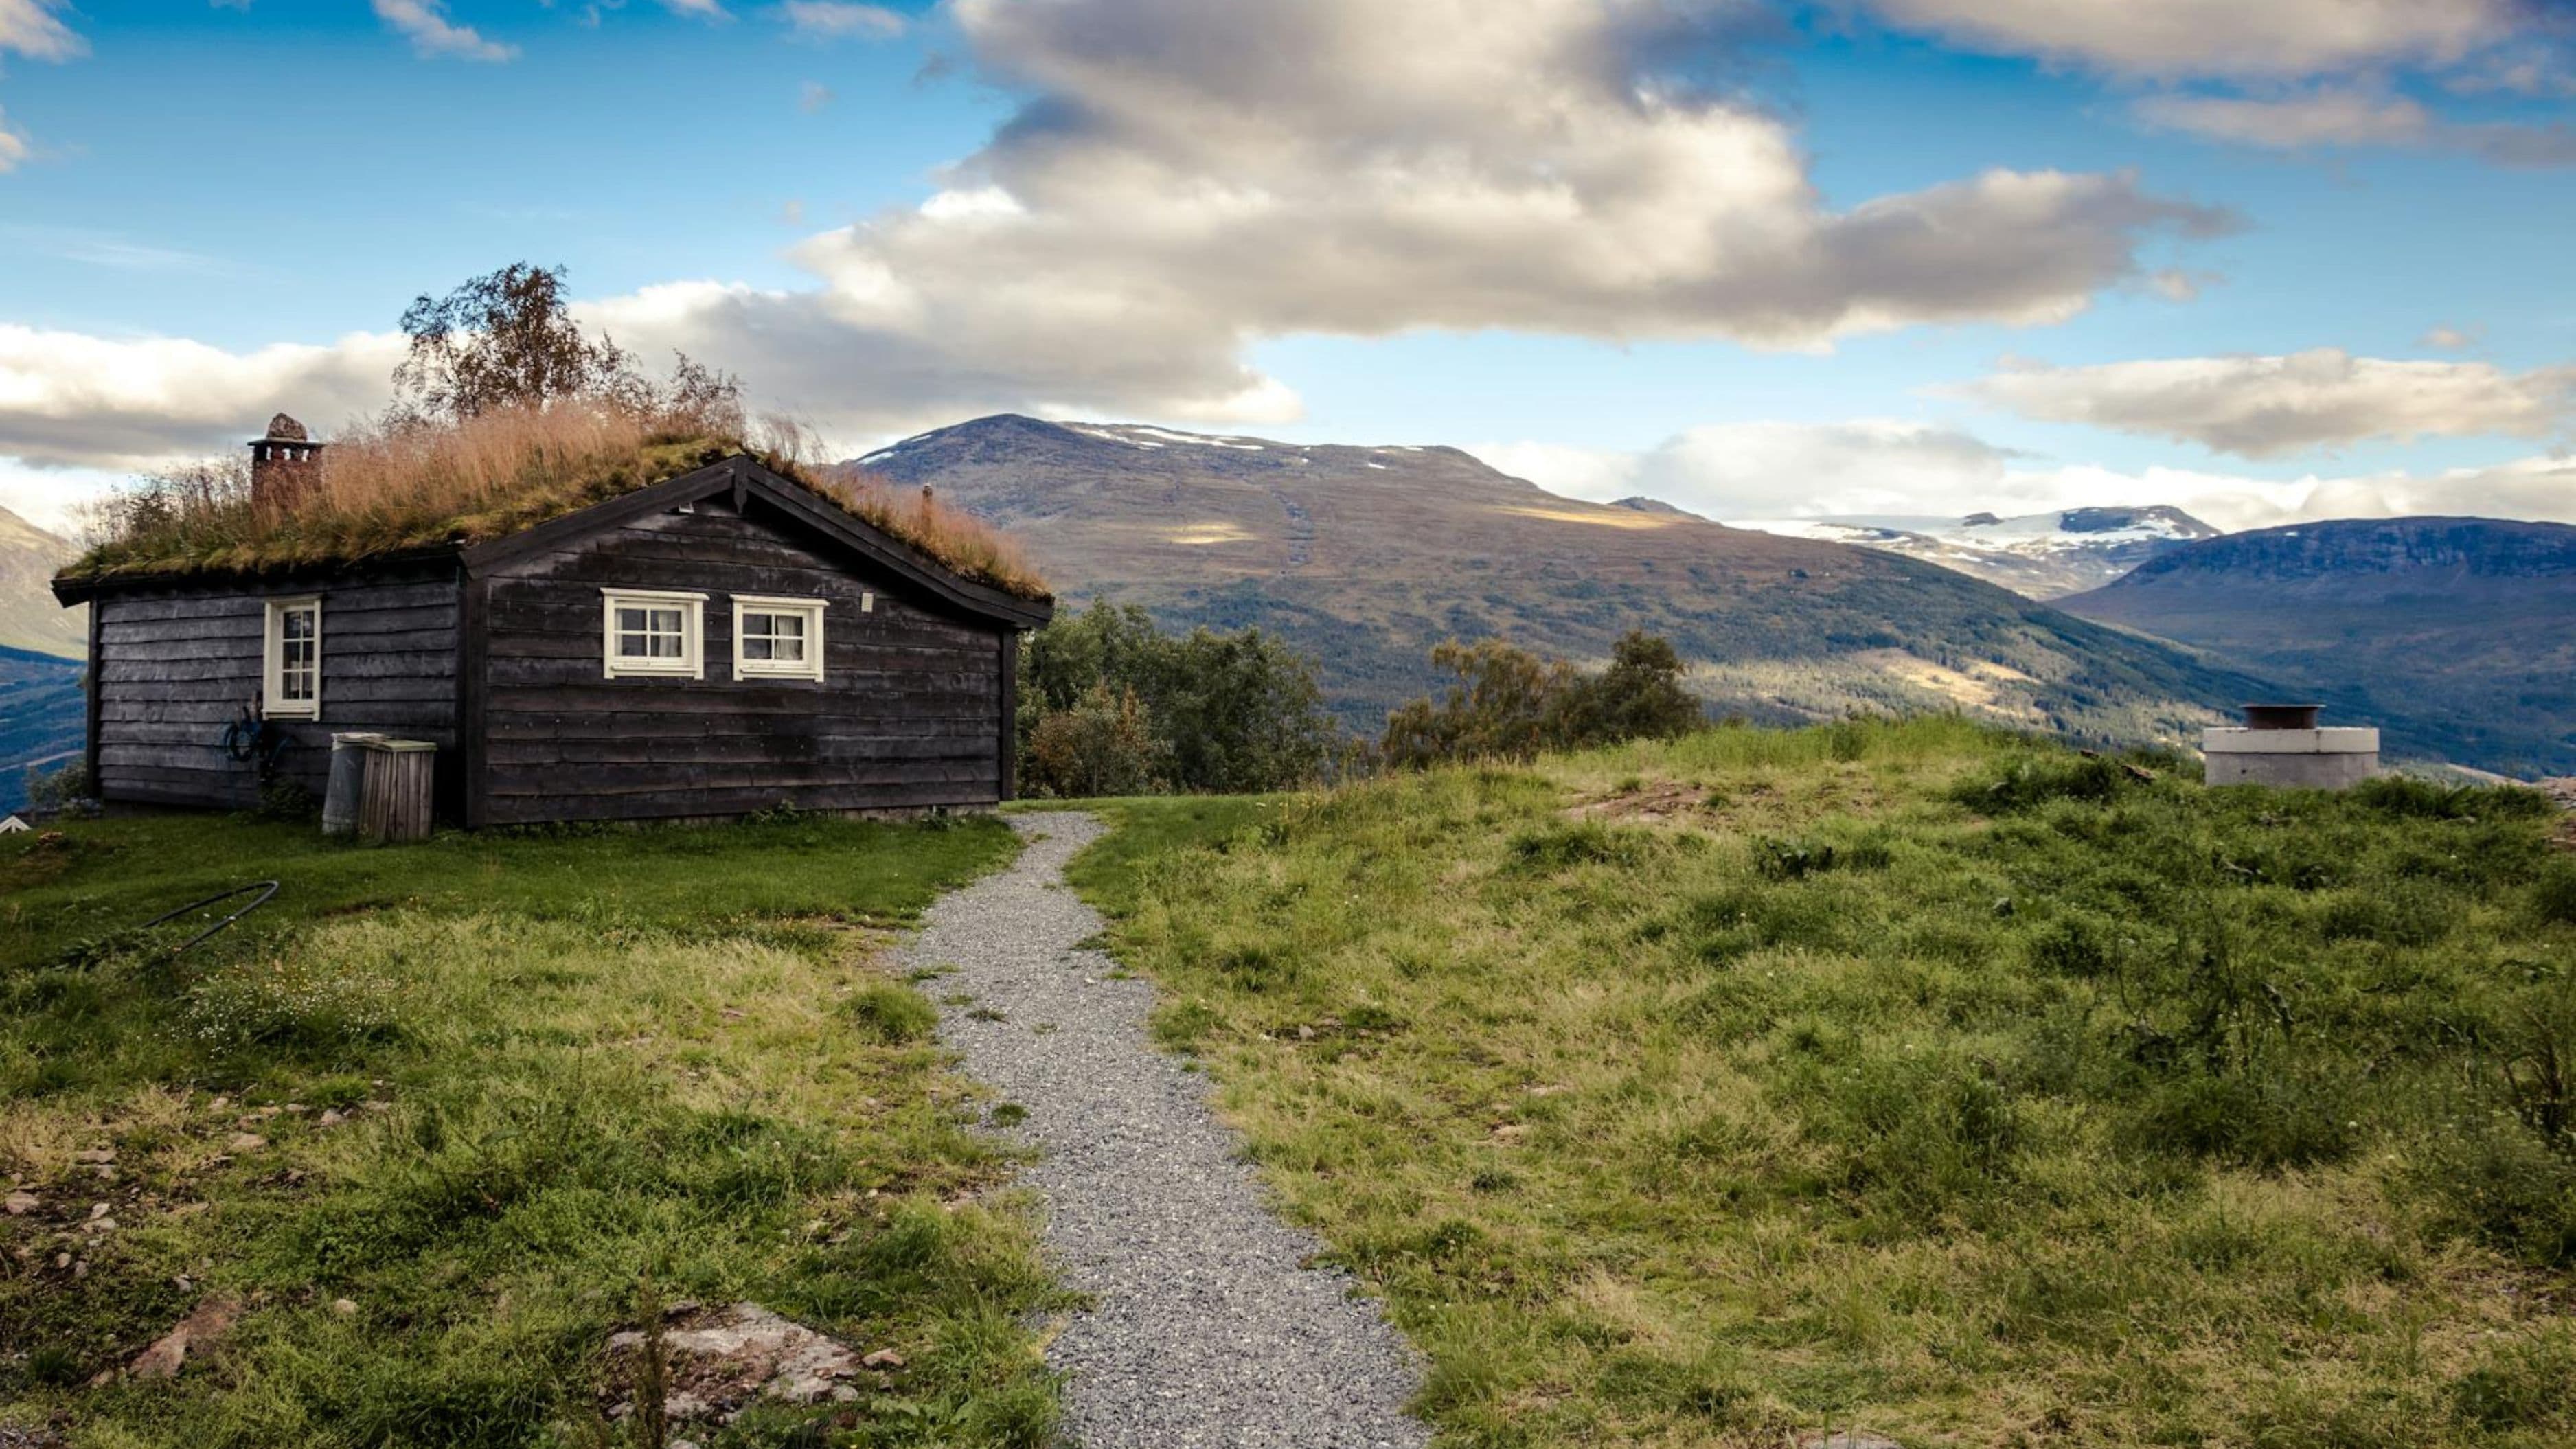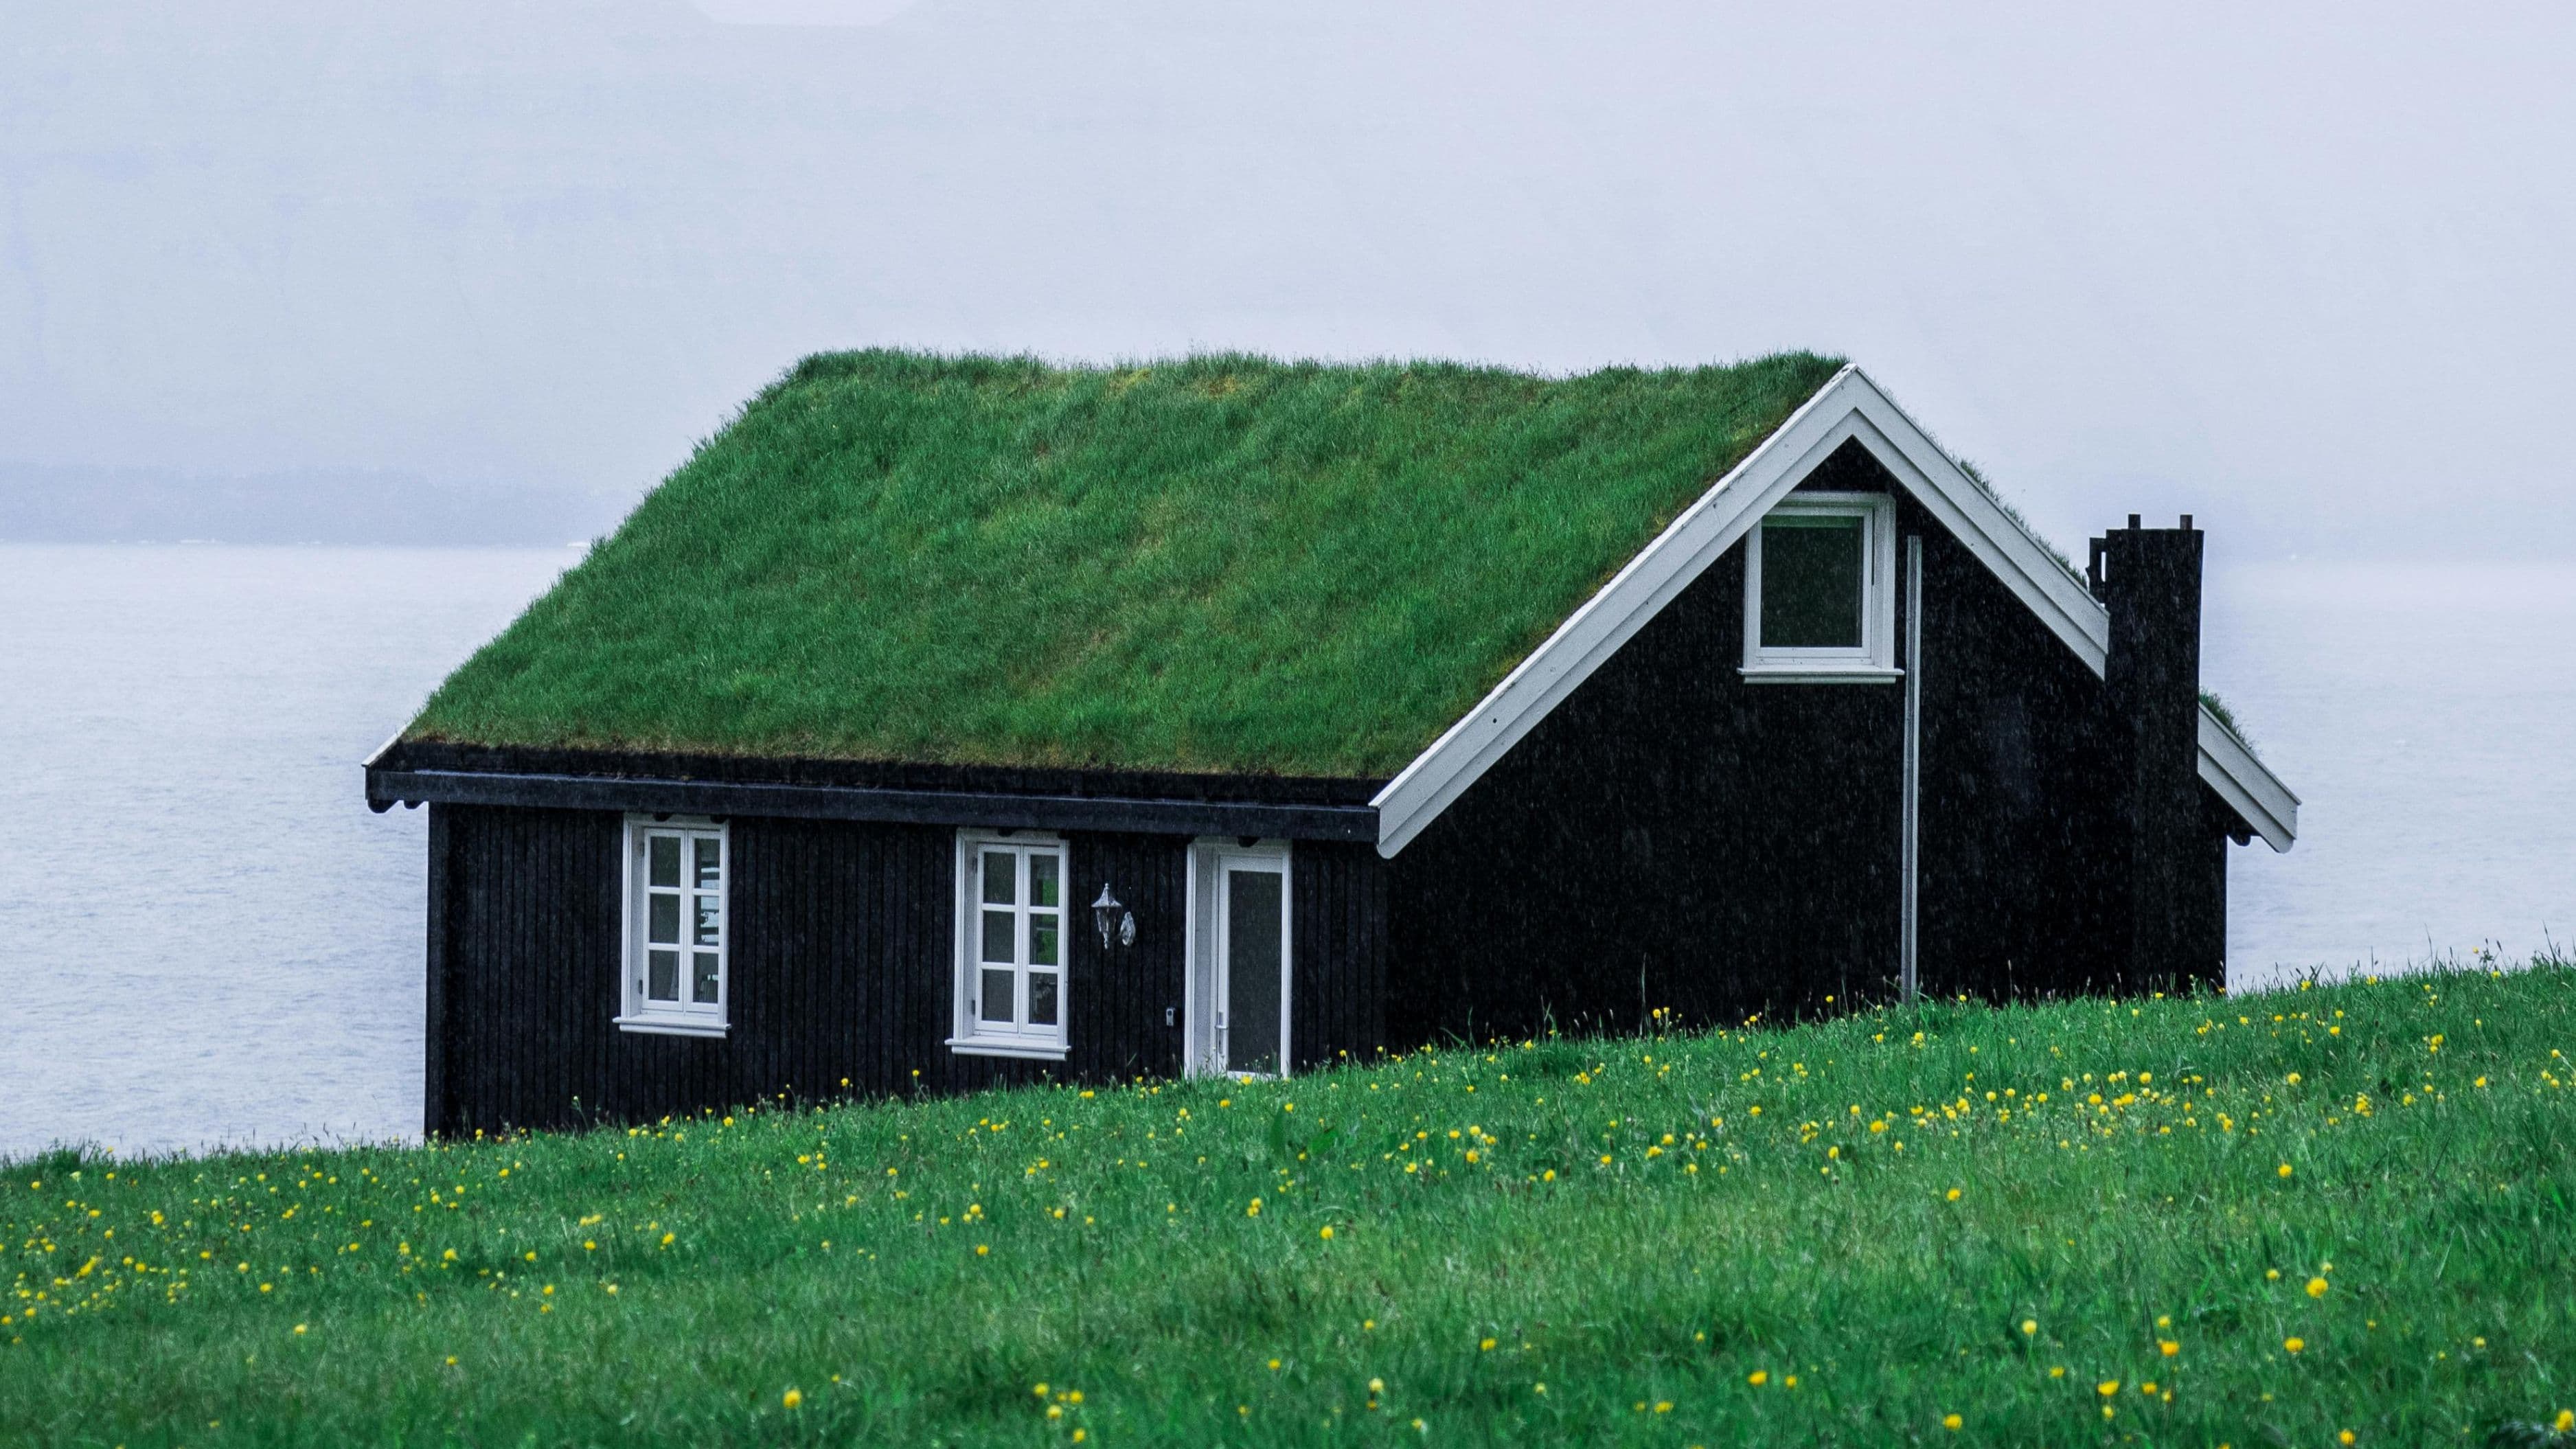

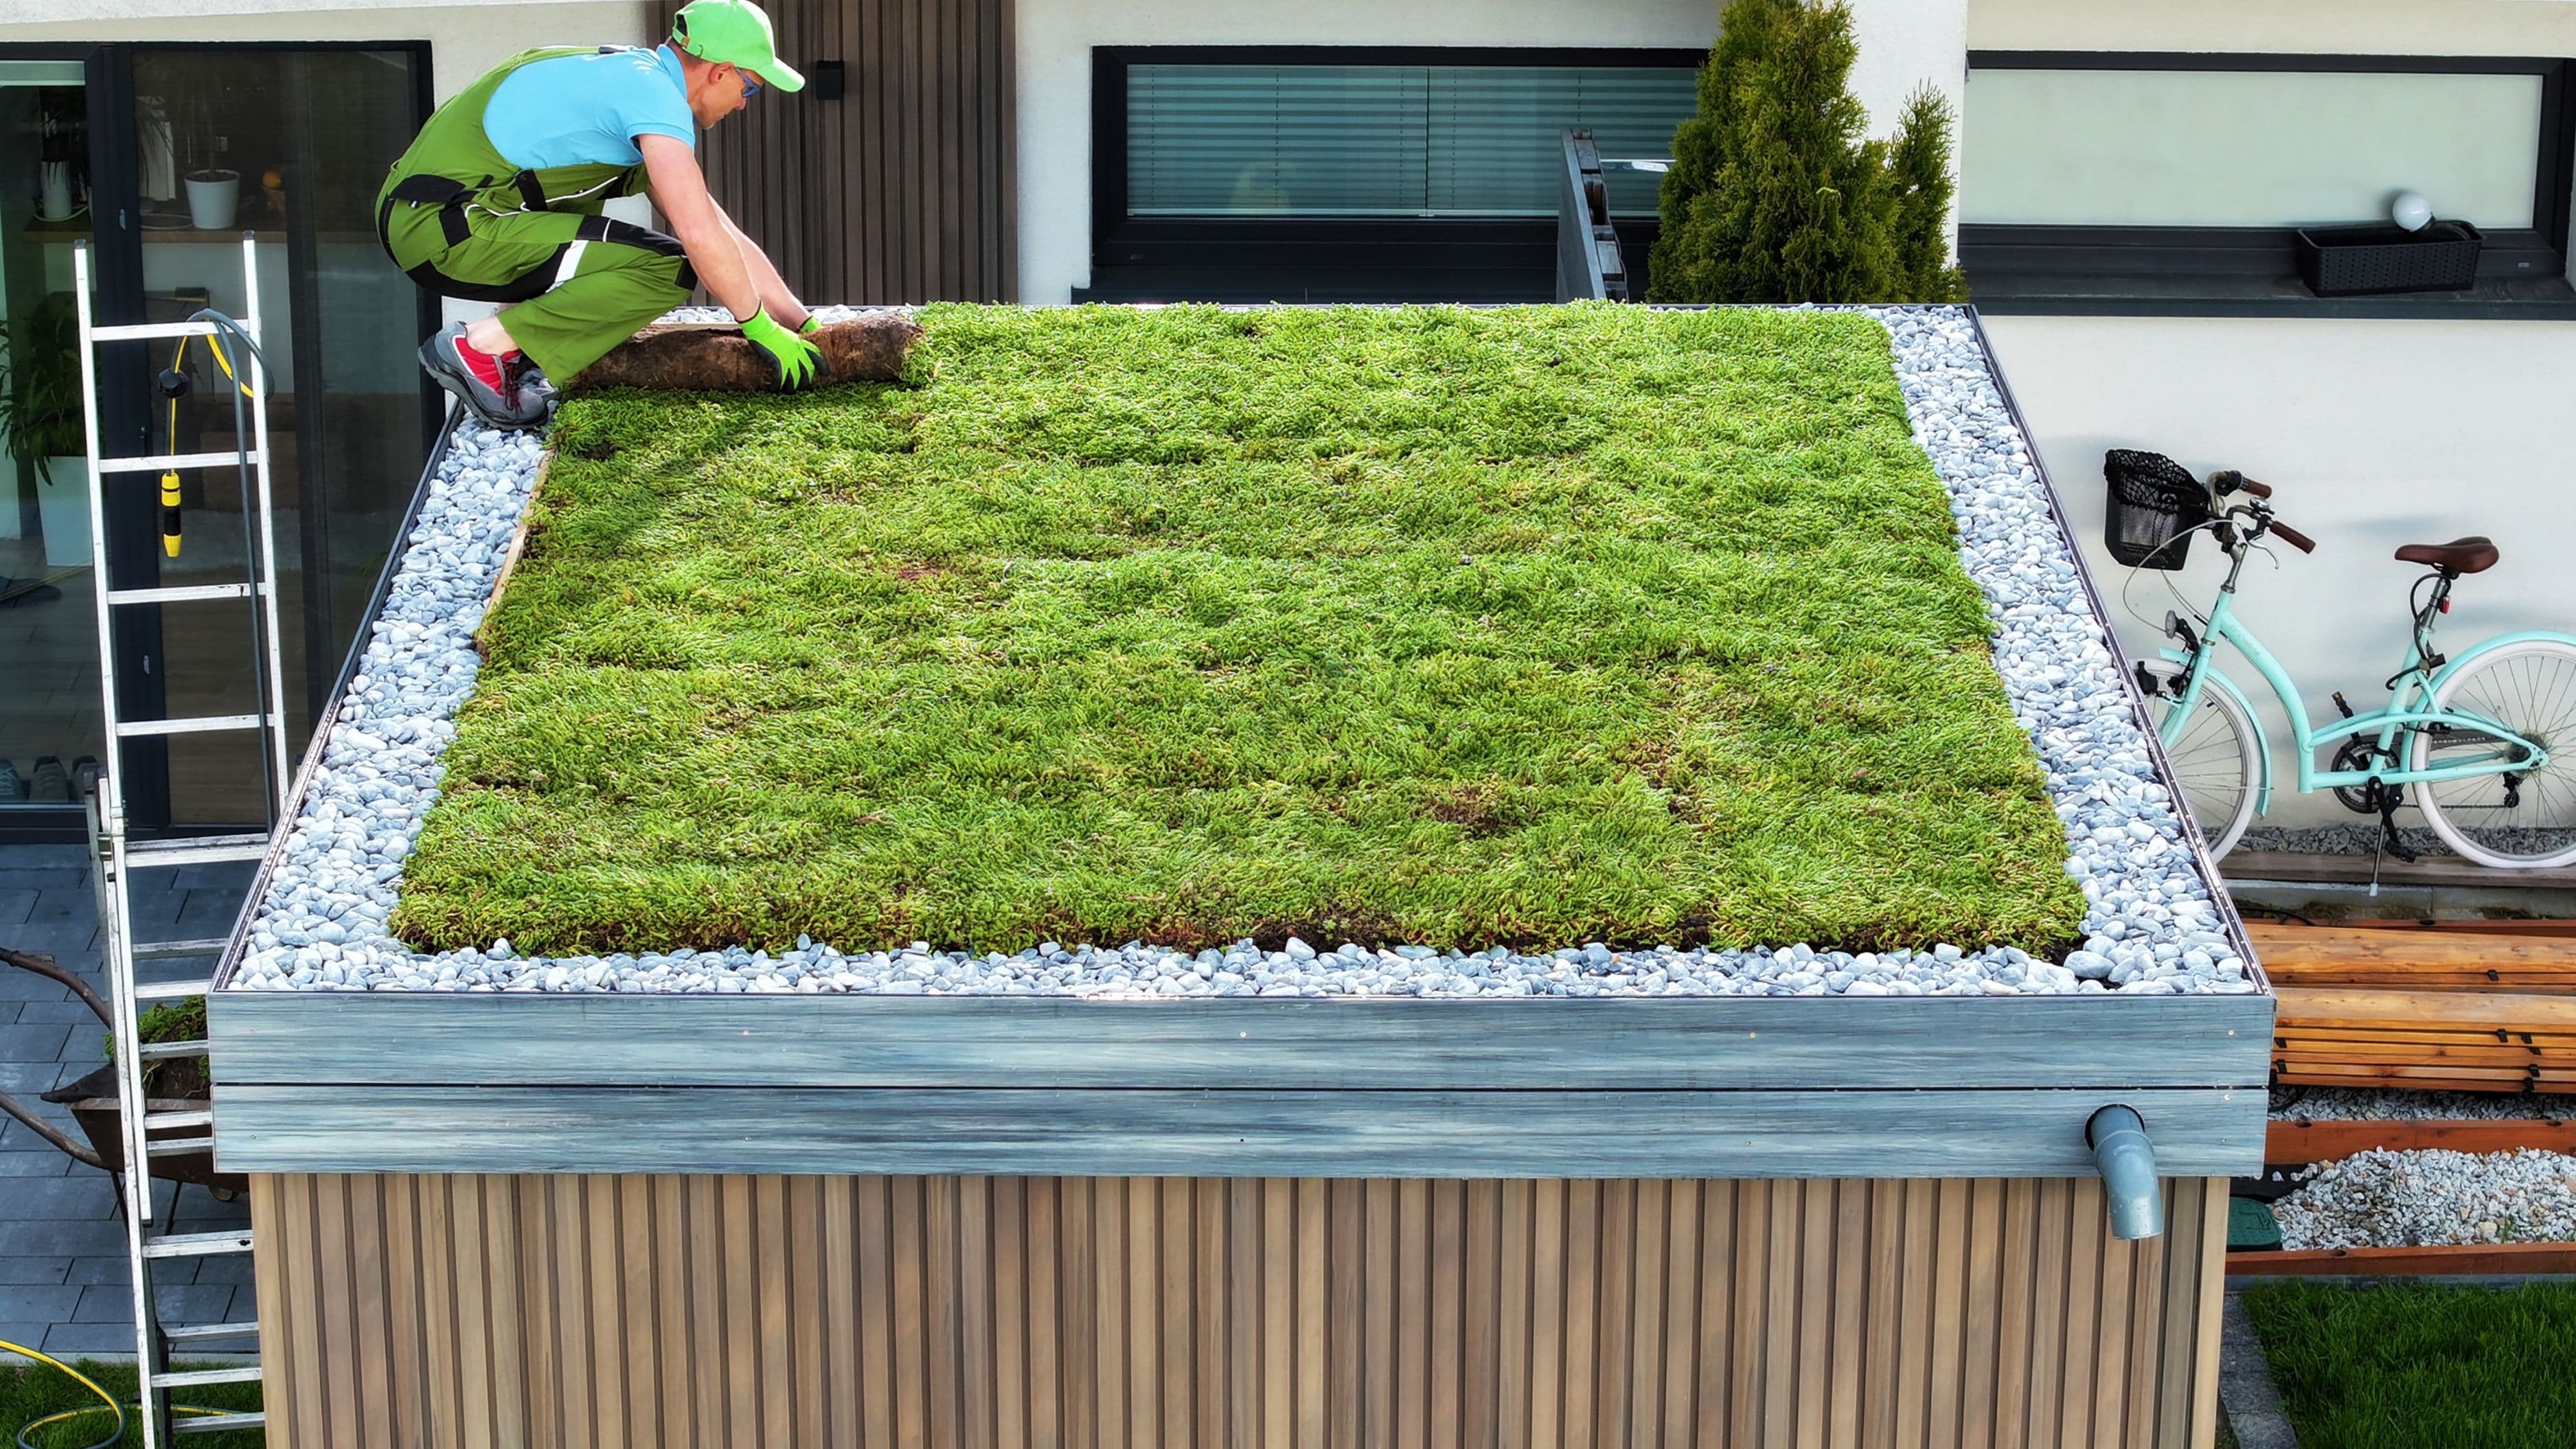
The key distinction is weight. A traditional intensive green roof can support shrubs, trees, and deep growing media — but it can weigh 80 to 150 pounds per square foot and does require structural modifications to most buildings. An extensive green roof, on the other hand, uses shallow growing media, drought-tolerant low-growing plants, and modular or lightweight tray systems that often weigh as little as 10 to 25 pounds per square foot when saturated. Most flat or low-slope residential roofs can handle that without any structural changes — and that's the version this guide covers.
Is Your Roof a Candidate?
Before anything else, you need to confirm that your existing roof can support a lightweight green roof system. This isn't something to guess at — an honest load assessment is the foundation of the entire project.
Roof pitch is the first filter. Extensive green roofs work best on flat or low-slope roofs — typically anything under a 3:12 pitch (that's a rise of 3 inches for every 12 inches of horizontal run). Steeper pitches require retention systems to keep growing media from sliding, which adds cost and complexity. Flat garage roofs, flat porch roofs, shed roofs, and low-slope commercial-style residential roofs are all strong candidates.
Load capacity is what determines whether structural modifications are needed. Most residential flat roof structures are built to handle at minimum 30–40 pounds per square foot of live load (snow, maintenance access, etc.). A lightweight modular green roof tray system, fully saturated, typically falls between 15–25 pounds per square foot. If your roof was built to modern code and isn't showing signs of stress, this weight is usually within tolerance. That said, having a structural engineer or experienced roofing contractor review your specific roof before installation is worth the cost — typically $200–$500 for a residential assessment and gives you a definitive answer.
Existing roof condition matters too. Installing a green roof over a deteriorating membrane is asking for problems — water that gets through the membrane under a layer of growing media and plant roots is significantly harder to diagnose and repair than a straightforward leak. If your roof membrane is more than 10–15 years old or showing any signs of wear, address that first.
Step 1: Choose Your System — Modular Trays vs. Built-Up Layers
There are two main approaches to installing a lightweight extensive green roof, and your choice will affect cost, installation complexity, and how easily the system can be maintained or removed later.
Modular tray systems are the easier option for most DIY-capable homeowners. These are pre-grown or plantable trays — typically 2 to 4 inches deep, 1 to 2 square feet per tray — that interlock or sit flush across the roof surface. They come pre-planted with sedum, succulents, or similar drought-tolerant ground covers in many cases, which means you're not starting from seed. The trays sit on the roof surface without being permanently attached in most configurations, which makes future maintenance and access for roof repairs straightforward.
Individual trays can be lifted and repositioned. Cost runs roughly $25–$50 per tray, with each tray covering 1–2 square feet, putting a typical 200 square foot garage roof project in the $2,500–$10,000 range depending on the product and whether you're buying pre-planted.
Built-up layer systems take more installation work but offer more flexibility in plant selection and a more naturalistic finished appearance. The layers are installed in sequence: a root barrier, a drainage layer (usually a dimpled plastic membrane), a filter fabric, lightweight growing media (typically an engineered mix of expanded shale, pumice, or lightweight aggregate rather than heavy soil), and finally your plants. This approach gives you more control over growing media depth and plant selection, but it requires more materials management and a longer installation window. Cost varies significantly by square footage and material choices but typically runs $10–$20 per square foot installed for a DIY project, not including any professional help.
Step 2: Prepare the Roof Surface
Whether you're using trays or a built-up system, the roof surface needs to be ready before anything goes down.
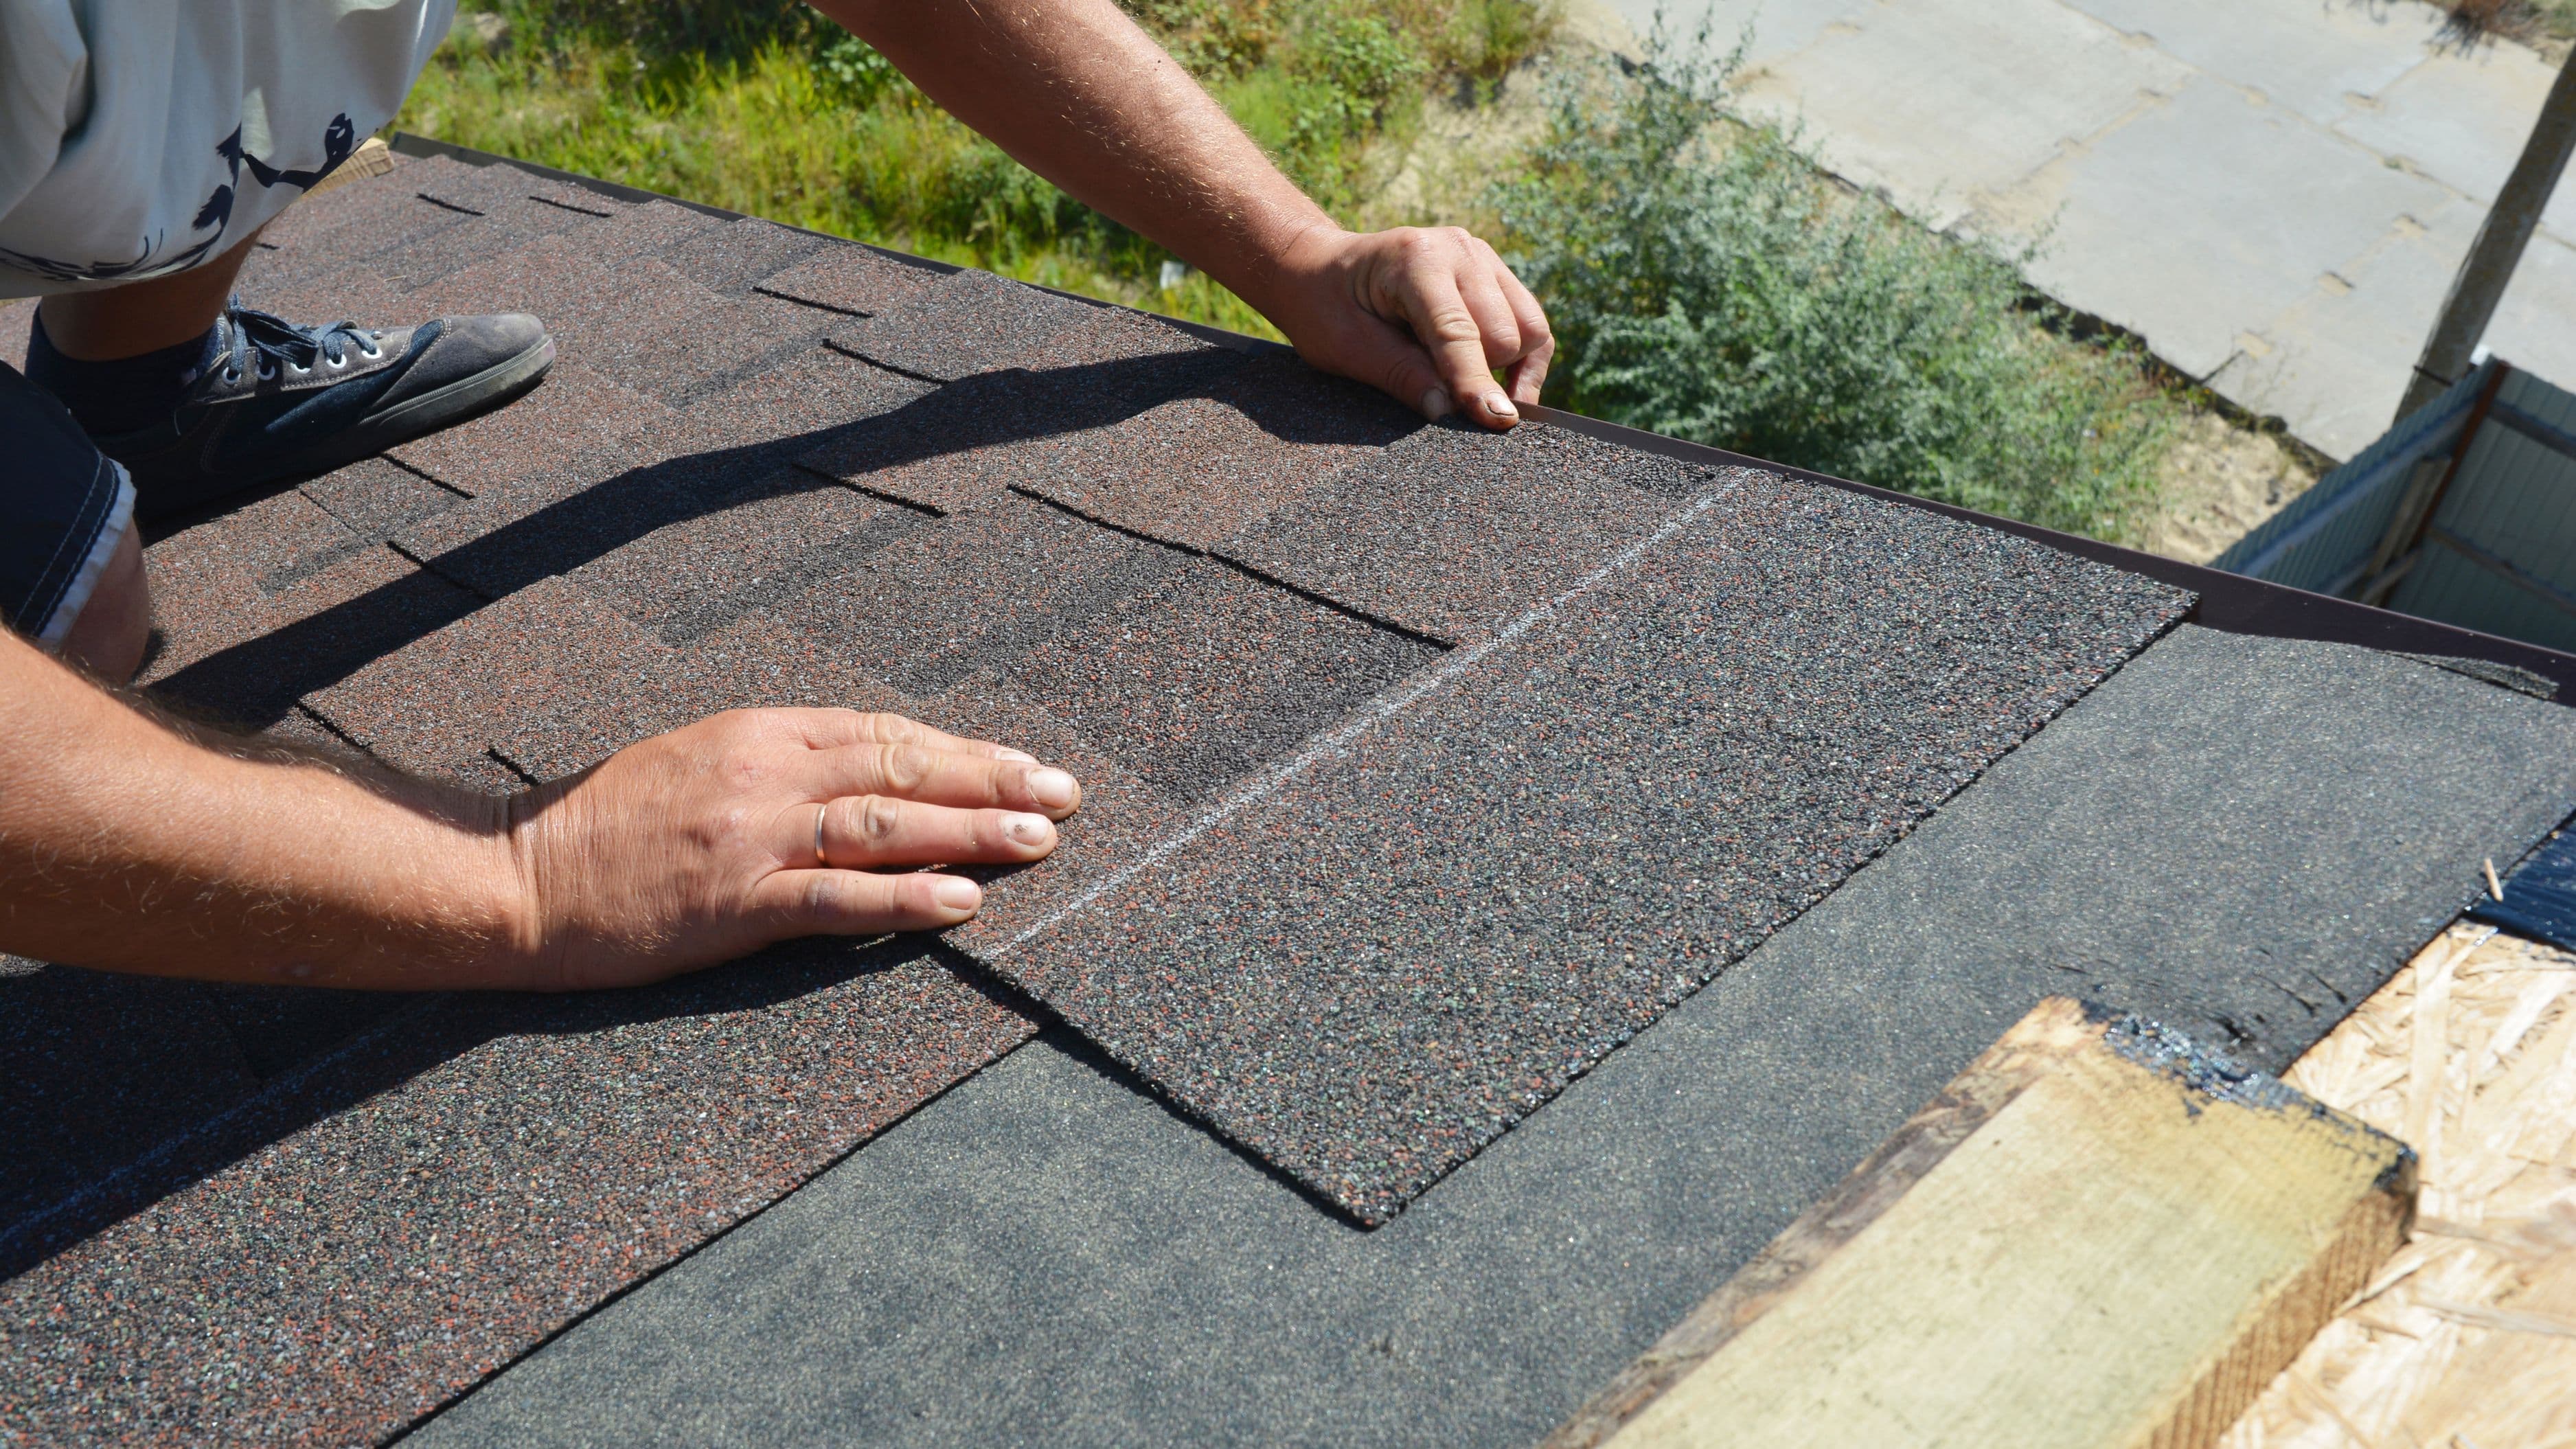
Start with a thorough inspection of the membrane. Look for any blistering, seams that are lifting, ponding water marks, or soft spots that might indicate damage beneath. Repair any issues before installing anything on top. If the membrane is in good shape, clean the surface of debris and check that drains and scuppers are fully clear — water management is critical when you're adding a system that holds moisture.
If your roof currently has a gravel ballast layer, that gravel will need to come off before installation. It adds dead weight without contributing to your green roof system, and it makes proper layer installation impossible. This is usually the most labor-intensive part of the prep process on older flat roofs.
Most extensive green roof systems do not require you to bond the root barrier or drainage layer to the existing membrane — they're typically held in place by the weight of the growing media above them. However, you should follow the manufacturer's specific instructions for whatever system you're using, as edge detailing and drain protection are where most installation errors occur.
Step 3: Install Edge Retention and Drain Protection
Before any growing media or trays go down, address the perimeter and drains. These two details determine whether your green roof functions properly over the long term.
Edge retention keeps growing media from migrating to roof edges, clogging scuppers, and creating uneven weight distribution. On a modular tray system, the trays themselves often handle this — they're sized to stop before the roof edge, leaving a gravel border or clear zone around the perimeter. On a built-up system, install a low-profile aluminum or galvanized steel edge rail around the perimeter of the green roof zone, set back 6–12 inches from the roof edge.
Drain protection is equally important. Plant roots, growing media particles, and debris will find their way to roof drains if there's nothing stopping them. Install a drain filter cup or sediment basket around each drain before any media goes down, and plan for a 12–18 inch clear gravel zone around each drain so that water always has an unobstructed path to exit the roof.
Step 4: Lay the Growing System
For a modular tray system, this step is straightforward: set the trays in place starting from one corner, working in rows, ensuring each tray is level and properly interlocked or butted against adjacent trays. Leave the planned clear zones around drains and edges. If trays arrive pre-planted, handle them carefully to avoid disturbing established root systems.
For a built-up system, install layers in sequence. Root barrier first (typically a 10–20 mil polyethylene or HDPE sheet, overlapping seams by at least 6 inches). Then the drainage layer — a dimpled membrane with dimples facing down, which creates air space and allows water to flow through to the drain protection layer. Then a geotextile filter fabric on top of the drainage layer to keep growing media from clogging the drainage. Then the growing media — spread evenly to your target depth (3–4 inches is standard for sedum-based extensive roofs), working in manageable batches to distribute weight gradually rather than piling everything in one area. Finally, your plants or pre-seeded mats.
Step 5: Plant Selection and Establishment
The plant selection for a lightweight extensive green roof is more constrained than most homeowners expect — but that constraint is manageable and the right plants look genuinely attractive once established.
Sedum species are the workhorses of extensive green roofs for good reason: they're succulent, drought-tolerant, cold-hardy in most climates, root shallowly, and cover ground effectively in a 2–4 inch growing medium. Varieties like Sedum spurium, S. reflexum, S. acre, and S. album work across a wide range of climates. Sedum mats — pre-grown sedum on a biodegradable carrier — are the fastest path to full coverage and are available through green roof suppliers. They cost more than plug plants but eliminate the 1–2 season wait for ground coverage and reduce erosion risk on the newly installed media.
Other plants that work in lightweight extensive systems include some ornamental grasses, various native sedums and stonecrops native to your region, and some species of dianthus or thyme. Avoid anything with deep or aggressive root systems — woody plants, most perennial grasses over 12 inches tall, and anything with known root intrusion history.
The establishment period is the most demanding phase. For the first 6–8 weeks after planting, water regularly (once or twice a week in dry weather) until plants are visibly rooted and showing new growth. After that, a properly selected extensive green roof in most temperate climates is largely self-sustaining — the plants are chosen specifically because they thrive under the low-water, high-sun, high-wind conditions that characterize a rooftop environment.
Costs and Realistic Expectations
For a typical flat garage roof or porch roof in the 100–300 square foot range, here's a realistic cost breakdown for a DIY modular tray installation:
Tray system (pre-planted): $3,000–$8,000 depending on supplier and square footage. Growing media top-dress if needed: $200–$600. Edge retention and drain protection materials: $300–$600. Root barrier and drainage layer if adding under trays: $400–$900. Structural assessment (recommended): $200–$500. Total: roughly $4,000–$10,000 for a modest garage roof project, DIY installed.
For larger areas or a built-up system, budget $10,000–$20,000+ for 500–1,000 square feet with professional installation. DIY built-up systems on large areas are achievable but represent a full weekend project with careful material sequencing.
The payback isn't primarily financial — green roofs extend membrane life significantly (often doubling it by protecting the membrane from UV exposure and thermal cycling), reduce stormwater runoff, lower rooftop surface temperatures in summer, and provide insulation value. In some municipalities, green roof installations qualify for stormwater fee reductions or rebates. Check with your local utility or municipal stormwater authority before installation.
Common Mistakes to Avoid
Skipping the load assessment. Even if your roof "looks solid," don't skip a professional review before a full installation. Saturated growing media is heavier than it looks, and the cumulative load across a large area is real.
Choosing the wrong plants. The temptation to add more interesting plants — flowers, grasses, herbs — is understandable, but anything that doesn't tolerate shallow media, drought, and full rooftop sun exposure will fail and leave bare patches in your growing medium that invite erosion and weed establishment.
Neglecting edge and drain detailing. Most green roof problems trace back to inadequate edge retention letting media migrate or clogged drains causing ponding. These details take an hour to do correctly and save years of maintenance problems.
Installing over a damaged membrane. A green roof doesn't fix a roof — it covers it. Any membrane failure under an installed green roof system is far more expensive to diagnose and repair than if it had been addressed beforehand.
FAQ
Do I need a permit to install a green roof? In many jurisdictions, yes — particularly if the installation involves changes to the roofline, drainage systems, or load-bearing elements. Even for a modular tray system, check with your local building department. A permit protects you if you ever sell the home or need to make an insurance claim.
How much maintenance does an extensive green roof require? Once established, minimal. Twice-yearly inspections (spring and fall), weeding out any volunteers that might establish, checking drain covers, and occasional watering during extended dry spells in the first couple of seasons. Established sedum roofs are genuinely low-maintenance compared to traditional landscaping.
Can I install a green roof on a pitched residential roof? A standard sedum extensive system works up to roughly a 3:12 to 5:12 pitch with retention systems. Beyond that, specialized retention profiles are required, and the project moves outside DIY territory. Flat and low-slope roofs are the practical sweet spot for homeowner-installed systems.
Will a green roof void my roofing warranty? Possibly. Check your existing membrane warranty before installation — some warranties are voided by anything installed on top of the membrane without manufacturer approval. Some green roof membrane products are specifically warrantied for green roof applications, which is worth considering if your roof membrane needs replacement anyway.
How long does a green roof last? A properly installed extensive green roof with a high-quality waterproof membrane underneath typically lasts 40–50 years or more — significantly longer than an unprotected membrane exposed to UV and thermal stress. The membrane is the most expensive component to replace, so protecting it is a major part of the green roof's long-term value proposition.
📚 Sources
Green Roofs for Healthy Cities – Introduction to Green Roofs – https://greenroofs.org/about-green-roofs/introduction-to-green-roofs/
EPA – Using Green Roofs to Reduce Heat Islands – https://www.epa.gov/heatislands/using-green-roofs-reduce-heat-islands
Penn State Extension – Green Roofs – https://extension.psu.edu/green-roofs
Portland Bureau of Environmental Services – Ecoroof Incentive Program – https://www.portland.gov/bes/documents/portland-ecoroof-program/download
This Old House – How to Build a Green Roof – https://www.thisoldhouse.com/roofing/21017371/how-to-build-a-green-roof
American Society of Landscape Architects – Green Roof Resources – https://www.asla.org/greenroofs.aspx