
Why This Matters Before Cold Weather Hits
Once winter arrives, you're stuck living with whatever efficiency gaps your home has. Air leaks, poor insulation, and an inefficient heating system all compound during the coldest months, when your heating system is working hardest and any inefficiency translates directly into higher bills. Addressing these issues now, while the weather is still manageable, means you're not scrambling to fix a drafty window or a struggling furnace in the middle of a cold snap.
Step 1: Seal Air Leaks Around Windows and Doors
This is genuinely the highest-value, lowest-cost place to start. Air leaks around windows, doors, and other openings are one of the most common sources of heat loss in homes, and sealing them is inexpensive compared to almost any other efficiency upgrade on this list. Weatherstripping around door frames and caulk around window frames can be completed in an afternoon and typically costs under $50 in materials for an average home.
Cost level: Low ($20–$75 in materials)
Time: A few hours for most homes
Impact: Noticeable reduction in drafts and heat loss, often one of the highest-impact, lowest-cost improvements available.
Step 2: Check and Upgrade Attic Insulation
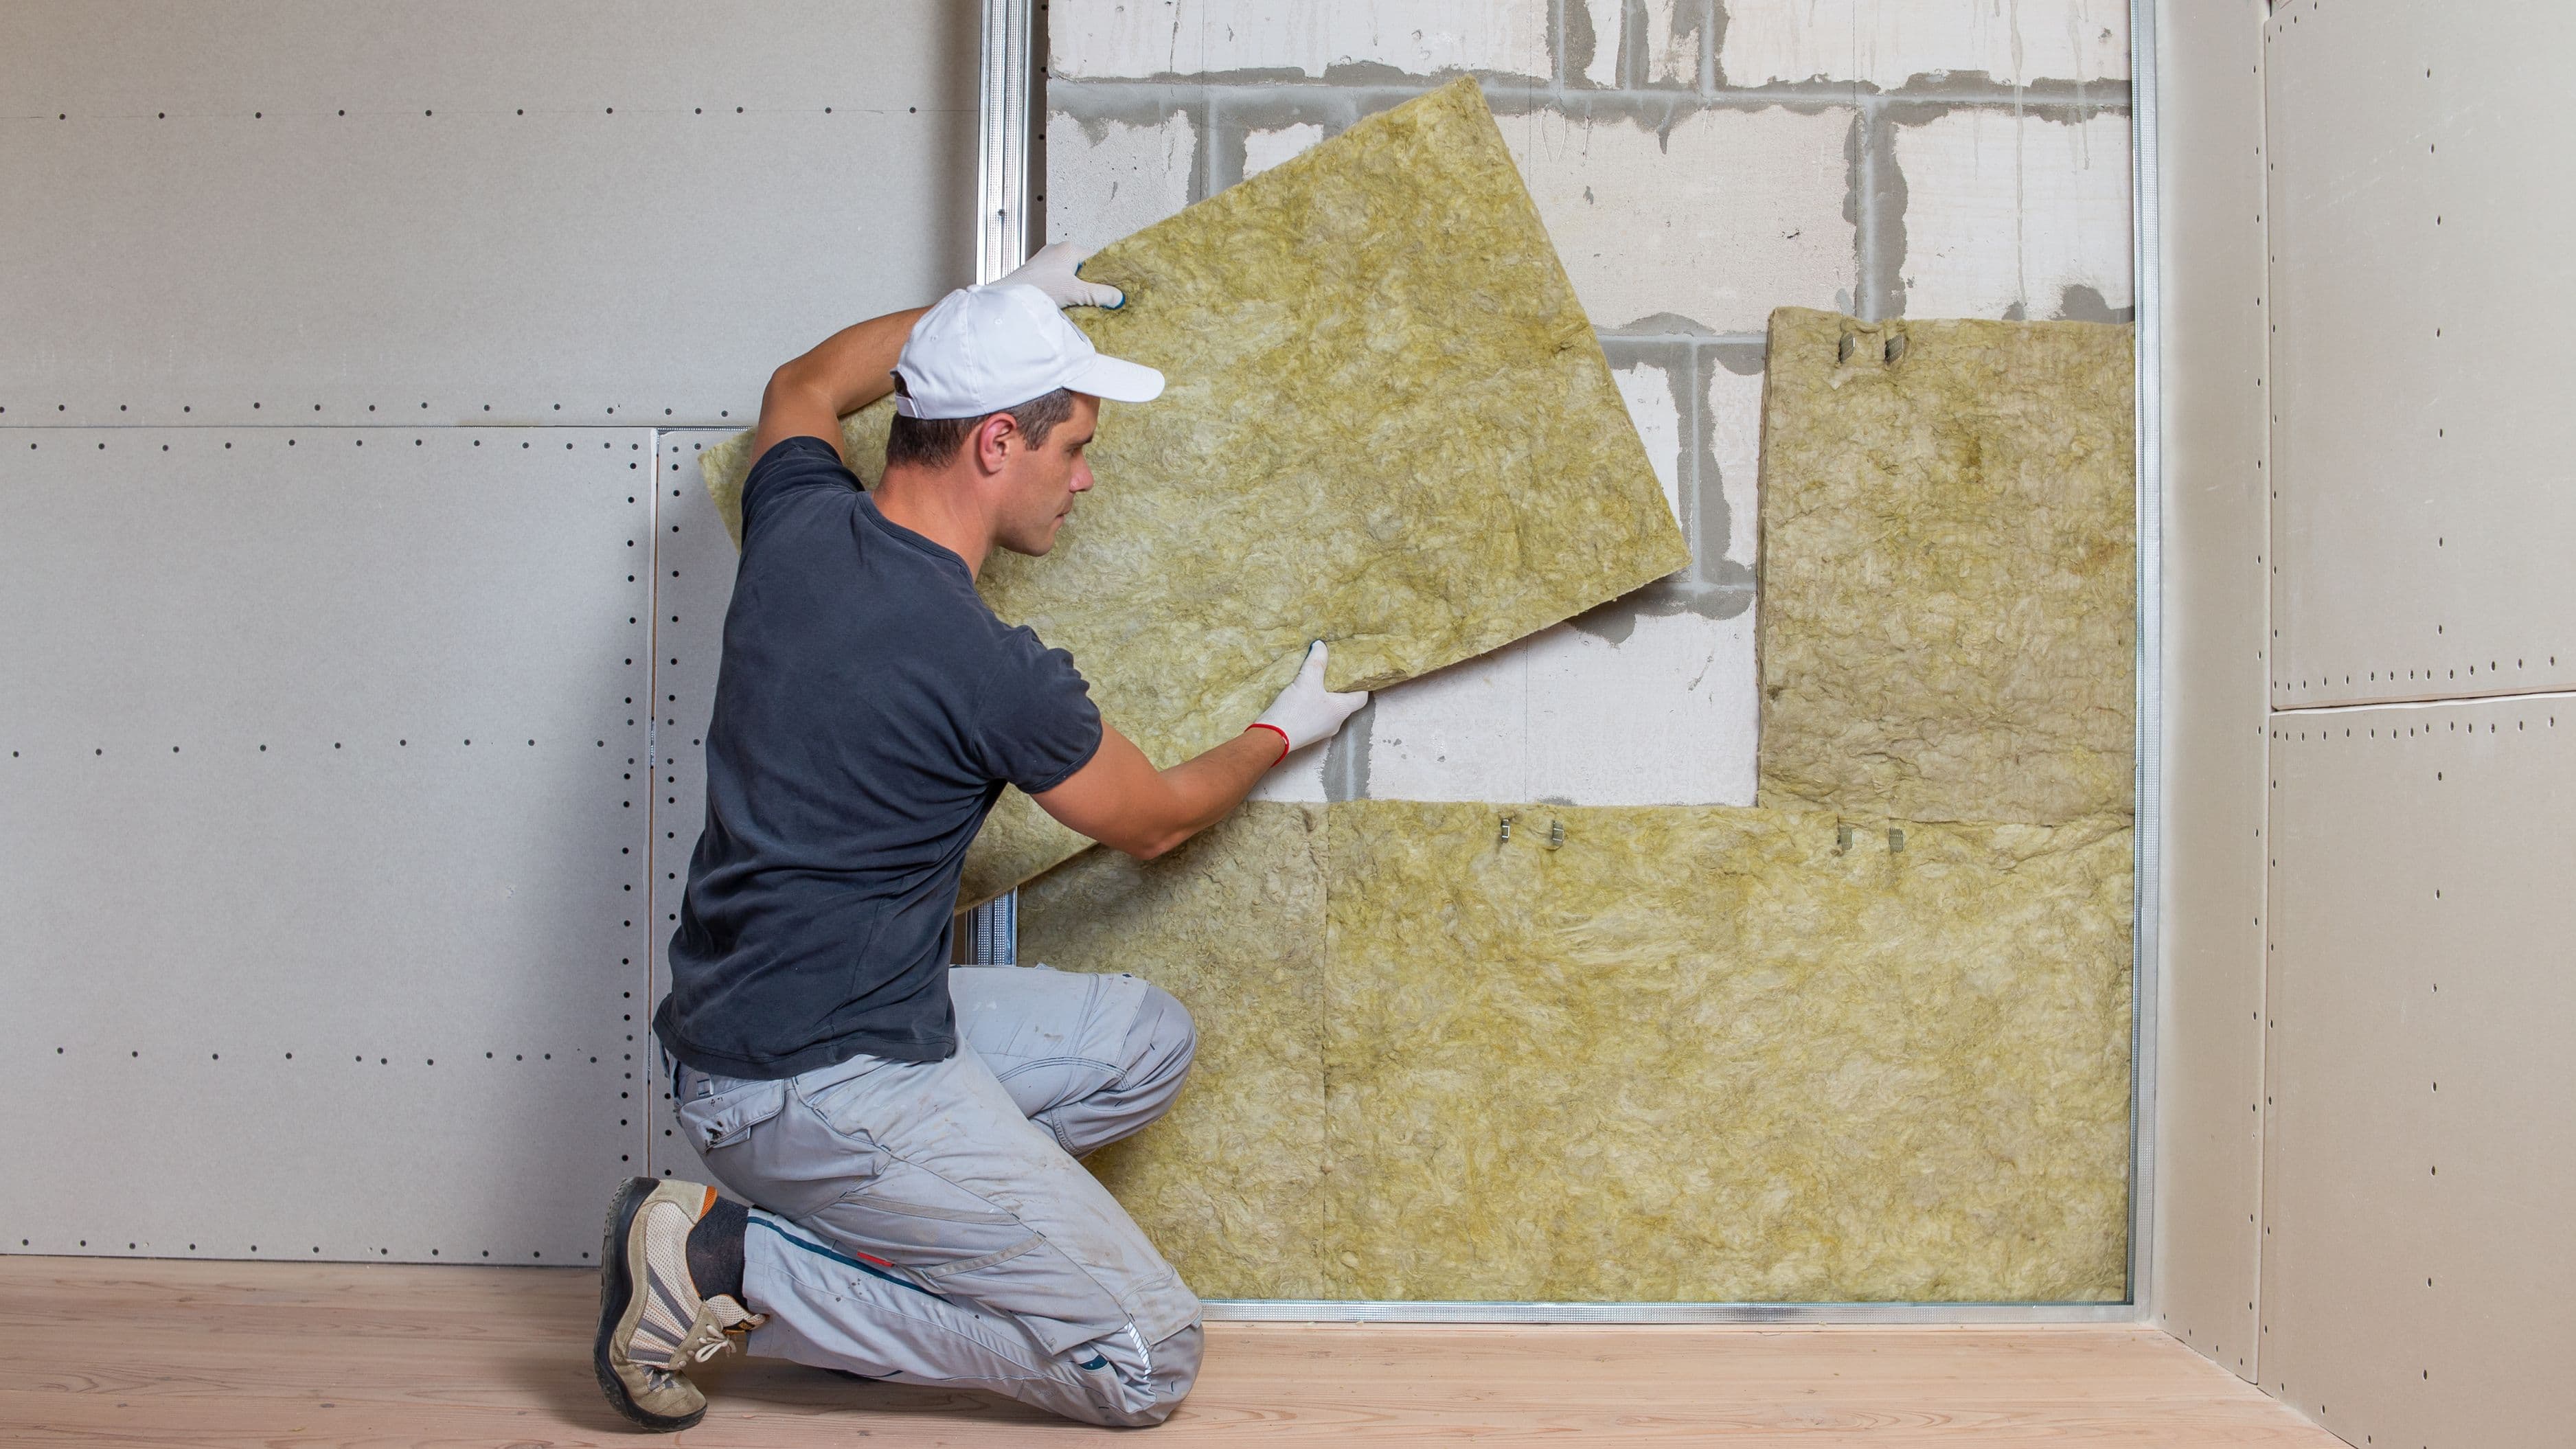
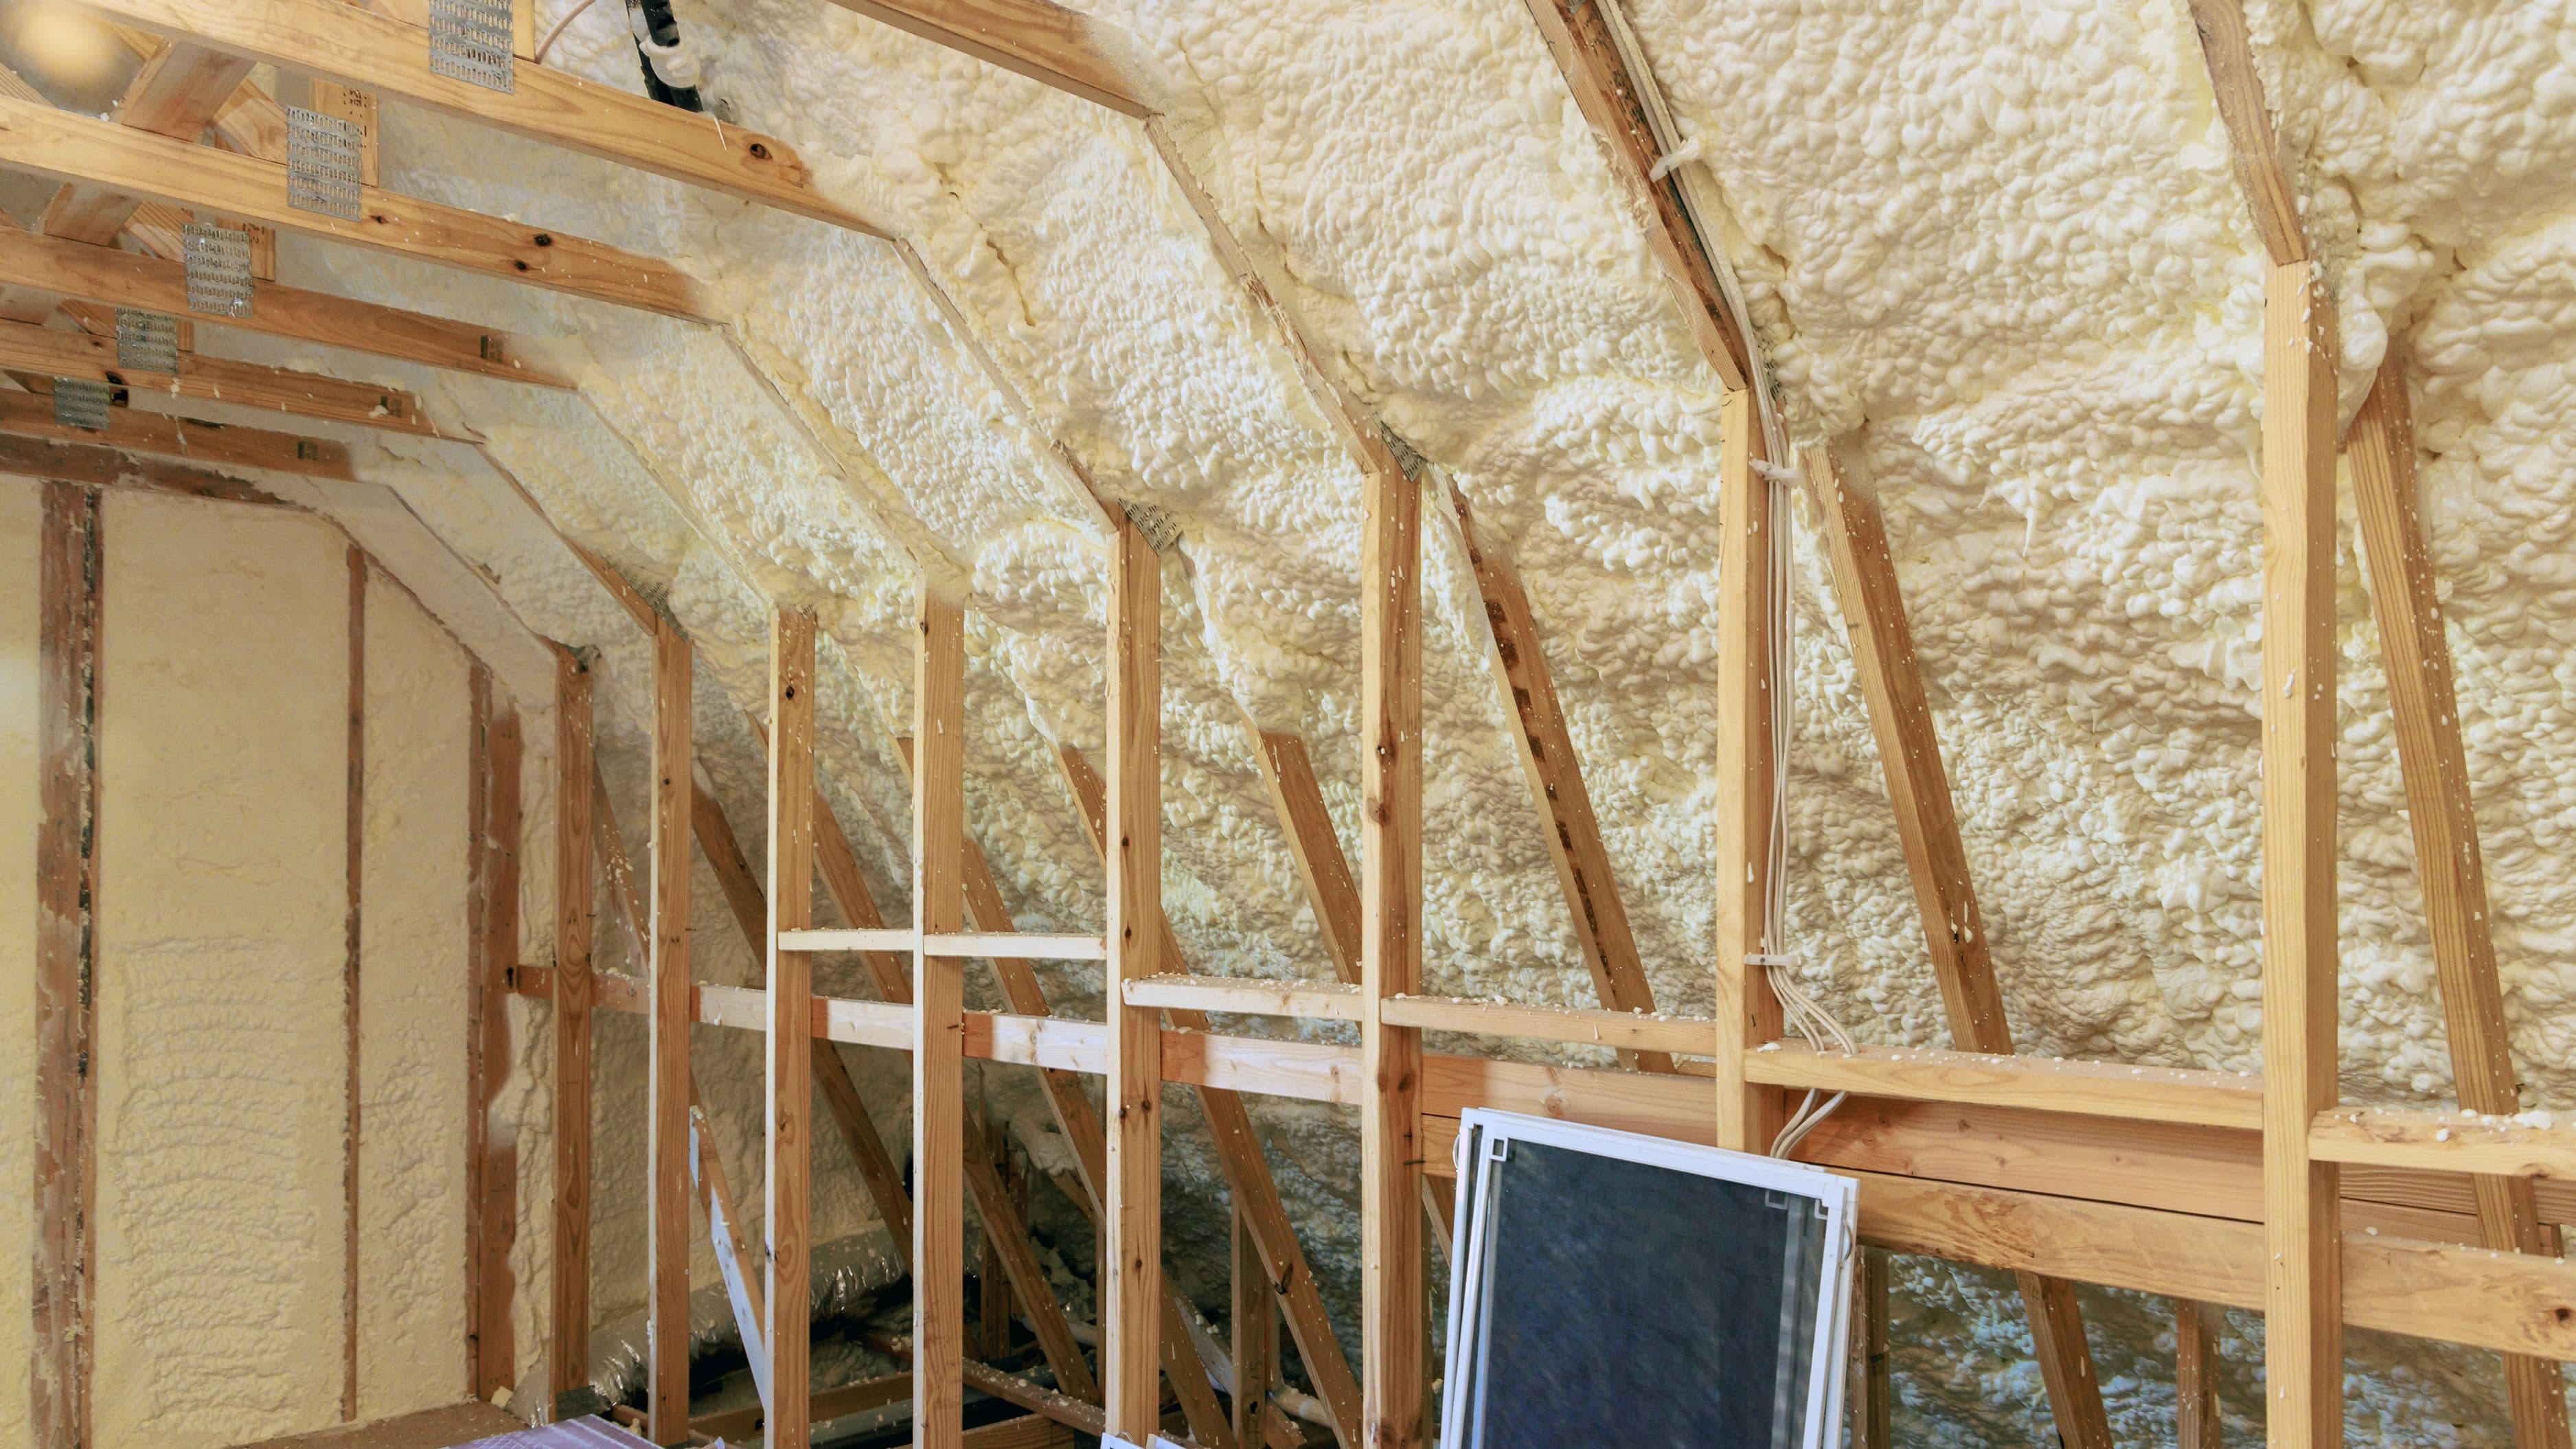
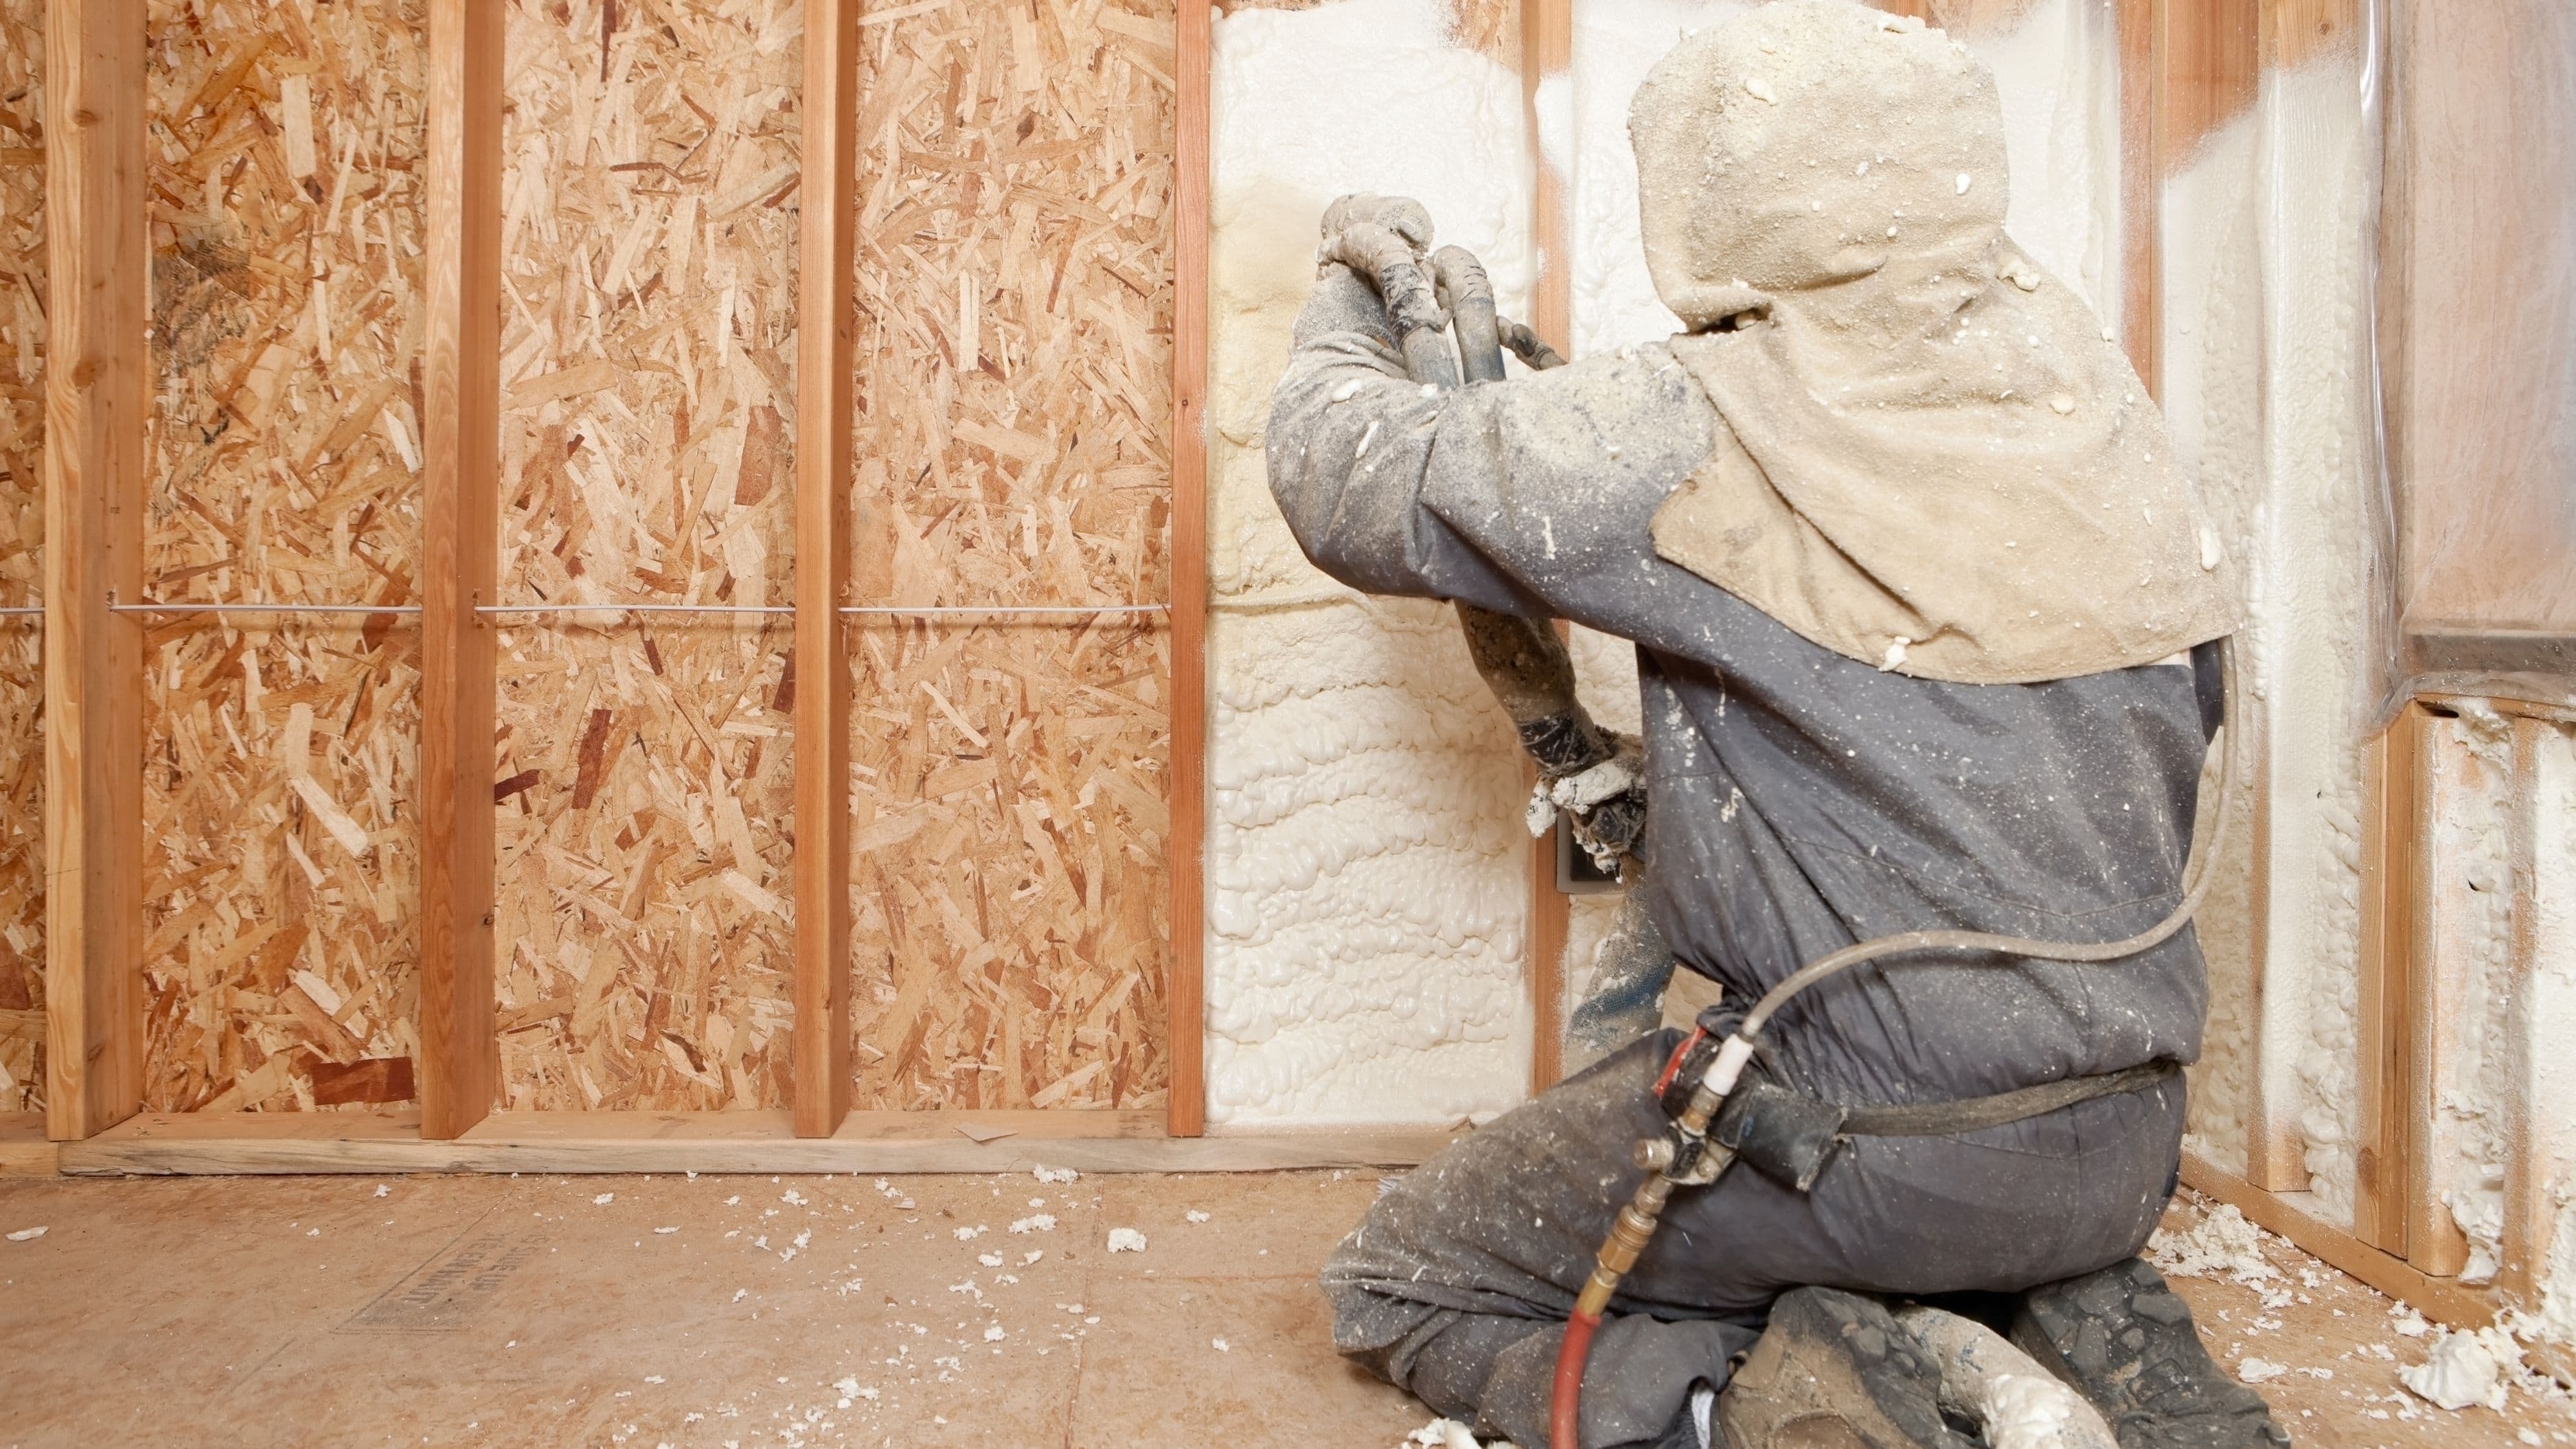
Heat rises, and an under-insulated attic is one of the most significant sources of heat loss in many homes, particularly older ones. If your attic insulation looks thin, compressed, or uneven, topping it up to recommended levels for your climate zone can make a measurable difference in how much heat escapes through your roof.
Cost level: Medium ($1–$3 per square foot for materials if doing it yourself, higher for professional installation)
Time: A full day for most attics if doing it yourself
Impact: Significant reduction in heat loss, particularly in homes with insulation that hasn't been updated in years.
Step 3: Have Your Heating System Serviced
A furnace or heat pump that hasn't been serviced in a year or more often runs less efficiently than it should, sometimes without any obvious signs until your energy bill arrives. A professional tune-up before winter – checking filters, connections, and overall system performance – helps ensure your system is running at its intended efficiency rather than working harder than necessary to produce the same heat output.
Cost level: Medium ($100–$200 for a professional service call)
Time: Typically 1–2 hours for a standard tune-up
Impact: Ensures your system operates at its designed efficiency, and can catch a developing issue before it turns into a mid-winter breakdown.
Step 4: Install a Programmable or Smart Thermostat
If you're still manually adjusting a basic thermostat, a programmable or smart thermostat lets you automatically lower the temperature while you're asleep or away, then bring it back up before you wake or return home. This removes the reliance on remembering to adjust it yourself, and many models allow scheduling based on your actual routine rather than a guess.
Cost level: Low to Medium ($25–$250 depending on features)
Time: Under an hour for most installations
Impact: Meaningful savings over a full winter season by avoiding heating an empty home at full temperature unnecessarily.
Step 5: Add Door Sweeps and Draft Stoppers
For exterior doors with a visible gap at the bottom, a simple door sweep or draft stopper closes off a surprisingly significant source of cold air infiltration. This is one of the smallest investments on this list but addresses a source of heat loss that's easy to overlook since it's low to the ground and not always obvious during a quick walkthrough.
Cost level: Low (under $30 per door)
Time: 15–30 minutes per door
Impact: Small individually, but meaningful when combined with sealing other air leaks throughout the home.
Step 6: Reverse Ceiling Fan Direction
Most ceiling fans have a switch to reverse their rotation direction, and running them clockwise at a low speed during winter pushes warm air (which naturally rises) back down into the room instead of letting it stay trapped near the ceiling. This is a genuinely free adjustment that takes a minute per fan.
Cost level: Free
Time: A minute or two per fan
Impact: Modest but noticeable improvement in how evenly heat distributes through a room, particularly in spaces with high ceilings.
What to Avoid
Don't assume a single upgrade, like a new thermostat, will offset a home with significant unsealed air leaks or inadequate insulation – these issues compound each other, and addressing only one while ignoring others leaves meaningful savings on the table. Avoid delaying a heating system inspection until you notice a problem, since a system that's struggling often does so gradually, quietly increasing your bill before eventually failing outright during the coldest part of the season. It's also worth avoiding overly aggressive DIY insulation work in areas with existing moisture or ventilation issues without addressing those problems first, since trapping moisture behind new insulation can create bigger issues than the one you're trying to solve.
Realistic Expectations
These upgrades, taken together, typically result in a noticeable reduction in winter heating costs, though the exact percentage varies significantly based on your home's age, existing insulation levels, and climate. Sealing air leaks and servicing your heating system tend to show the fastest, most noticeable impact, while attic insulation improvements often deliver the largest long-term savings but require a bigger upfront time or cost investment. Expect to see the full benefit reflected over a complete winter season rather than immediately after completing the work.
📚 Sources
U.S. Department of Energy – Weatherize Your Home – https://www.energy.gov/energysaver/weatherize
ENERGY STAR – Home Sealing and Insulation Guide – https://www.energystar.gov/campaign/seal_insulate