The good news is that most of the decisions that drive cost and complexity can be answered before the electrician arrives. Knowing your panel capacity, your garage layout, your car's charging speed, and your permit requirements upfront means a faster quote, fewer surprises, and a better outcome. Here's what to gather and decide before you make that call.
Understand the Difference Between Level 1 and Level 2 Charging
Before anything else, it helps to understand what you're actually installing. Level 1 charging uses a standard 120-volt outlet – the kind you already have in your garage – and delivers about 3 to 5 miles of range per hour of charging. For a commute under 30 miles a day, Level 1 is technically adequate if you charge every night, but it leaves almost no margin. Come home with a depleted battery after a longer drive and you could be waiting 30+ hours for a full charge.
Level 2 charging runs on a 240-volt circuit – the same voltage as your dryer or electric range – and delivers 15 to 30 miles of range per hour, depending on the charger and your car's onboard charging capacity. Most EVs pair naturally with a 48-amp Level 2 charger, which adds roughly 200–250 miles overnight. This is what nearly every EV owner installs for home use, and it's what this guide addresses.
The hardware itself – the charger unit, also called an EVSE (Electric Vehicle Supply Equipment) – typically costs $200–$600 for a quality unit. The installation cost varies much more widely depending on your home's electrical situation, which is why the prep work below matters.
Step 1: Locate and Assess Your Electrical Panel
Your electrical panel – the gray or black metal box in your garage, utility room, or basement – is the starting point for everything. Open it up and look at three things:
Total amperage: Most modern homes have either a 100-amp or 200-amp service. Look for the large main breaker at the top of the panel and check its rating. A Level 2 EV charger on a dedicated 50-amp circuit (for a 40-amp charger, which is standard) draws significant power. On a 100-amp panel that's already loaded with HVAC, electric appliances, and other circuits, adding a 50-amp breaker may not be feasible without a panel upgrade. On a 200-amp panel with available capacity, it's typically straightforward.
Available breaker slots: Count how many blank or open spaces exist in your panel. A dedicated 240-volt circuit for the charger needs one double-pole breaker slot (which takes up two adjacent spaces). If your panel is full, the electrician will need to either do a load calculation to confirm whether a tandem breaker is possible, or recommend a panel upgrade or a sub-panel addition.
Panel age and condition: If your panel is more than 30–40 years old or shows signs of rust, corrosion, or crowding, the EV charger installation may surface issues that need addressing regardless. It's better to know this before getting a quote than after the electrician opens the panel.
You don't need to be an electrician to do this assessment – you're just gathering information, not making any changes. Take photos of your panel's interior, note the main breaker amperage, and count the available slots. This information will be directly useful in your electrician consultation.
Estimated panel upgrade cost (if needed): $1,500–$4,000 depending on your service size and local labor rates.
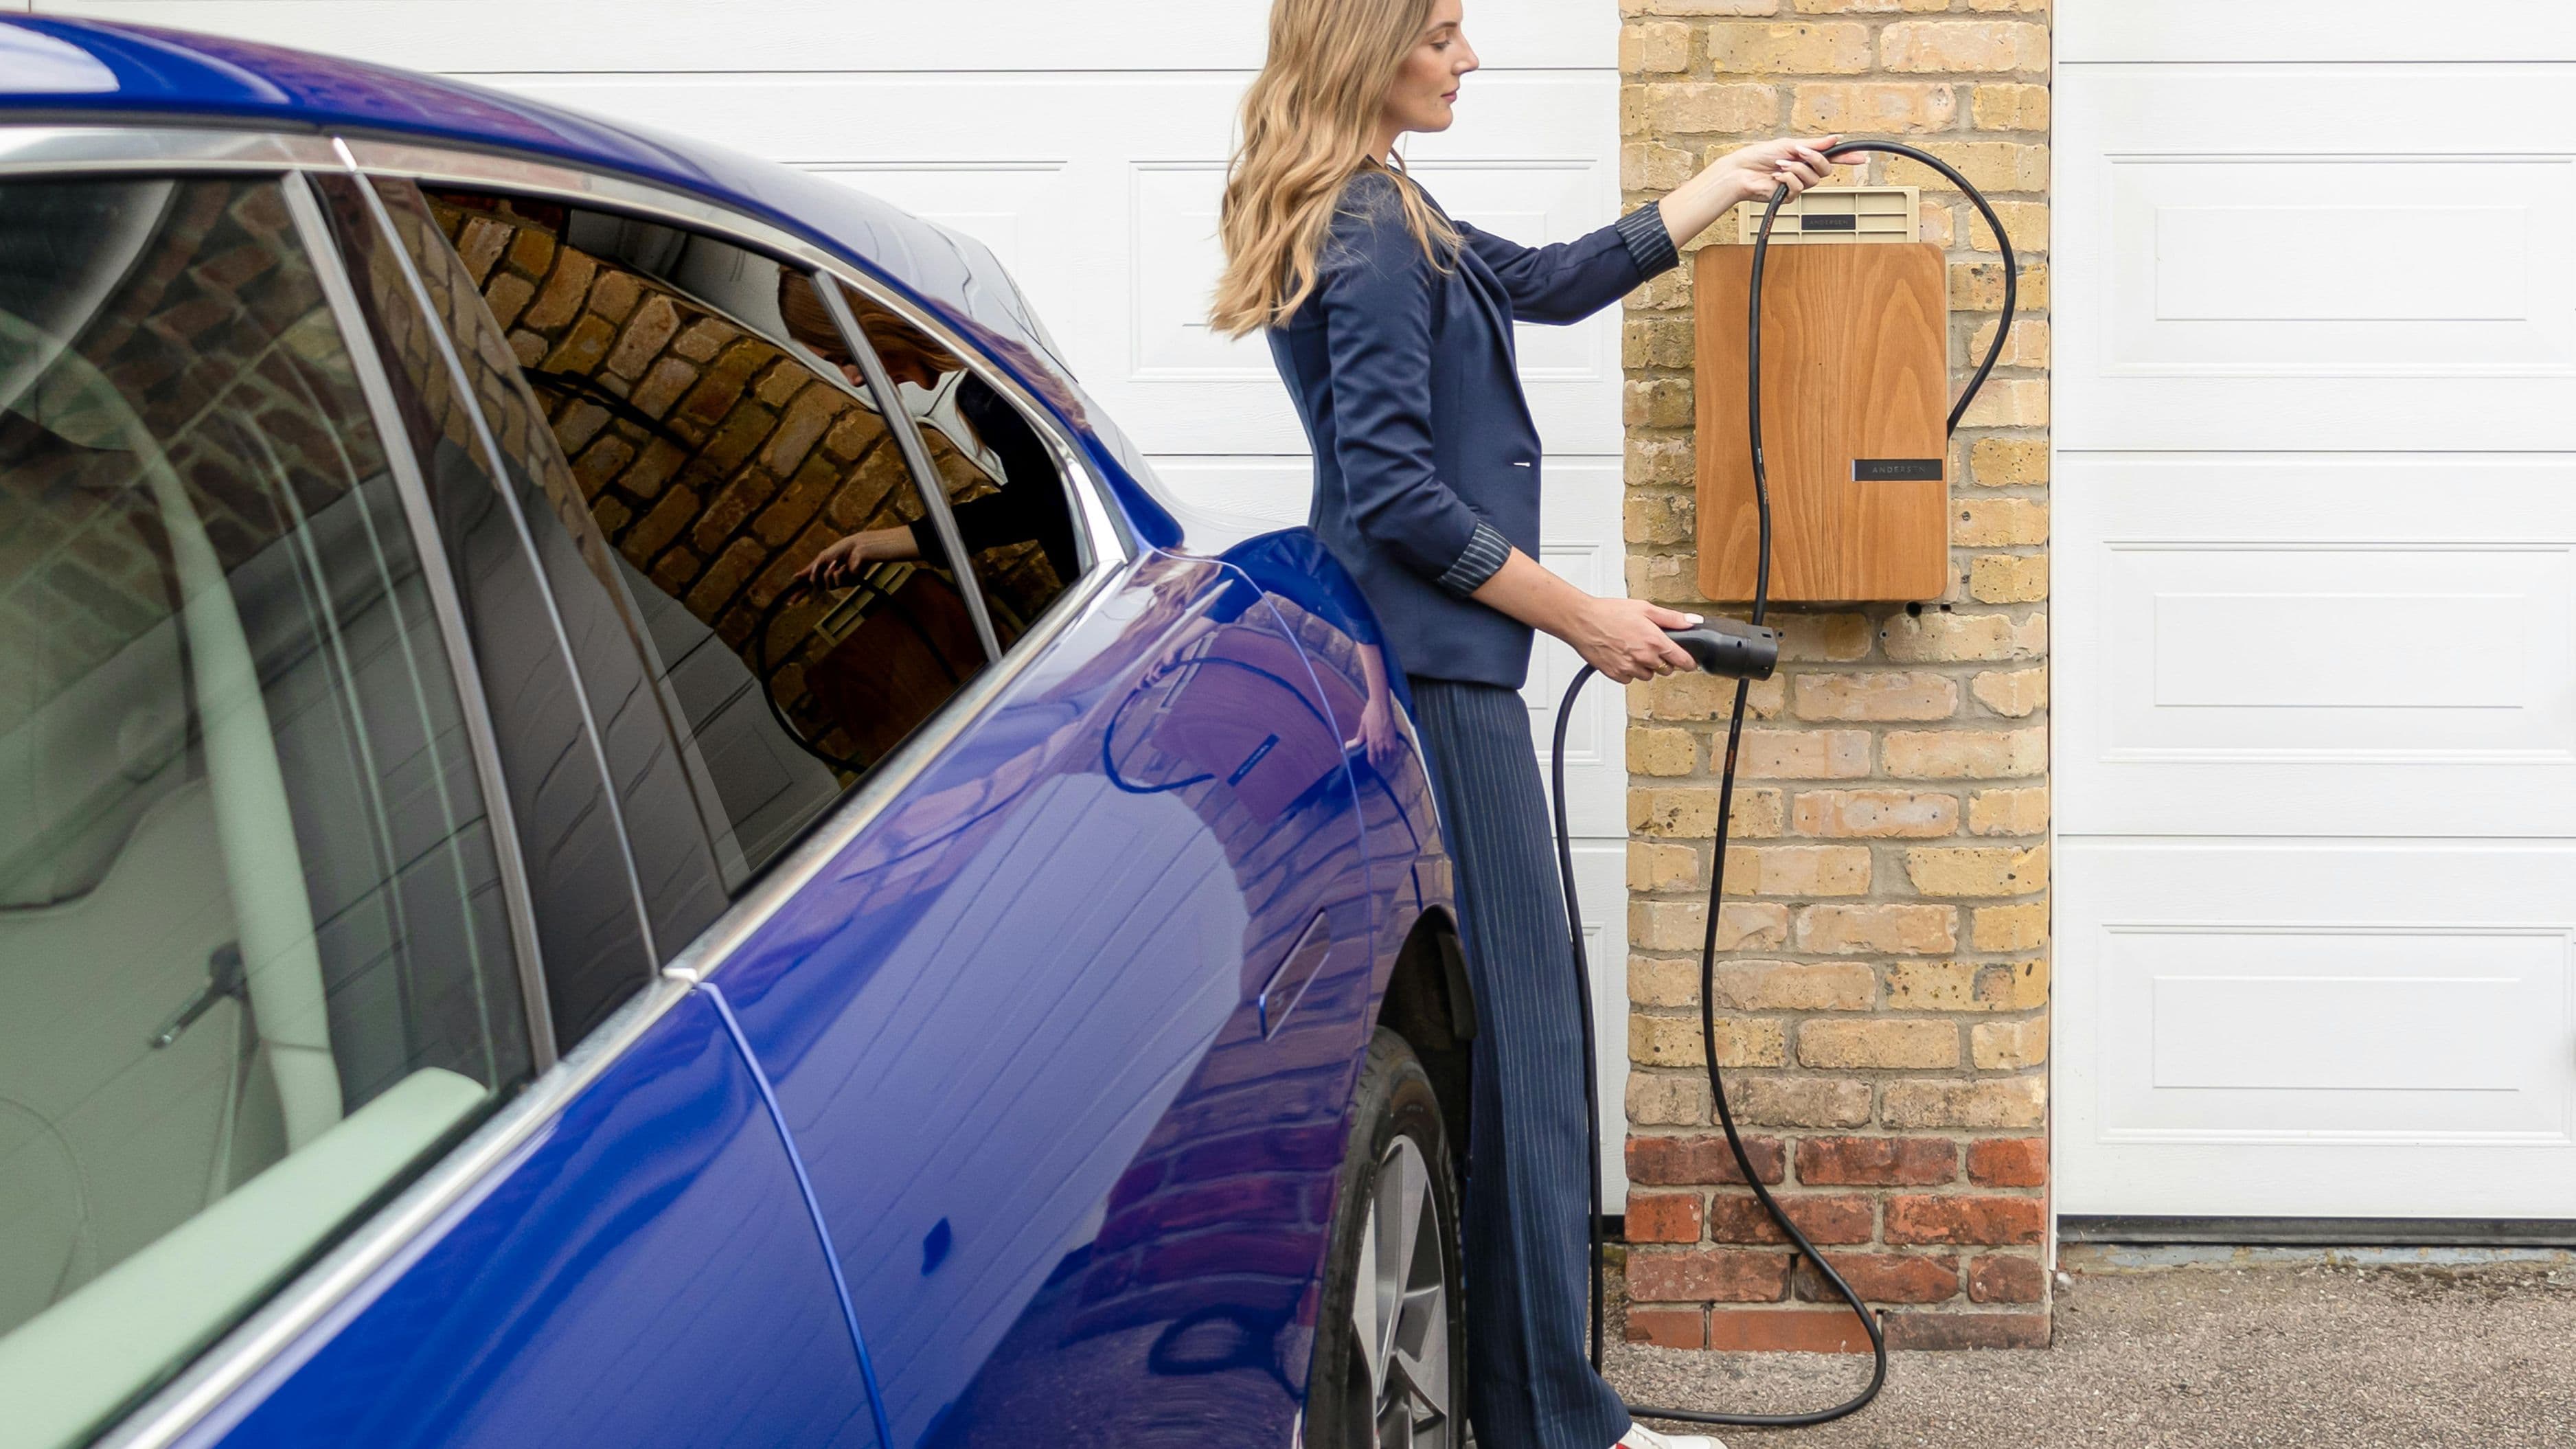
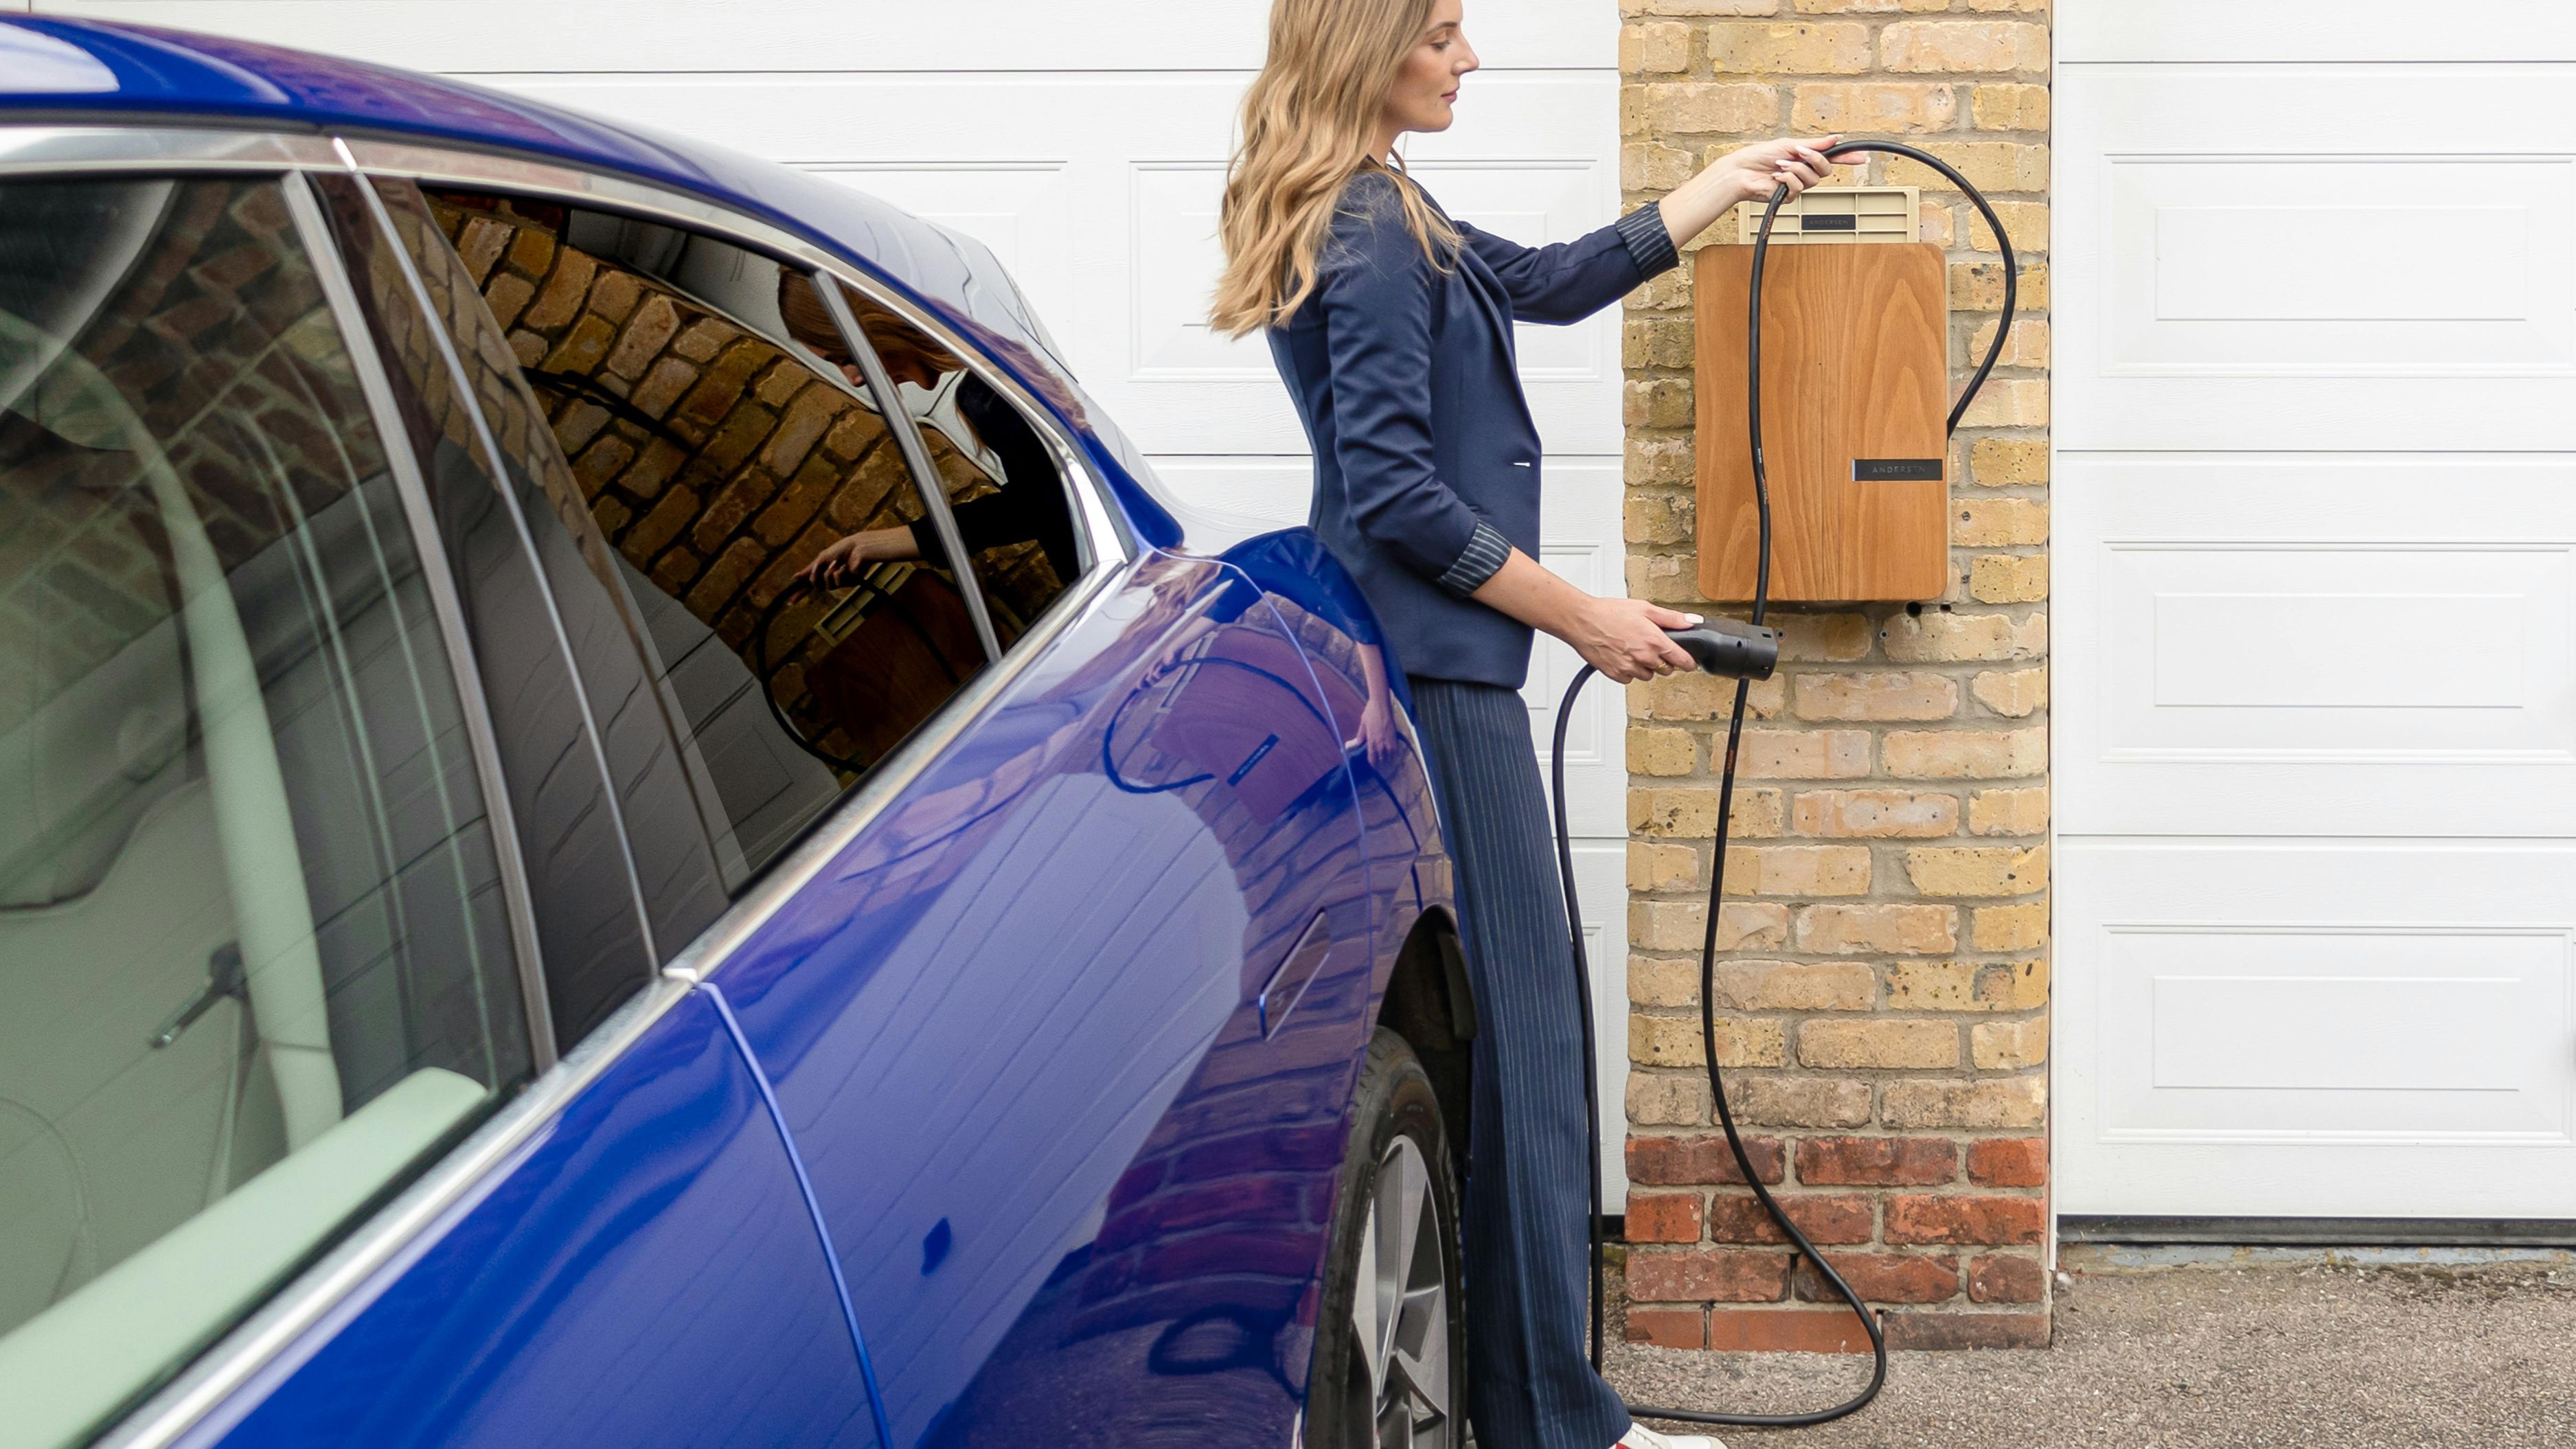
Step 2: Decide Where the Charger Will Be Mounted
The distance between your electrical panel and the charger location is one of the most significant cost variables in the installation. Every additional foot of wire run adds material and labor cost, and running wire through finished walls, around obstacles, or underground to a detached garage multiplies the complexity substantially.
Think through your intended charger location with these questions in mind:
Is your garage attached or detached? An attached garage with the panel on the same wall as where you park is the simplest and least expensive scenario – often a short wire run through the wall or along exposed framing. A detached garage requires either an underground conduit run from the main house or a sub-panel in the garage, which adds meaningful cost.
Where do you park relative to the panel? In a two-car garage, the panel is often on one side. If you park on the opposite side, the wire run is longer. Measure the approximate distance from your panel to where you'd mount the charger – most electricians charge based on wire footage plus labor.
Will the wire run be exposed or concealed? In an unfinished garage with exposed framing and studs, running conduit or cable is significantly faster and cheaper than running it through finished drywall. If the garage is drywalled, the electrician may need to cut, fish wire through walls, and patch – or run conduit along the surface, which is functional but less clean.
Is the mounting location near an exterior wall? If you sometimes charge outdoors (for a second vehicle or for guests), a NEMA 14-50 outdoor outlet near the charger can be added at minimal extra cost while the electrician is already working.
Note the approximate mounting location, take photos of the garage interior showing the panel position and parking layout, and share these with the electrician when you call. This context allows them to give a more accurate quote without a site visit in some cases.
Step 3: Know Your Car's Charging Capacity
This step is often skipped, but it matters for equipment selection. Not every EV can use the full output of a high-powered Level 2 charger. The car's onboard AC charger – not the wall unit – is the actual limiting factor in charging speed. Here's what to check:
Look up your specific vehicle's onboard charger capacity in kilowatts (kW). A vehicle with an 11.5 kW onboard charger (like many current Tesla and Ford models) can accept the full output of a 48-amp charger. A vehicle with a 7.2 kW onboard charger (common in older EVs and many PHEVs) won't benefit from anything more powerful than a 32-amp charger.
Buying a 48-amp charger for a car that can only accept 7.2 kW isn't harmful, but you're paying for capacity you can't use and may be paying for a larger circuit than necessary. A 32-amp charger on a 40-amp circuit is perfectly adequate for many vehicles and may be meaningfully cheaper to install.
If you plan to own multiple EVs or upgrade your vehicle in the future, installing a 50-amp circuit now (even if you currently use a 32-amp charger) is a sensible future-proofing move. The marginal cost of the larger circuit during installation is far less than upgrading later.
Step 4: Check Permit Requirements in Your Municipality
An EV charger installation that requires a new 240-volt circuit almost always requires an electrical permit in the US. Some homeowners try to skip this step – and it creates real problems down the line. An unpermitted electrical installation can complicate your home sale, create liability issues if it causes a fire, and void your homeowner's insurance in some cases.
Before calling your electrician, check your local jurisdiction's permit requirements. Most city or county building departments have permit information on their websites. Ask your electrician whether they pull permits as standard practice – any licensed electrician doing above-board work should. If an electrician offers to skip the permit to save money, that's a red flag.
Also check whether your utility company offers any rebates or rate programs for EV charging. Many US utilities offer rebates on Level 2 charger hardware ($100–$500 in many programs) or time-of-use rate plans that make overnight charging significantly cheaper than daytime rates. The federal Alternative Fuel Infrastructure Tax Credit (30C) may also cover 30% of installation costs up to $1,000 for residential installations – confirm current eligibility with a tax professional, as the terms have changed with recent legislation.
Step 5: Choose Your Charger Before the Electrician Comes
You don't have to buy the charger before installation, but having a specific unit in mind allows the electrician to confirm compatibility and ensure the circuit is sized correctly. The main decisions:
Hardwired vs. plug-in: Hardwired chargers are permanently wired into the circuit and are generally considered slightly more reliable. Plug-in chargers terminate in a NEMA 14-50 outlet on the wall and plug in like an appliance, making them portable and easier to take if you move. Either works; plug-in is more flexible, hardwired is cleaner.
Smart features: Smart chargers connect to Wi-Fi and allow you to schedule charging during off-peak utility hours, track energy usage, and integrate with vehicle apps or smart home systems. If your utility has time-of-use rates, a smart charger can save meaningful money over time by automatically shifting charging to cheaper overnight windows. The ChargePoint Home Flex, Emporia Vue, and Wallbox Pulsar Plus are well-regarded options across different price points.
Amperage: As discussed in Step 3, match this to your vehicle's onboard charger capacity with an eye to future-proofing. The 48-amp ChargePoint Home Flex is a popular choice because it's adjustable from 16 to 50 amps and works well with both current and future vehicles.
Estimated charger hardware cost: $200–$600
Estimated total installation cost (charger + labor + materials, no panel upgrade): $500–$1,800
Common Mistakes to Avoid
Assuming your panel can handle it without checking. A 100-amp panel that's running a heat pump, electric water heater, and electric range may have very little remaining capacity. Skipping the panel assessment leads to surprise upgrade costs or a project that stalls mid-quote.
Getting a single quote. EV charger installation pricing varies significantly between electricians. Getting two or three quotes for the same scope of work is straightforward and commonly saves $200–$600.
Choosing the cheapest charger without checking compatibility. Some budget chargers use proprietary connectors or apps that become unsupported within a few years. Sticking to established brands with strong track records (ChargePoint, Wallbox, Emporia, Enel X/JuiceBox) protects your investment.
Ignoring rebates until after installation. Some utility rebate programs require pre-approval before installation. Check your utility's website before scheduling the work to confirm whether any steps need to happen in advance.
Installing the charger too close to the floor in a flood-prone area. Mount at least 18–24 inches above the highest expected water level in your garage. This is a simple and free decision that protects expensive equipment.
FAQ
Do I need a permit to install a Level 2 EV charger at home? In almost every US municipality, yes. A new 240-volt circuit requires an electrical permit and inspection. The inspector verifies that the work was done correctly and safely. Skip this and you risk insurance, liability, and resale complications.
How long does the installation typically take? A straightforward installation in an attached garage with a nearby panel and available capacity usually takes 2–4 hours. Complex runs through finished walls, detached garages, or panel upgrades can take a full day or longer.
Can I install a Level 2 charger myself? The charger hardware can be a DIY project if you're experienced with electrical work. Running a new 240-volt circuit, installing a breaker, and pulling permits requires licensed electrical work in most jurisdictions. Attempting unlicensed electrical work on a 240-volt circuit carries real safety risk and permit/insurance exposure. The general recommendation is to hire a licensed electrician for the circuit work even if you mount and connect the charger unit yourself.
What if my panel needs an upgrade – is it still worth it? A panel upgrade typically costs $1,500–$4,000, which changes the total project cost substantially. Whether it's worth it depends on whether you also have other capacity needs (future EV, heat pump, etc.) that benefit from the same upgrade. Upgrading from 100-amp to 200-amp service is a home improvement that adds value beyond EV charging and is often worth doing regardless if your panel is older and near capacity.
Will a Level 2 charger increase my electricity bill significantly? Yes, but proportionally to your driving. Charging a typical EV from 20% to 80% costs roughly $3–$8 at average US electricity rates of $0.12–$0.16/kWh. Compared to gasoline costs for equivalent mileage, most EV owners see a net reduction in fuel costs. Charging overnight with a time-of-use rate can reduce charging costs further, sometimes by 30–50%.
📚 Sources
U.S. Department of Energy – Charging at Home: https://www.energy.gov/eere/electricvehicles/charging-home
U.S. Department of Energy – Alternative Fuel Infrastructure Tax Credit (30C): https://afdc.energy.gov/laws/10513
National Electrical Contractors Association – EV Charging Installation Guide: https://www.necanet.org/industry-data/publications/ev-charging
PlugStar – Find EV Charger Rebates by State: https://plugstar.com/resources/incentives
ChargePoint – Home Flex Charger Installation Guide: https://www.chargepoint.com/drivers/home/chargepoint-home-flex/
This Old House – How to Install an EV Charger at Home: https://www.thisoldhouse.com/electrical/22568088/ev-charger-installation
NFPA 70 (National Electrical Code) – Article 625: Electric Vehicle Charging System: https://www.nfpa.org/codes-and-standards/all-codes-and-standards/list-of-codes-and-standards/detail?code=70
U.S. Department of Energy – Electric Vehicle Charging Equipment: https://afdc.energy.gov/fuels/electricity_infrastructure.html
Consumer Reports – Home EV Charging Guide: https://www.consumerreports.org/cars/hybrids-evs/home-ev-charger-guide/
Energy.gov – Electricity Rate Plans for EV Owners: https://www.energy.gov/eere/electricvehicles/reduce-home-charging-costs
🔍 Explore Related Topics