
The difference between a room that has a TV and a room that feels like a theater comes down to five things: screen size and placement, sound, light control, seating, and the way those elements work together. None of those require a contractor. Most can be done over a weekend with modest tools and a reasonable budget.
Start With the Room You Have
Before buying anything, spend time with the room as it is. The goal of this stage is to understand its constraints and strengths – not to plan around a fantasy version of the space.
Measure the viewing distance first. The optimal distance between your eyes and the screen depends on screen size. For a 4K display, the general guideline is 1 to 1.5 times the screen's diagonal measurement. That means a 75-inch screen works best at roughly 6 to 9 feet of viewing distance. If your room only allows 10 feet between the wall and the seating position, you have room for a large screen. If it's 15 feet, you may want something even larger – or a short-throw projector – to fill the visual field properly.
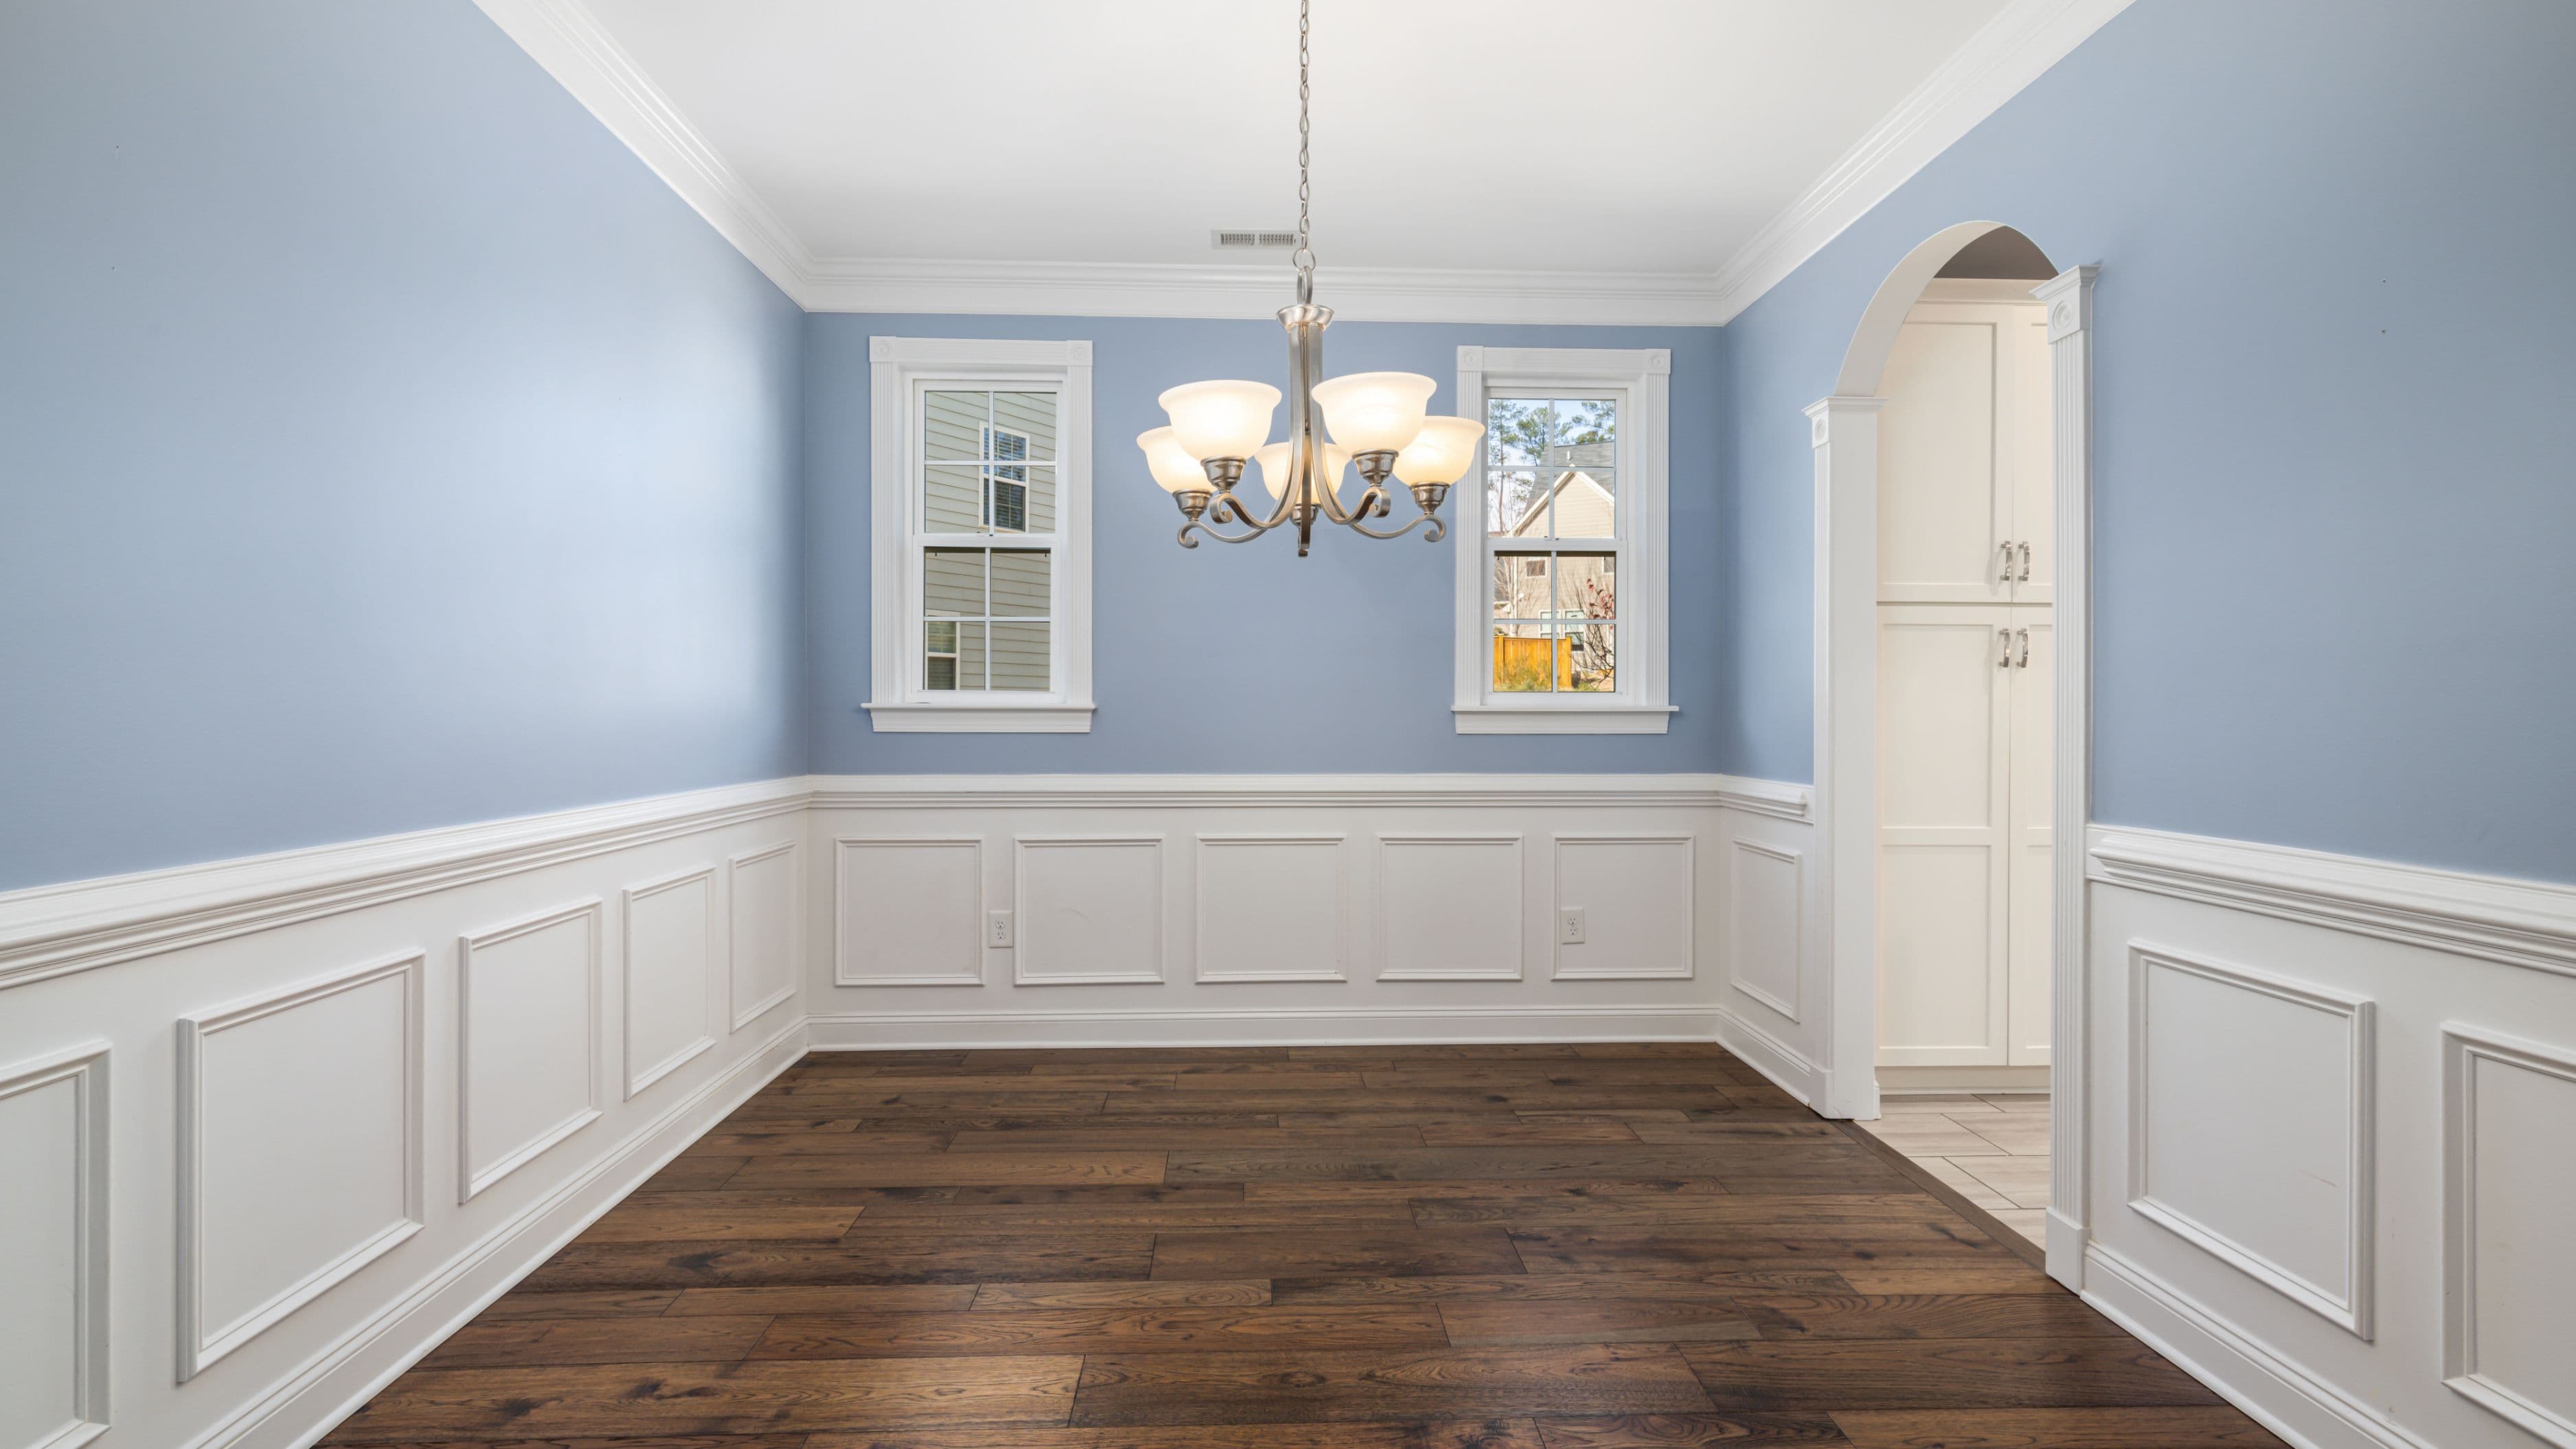
Identify the light problem. Natural light is the enemy of image quality. Walk through the room at different times of day and note where light enters and at what intensity. Windows directly opposite the screen are the most problematic because they create direct glare. Windows on side walls create less glare but still wash out the image in bright conditions. The solutions you choose for each scenario are different, and knowing which one you're dealing with shapes the rest of your decisions.
Note the acoustic character of the room. Hard floors, bare walls, and high ceilings create echo and reverberation that muddy dialogue and reduce the impact of bass. Soft furnishings – rugs, upholstered seating, heavy curtains, bookshelves full of books – absorb sound and improve it. An already carpeted room with substantial furniture is a better acoustic starting point than an open-plan space with polished concrete.
Step 1: Choose Your Display
The display is the anchor of the whole setup, and it's worth making this decision thoughtfully rather than simply buying the largest screen that fits.
Large flat panel TV vs. projector is the core choice. A large flat panel – 75 to 85 inches – delivers excellent picture quality in mixed lighting conditions, requires no setup or warmup, and works in a room where complete darkness isn't always achievable. A projector paired with a 100-inch or larger screen delivers a more cinematic feel and a significantly larger image at a potentially lower cost per inch of screen size, but requires a darker room and a suitable surface to project onto.
For most living rooms and multi-purpose spaces, a large flat panel between 75 and 85 inches is the more practical choice. For dedicated or semi-dedicated spaces where you can control light more completely – a basement room, a media room off the main living area – a projector setup becomes a compelling option.
Placement matters as much as size. The center of the screen should be roughly at eye level when seated – typically 42 to 48 inches from the floor to the screen center. Mounting a TV too high (a common mistake driven by the instinct to get it "out of the way") forces your neck into a constant upward tilt that becomes fatiguing over a long film. If you're wall-mounting, measure your seated eye height before you mark the bracket position.
Estimated cost: A quality 75-inch 4K TV from a reputable brand runs $700–$1,500. A capable 1080p projector with a 100-inch screen can be done for $600–$1,200 combined. Premium 4K laser projectors start around $2,500 and go considerably higher.
Step 2: Build the Sound Around the Room
Picture gets attention, but sound is what makes a viewing experience feel genuinely cinematic. A mediocre picture with great sound is more immersive than a great picture with mediocre sound – and audio upgrades often deliver more impact per dollar than display upgrades at the mid-range.
Soundbar vs. full surround sound is the first decision. A quality soundbar – particularly one with a dedicated subwoofer and some form of spatial audio processing (Dolby Atmos or DTS:X) – delivers a significant improvement over TV speakers and is a one-cable, minimal-effort upgrade. For a living room that's also a family room, it's often the right choice. True 5.1 or 7.1 surround sound, with separate speakers placed around the room, produces a more enveloping experience but requires more placement planning, more cabling (or good wireless management), and a receiver to drive it.
Speaker placement for surround sound follows a consistent logic: front left and right flanking the screen at ear height, a center channel directly below or above the screen for dialogue, and surround speakers positioned to the sides or slightly behind the listening position. The subwoofer is more flexible – bass is non-directional, so it can go anywhere that doesn't create excessive room resonance, typically a front corner.
Acoustic treatment without demolition is achievable with furnishings and purpose-built panels. A large area rug on a hard floor makes a measurable difference to room acoustics. Heavy curtains absorb sound reflection from windows. Acoustic panels – which look like framed art but absorb mid and high frequencies – can be wall-mounted without modification to the structure. Placing them at the first reflection points (the wall surfaces where sound from the front speakers bounces toward the listener's ears – roughly the side walls at the seating position) produces the most noticeable improvement.
Estimated cost: A good soundbar with subwoofer runs $300–$800. A complete 5.1 speaker system with receiver is $600–$2,000 depending on brand and quality level. Acoustic panels run $30–$80 each; four to six is usually a meaningful starting point.
Step 3: Control the Light
Light control is what separates a room that technically has a home theater from one that actually feels like one. Even modest light reduction dramatically improves perceived picture contrast and colour accuracy.
Blackout curtains or shades are the most cost-effective upgrade for light control. For windows directly facing the screen, full blackout – zero light transmission – is worth the investment. For side windows, light-filtering or room-darkening options may be sufficient. The practical difference between a proper blackout curtain and a standard curtain during an afternoon viewing session is significant enough to be immediately obvious.
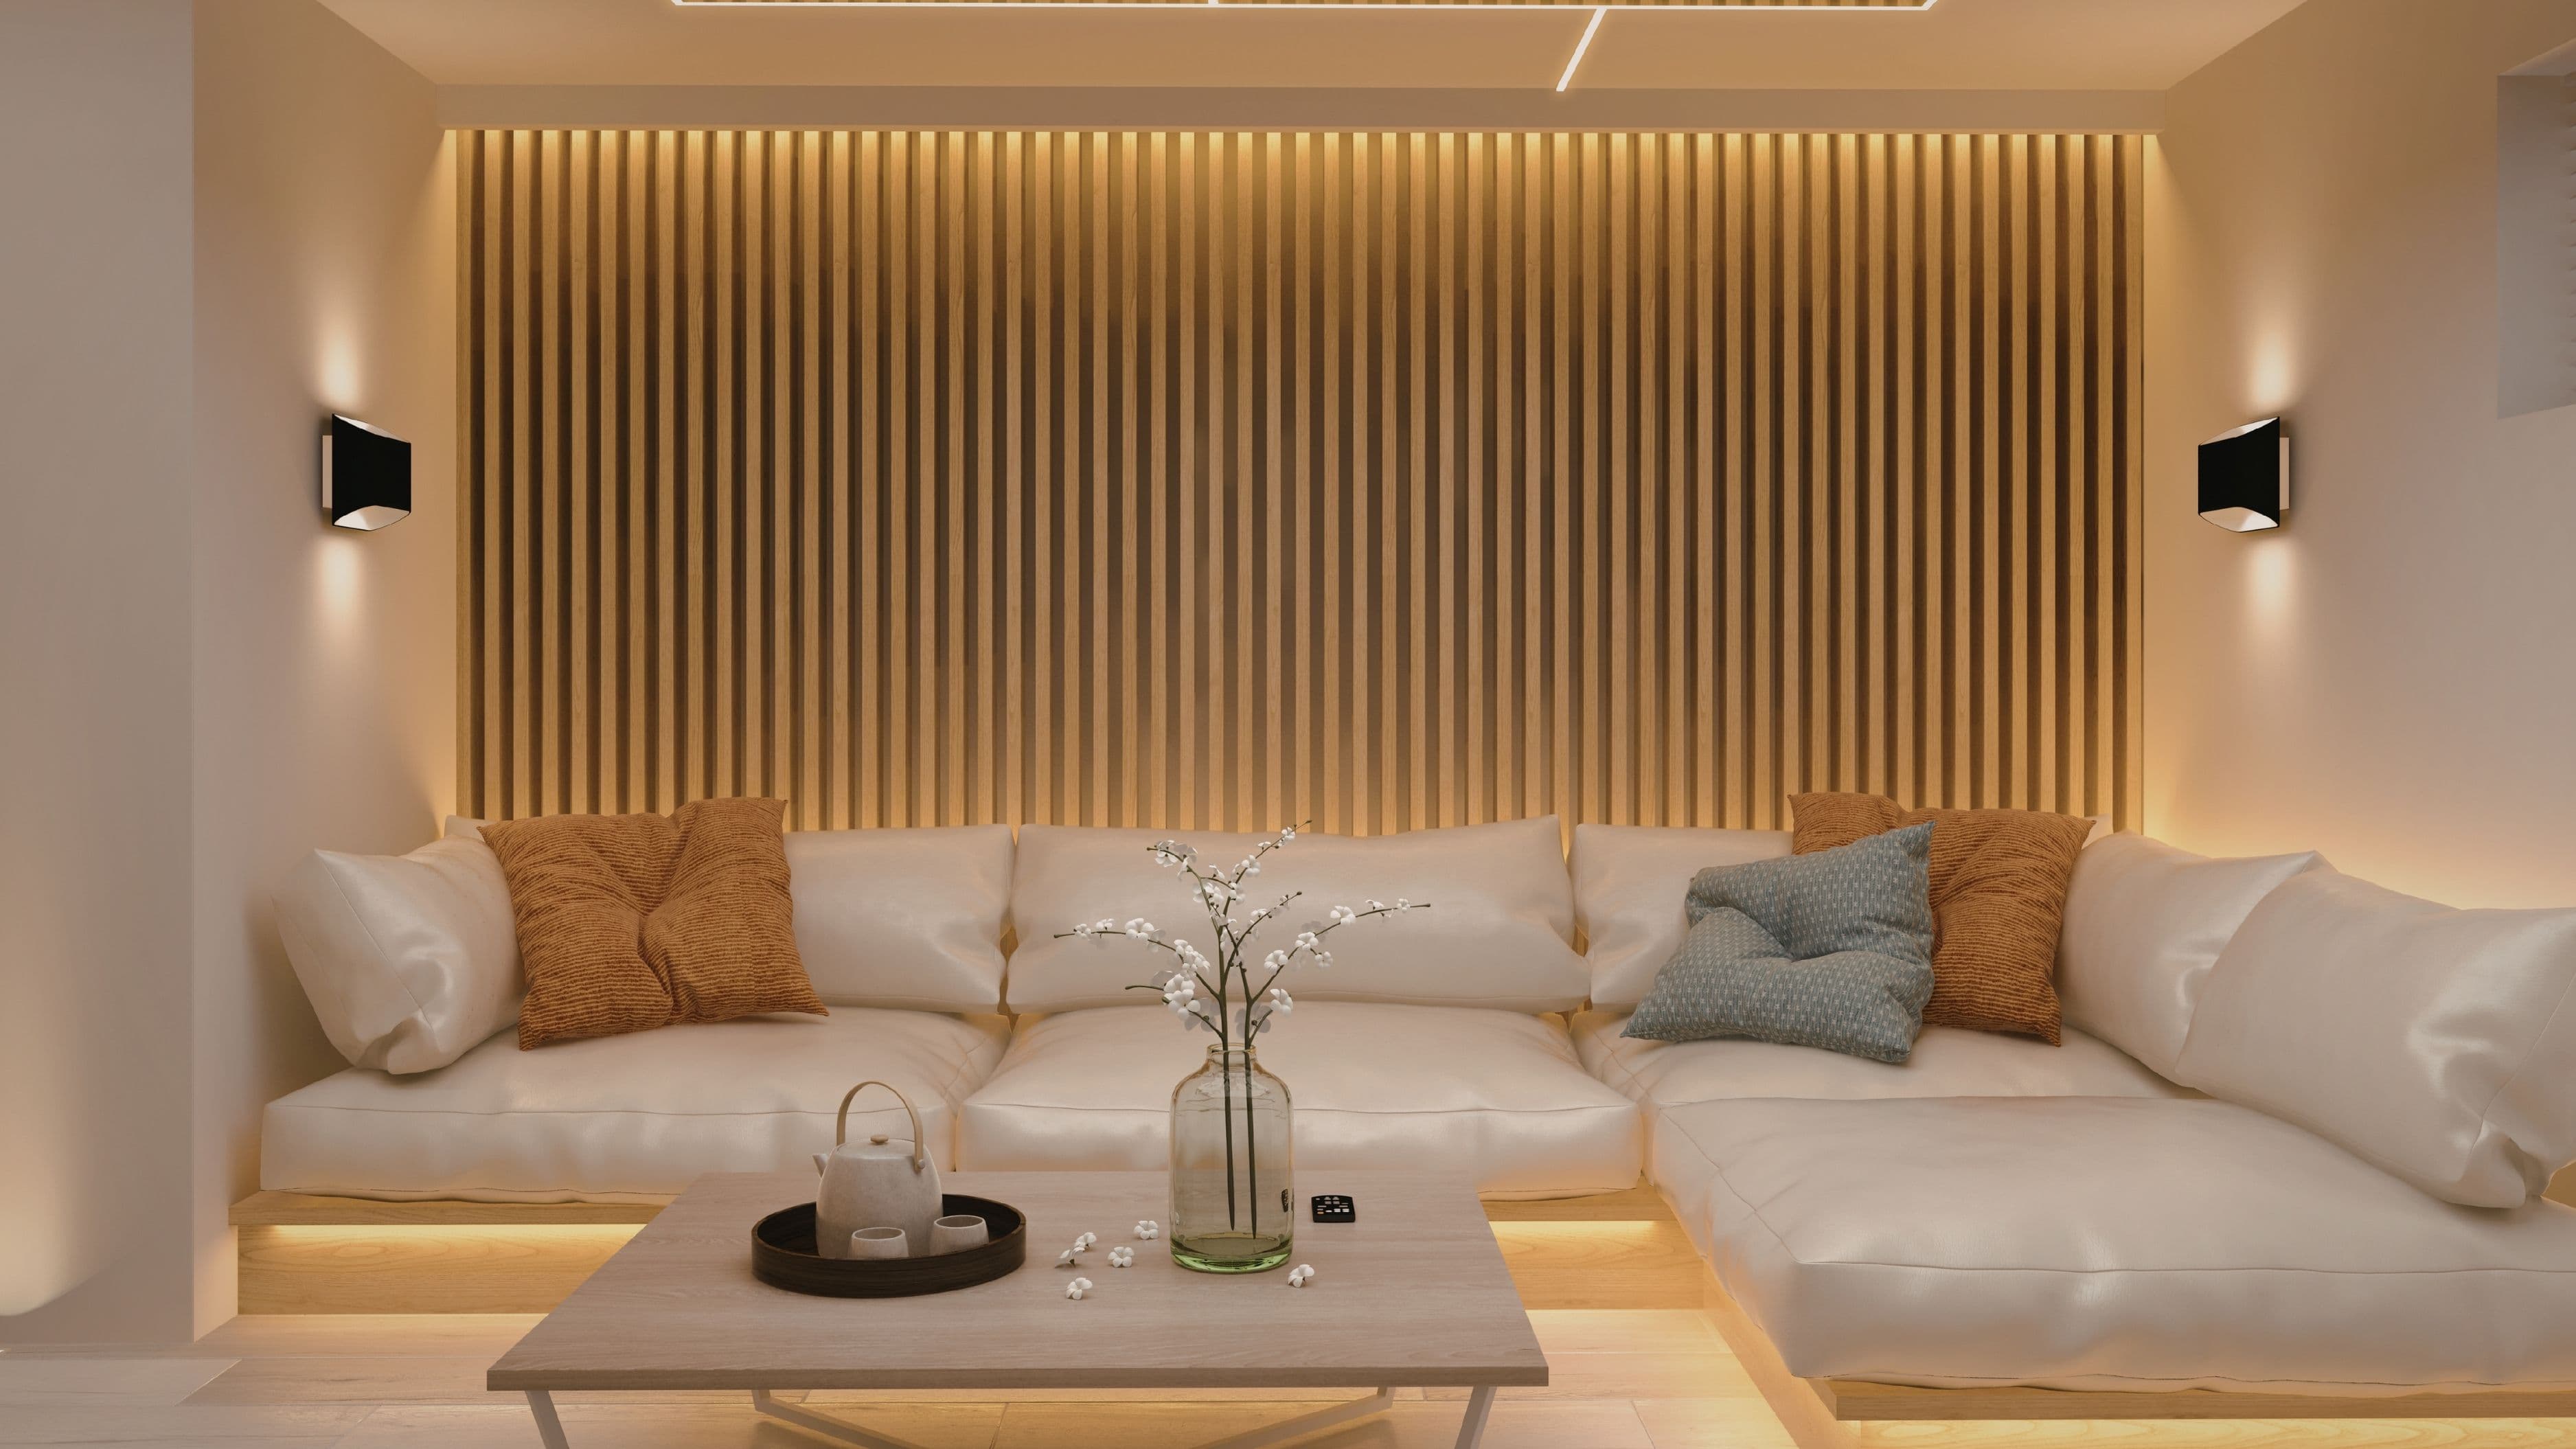
Room lighting control is the other half of the equation. Overhead lighting creates reflections on screen surfaces and reduces perceived contrast. Replacing overhead lighting in the viewing area with bias lighting – a strip of LED lighting placed behind the TV or screen, pointed at the wall – reduces eye strain, improves perceived contrast, and gives the room a theatrical feel without spending much. Dimmable smart bulbs in any existing fixtures allow you to set scene-appropriate lighting levels without additional wiring.
Estimated cost: Quality blackout curtains run $40–$120 per window. Bias lighting LED strips are $20–$60. Smart dimmer switches with compatible bulbs run $25–$60 per fixture.
Step 4: Design the Seating
Seating affects comfort, acoustics, and the overall feel of the space in equal measure. The goal is to create a clear "primary viewing zone" that's the right distance and angle from the screen, with enough acoustic mass to help the room sound better.
Positioning before purchasing is the right sequence. Know where your seating will go – based on your viewing distance calculation from the planning stage – before you choose what to buy. In a living room, this often means rethinking the existing furniture layout rather than working around it. A sofa positioned 8 feet from a 75-inch screen performs dramatically better than the same sofa positioned 14 feet away.
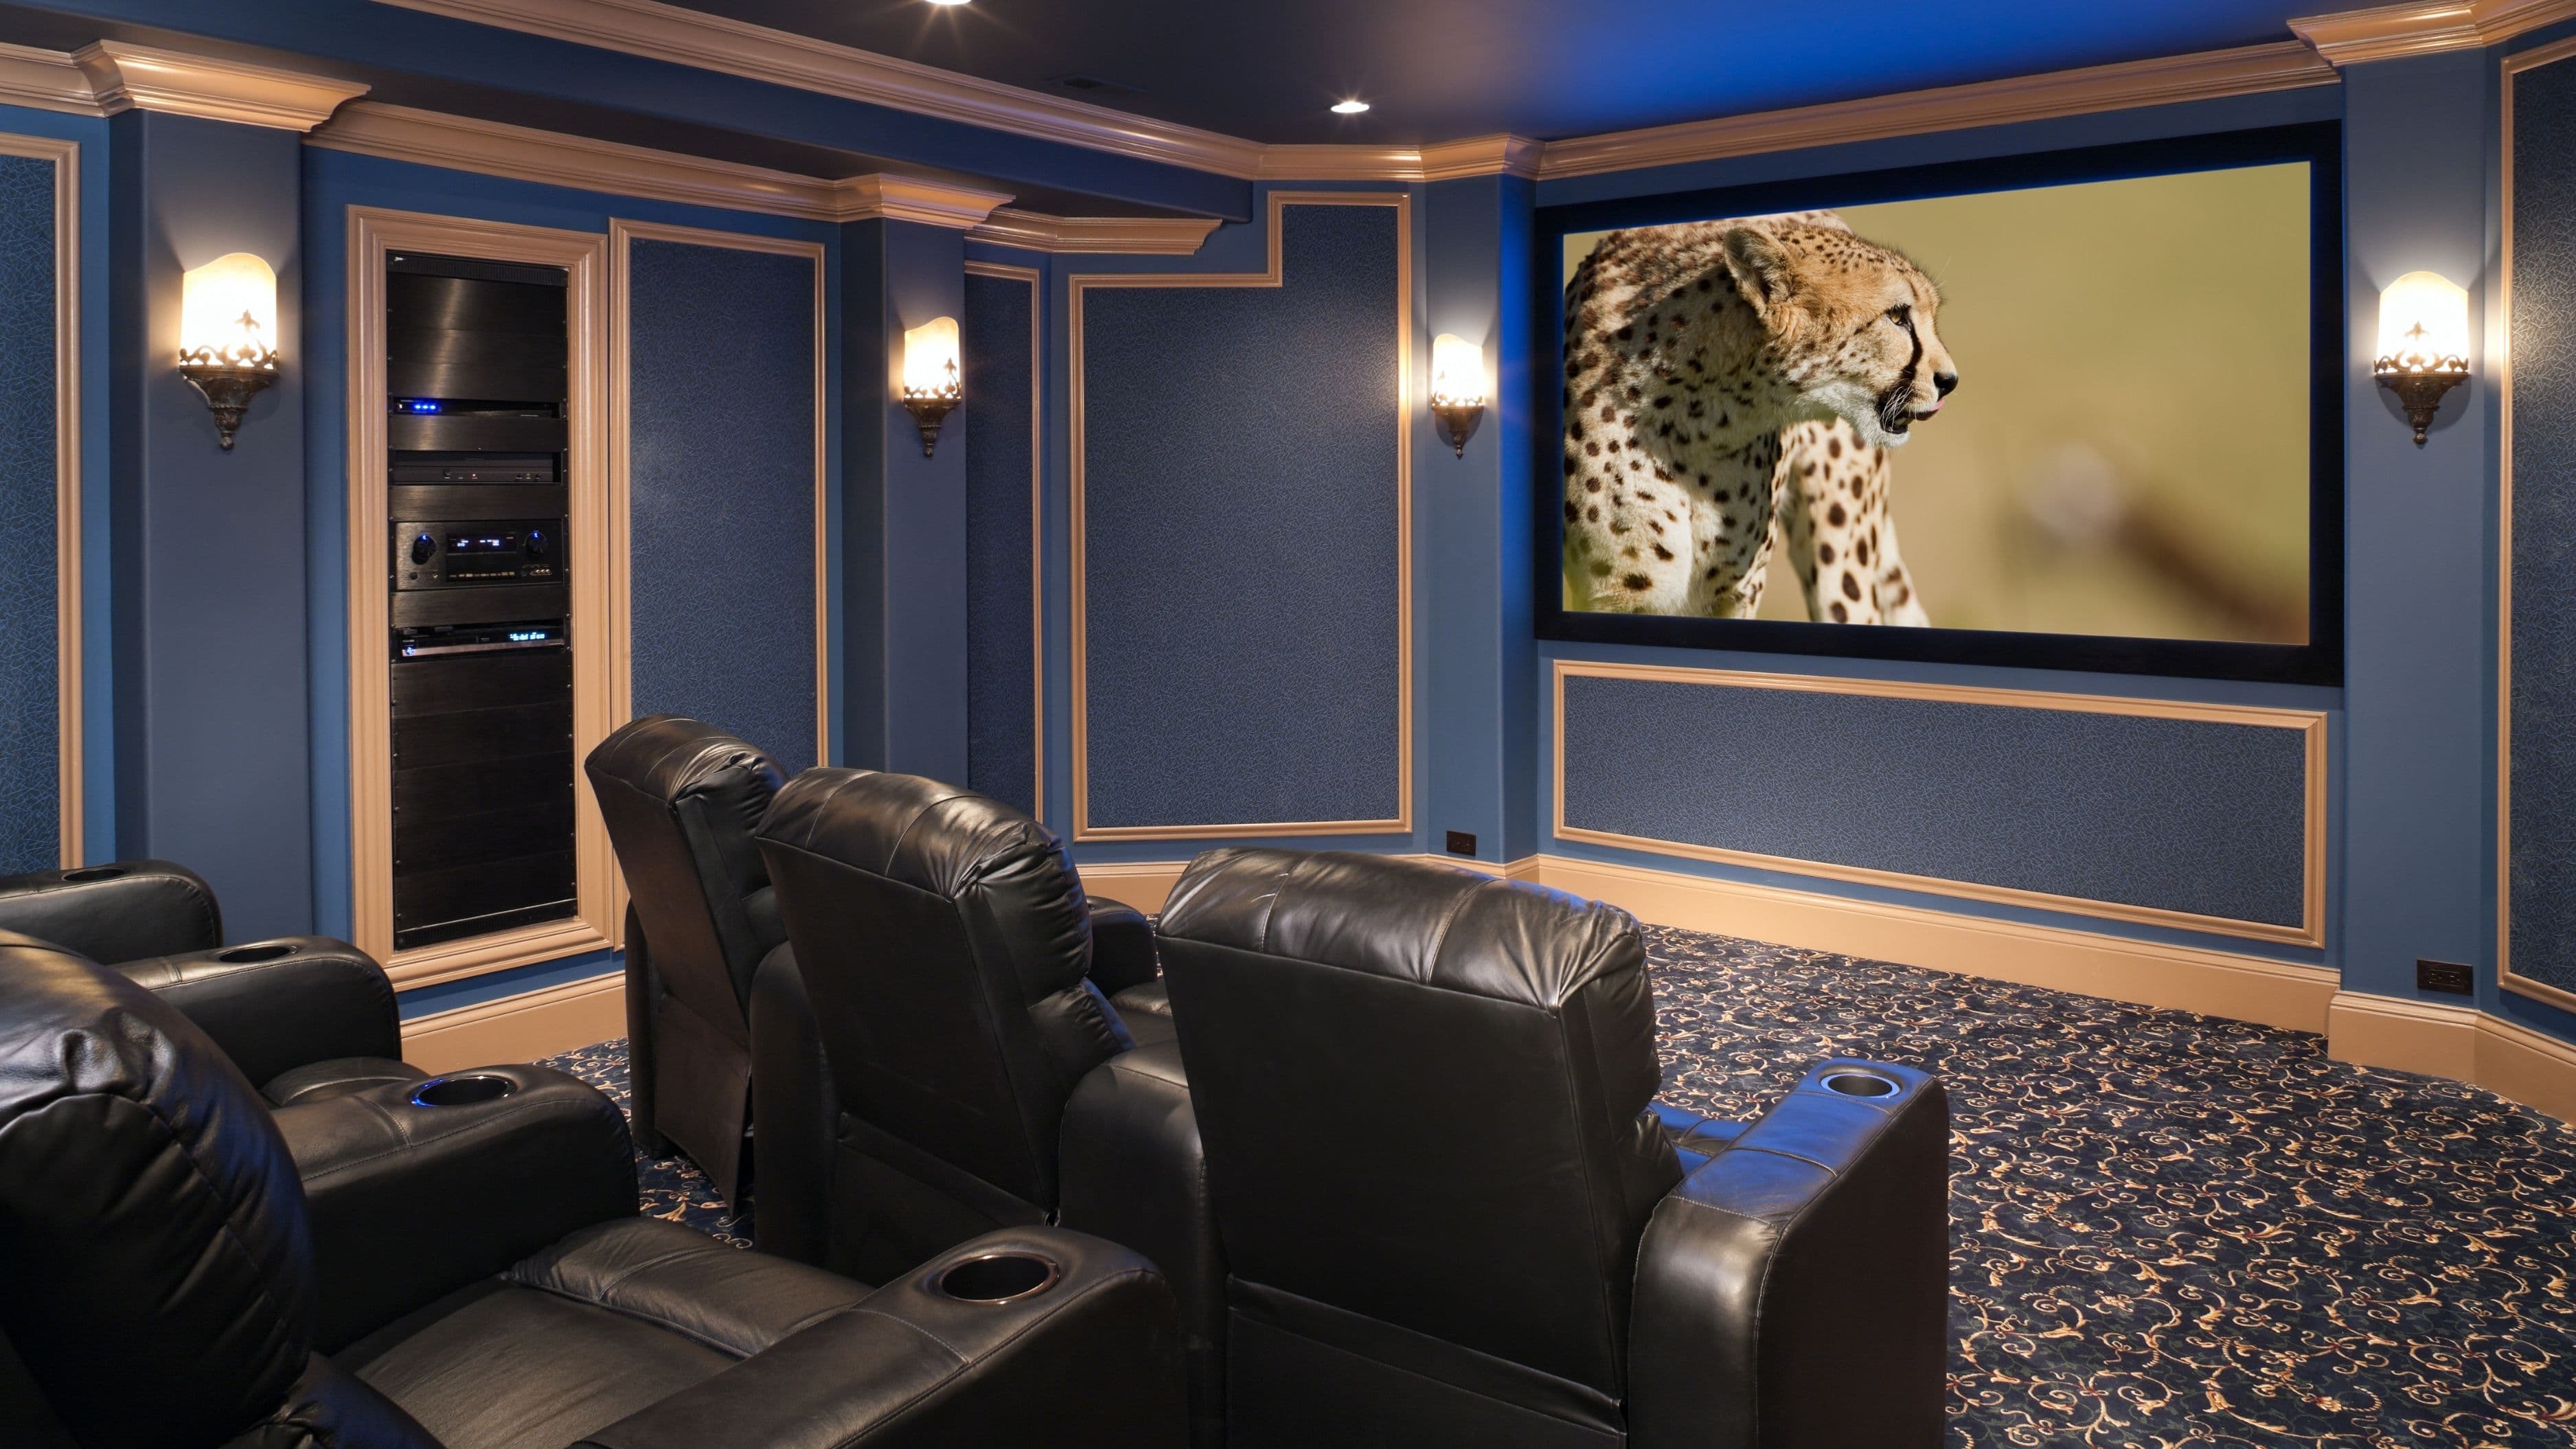
Reclining seating and dedicated media sofas exist on a wide spectrum of cost and quality. A purpose-built media recliner, with cup holders and a foam composition designed for long sitting, improves the experience of extended viewing sessions meaningfully. At the budget end, a good quality sectional with deep seating achieves much of the same result. The key metric is whether the seated eye level, with your head supported naturally against the back of the seat, lines up with the center of the screen.
Second row seating in a larger room – on a riser or simply elevated seating positioned further back – adds genuine cinematic character. A 6-inch platform riser built from 2x4 lumber and plywood, carpeted to match the room, costs under $200 to build and creates the elevated rear seating that distinguishes a proper theater setup. This is where a small amount of DIY construction makes the biggest visual and practical difference.
Estimated cost: A quality reclining media sofa runs $600–$2,000. A DIY riser platform for a second row is $100–$250 in materials.
Step 5: Pull It Together With the Details
The gap between a well-equipped room and a room that feels cohesive is usually in the details that get skipped because they seem minor.
Cable management is the detail most likely to undermine an otherwise good setup. Visible cable runs from display to audio equipment, or from wall mount to media console, make even expensive equipment look unfinished. Surface-mounted cable raceways in a matching wall colour are a two-hour project that makes a substantial visual difference. In-wall cable runs are cleaner still and typically don't require an electrician unless power is involved.
Media console or AV rack placement should follow function: all source equipment (streaming devices, Blu-ray player, game consoles, receiver) grouped in ventilated cabinetry positioned for easy access and clean cable runs. Enclosed cabinetry with ventilated backs works well for most setups; avoid fully sealed enclosures for equipment that generates heat.
Décor that serves the room rather than fighting it makes a difference. Dark wall colours on the front wall reduce light bounce onto the screen. Framed acoustic panels that look like art serve a dual purpose. Blackout curtains chosen in a dark, deep tone absorb rather than reflect light. None of these are expensive decisions, but they compound into a room that feels intentional.
What to Avoid
Mounting the TV too high. The single most common mistake in home theater setups. If the top of the TV is above your eye line when seated, it's too high. Measure before you mount.
Skipping the subwoofer. A soundbar without a subwoofer sounds thin at any volume for film content. The low-frequency impact of action, music scores, and ambient sound is where physical immersion comes from – and a subwoofer is the component that delivers it.
Neglecting light control and then blaming the display. A great TV in a bright room performs worse than a mediocre TV in a dark room. If the picture looks washed out, add blackout curtains before concluding the display is the problem.
Buying a projector without planning for the darkness requirement. Projectors are excellent in the right conditions and mediocre in the wrong ones. If your room gets significant ambient light during the hours you watch most, a large flat panel will outperform even an expensive projector.
Oversizing the room's audio without treating the acoustics. A high-powered surround system in an untreated room with hard surfaces produces boomy, confused sound. A more modest system in a well-treated room with rugs and soft furnishings will sound notably better.
FAQ
Do I need a dedicated room for a home theater? No. A well-designed multi-purpose room – living room, finished basement, large family room – can deliver an excellent home theater experience. The key is optimising the five elements (display, sound, light, seating, details) within the constraints of the space you have.
What's the minimum budget for a good home theater setup from scratch? A genuinely good setup – 75-inch 4K display, soundbar with subwoofer, blackout curtains, and quality seating in an appropriate layout – can be done for $2,000–$3,500. A modest but functional setup is achievable for under $2,000. Beyond $5,000 you're into diminishing returns territory unless you're committed to a high-end audio system or projector setup.
Is a projector better than a TV for home theater? In a room with good light control and appropriate throw distance, a projector delivers a larger, more cinematic image at comparable cost. In a room with variable lighting or limited darkness, a large flat panel TV is more practical and consistent. The right choice depends on your room more than your preferences.
How do I improve sound in a room with hard floors and bare walls? Start with a large area rug under the seating area – it's the single highest-impact acoustic improvement for hard-floor rooms. Add heavy curtains on windows, and consider a few acoustic panels on the side walls at the first reflection points. These changes don't require structural work and meaningfully improve clarity and bass response.
Can I build a home theater in a rental property? Yes, with some adaptation. Wall mounting requires careful consideration of your lease terms, but freestanding TV stands accommodate large displays without mounting. Acoustic panels can be leaned rather than hung. Blackout curtains use existing curtain hardware. The audio and display setup is entirely portable. Renters can build a very capable setup that moves with them.
📚 Sources
This Old House – Home theater design and planning: https://www.thisoldhouse.com/home-technology/21017385/how-to-create-a-home-theater
CNET – Best TV screen size and viewing distance guide: https://www.cnet.com/tech/home-entertainment/best-tv-size-for-your-room/
Sound On Sound – Acoustic treatment basics: https://www.soundonsound.com/techniques/acoustic-treatment-small-rooms
Architectural Digest – Home theater design ideas: https://www.architecturaldigest.com/story/home-theater-design
Family Handyman – How to build a home theater room: https://www.familyhandyman.com/project/how-to-build-a-home-theater/
Wirecutter / NYT – Best projectors for home theater: https://www.nytimes.com/wirecutter/reviews/best-projector/