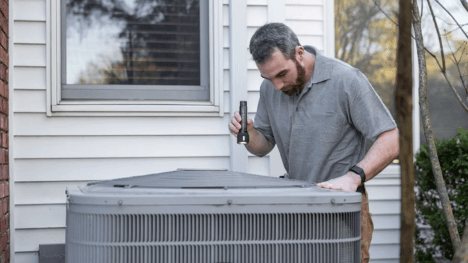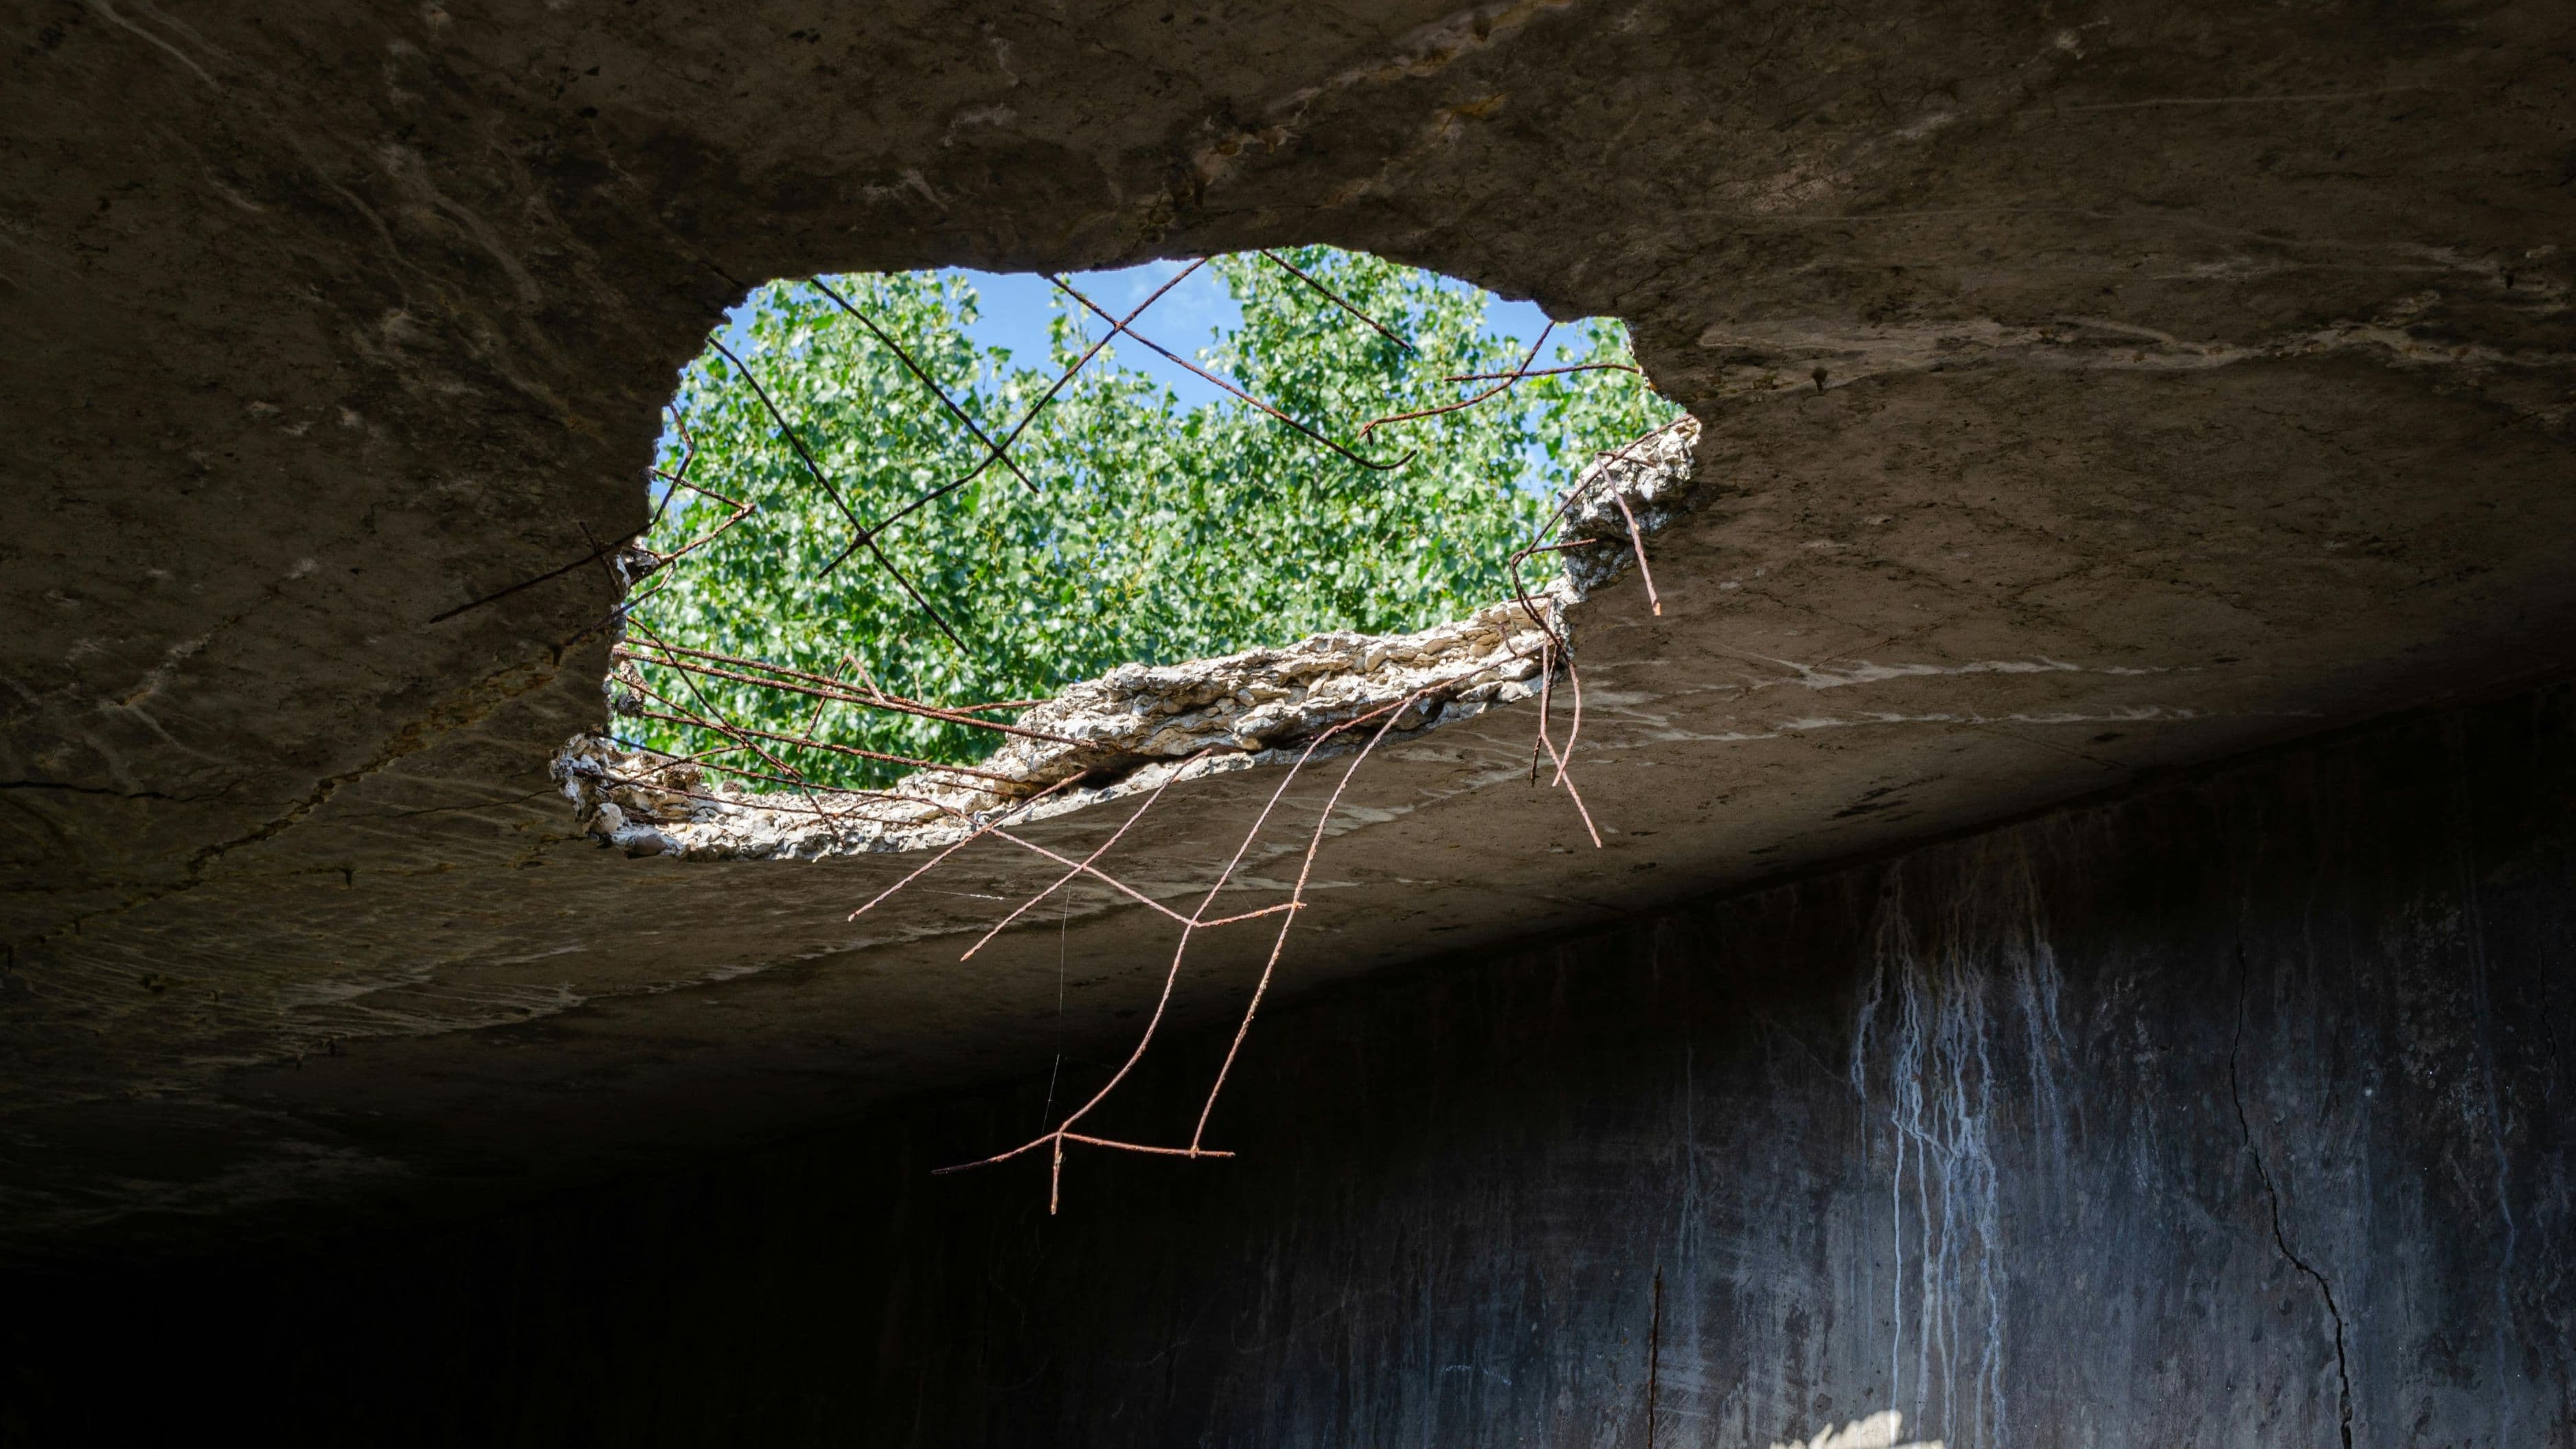



The good news? You don't need a law degree or professional photography skills to create rock-solid documentation. With your smartphone and a bit of know-how, you can build an insurance claim file that'll make adjusters nod in approval. Let's walk through exactly how to protect yourself and your wallet when disaster strikes.
1. Photograph Everything Before You Touch Anything
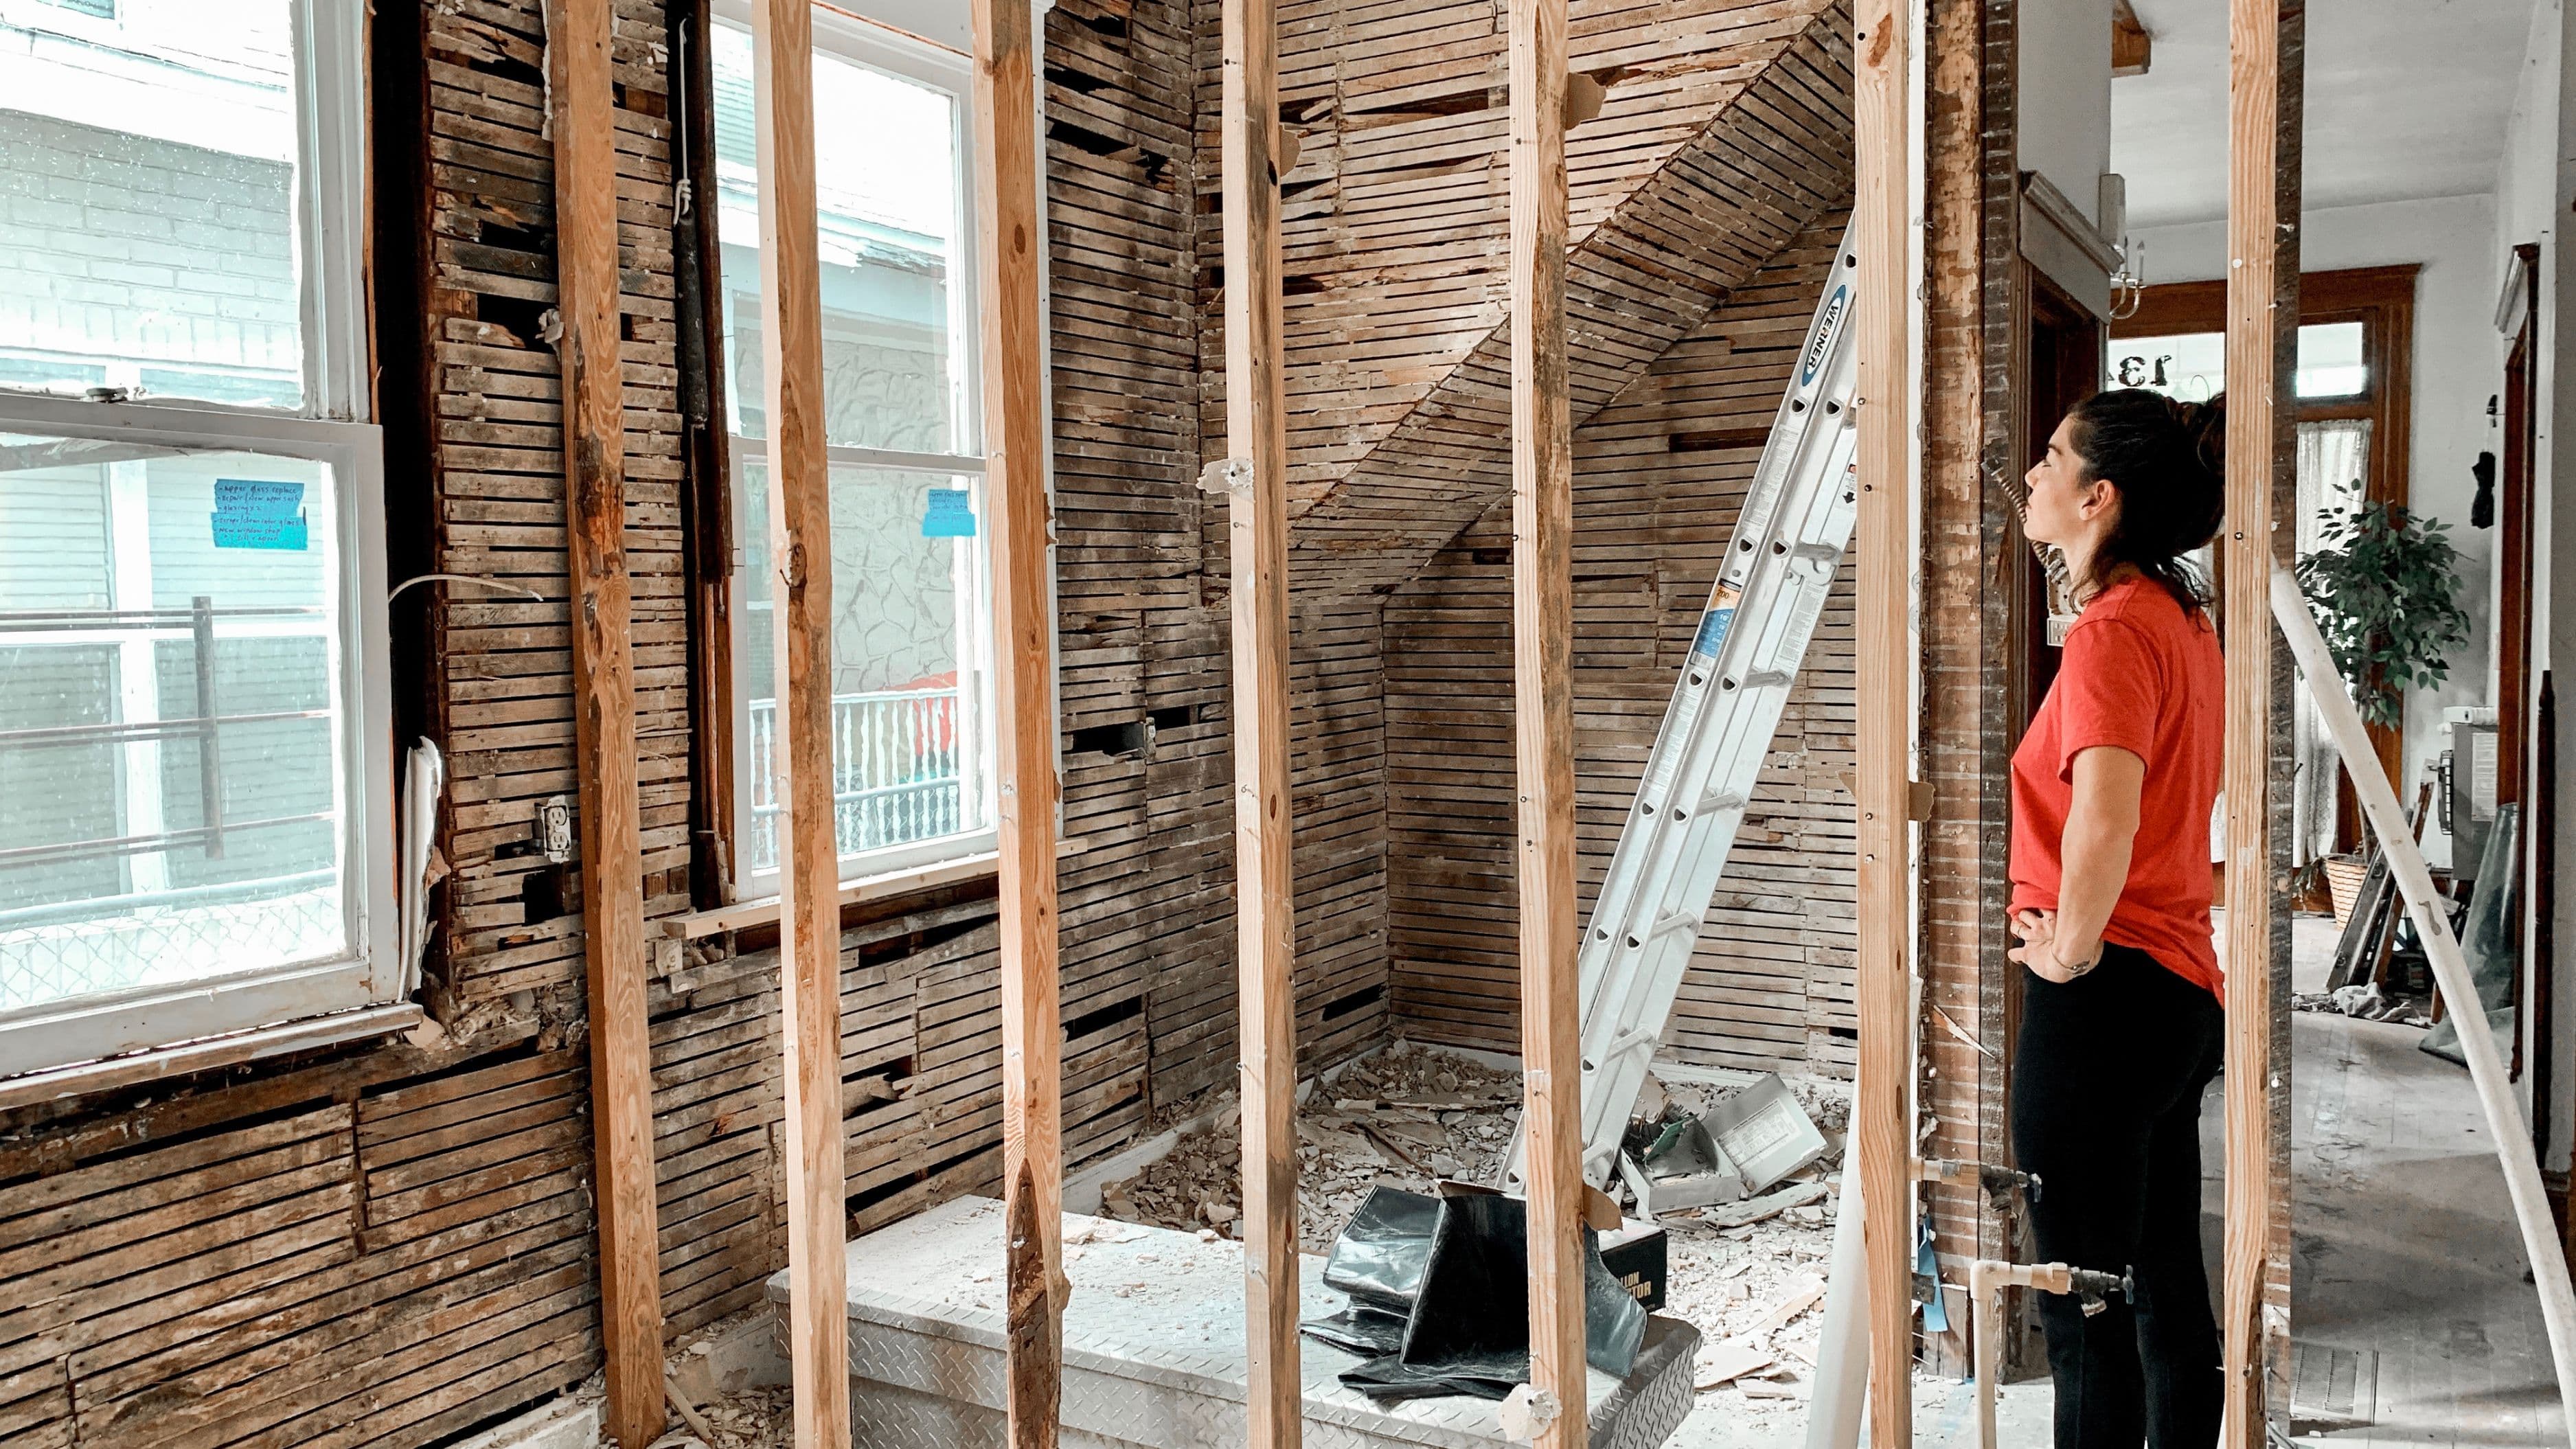
Your first instinct after discovering damage might be to grab a towel and start cleaning, but resist that urge for just five minutes. Insurance adjusters need to see the damage in its original state, not after you've already begun repairs. Take wide-angle shots that show the entire affected area, then zoom in for close-ups of specific damage. Capture multiple angles of the same problem—what looks minor from one perspective might reveal its true extent from another.
Don't forget to include context shots that show where the damage occurred in relation to the rest of your home. That water stain on the ceiling means more when there's a photo showing it's directly below the bathroom. Include identifiable landmarks like doorways, windows, or furniture in your shots so adjusters can understand the scale and location. Even if something seems tangentially related, photograph it—you can always delete extras later, but you can't recreate the scene once you've started repairs.
2. Record Video Walkthroughs With Narration
Photos capture moments, but videos tell stories. Open your phone's video app and slowly pan through the damaged areas while describing what you're seeing out loud. Mention the date, time, and exactly what happened if you know. Your narration should sound like you're explaining the situation to a friend: "This is the master bedroom on March 15th, and you can see where the ceiling is sagging from the water leak that started around 2 AM last night."
Video is particularly valuable for documenting things that are hard to capture in still images, like water actively dripping, the extent of spreading damage, or structural issues. Keep your phone steady and move slowly—shaky, rushed footage can miss crucial details. These videos also serve as timestamps that prove when you discovered the damage, which can be critical if questions arise about how long you waited before addressing the problem.
3. Create a Detailed Written Timeline
Memory fades faster than you'd think, especially when you're stressed about home damage and repair costs. Within 24 hours of discovering the problem, sit down and write out everything you remember about the incident. When did you first notice the damage? What were the weather conditions? Were there any unusual sounds, smells, or warning signs in the days leading up to it? Did any neighbors experience similar issues?
Your timeline should read like a diary entry, including specific times, dates, and details about your actions. Note when you called the insurance company, when you contacted contractors, and what everyone told you. This written record becomes invaluable weeks or months later when you're trying to remember exactly what the plumber said on that first emergency visit. Include seemingly minor details—they often become relevant during the claims process.
4. Keep Every Single Receipt and Invoice
This seems obvious, but you'd be surprised how many people lose crucial receipts during the chaos of repairs. Create a dedicated folder (physical or digital) specifically for this claim and put every piece of paper related to the damage in there. That includes the emergency plumber's invoice, the receipt for the shop vac you bought at 10 PM, the hotel bill from when your home was uninhabitable, even the parking receipt from when you met with the contractor.
Don't just keep final invoices—save estimates, quotes, and proposals from every contractor you contacted, even the ones you didn't hire. These documents establish the reasonable cost of repairs in your area, which helps if your insurance company questions pricing. Photograph receipts immediately after receiving them since thermal paper fades over time. For digital receipts, save them as PDFs and back them up in multiple locations. Missing a $300 receipt might not seem catastrophic, but those amounts add up quickly.
5. Document All Communication With Your Insurer
Every conversation with your insurance company matters, and you need a record of what was said and when. After each phone call with an adjuster or claims representative, send a follow-up email summarizing the conversation: "Per our phone call today at 2:30 PM, you mentioned that the adjuster will visit next Tuesday between 10 AM and 2 PM, and I should have the plumber's report ready." This creates a paper trail and ensures everyone's on the same page.
Save all emails, letters, and text messages from your insurance company in your dedicated claim folder. Note the names and direct phone numbers of everyone you speak with—you'll likely talk to multiple people throughout the process, and being able to reference "what Sarah in claims told me on March 20th" adds credibility. If you're getting conflicting information from different representatives, these records help you advocate for yourself. Consider using a notebook specifically for insurance calls where you jot down dates, times, names, and key points discussed.
6. Take "Before" Photos of Undamaged Areas Too
Here's something most people miss: documenting what wasn't damaged is almost as important as documenting what was. If water leaked through your dining room ceiling but didn't reach the hardwood floors, photograph those pristine floors. If the storm damaged your roof but left the siding intact, capture the undamaged siding. These photos prove the scope of damage and prevent disputes about pre-existing conditions.
"Before" photos of your entire home, taken during normal conditions, are pure gold during claims. Make it a habit to photograph each room of your house annually, including closets, basements, and storage areas. Capture your belongings, finishes, and overall condition. These photos establish your home's pre-damage state and can be referenced years later if needed. Store these photos in cloud storage separate from your phone so they survive even if your device is damaged in the same incident that affects your home.
7. Get Everything From Contractors in Writing
That friendly contractor who gave you a verbal quote might have the best intentions, but verbal agreements don't hold up in insurance claims. Before any work begins, get a detailed written estimate that breaks down labor and materials separately. The estimate should specify exactly what work will be performed, what materials will be used (including brands and grades), and how long the job will take.
As work progresses, request written documentation of any changes to the original scope. If the contractor discovers additional damage once they start repairs—which happens frequently—get a change order in writing before proceeding. Have the contractor provide progress photos throughout the job, especially of work that will be covered up later like electrical or plumbing repairs behind walls. A final invoice should match the estimate or clearly explain any differences. Professional contractors understand that insurance claims require paperwork and will happily provide documentation.
8. Photograph Damaged Items With Serial Numbers Visible
For damaged appliances, electronics, or equipment, documentation needs to prove both the damage and the value of what you lost. Photograph the damaged item from multiple angles, making sure any damage is clearly visible. Then capture close-up shots of model numbers, serial numbers, and any manufacturer labels. These details help adjusters determine the age and replacement value of your items.
If the item is so damaged that labels are unreadable, check your email or old photos for purchase records. Many people photograph appliance labels when they first install them or save purchase confirmations in email. For valuable items, your photos should also capture any unique characteristics—custom modifications, special features, or the overall condition before damage. A generic photo of "a laptop" doesn't help your claim as much as photos showing it was a specific model in excellent condition with particular accessories.
9. Create a Damage Inventory Spreadsheet
A simple spreadsheet transforms scattered documentation into a compelling claims package. Create columns for: item/area damaged, description of damage, date discovered, estimated repair/replacement cost, and receipt/invoice number. This inventory gives adjusters a clear overview of your entire claim at a glance and shows you're organized and thorough.
Your spreadsheet should reference your photo and video evidence by filename, making it easy for adjusters to find the visual proof for each listed item. Include a column for claim status so you can track what's been approved, what's pending, and what's been denied. This living document helps you stay organized during what can be a months-long process. Update it whenever you receive new information or incur additional costs. Many insurance companies appreciate when claimants submit organized documentation because it speeds up their review process.
10. Don't Throw Away Damaged Materials Without Approval
It feels great to haul away ruined drywall or toss that waterlogged carpet, but hold on. Insurance adjusters often need to inspect damaged materials in person, and disposing of evidence before their visit can jeopardize your claim. Call your insurance company and ask explicitly whether you can dispose of damaged items or if they need to be retained for inspection.
If you must remove materials for safety or health reasons—like mold-contaminated drywall—photograph everything extensively before disposal and explain the urgency to your insurer immediately. Some companies will fast-track an adjuster visit if you're dealing with hazardous conditions. When in doubt, save damaged items in a garage, shed, or designated area of your yard until you get the all-clear. This might seem inconvenient, but proving your claim is worth the temporary hassle of storing soggy carpeting.
11. Document Temporary Repairs and Mitigation Efforts
Insurance policies typically require you to prevent further damage after an incident, which means taking reasonable steps to protect your property. If you tarp your roof after storm damage, photograph the tarp installation process and save the receipt. If you rent dehumidifiers to dry out flooded rooms, document the equipment and rental costs. These mitigation efforts are usually reimbursable, but only if you can prove they were necessary and reasonable.
Your documentation should show both what you did and why you did it. Photos of rain coming through a damaged roof justify the tarp expense. Evidence of standing water explains the dehumidifier rental. Take before and after photos of your mitigation efforts—adjusters need to see that your temporary fixes were appropriate and effective. Keep rental equipment receipts and return documents showing how long you had items. Mitigation costs can add up to hundreds or thousands of dollars, and proper documentation ensures you're reimbursed for these necessary expenses.
12. Back Up All Documentation in Multiple Locations
The ultimate irony would be losing all your documentation in the same disaster that damaged your home, or having your phone stolen mid-claims process. As soon as you start documenting damage, immediately upload everything to cloud storage like Google Drive, Dropbox, or iCloud. Send copies to your own email address. Text important photos to a trusted family member or friend who can store them on their device.
Consider creating both digital and physical backup systems. Print key photos and documents, organize them in a binder, and store it somewhere secure off-site—maybe at your office or a relative's home. This redundancy might seem excessive, but insurance claims can take months to resolve, and devices fail, files corrupt, and accidents happen. Having multiple backups means you'll never be in the position of telling an adjuster "I had perfect photos, but my phone died and I lost everything." Your future self will thank you for this paranoia.
The difference between a successful insurance claim and a financial disaster often comes down to documentation. While dealing with home damage is stressful enough without adding paperwork to your to-do list, think of thorough documentation as an investment in your peace of mind. You're essentially building a case that protects your biggest financial asset—your home—and ensures you're not left paying out of pocket for covered damage.
The strategies above might seem time-consuming in the moment, but they typically add just an extra hour or two to your immediate response to damage. That small time investment can translate into thousands of dollars difference in your claim settlement. Start building good documentation habits now, before disaster strikes, and you'll be prepared when the unexpected inevitably happens.
📚 Sources
Insurance Information Institute (III), "Facts + Statistics: Homeowners and Renters Insurance," 2024 industry data on claim frequency and denial rates.
National Association of Insurance Commissioners (NAIC), "A Consumer's Guide to Home Insurance," documentation best practices for policyholders.
-jhajrFUGfI3zCQGjpAWcxuNPi1zUTB.jpg&w=3840&q=75)