
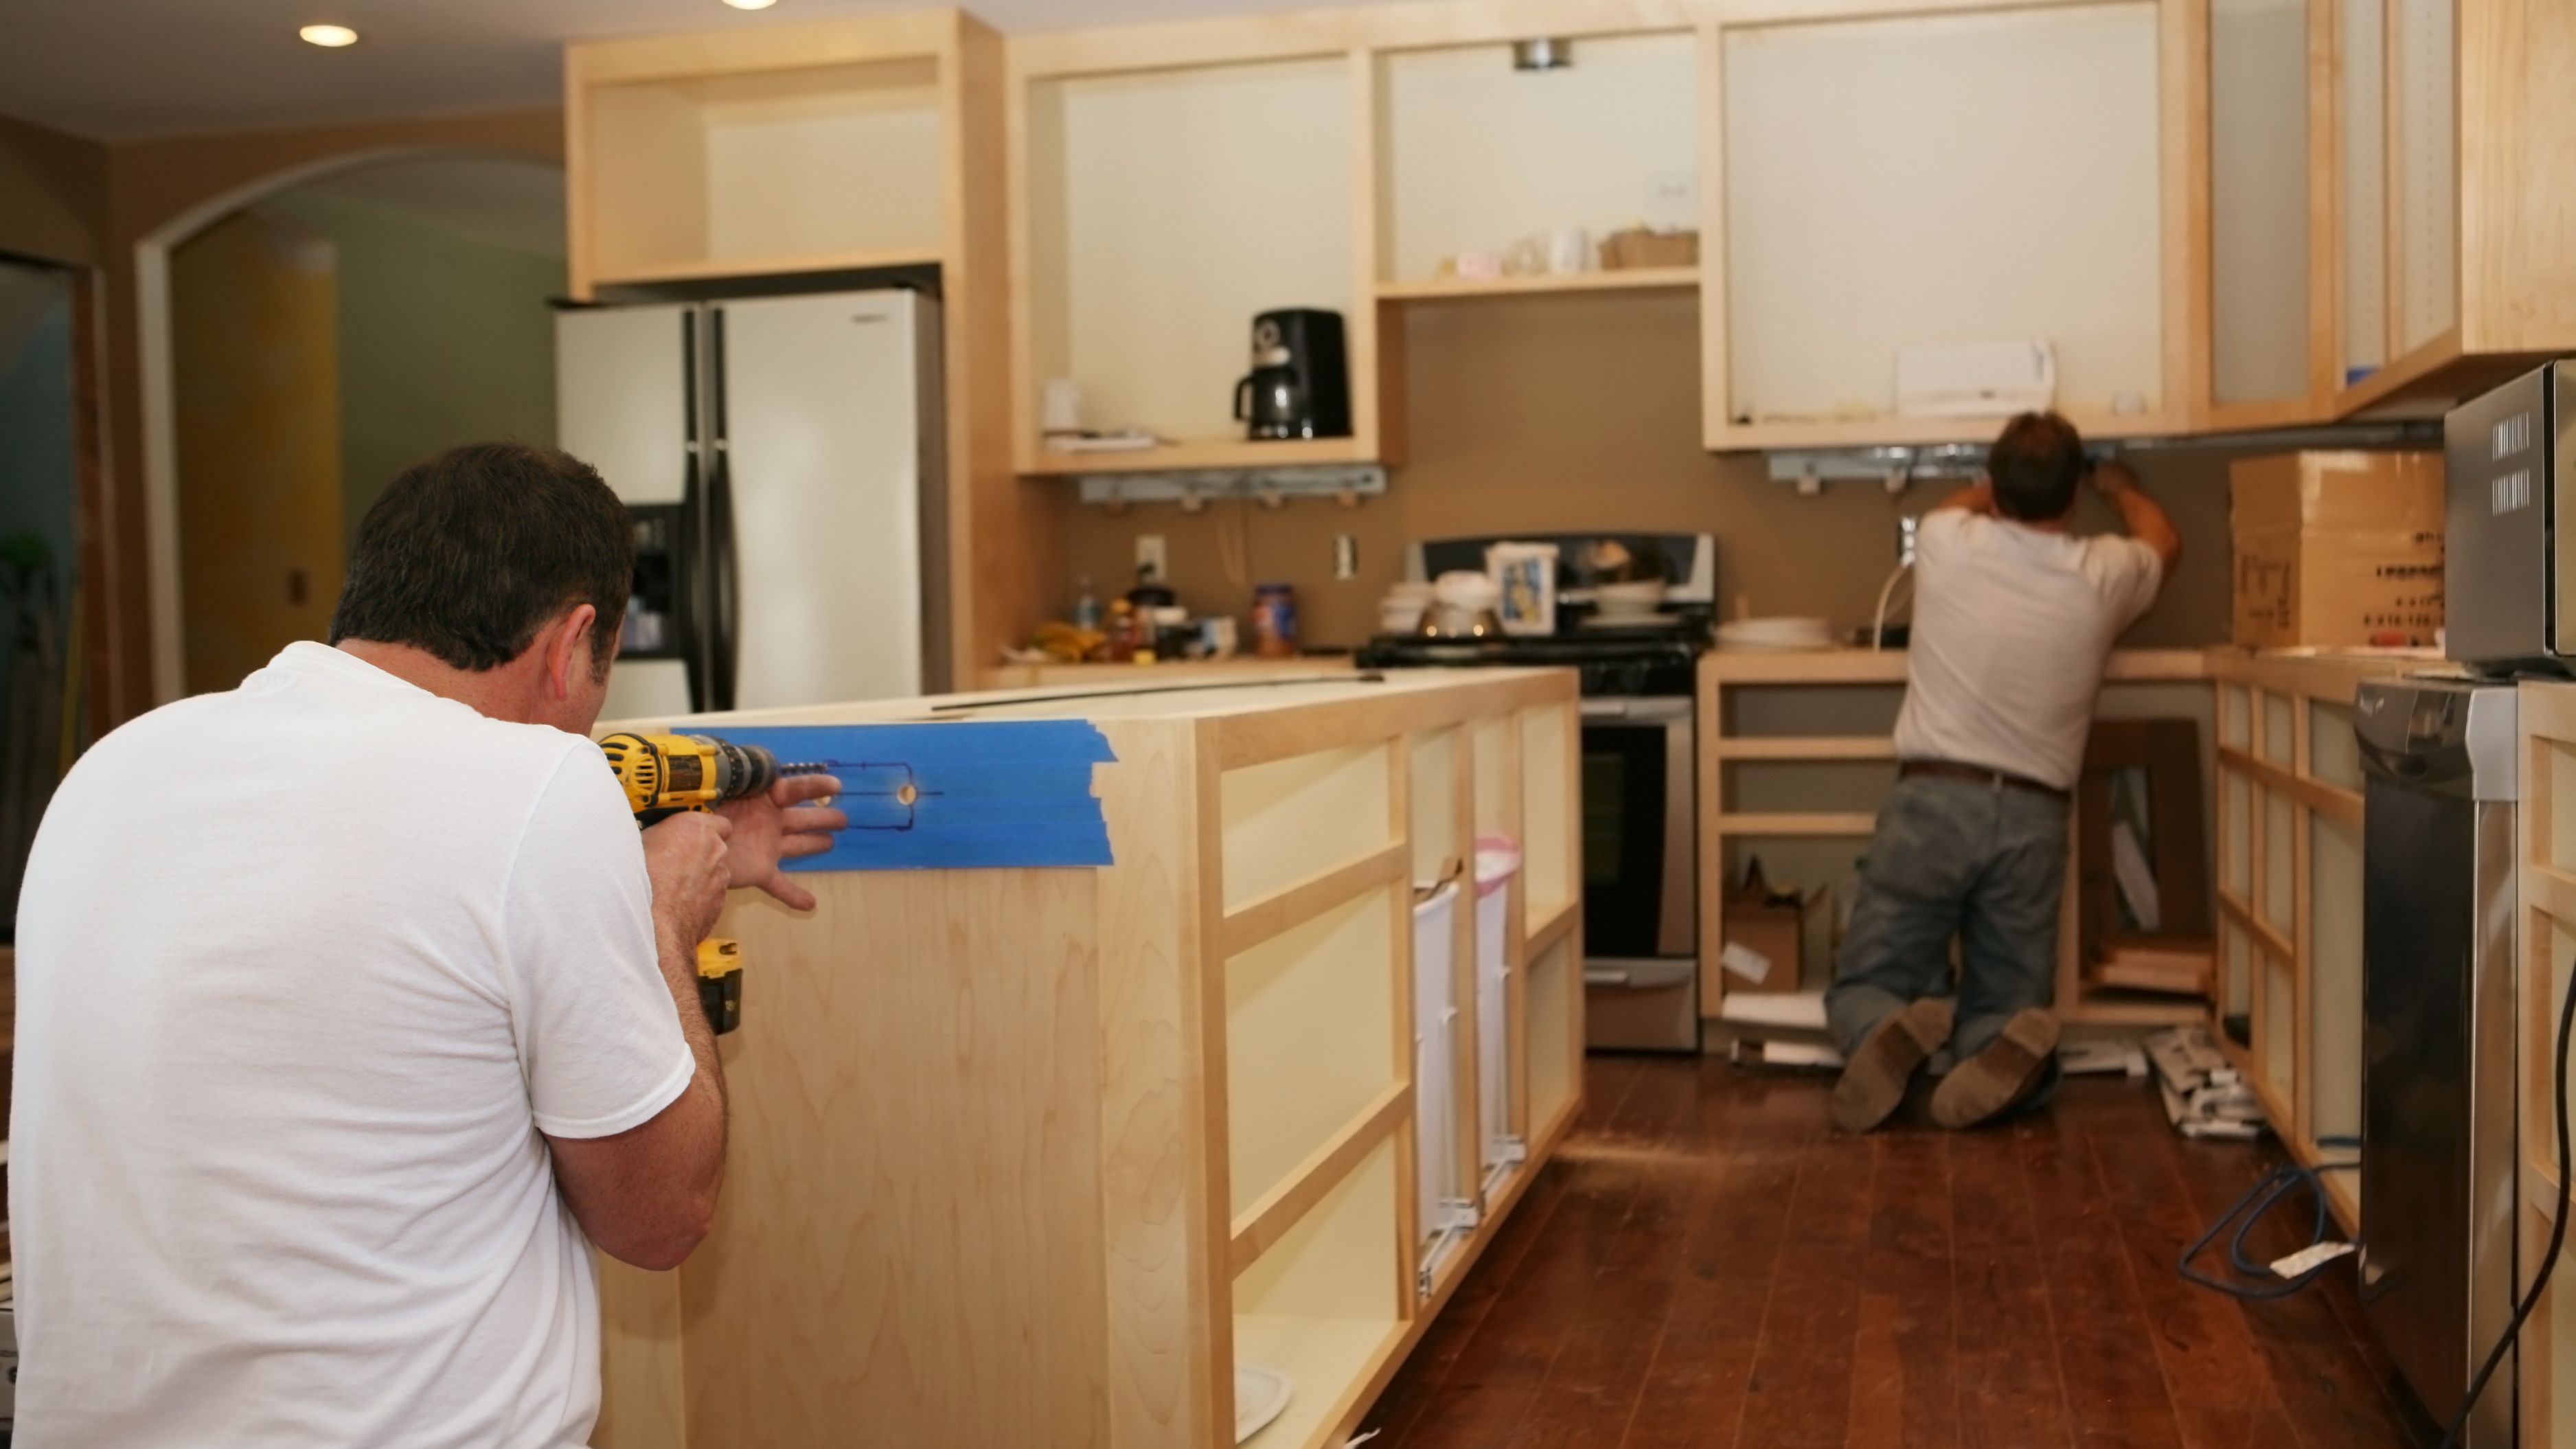
1. Paint or Reface the Cabinets
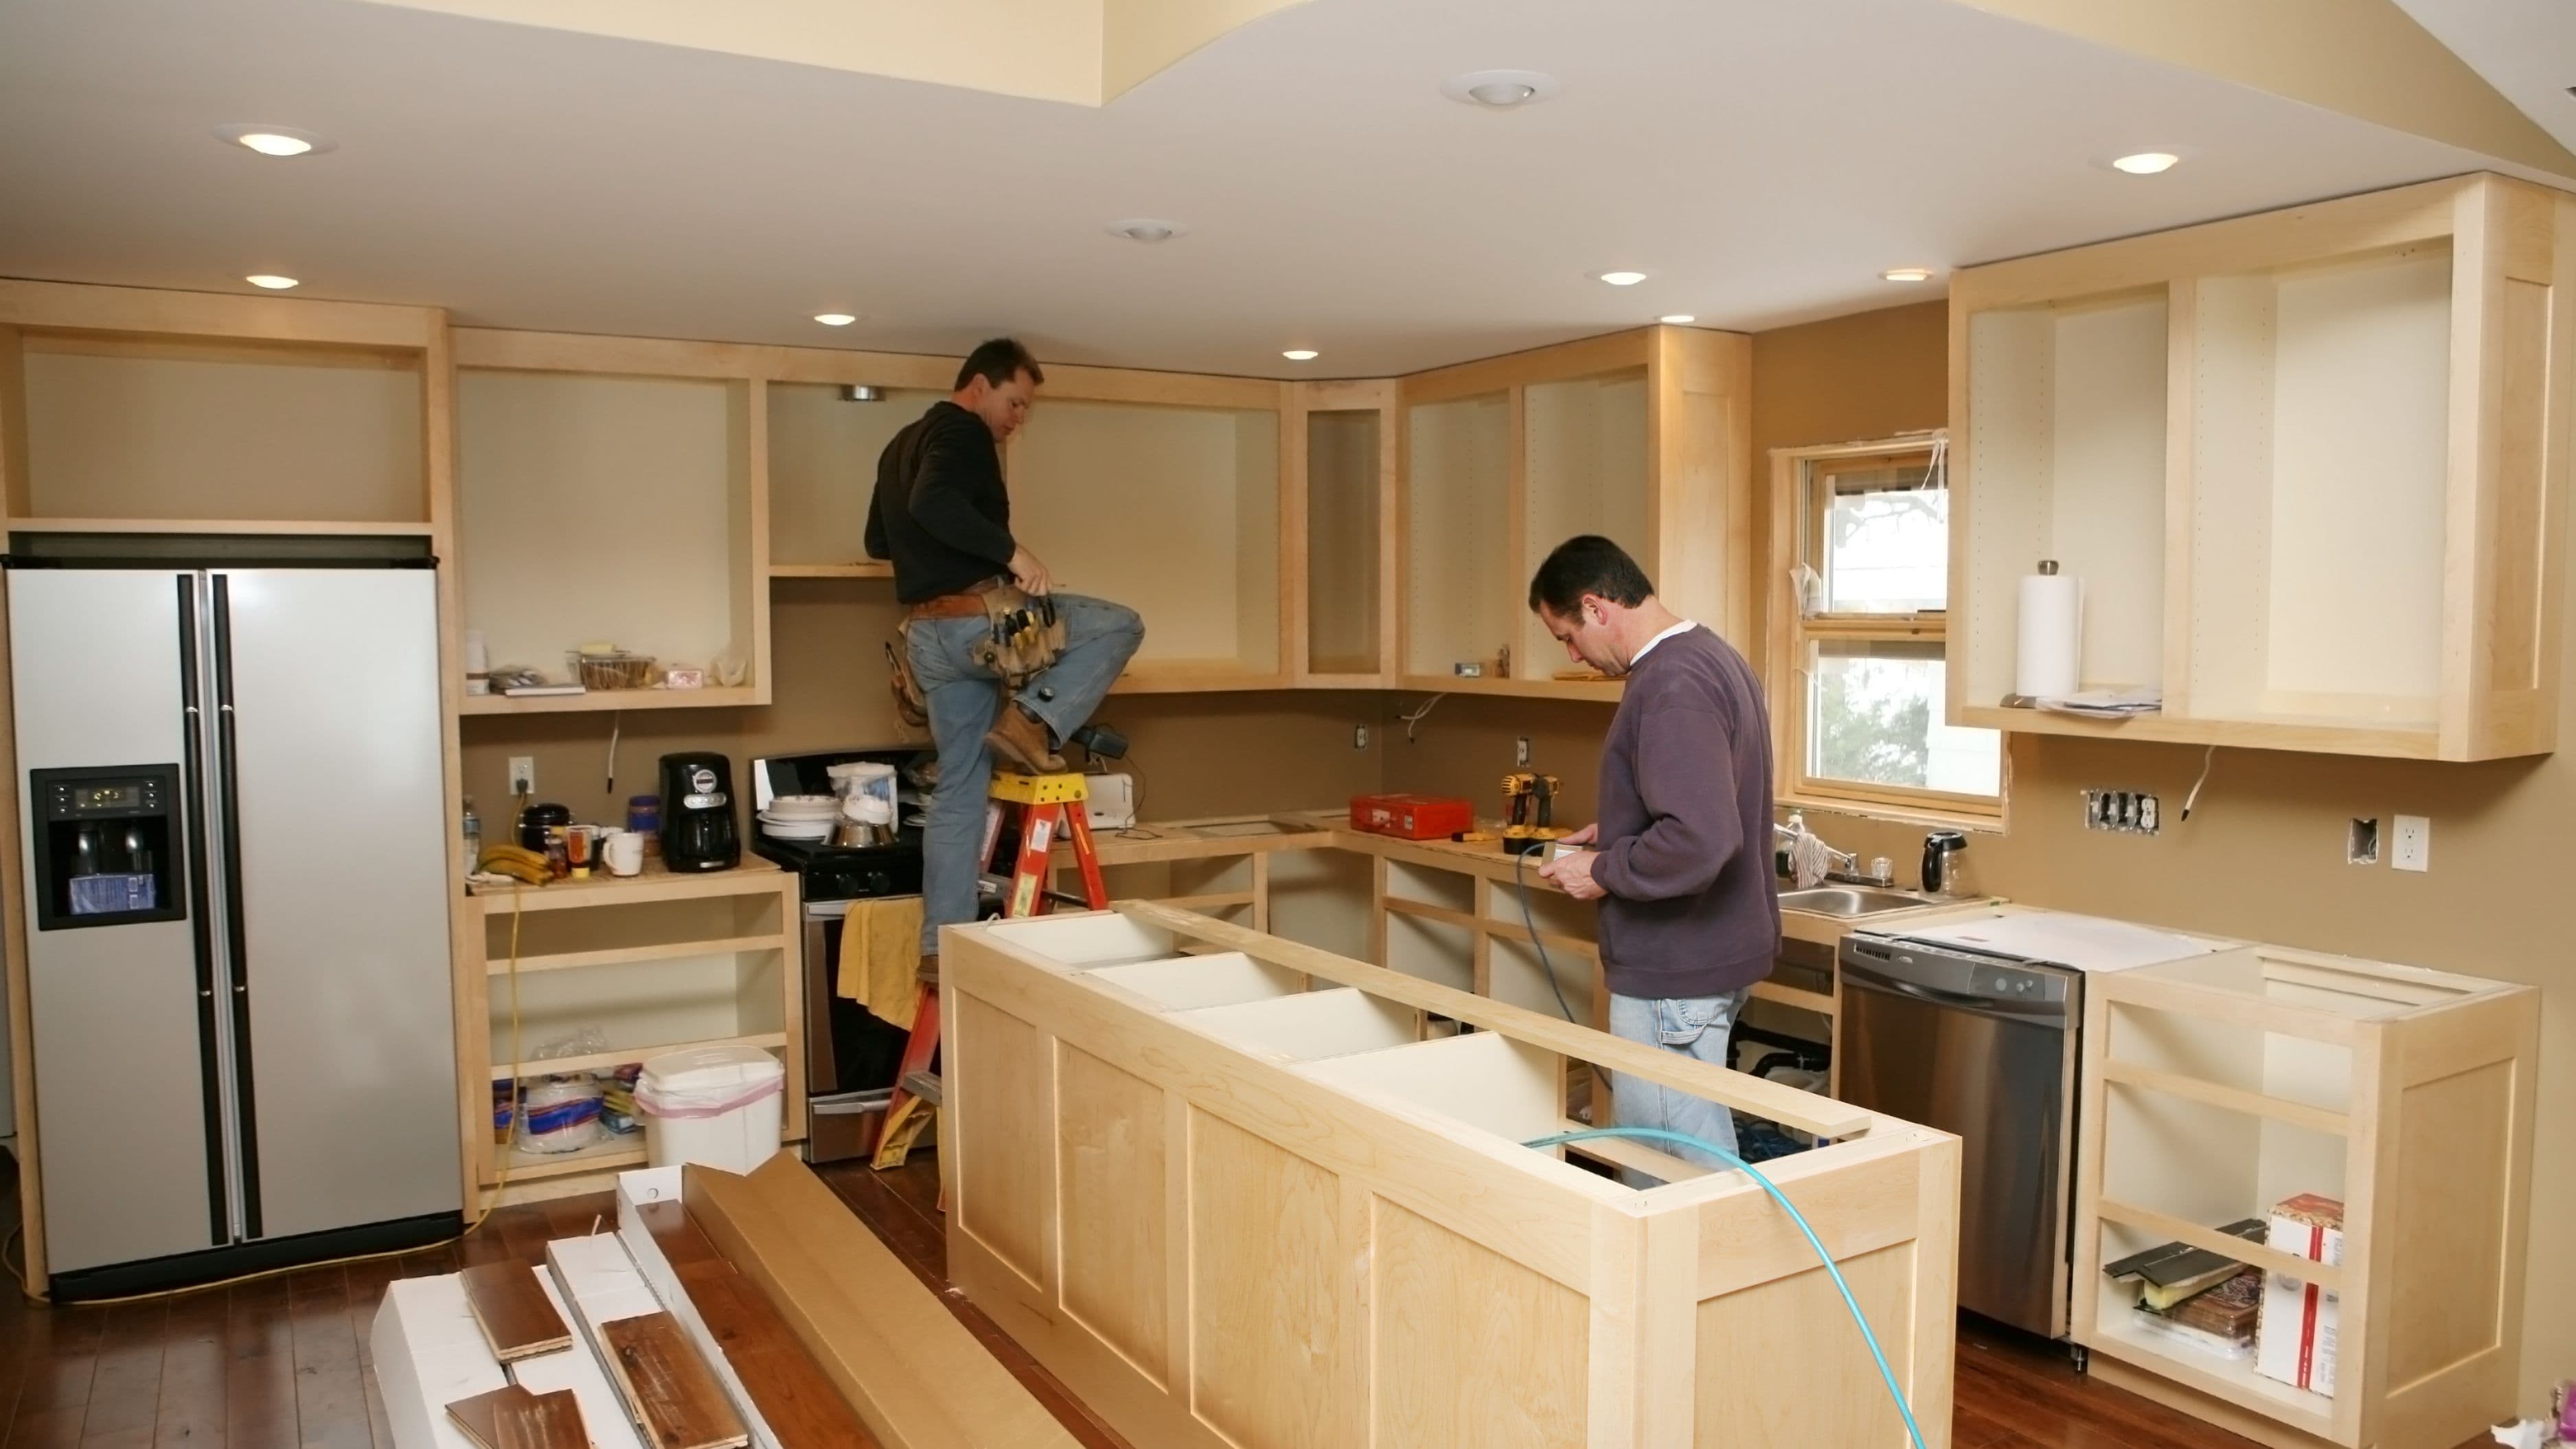
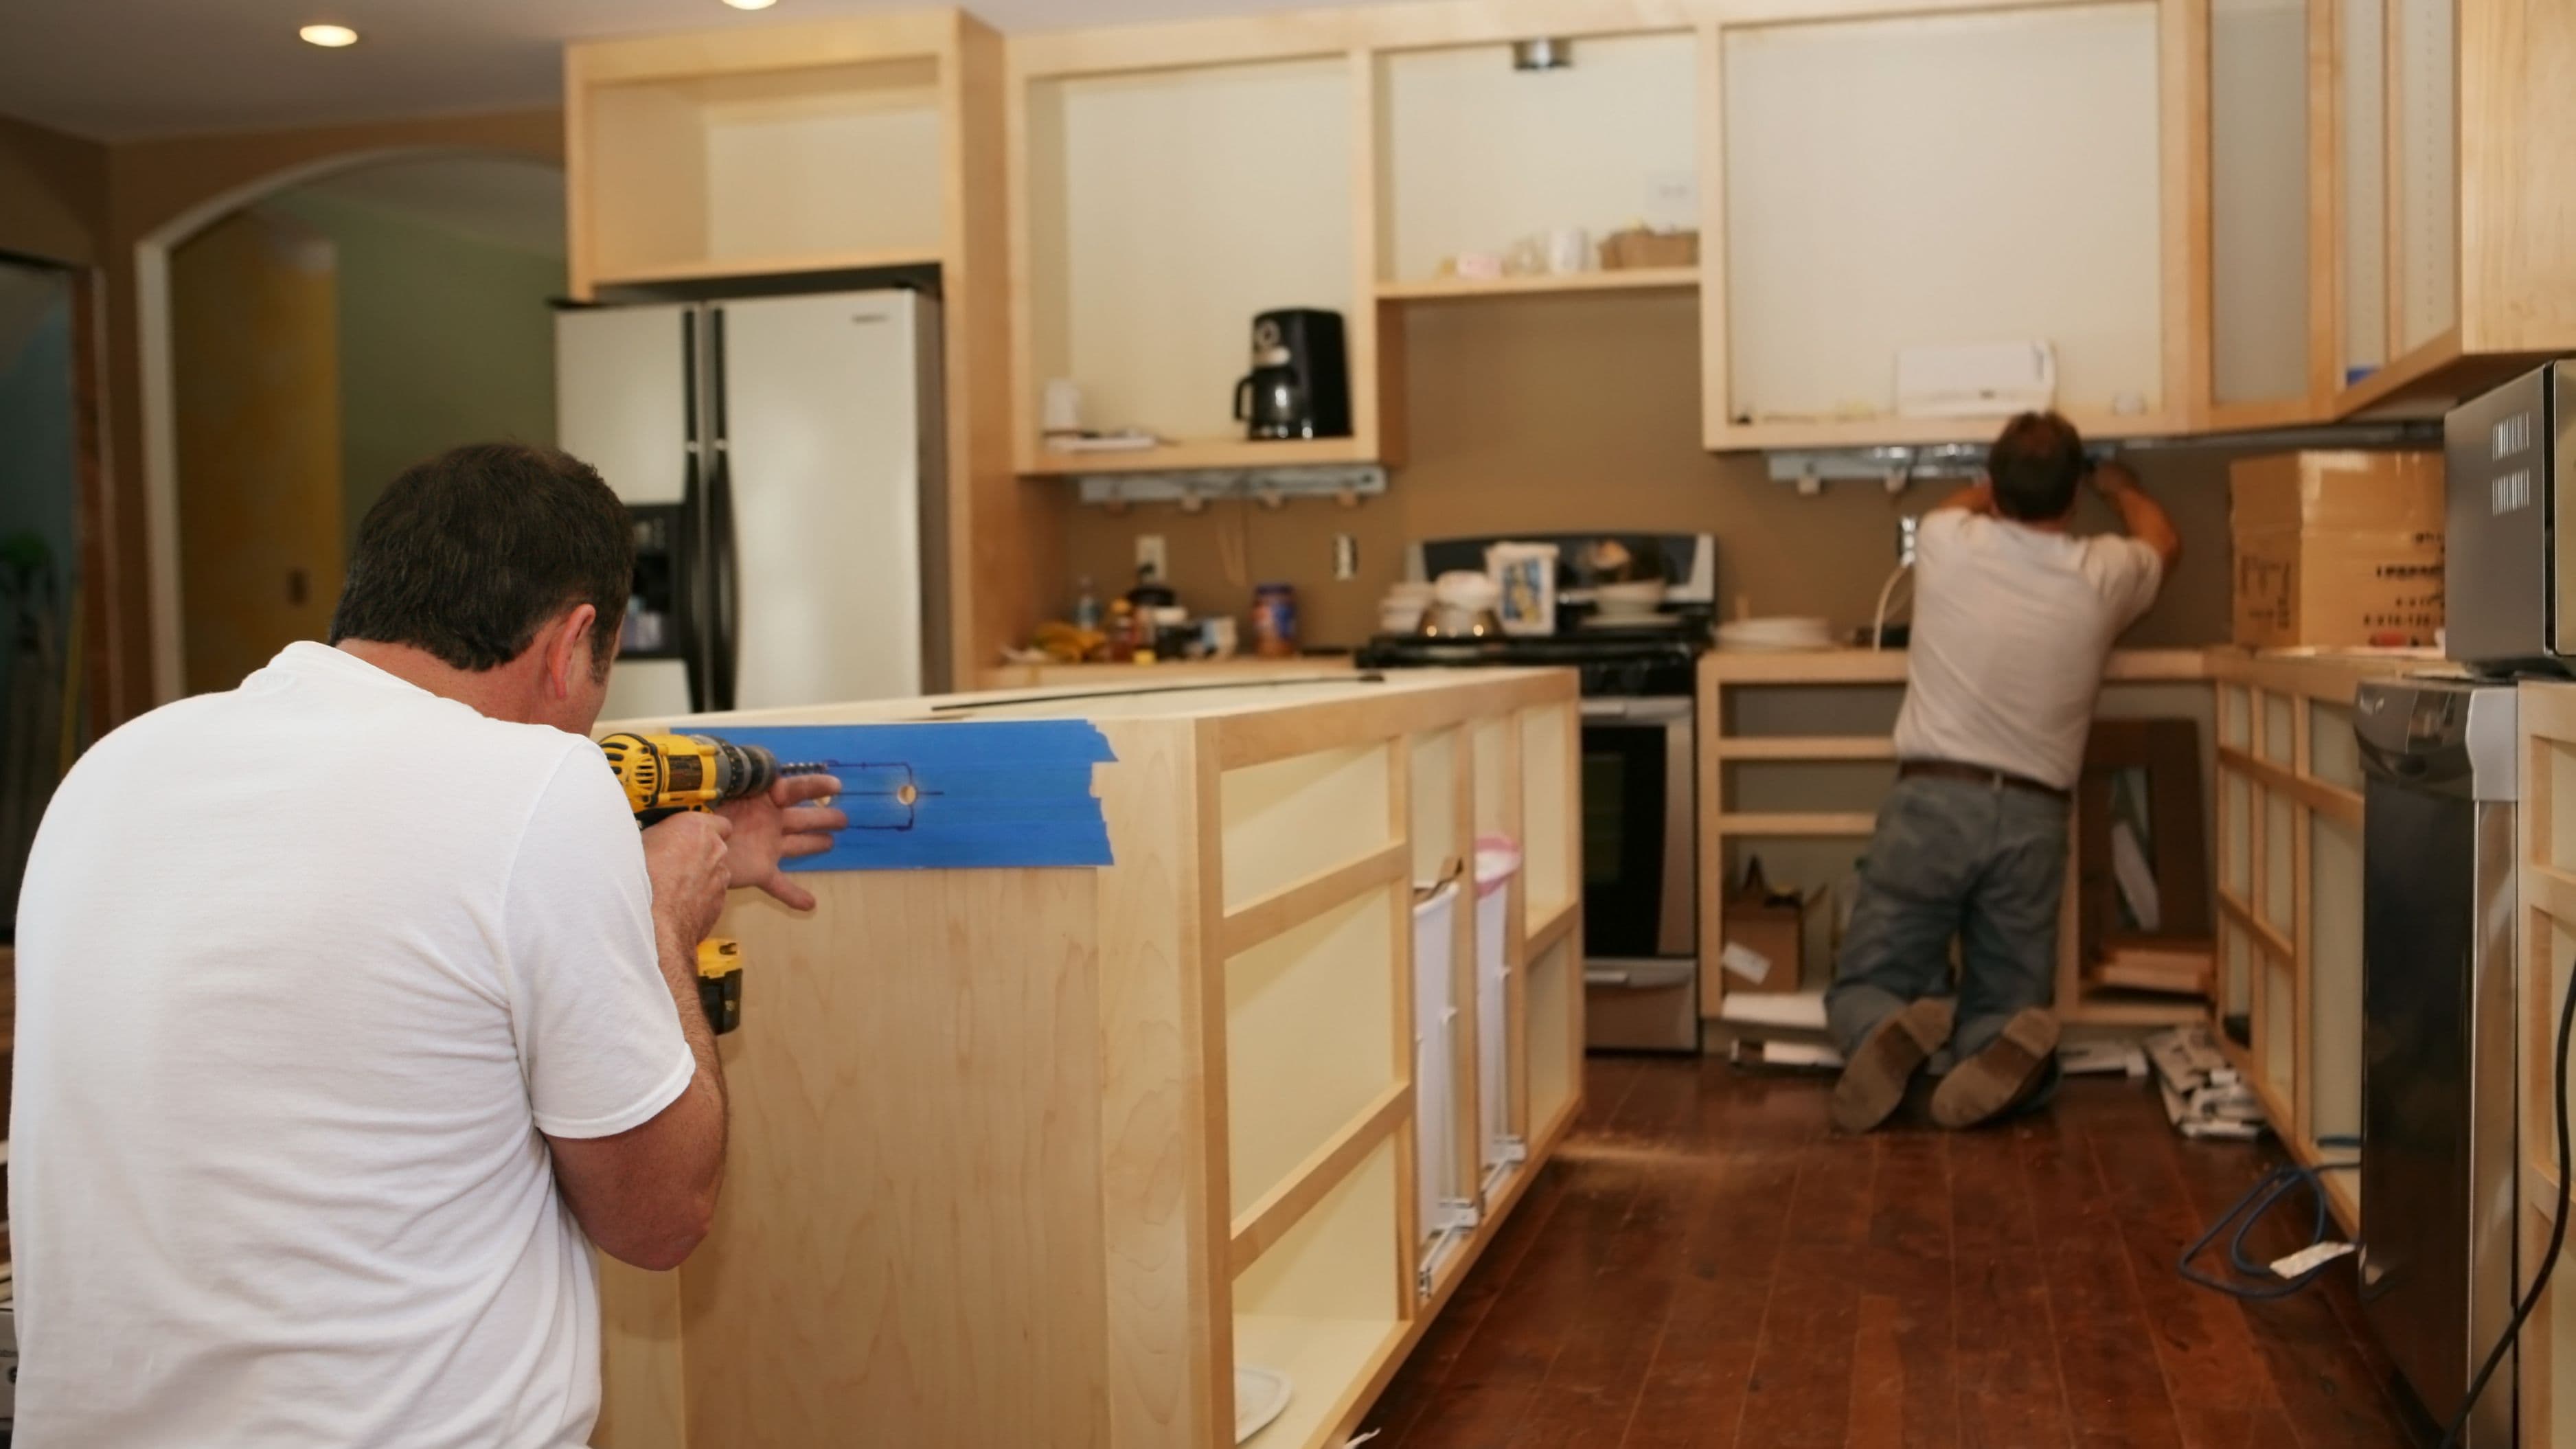
Cabinet replacement is one of the most expensive parts of a full kitchen remodel – and also one of the most unnecessary if the boxes themselves are solid. Painting existing cabinets, or refacing them with new doors and drawer fronts while keeping the existing carcasses, delivers most of the visual impact of new cabinetry at a fraction of the cost.
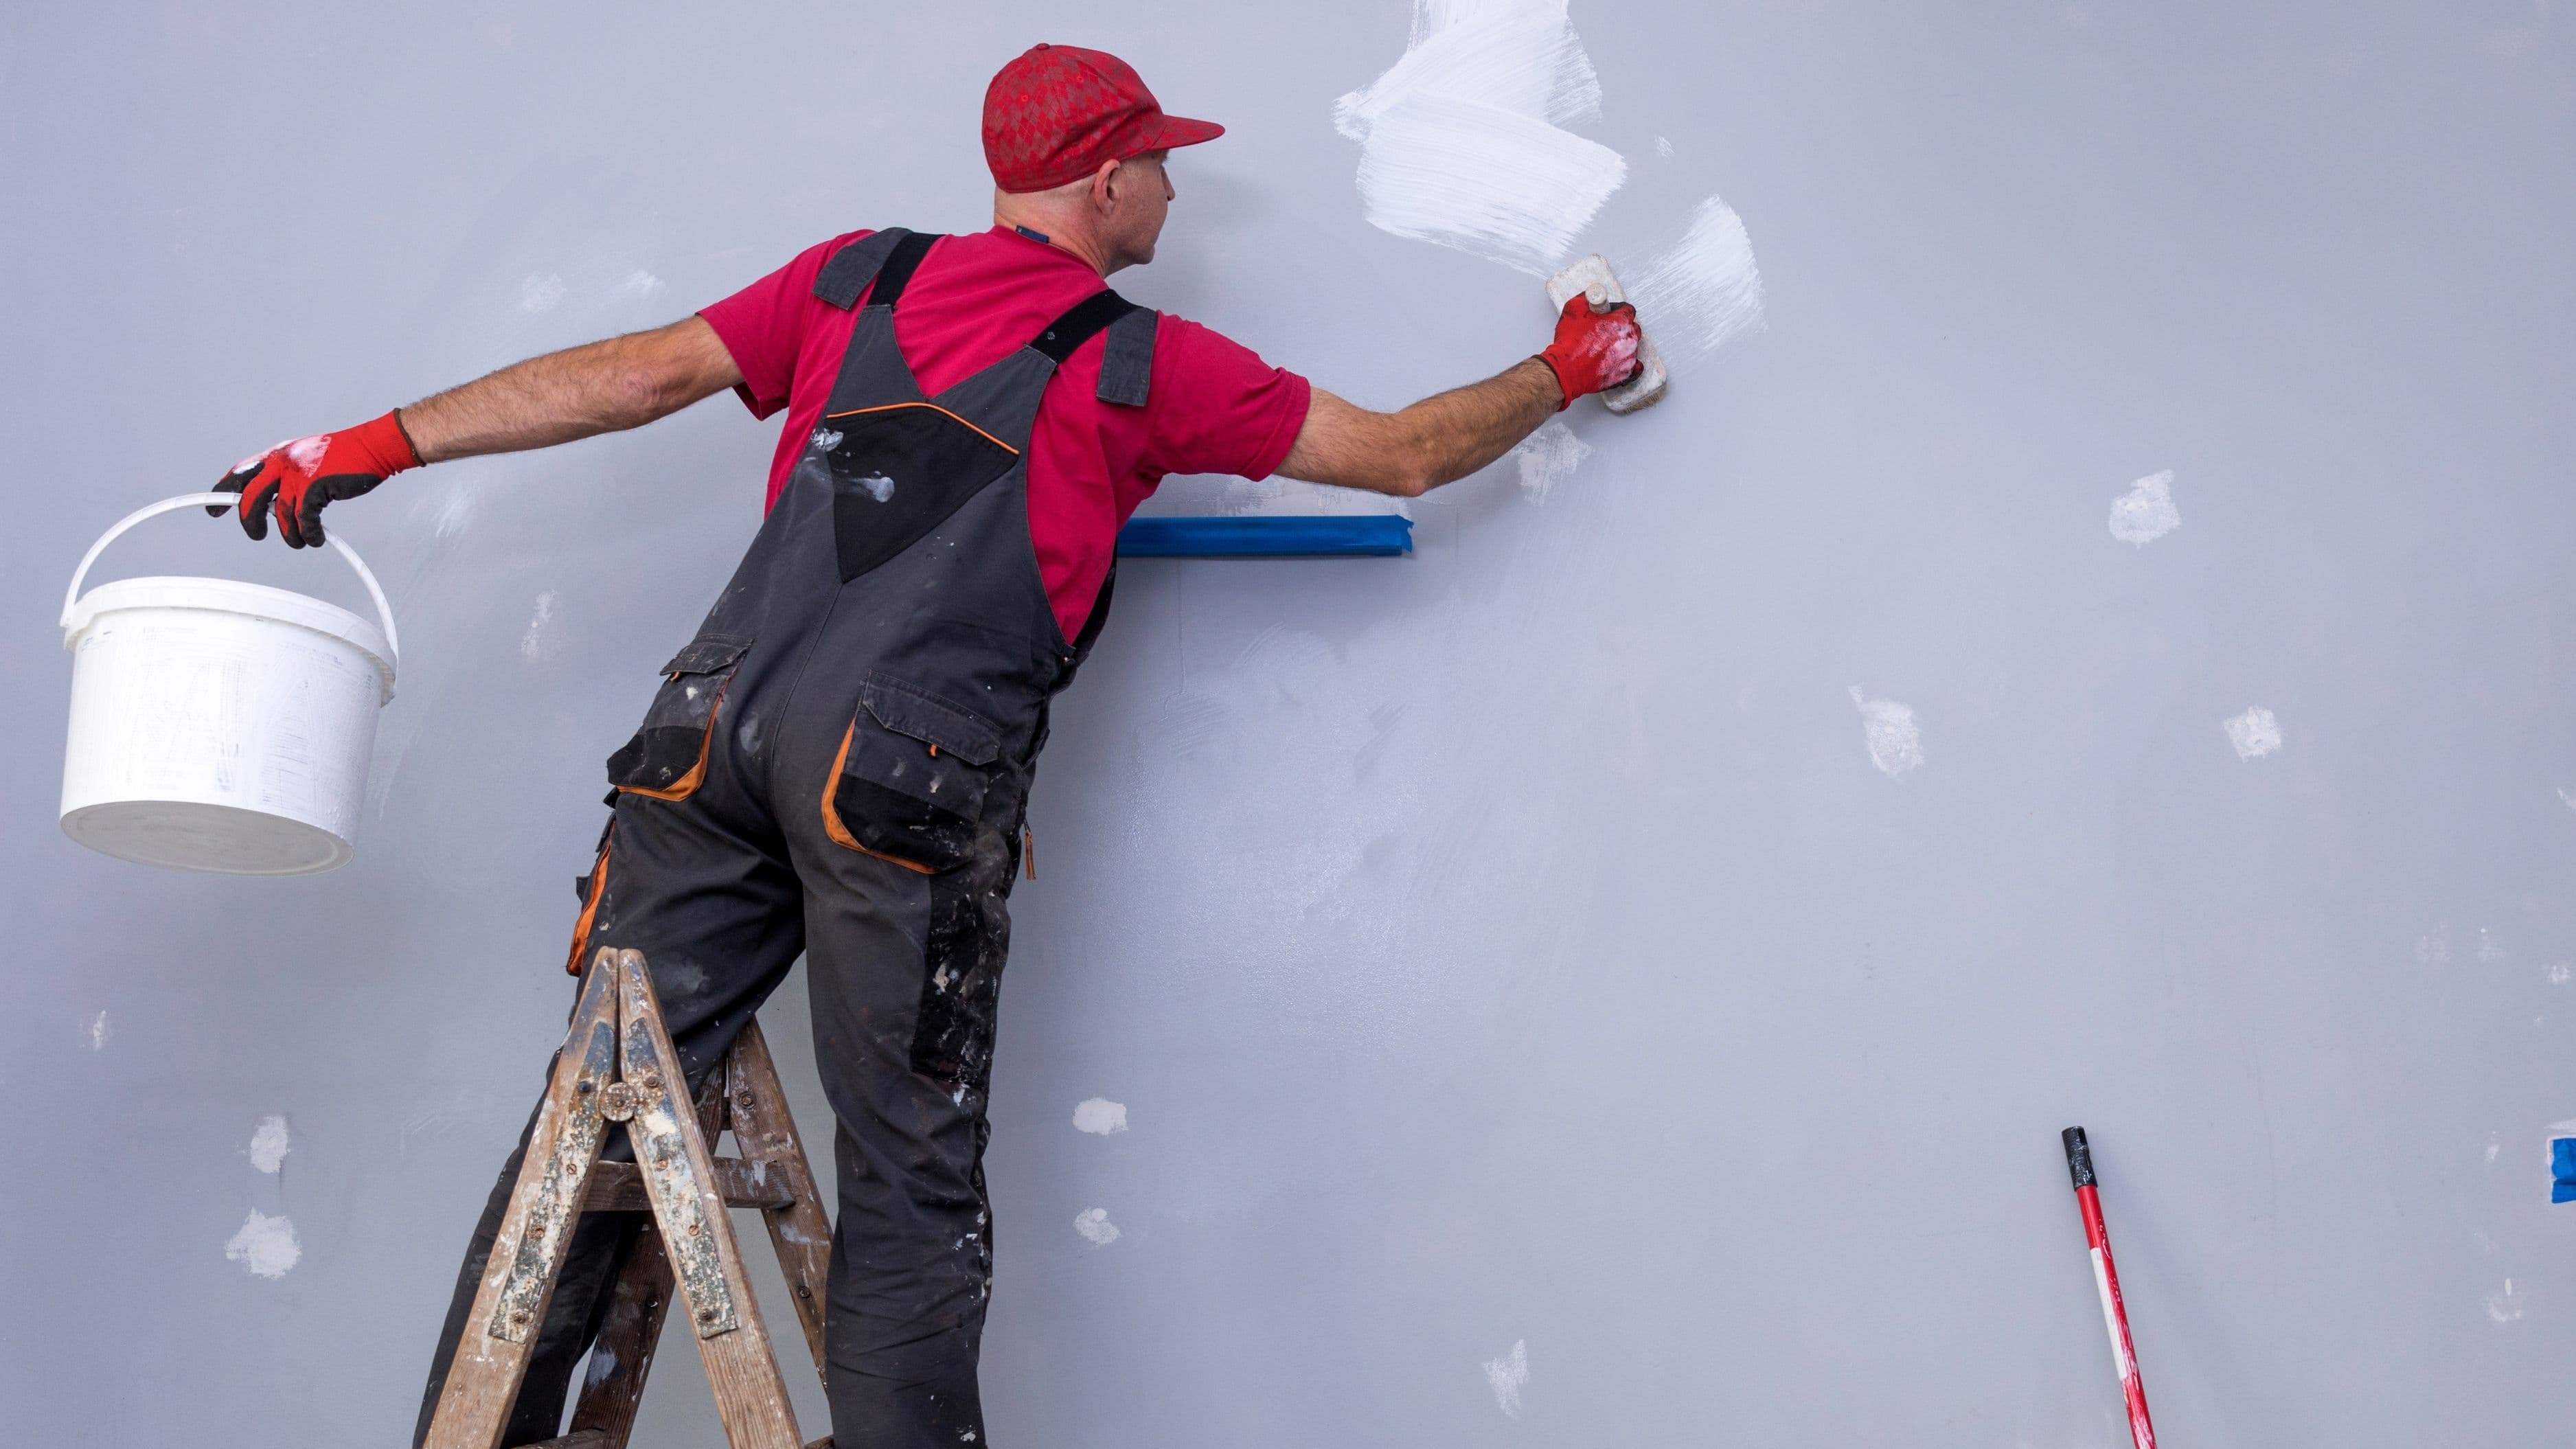
A professional cabinet painting job typically costs $1,500–$4,000 depending on kitchen size and finish quality. Done well, it's nearly indistinguishable from new. The DIY route is viable too, but it requires more preparation than most people budget for – sanding, degreasing, priming, and applying a durable finish (alkyd or conversion varnish holds up far better than standard latex). Rush this prep and you'll have a finish that chips and peels within a year. Done correctly, a painted cabinet job lasts 10+ years.
Refacing goes a step further: new door and drawer fronts, new hardware, and a veneer or laminate applied to the cabinet boxes creates a completely new look while reusing the existing layout and structure. Refacing costs $4,000–$12,000 professionally, or $1,500–$4,000 in materials for an ambitious DIYer who's comfortable with precision work. Either way, you're spending roughly 30–50% of what new cabinets would cost for a result that looks equivalent.
Cost range: $200–$800 DIY paint; $1,500–$4,000 professional paint; $4,000–$12,000 professional reface.
Time: 2–5 days including dry time (DIY paint); 3–5 days (professional).
Impact: High – cabinets are the dominant visual element in most kitchens.
2. Replace the Hardware
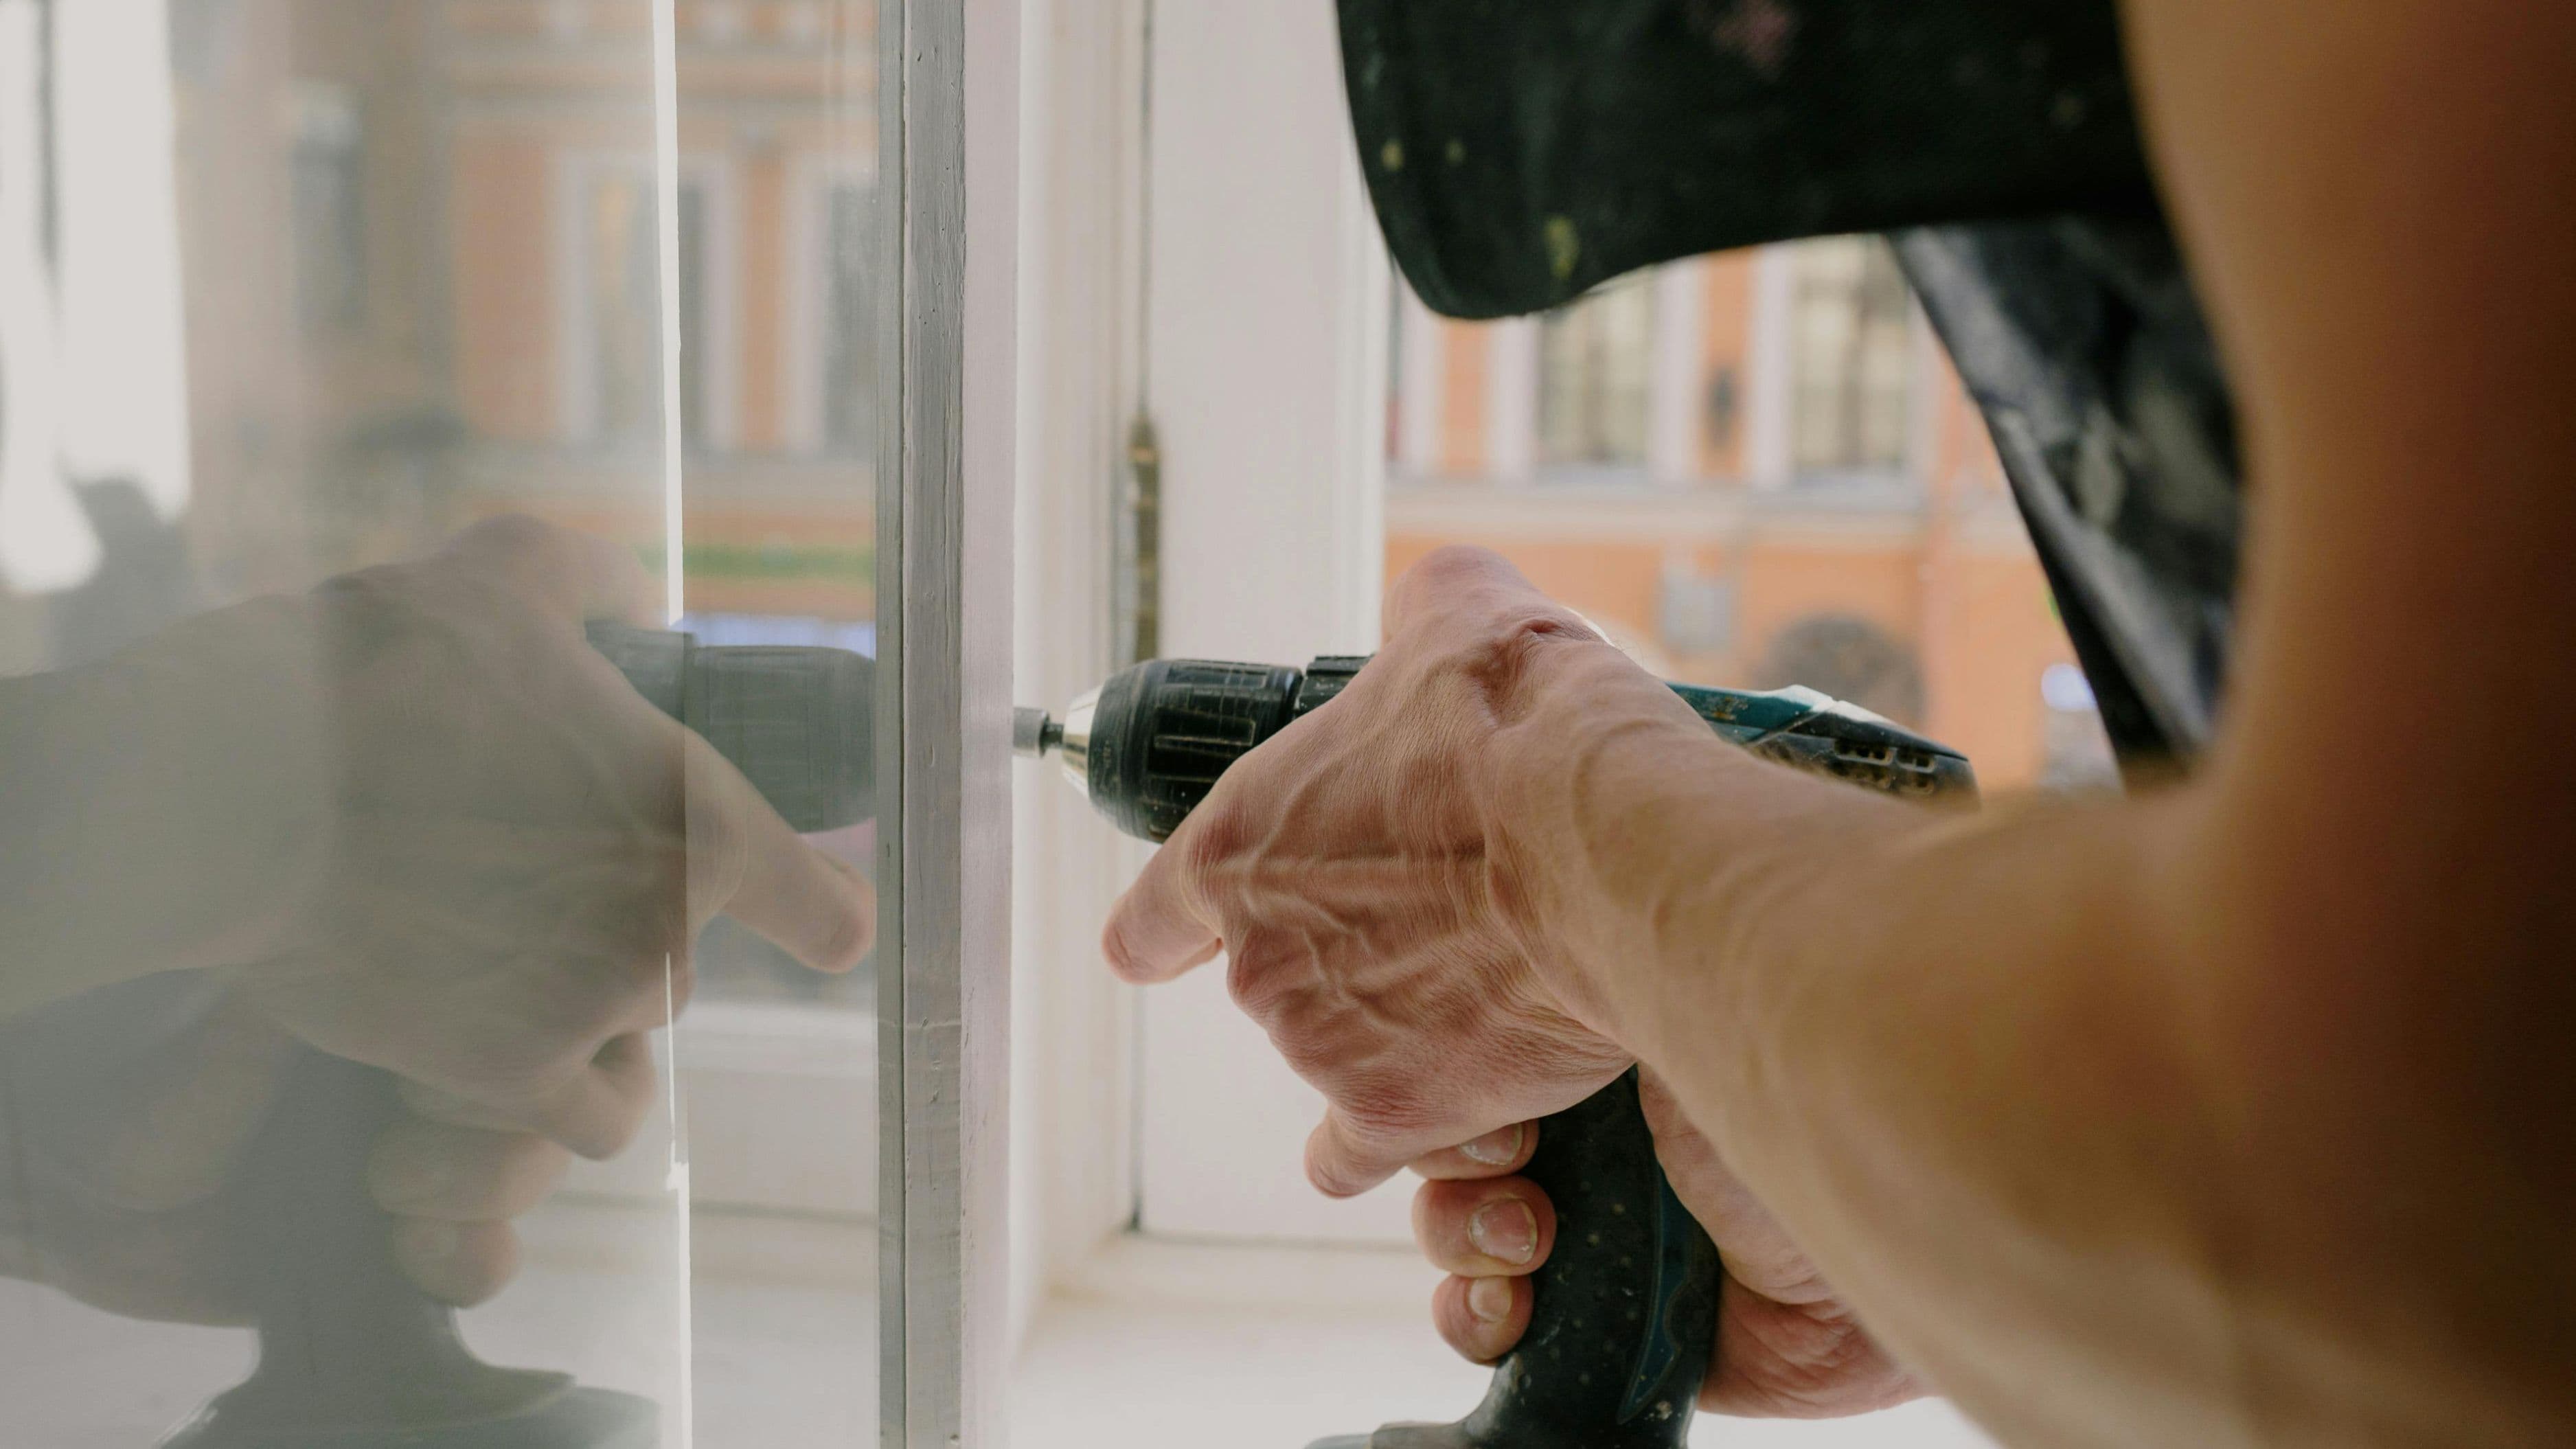
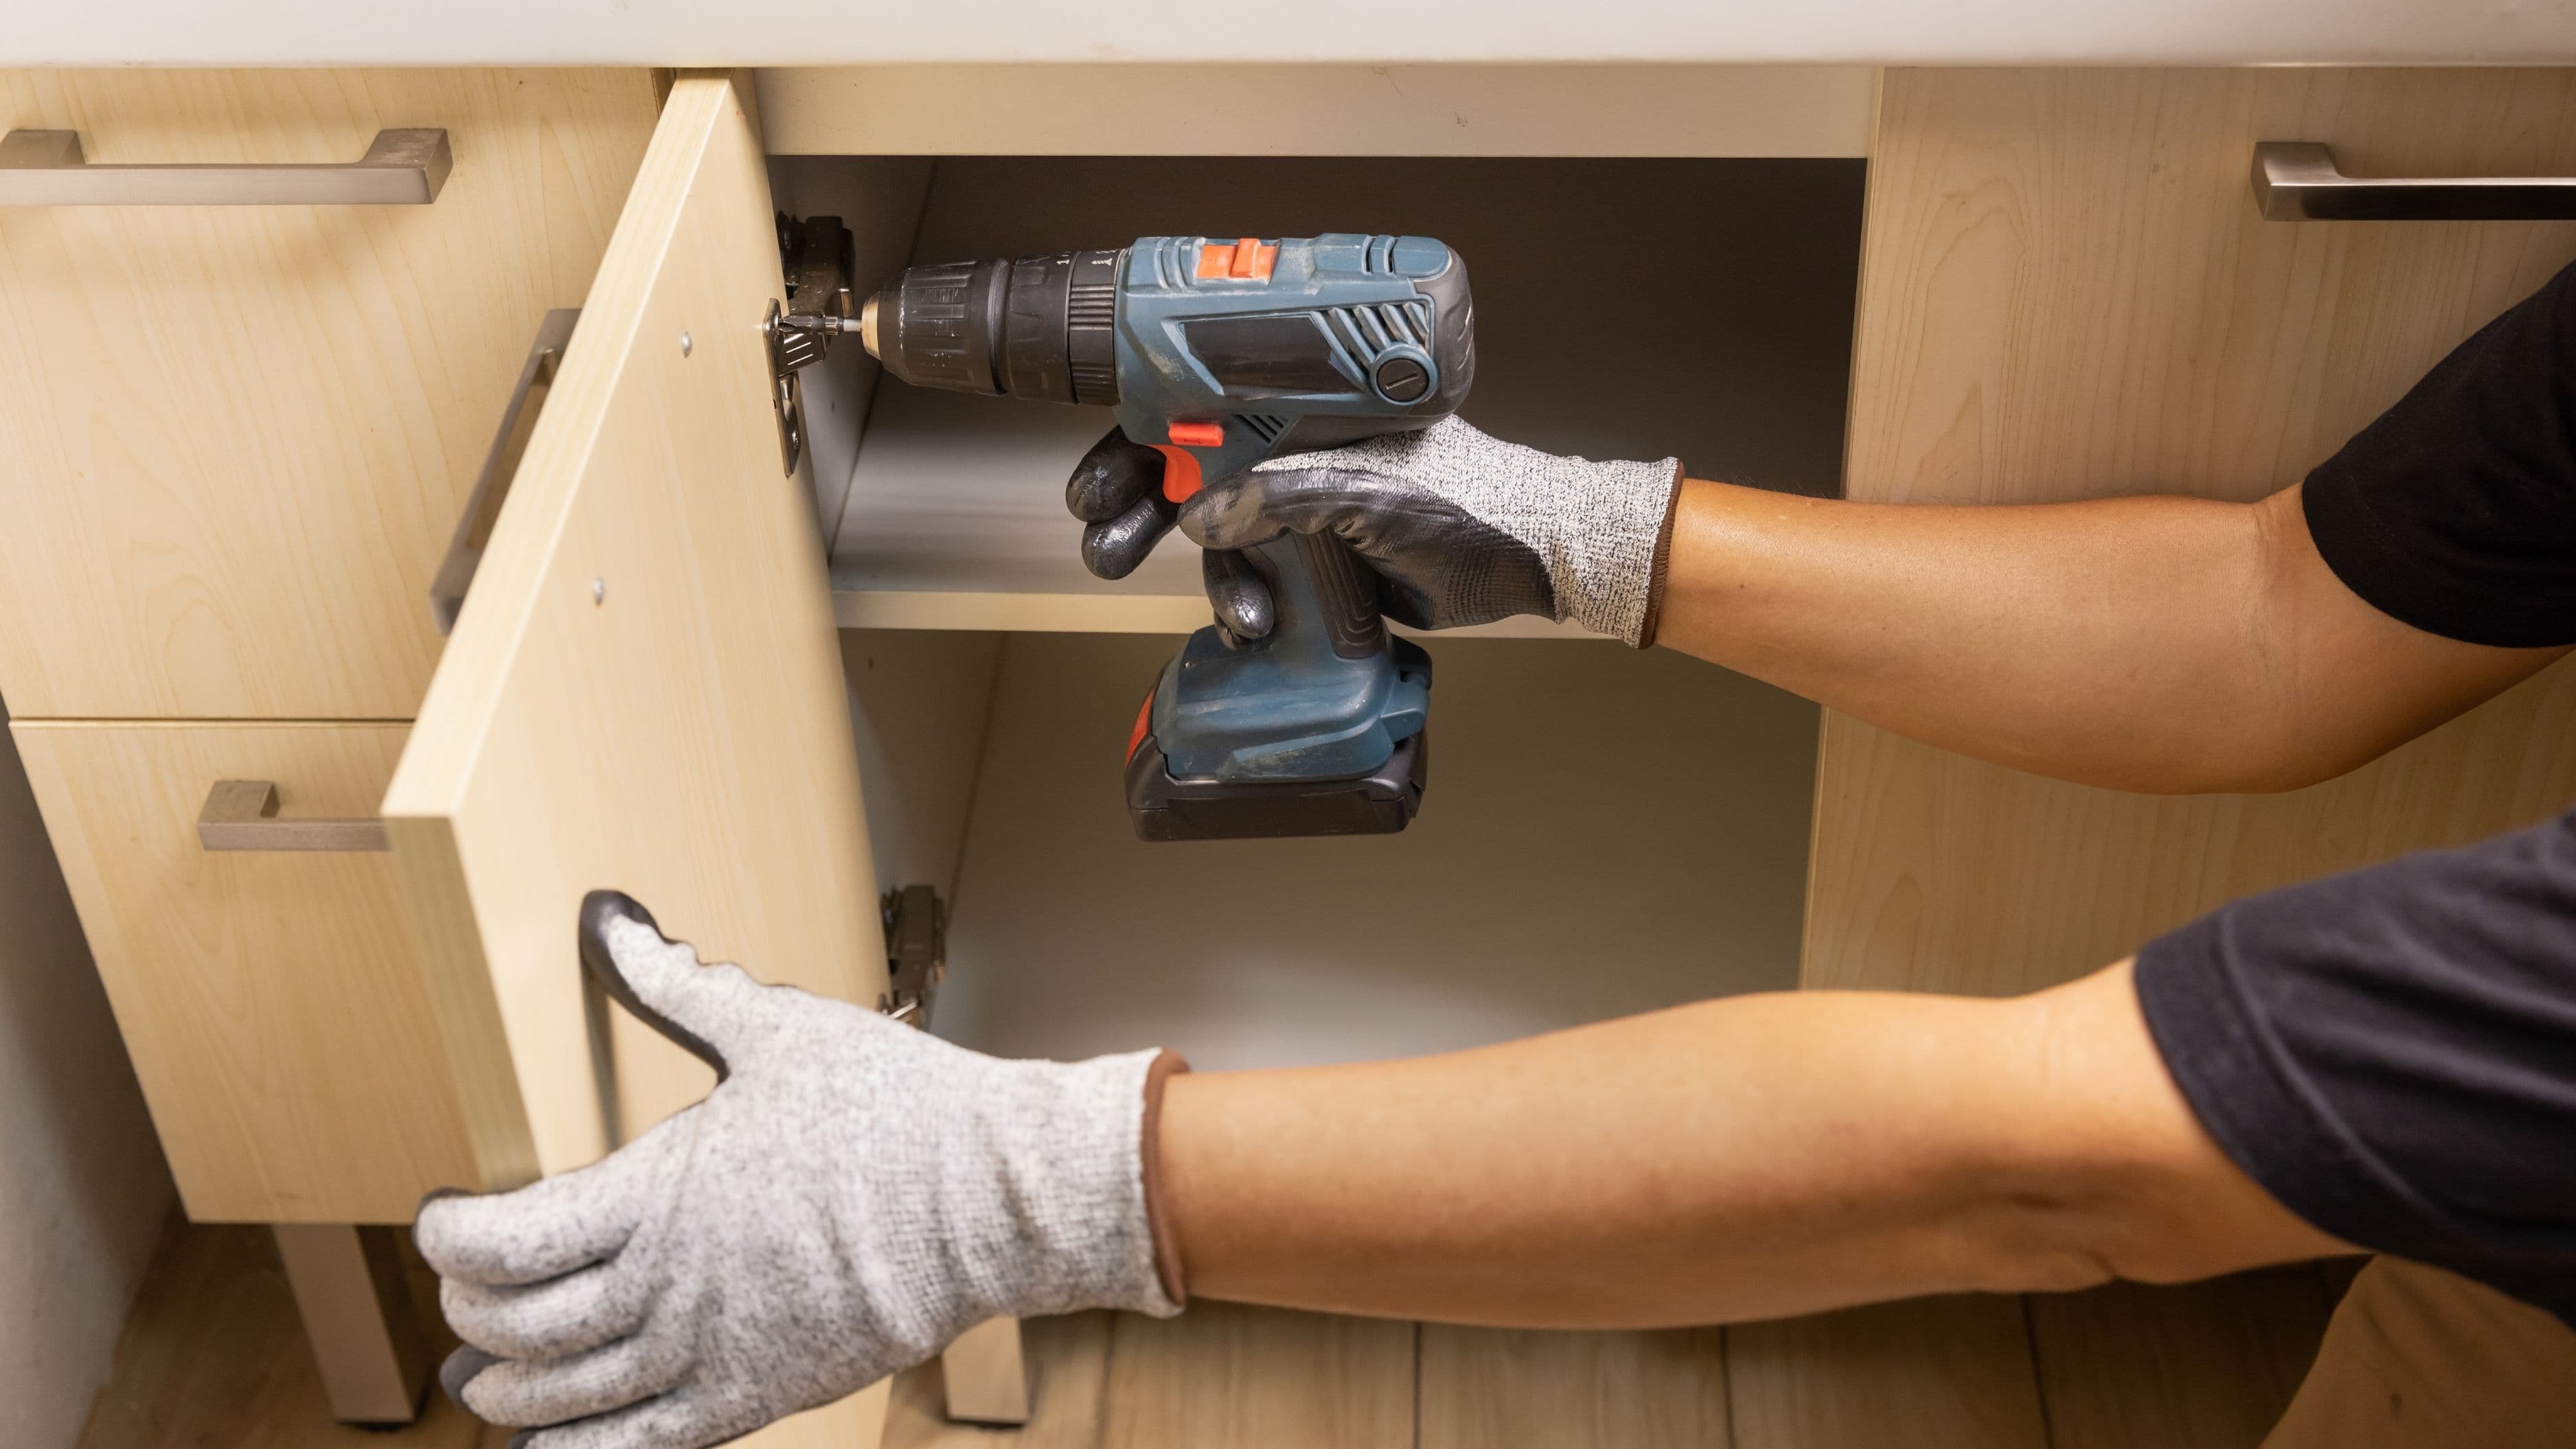
This is the lowest-cost, highest-visual-impact kitchen upgrade that exists. New cabinet pulls and hinges cost $3–$15 per piece, and replacing them takes an afternoon with a screwdriver. Yet the difference between aged brass or chrome hardware from 2002 and a clean set of matte black or brushed nickel hardware is immediately visible in a way that outweighs the price difference significantly.
The practical consideration is consistency: measure the center-to-center distance on your existing pulls before buying, since most standard pulls are 3 inches or 5 inches between mounting holes. Buying pulls at a different spacing means drilling new holes in your cabinet doors, which isn't difficult but adds a step. Knobs avoid this problem entirely since they mount with a single hole.
If you're also painting cabinets, replace the hardware at the same time – it avoids trying to match new hardware to a finish you selected for old hardware, and it makes the cabinet refresh feel complete rather than partially updated.
Cost range: $50–$400 for a full kitchen's worth of hardware depending on size and finish.
Time: 1–3 hours.
Impact: High relative to cost – updates the look of every cabinet in the kitchen immediately.
3. Install a New Backsplash
A backsplash upgrade is one of the most common and consistently satisfying kitchen improvements, and for good reason. It adds color, texture, and visual interest to the most-looked-at wall in the kitchen, it protects the wall behind the stovetop and counters, and it's a manageable DIY project for anyone willing to learn basic tile work.
Sheet mosaic tiles (small tiles pre-mounted on a mesh backing) are the most DIY-friendly backsplash option – they go up quickly, require minimal cutting, and are forgiving of imperfect technique. Subway tile is the other classic choice: clean, versatile, and easy to find in a wide range of finishes. For a quicker option that avoids grout entirely, peel-and-stick backsplash tile has improved considerably and can produce a reasonable result in rental situations or as a temporary upgrade, though the longevity doesn't match traditional tile.
The scope of the project matters for the budget and time estimate. A full backsplash behind the range and countertops in an average kitchen runs $200–$600 in materials and a weekend of DIY time. Professional installation adds $500–$1,500 in labor.
Cost range: $200–$600 DIY; $700–$2,000 professionally installed.
Time: 1–2 days DIY including grouting and curing time.
Impact: Medium-high – adds visual character and modernizes the kitchen significantly.
4. Upgrade the Faucet
The kitchen faucet is used dozens of times a day. An upgrade here isn't just cosmetic – it changes the daily experience of cooking and cleaning in ways that most people notice immediately. A quality pull-down faucet with a high-arc spout makes filling pots, washing produce, and cleaning the sink significantly easier than a basic two-handle setup, and the installation process is straightforward enough for a confident DIYer.
Mid-range faucets from brands like Moen, Delta, and Kohler cost $100–$350 and offer meaningful improvements in spray function, finish durability, and water efficiency over budget options. Higher-end options ($400–$800) add features like touchless activation, integrated filtration, or voice control – worth considering if those functions appeal, but not necessary for a functional upgrade.
The main installation variable is how many holes your existing sink has. Single-hole faucets are increasingly standard, but older sinks often have three holes (for separate hot/cold handles and a sprayer). Many mid-range faucets include deck plates that cover extra holes, making them compatible with multi-hole setups. Confirm compatibility before buying.
Cost range: $100–$400 for materials; add $100–$200 if you hire a plumber for installation.
Time: 1–3 hours DIY.
Impact: Medium – improves daily function noticeably and updates the look of the sink area.
5. Add Under-Cabinet Lighting
Under-cabinet lighting is one of those upgrades that makes a kitchen significantly more functional while also improving how it looks – which is an unusual combination for something that costs relatively little. Task lighting directed at your countertops eliminates the shadows cast by overhead lighting, makes food prep easier, and adds a layer of ambient warmth to the kitchen that overhead fixtures can't replicate.
LED strip lights are the easiest and most affordable option: hardwired or plug-in LED strips with a neutral to warm color temperature (2700K–3500K is the sweet spot for kitchens) cost $50–$200 to cover a standard kitchen and can be installed without any electrical work if you're using the plug-in variety. Puck lights and bar lights offer a cleaner, more integrated look but require more installation time and, if hardwired, an electrician if you're not comfortable with low-voltage wiring.
Dimmer compatibility is worth checking before buying – dimmable LED strips that work with a compatible dimmer switch give you full control over the light level, from bright task lighting while cooking to warm ambiance in the evening.
Cost range: $50–$200 DIY (plug-in LED strips); $150–$500 for hardwired installation.
Time: 1–4 hours depending on type.
Impact: Medium-high – noticeably improves both function and atmosphere in daily use.
6. Replace or Resurface the Countertops
Countertops are the second biggest visual element in a kitchen after cabinets, and worn, stained, or dated counters are one of the most common reasons a kitchen feels tired even when everything else is in reasonable shape. A full countertop replacement is the most expensive option but not always necessary – several alternatives deliver meaningful improvement for less.
Laminate countertops can be replaced entirely for $800–$2,000 in a typical kitchen using stock material from home improvement stores, and the installation is DIY-feasible with patience. If you have solid surface or tile countertops in poor condition, replacement is almost always the right call – resurfacing those materials is rarely satisfying.
For existing countertops that are structurally sound but visually worn, a countertop resurfacing kit (applied epoxy or coating system like Rust-Oleum's Countertop Transformations) provides an affordable refresh at $100–$300 in materials. These products have a reasonable lifespan of 3–5 years with proper care and are worth considering as a bridge upgrade while you save for something more substantial.
If budget allows, upgrading to quartz or butcher block at replacement time is worth the additional cost – both materials add genuine value and are more durable than laminate for long-term use.
Cost range: $100–$300 (resurfacing kit); $800–$2,000 (laminate replacement DIY); $2,500–$6,000+ (quartz or stone professionally installed).
Time: 1 day (resurfacing); 1–2 days (laminate DIY); 1 day installation (professional).
Impact: High – countertops heavily influence both the look and usability of the kitchen.
7. Improve the Storage and Organization
This is the upgrade that gets skipped most often because it doesn't look dramatic in a photo, but it consistently makes the kitchen more functional in daily life – and functionality is what most homeowners actually miss when they list their kitchens as a pain point. The problem in most kitchens isn't that there isn't enough cabinet space; it's that the space isn't organized effectively.
Pull-out shelves for base cabinets eliminate the frustration of reaching to the back of a deep cabinet and finding nothing. They cost $50–$150 per cabinet and can usually be installed by sliding them into an existing cabinet without any modification. Drawer organizers, lazy Susans for corner cabinets, door-mounted organizers for cleaning supplies, and a proper drawer configuration for utensils each cost $20–$80 and collectively transform how usable your existing kitchen is.
If the primary problem is a lack of drawer space (most base cabinets come with one or two drawers at the top and open shelving below), converting some of those open-shelf base cabinets to drawer banks is a higher-effort upgrade but a significant functional improvement. IKEA's SEKTION system and other modular cabinet lines offer individual drawer units that fit standard openings and can be swapped in without touching the rest of the kitchen.
Cost range: $200–$800 for a comprehensive storage upgrade including pull-outs and organizers.
Time: 1 day.
Impact: Medium – less visible than surface upgrades, but daily usability improvement is immediate and meaningful.
What to Avoid
Don't upgrade surfaces without addressing function. New countertops over a broken layout, or a fresh backsplash in a kitchen that has inadequate storage, produces a prettier kitchen that's still frustrating to use. Address the functional problems first.
Avoid trendy finishes that date quickly. Matte black hardware and cabinet colors with staying power (navy, deep green, white, greige) will look current for 10+ years. Very on-trend choices that feel moment-specific often date a kitchen within five years.
Don't skip prep on cabinet painting. It's the single biggest source of failed DIY cabinet paint jobs. Degreasing with TSP or a similar cleaner, light sanding, and a bonding primer are non-negotiable steps before any topcoat goes on.
Resist the urge to do everything at once. Prioritize the one or two upgrades that address your specific kitchen's biggest weaknesses, execute those well, and evaluate what else is worth tackling before spending further. A well-executed cabinet paint job and hardware swap does more for a kitchen than six half-done improvements.
FAQ
Do these upgrades add resale value? Cabinet refresh, countertop replacement, and backsplash additions all show up positively in buyer perception during home showings – they signal a well-maintained, updated kitchen without the cost of a full remodel. NAR's Remodeling Impact data consistently shows minor kitchen upgrades recovering 70–80% of their cost in home value.
Which upgrade should I start with if I have a limited budget? Hardware replacement first – it's the lowest cost, highest visual return, and requires no specialized skills. Follow it with under-cabinet lighting if your kitchen feels dark, or cabinet painting if the cabinet finish is the dominant problem.
Can I do these upgrades while living in the kitchen? Most of them, yes. Hardware, faucet, lighting, and storage upgrades cause minimal disruption. Cabinet painting requires emptying the cabinets and working in stages, but the kitchen remains usable throughout. Countertop replacement causes the most disruption – typically one to two days without a functional counter surface.
Is peel-and-stick backsplash tile worth it? For rental situations or as a temporary measure, quality peel-and-stick products are a reasonable option. For a permanent solution, traditional tile is worth the additional effort. Peel-and-stick can lift at the edges over time, especially near heat sources, and doesn't have the longevity of grouted tile.
What color should I paint my cabinets? White and off-white remain the most broadly appealing options for resale and longevity. Deep navy, forest green, and charcoal are strong choices for a more distinctive look that has staying power. Avoid highly trendy or unusual colors if you're thinking about resale – stick with colors that were popular five years ago and show no signs of fading.
📚 Sources
National Association of Realtors – Remodeling Impact Report: https://www.nar.realtor/research-and-statistics/research-reports/remodeling-impact
Remodeling Magazine – Cost vs. Value Report: https://www.remodeling.hw.net/cost-vs-value/2023/
This Old House – Kitchen upgrades that add value: https://www.thisoldhouse.com/kitchens/21017699/kitchens-that-add-value
U.S. Department of Energy – LED lighting efficiency: https://www.energy.gov/energysaver/led-lighting
-jhajrFUGfI3zCQGjpAWcxuNPi1zUTB.jpg&w=3840&q=75)