
Here's how to approach it step by step.
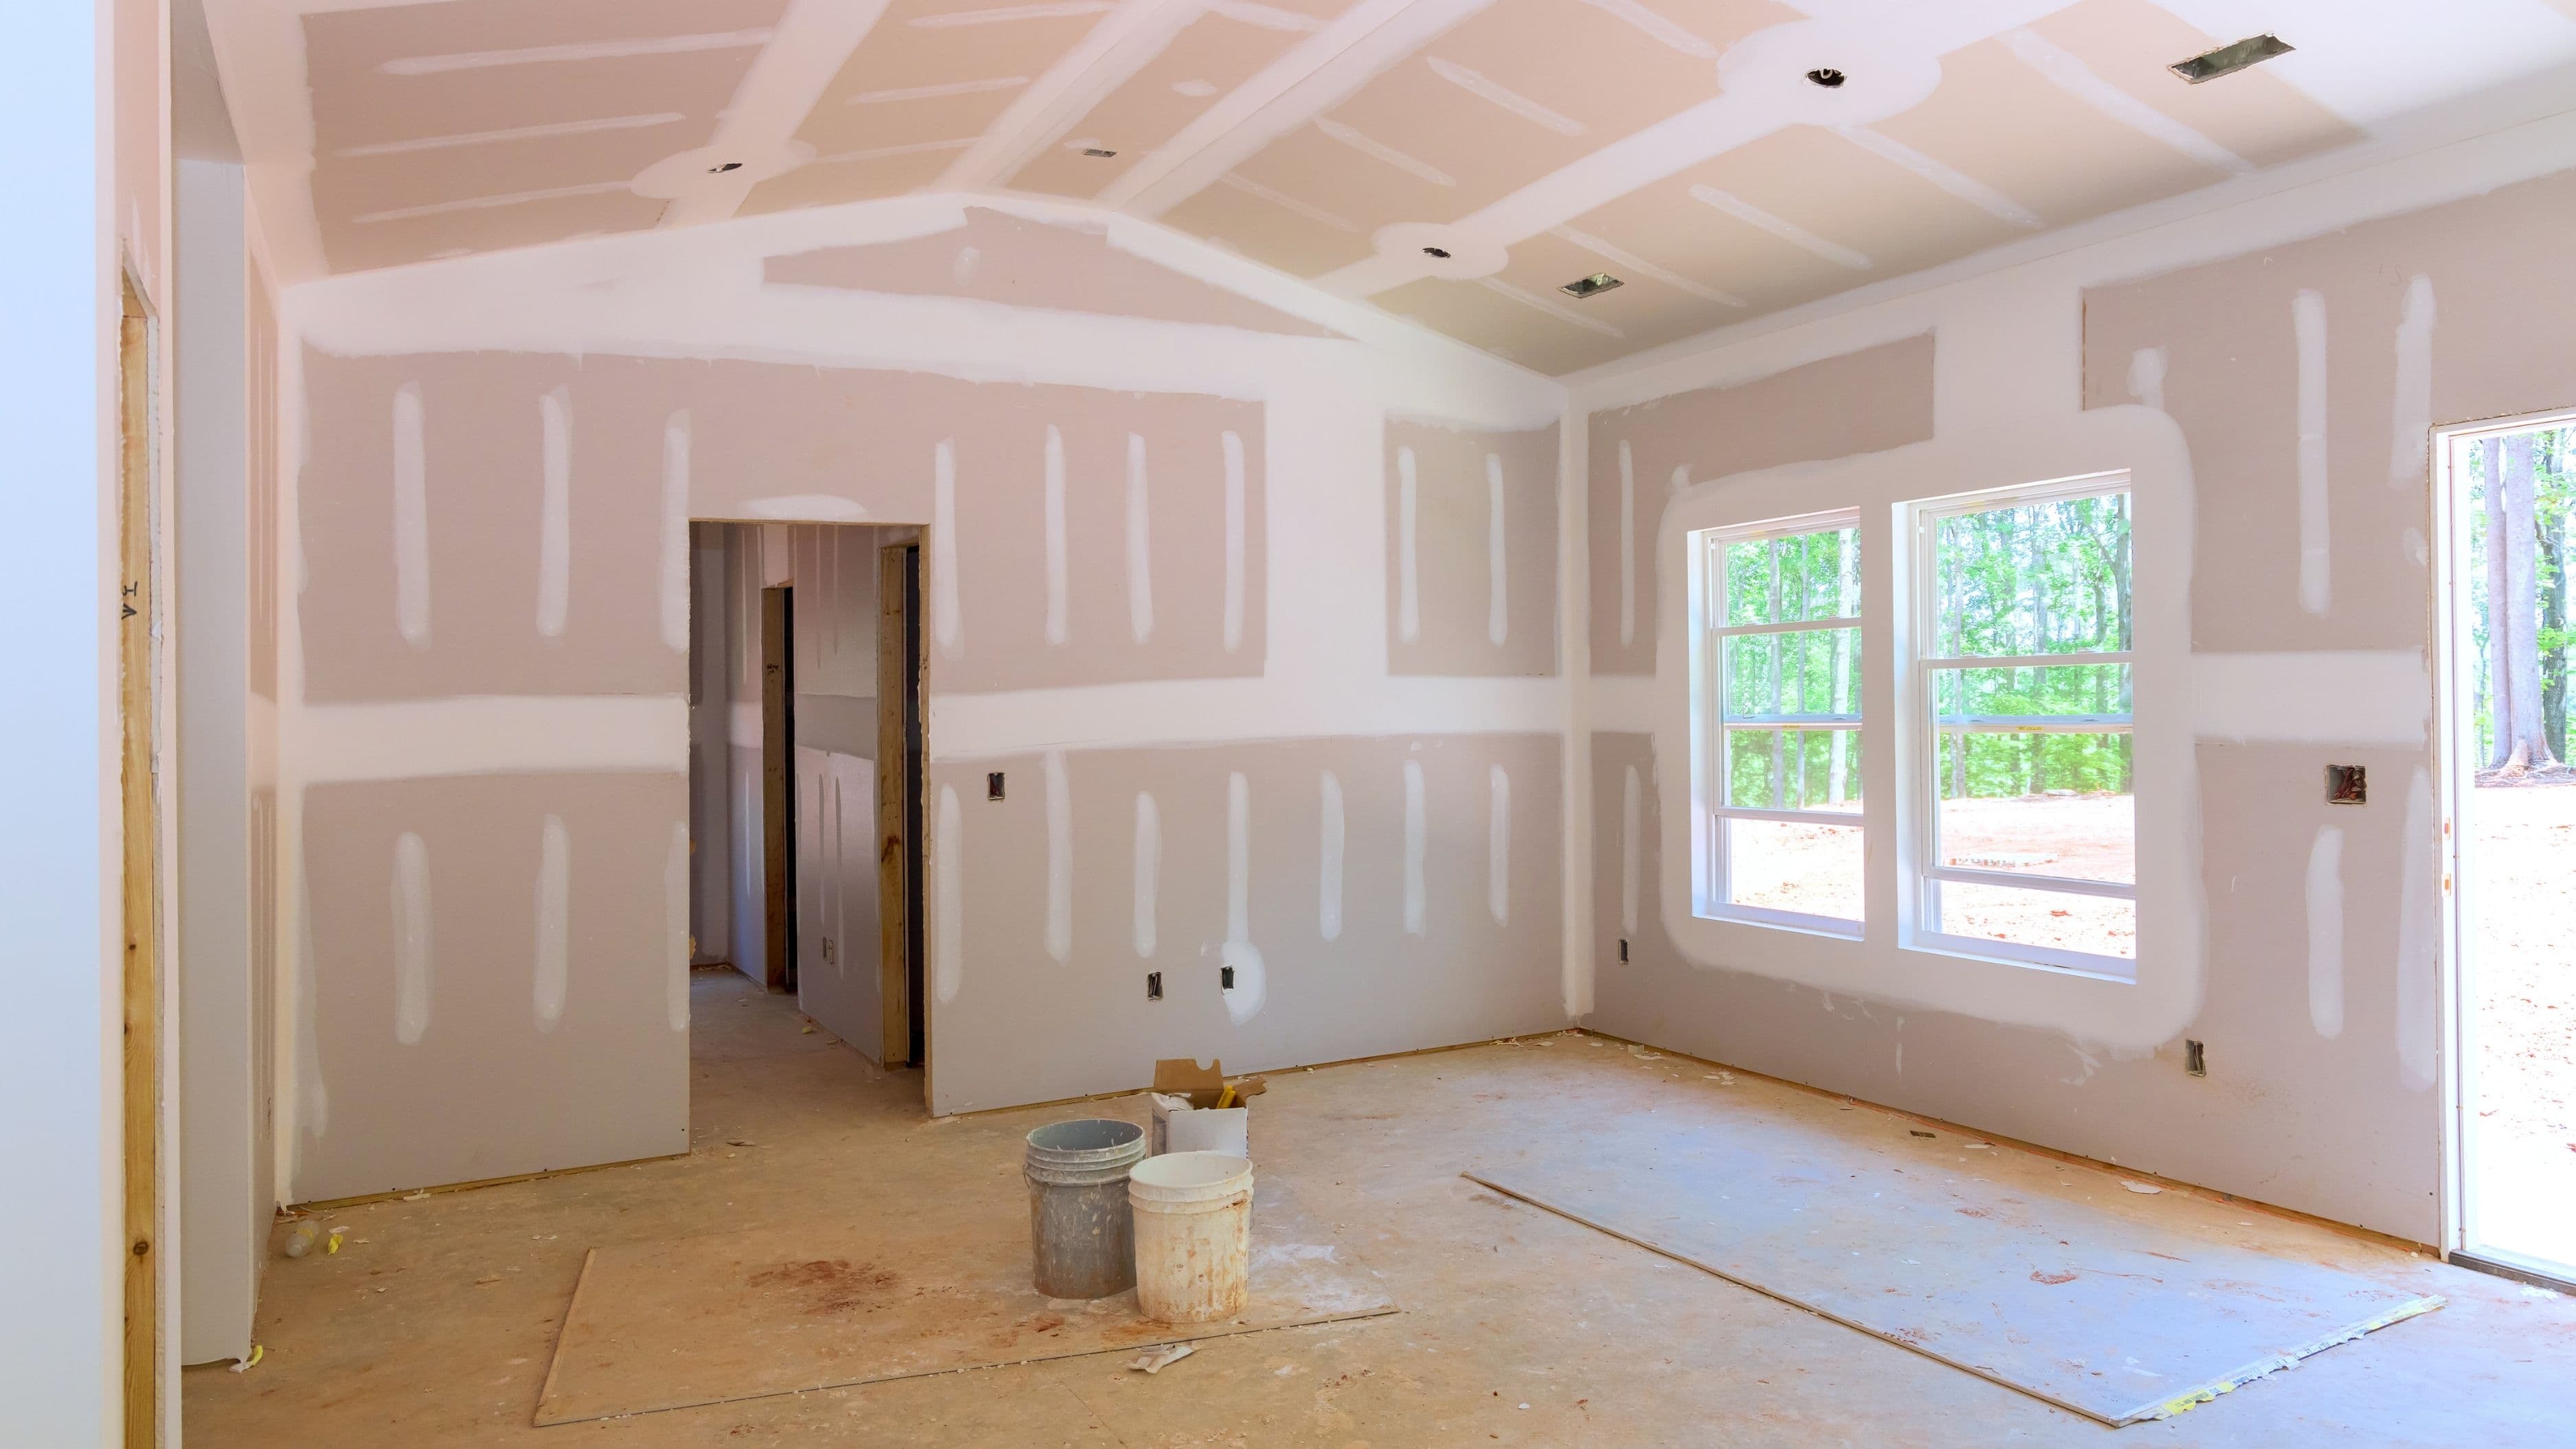
Step 1: Identify the Right Space
The most important decision in this project is choosing where the laundry room will go, and it's the one most homeowners make too quickly. The right space depends on three infrastructure factors: proximity to water supply lines, proximity to a drain, and access to adequate electrical service. If you can place your laundry room close to existing plumbing – near a bathroom, kitchen, or existing utility room – you dramatically reduce the cost and complexity of the project. Every foot of new supply line and drain line you need to run adds cost and potential complication.
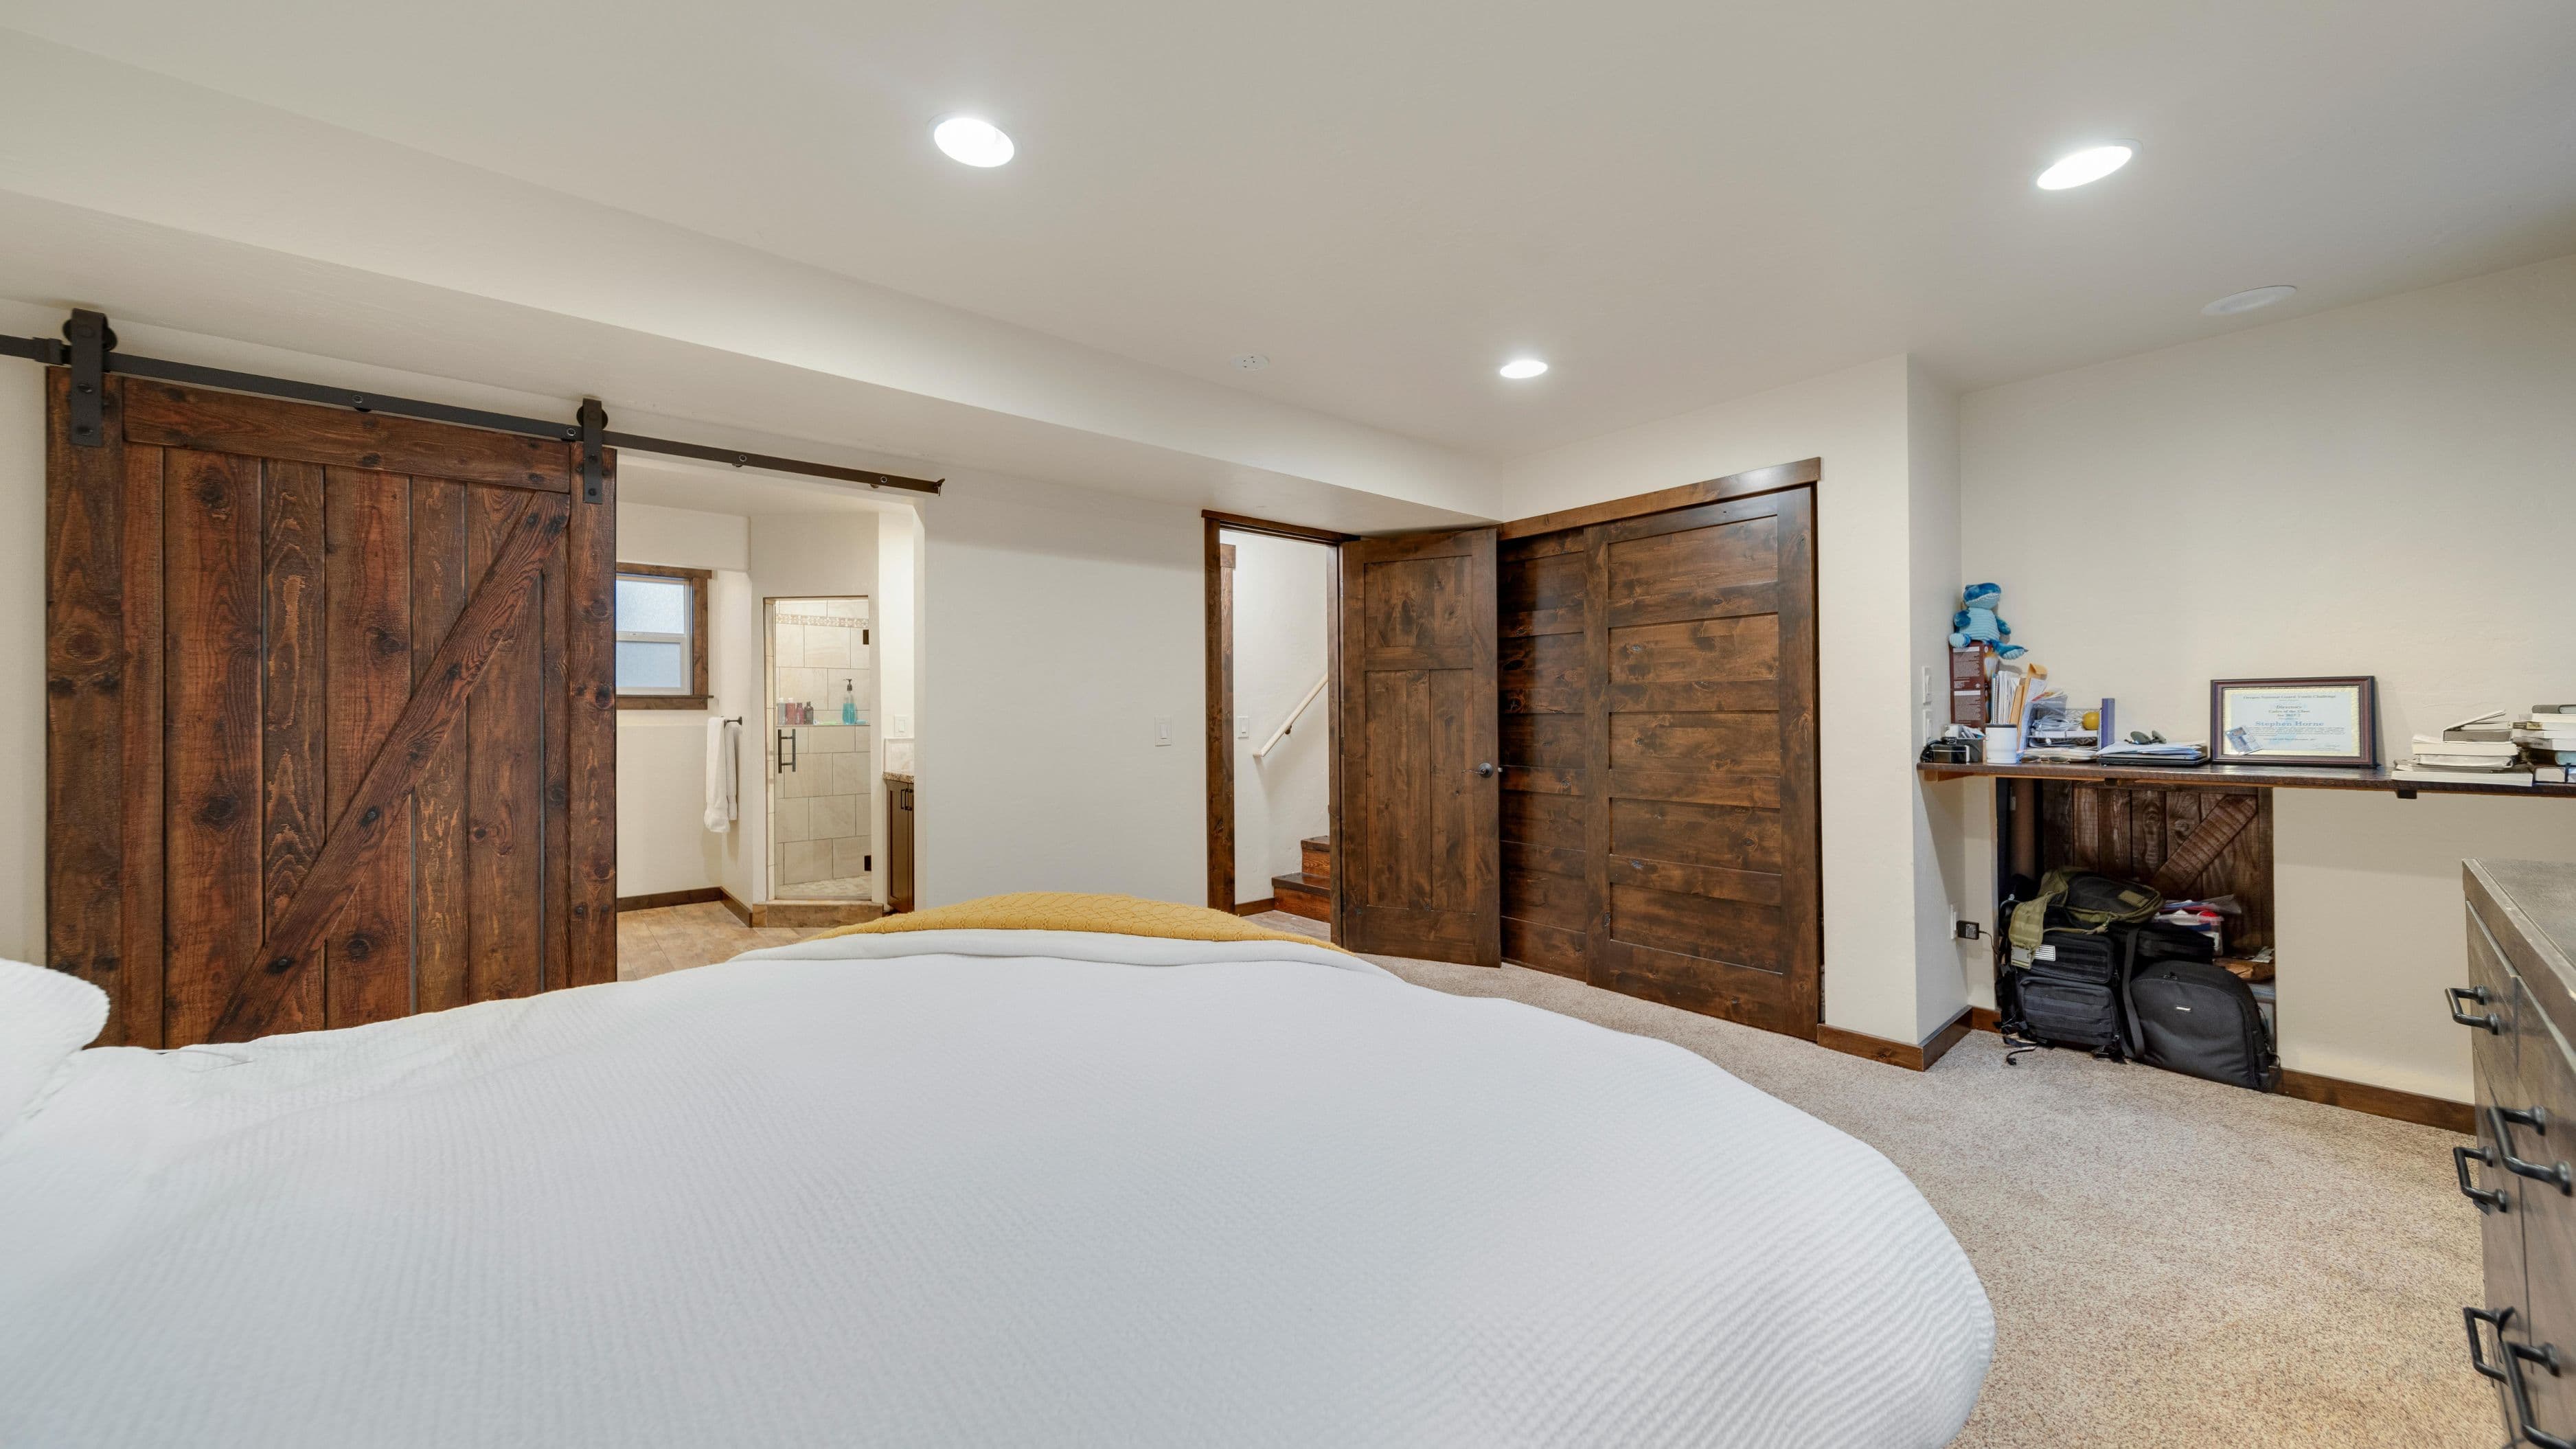
Common candidates worth evaluating include a first-floor hallway closet (often adjacent to a kitchen or bathroom stack), a mudroom corner, a basement area near the existing utility connections, or an underutilized space under a staircase. Attics are technically possible but rarely practical – running drain lines upward requires a pump system, and the heat in many attics creates problems for appliances. Upper-floor spaces near existing bathrooms can work well with proper waterproofing and floor reinforcement.
Before committing to a location, walk through the space with a flashlight and check: Is there a water supply line within 10 feet? Where would the drain run, and does the path require going uphill at any point? What's the nearest electrical panel, and do you have 240V access for an electric dryer or a gas line for a gas dryer? Answers to these three questions determine your project cost more than almost anything else.
Step 2: Plan for the Three Core Systems
Converting a space into a laundry room requires addressing plumbing, electrical, and ventilation. Each one needs to be planned before any walls are opened or appliances are ordered.
Plumbing is typically the most complex and most expensive component. You need a hot and cold water supply connection and a drain line that connects to your home's existing waste system. If your chosen space is near an existing plumbing stack, a licensed plumber can often tap into the nearby supply and drain lines without opening large sections of wall. If you're further away from existing plumbing, the cost increases significantly – expect to budget $500 to $1,500 for plumbing work in a straightforward installation, and potentially $2,000 to $4,000 or more if significant new runs are required. Some homeowners also add a utility sink, which adds plumbing cost but adds real convenience to the space.
Electrical for a laundry room requires a dedicated 20-amp, 120V circuit for a washing machine. An electric dryer requires a separate 240V, 30-amp dedicated circuit. If you have a gas dryer, you still need a 120V circuit for the dryer's controls, plus a gas line connection. Running new circuits from your panel to the laundry space is work for a licensed electrician and typically costs $200 to $600 depending on distance and panel capacity. If your panel is already at capacity, adding a sub-panel or upgrading may add cost.
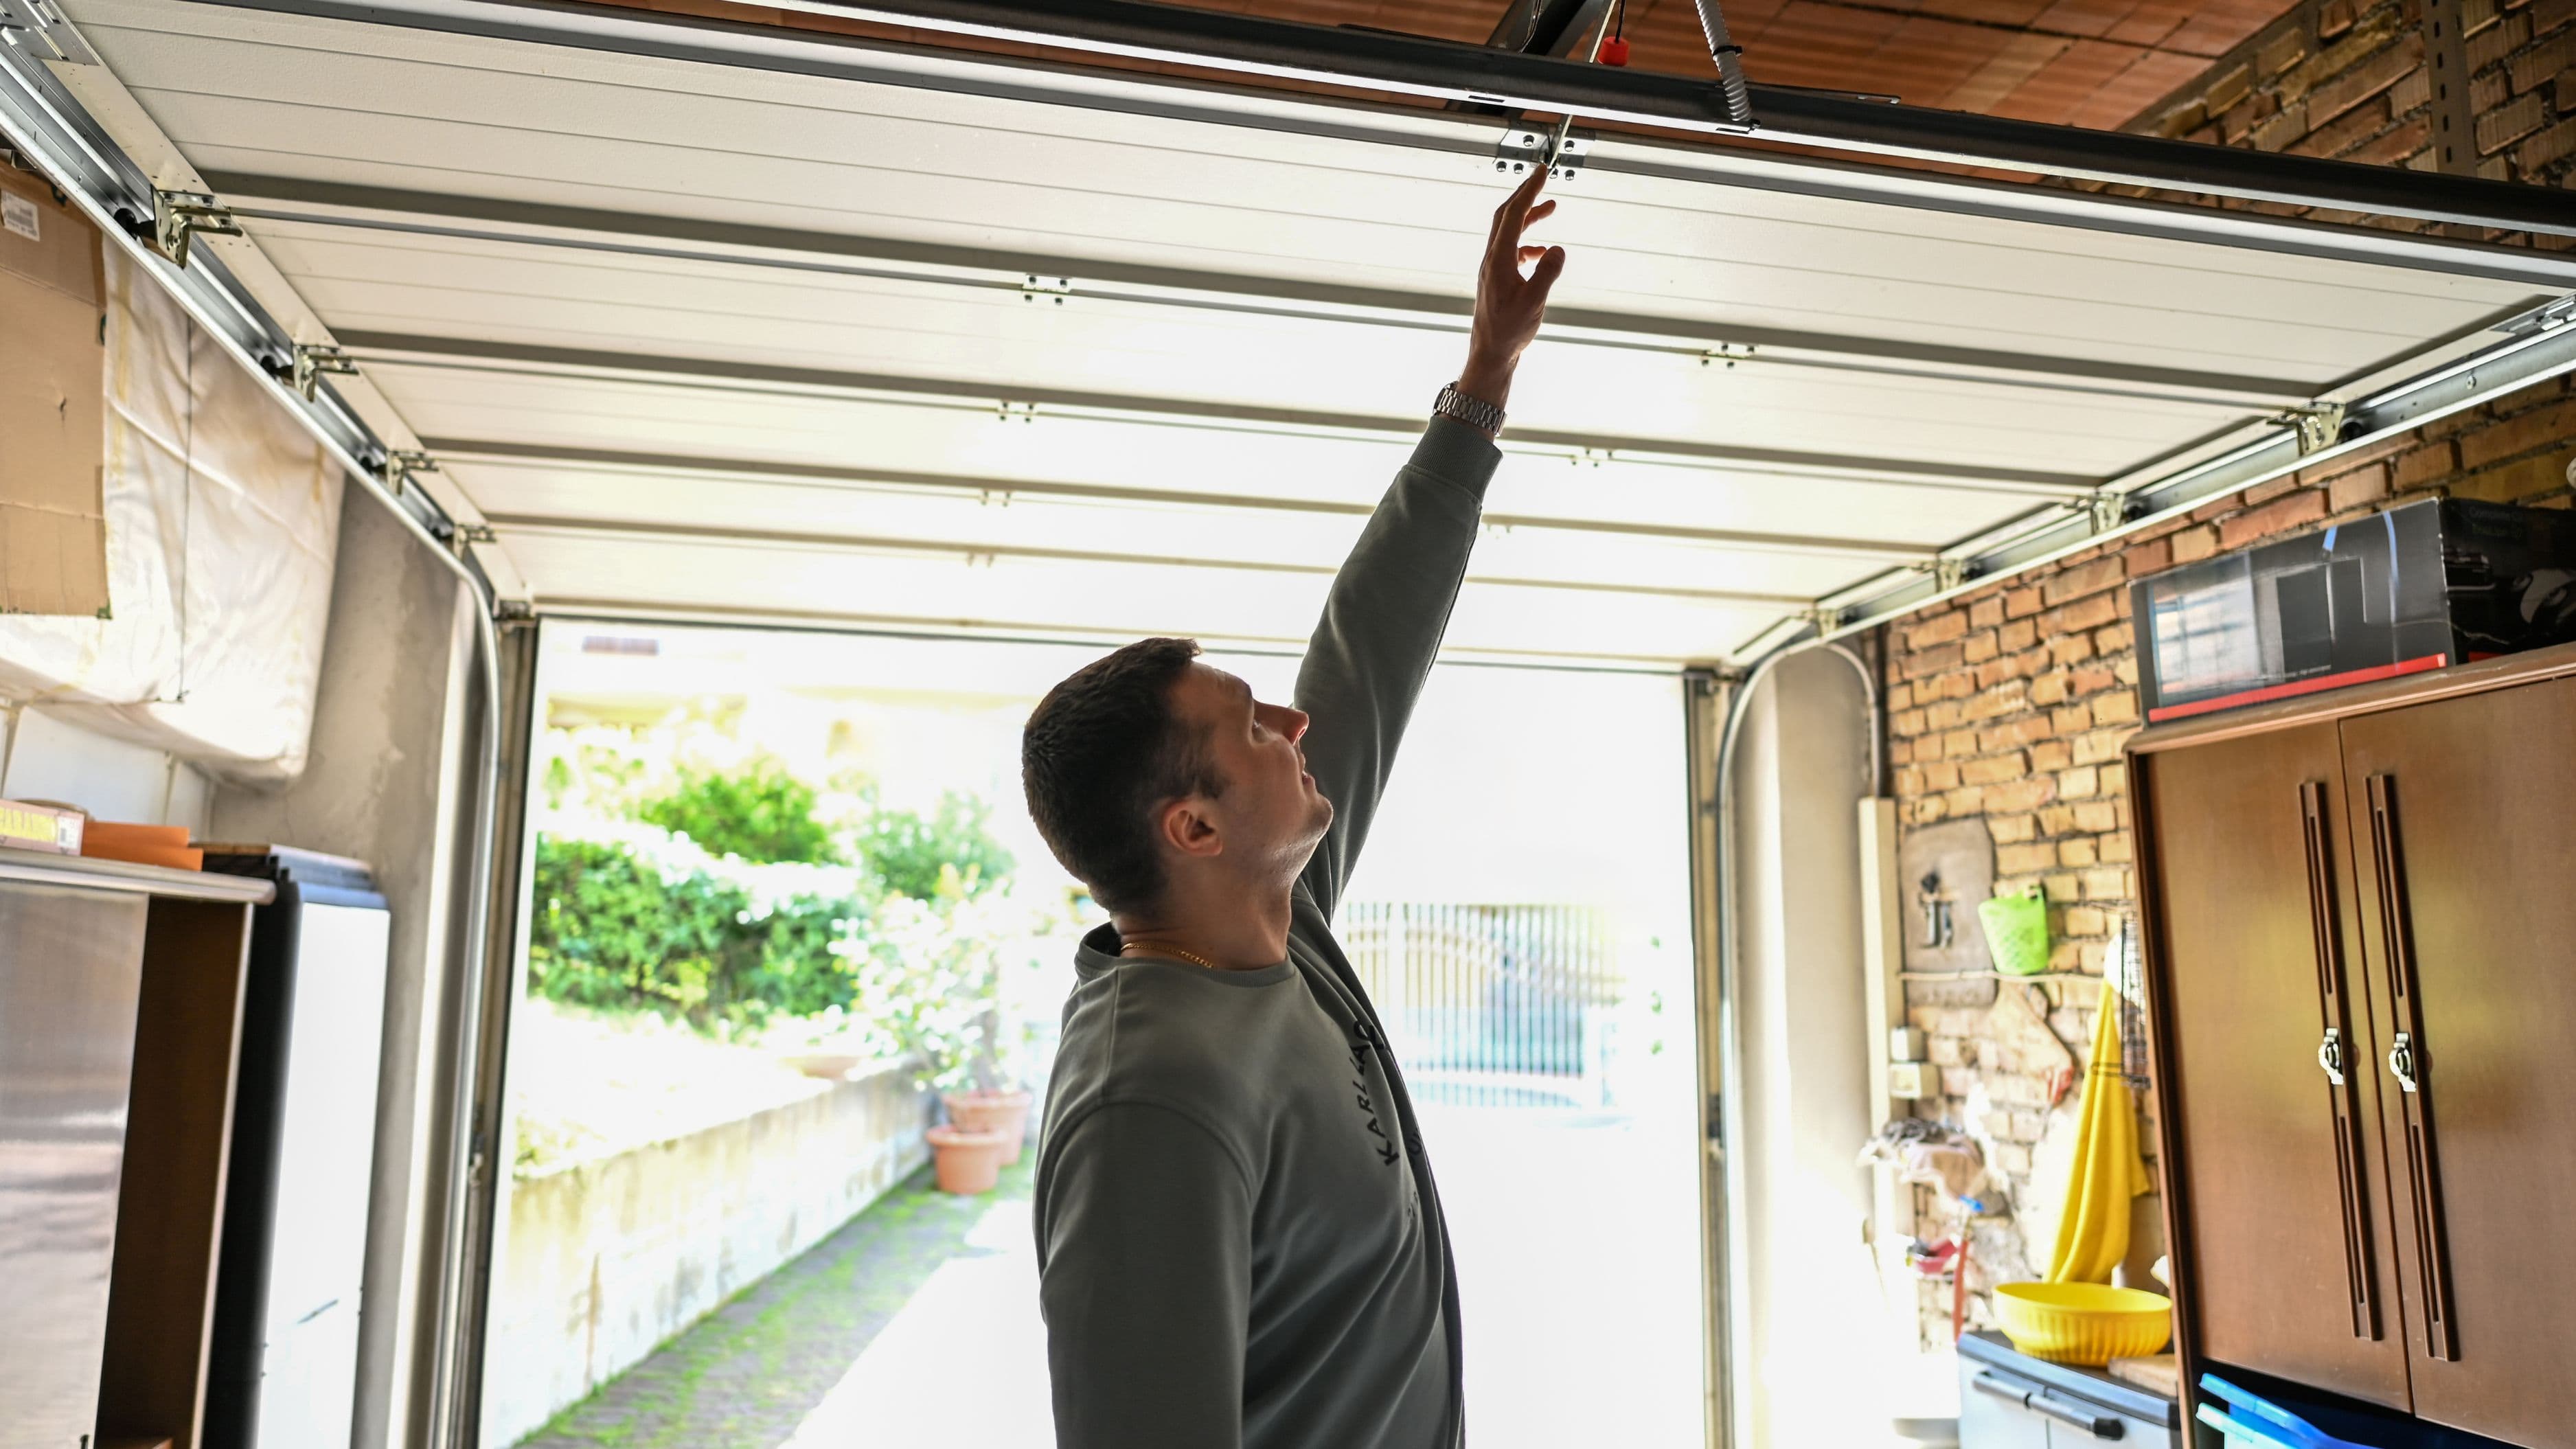
Ventilation for a dryer is non-negotiable and frequently underplanned. Dryers must vent to the exterior – not into the wall cavity, not into an attic, not into a crawl space. Moisture-laden exhaust creates mold and structural damage if it has nowhere to go. Plan your dryer vent path before you choose your exact dryer location: the vent should take the most direct route to an exterior wall, using as few turns as possible (each 90-degree turn reduces vent efficiency). Maximum recommended duct length varies by dryer model, but 25 feet of rigid metal duct is a common limit, with each elbow counting as roughly 5 feet. If a direct exterior path isn't possible, ventless condenser dryers or heat pump dryers eliminate the exterior vent requirement entirely – at a higher appliance cost, but often worth it in tight spaces where venting is impractical.
Step 3: Size Your Space and Choose Your Appliances Together
These two decisions need to happen simultaneously, because the appliances you choose determine what your space needs to accommodate. Don't order appliances until you've measured your available space carefully and confirmed that what you're buying fits with room for installation clearance, door swing, and the utility connections at the back.
Standard front-load washers and dryers are typically 27 inches wide. Side-by-side, two units need about 54 to 60 inches of width plus some side clearance. If that's not available, a stacked configuration – a dryer on top of a washer – requires roughly 28 inches wide and 75 to 80 inches tall, which fits in most standard closets. Compact 24-inch appliances are available for even tighter spaces, with reduced capacity.
Closet conversions are one of the most popular small-space laundry solutions. A standard reach-in closet (about 24 inches deep by 30 to 36 inches wide) can accommodate a stacked or combo washer-dryer unit. The doors can often remain in place, converted to bifold or sliding doors that close the appliances away when not in use. The visual result is a clean, contained laundry room that takes up no additional floor space.
All-in-one washer-dryer combination units are worth considering for very small spaces – they wash and dry in a single drum and require only one 120V outlet and one water connection, eliminating the dryer vent requirement (they use condensation drying). The trade-off is longer cycle times (a typical wash-and-dry cycle runs 3 to 4 hours) and smaller load capacity. For a single person or couple doing smaller loads, this is often an acceptable trade-off for a genuinely compact installation.
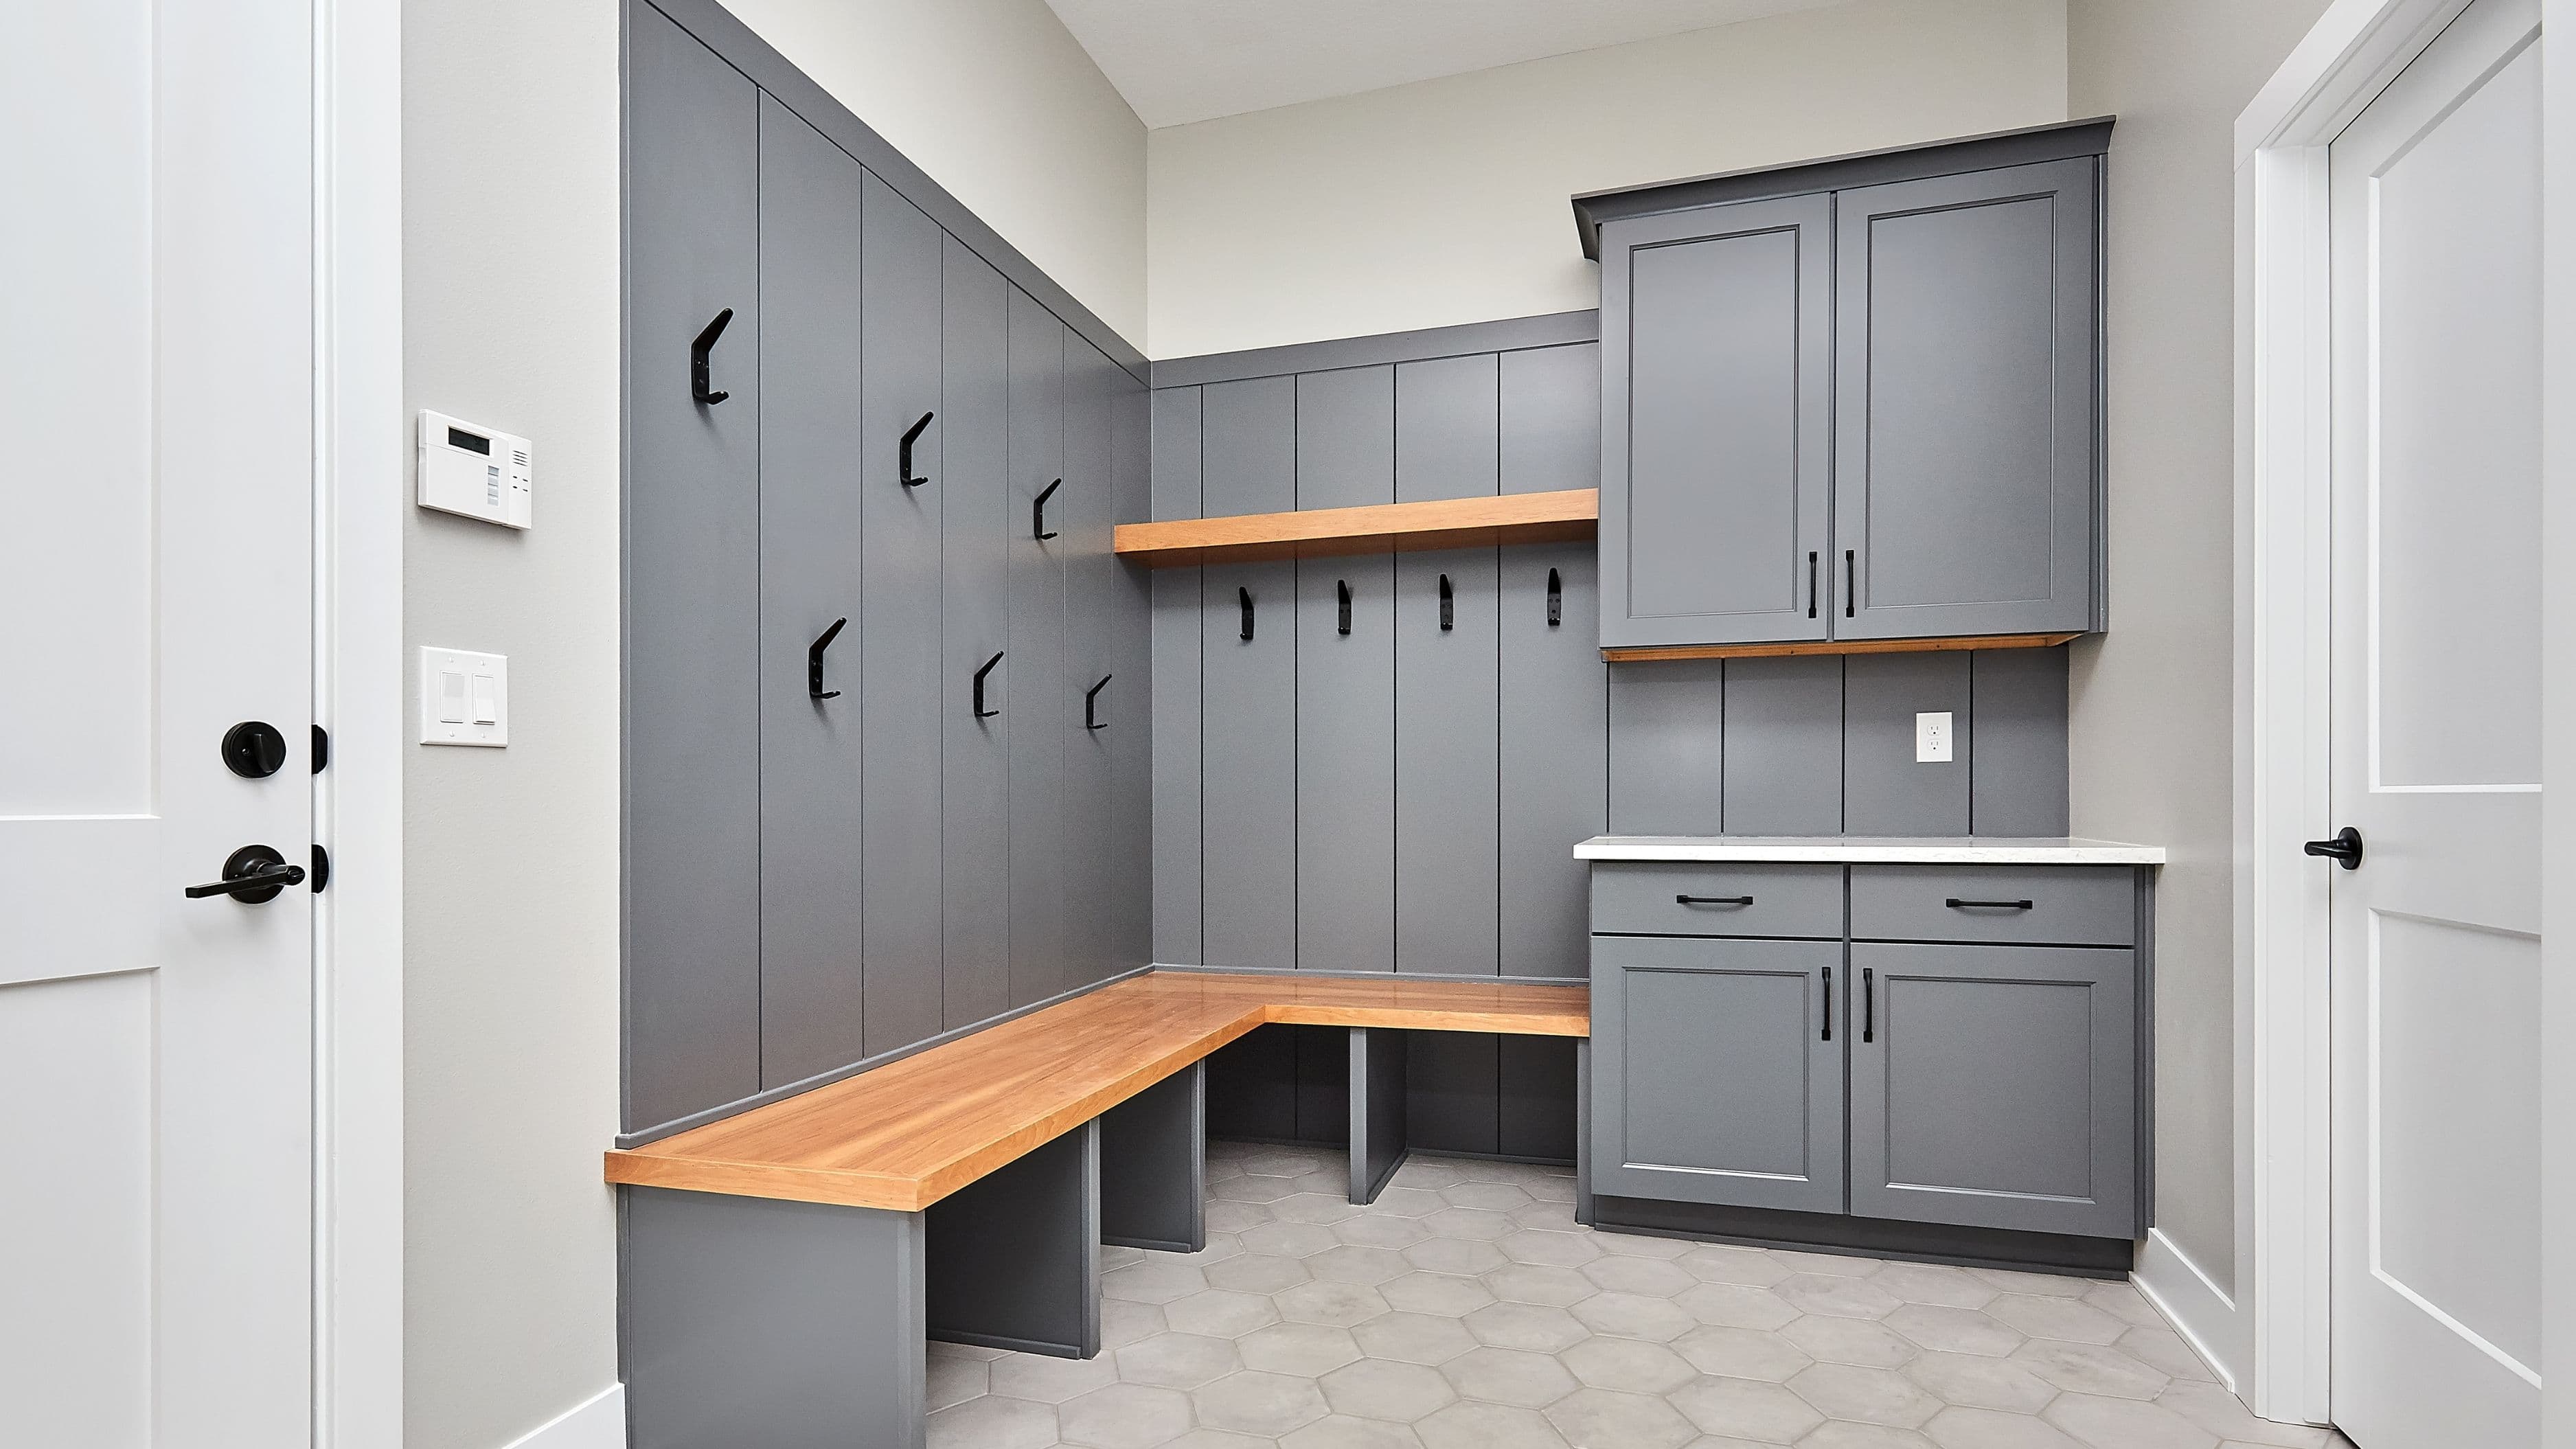
Step 4: Plan Your Layout for Usability, Not Just Fit
Getting the appliances into the space is the baseline – the goal is a space that's actually pleasant and functional to use. Even in a small laundry room, a few layout decisions have an outsized impact on daily usability.
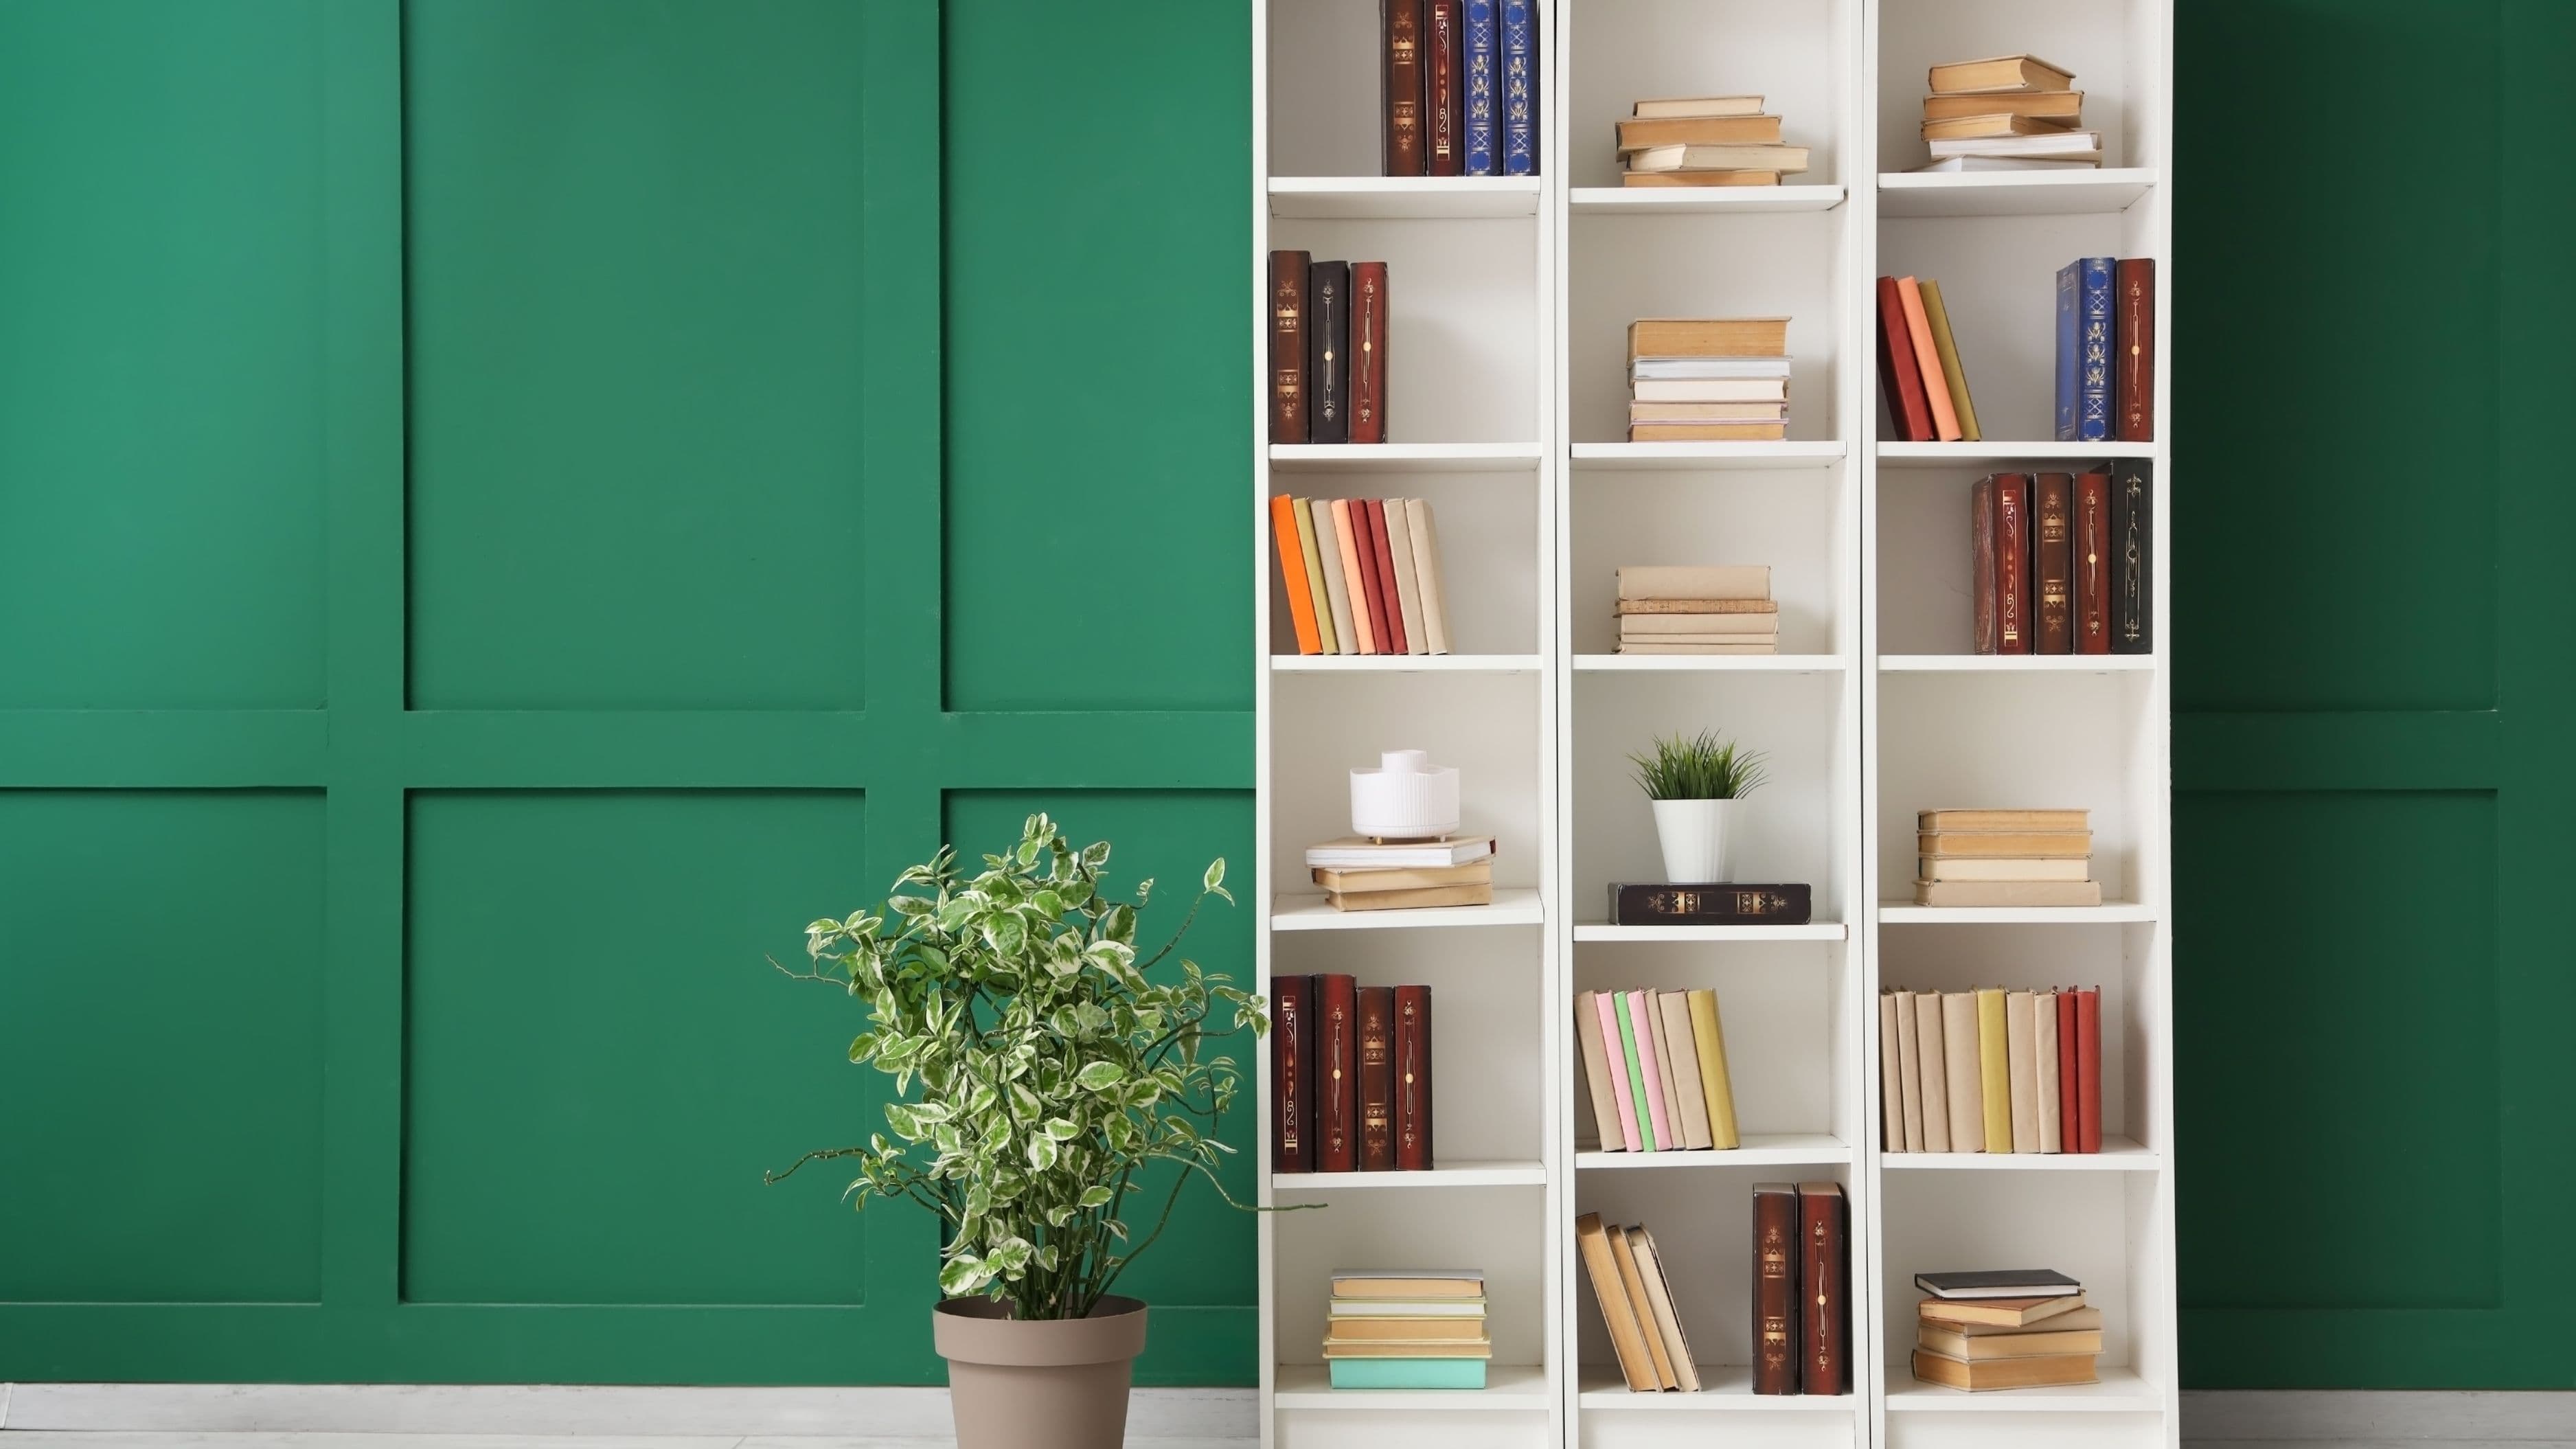
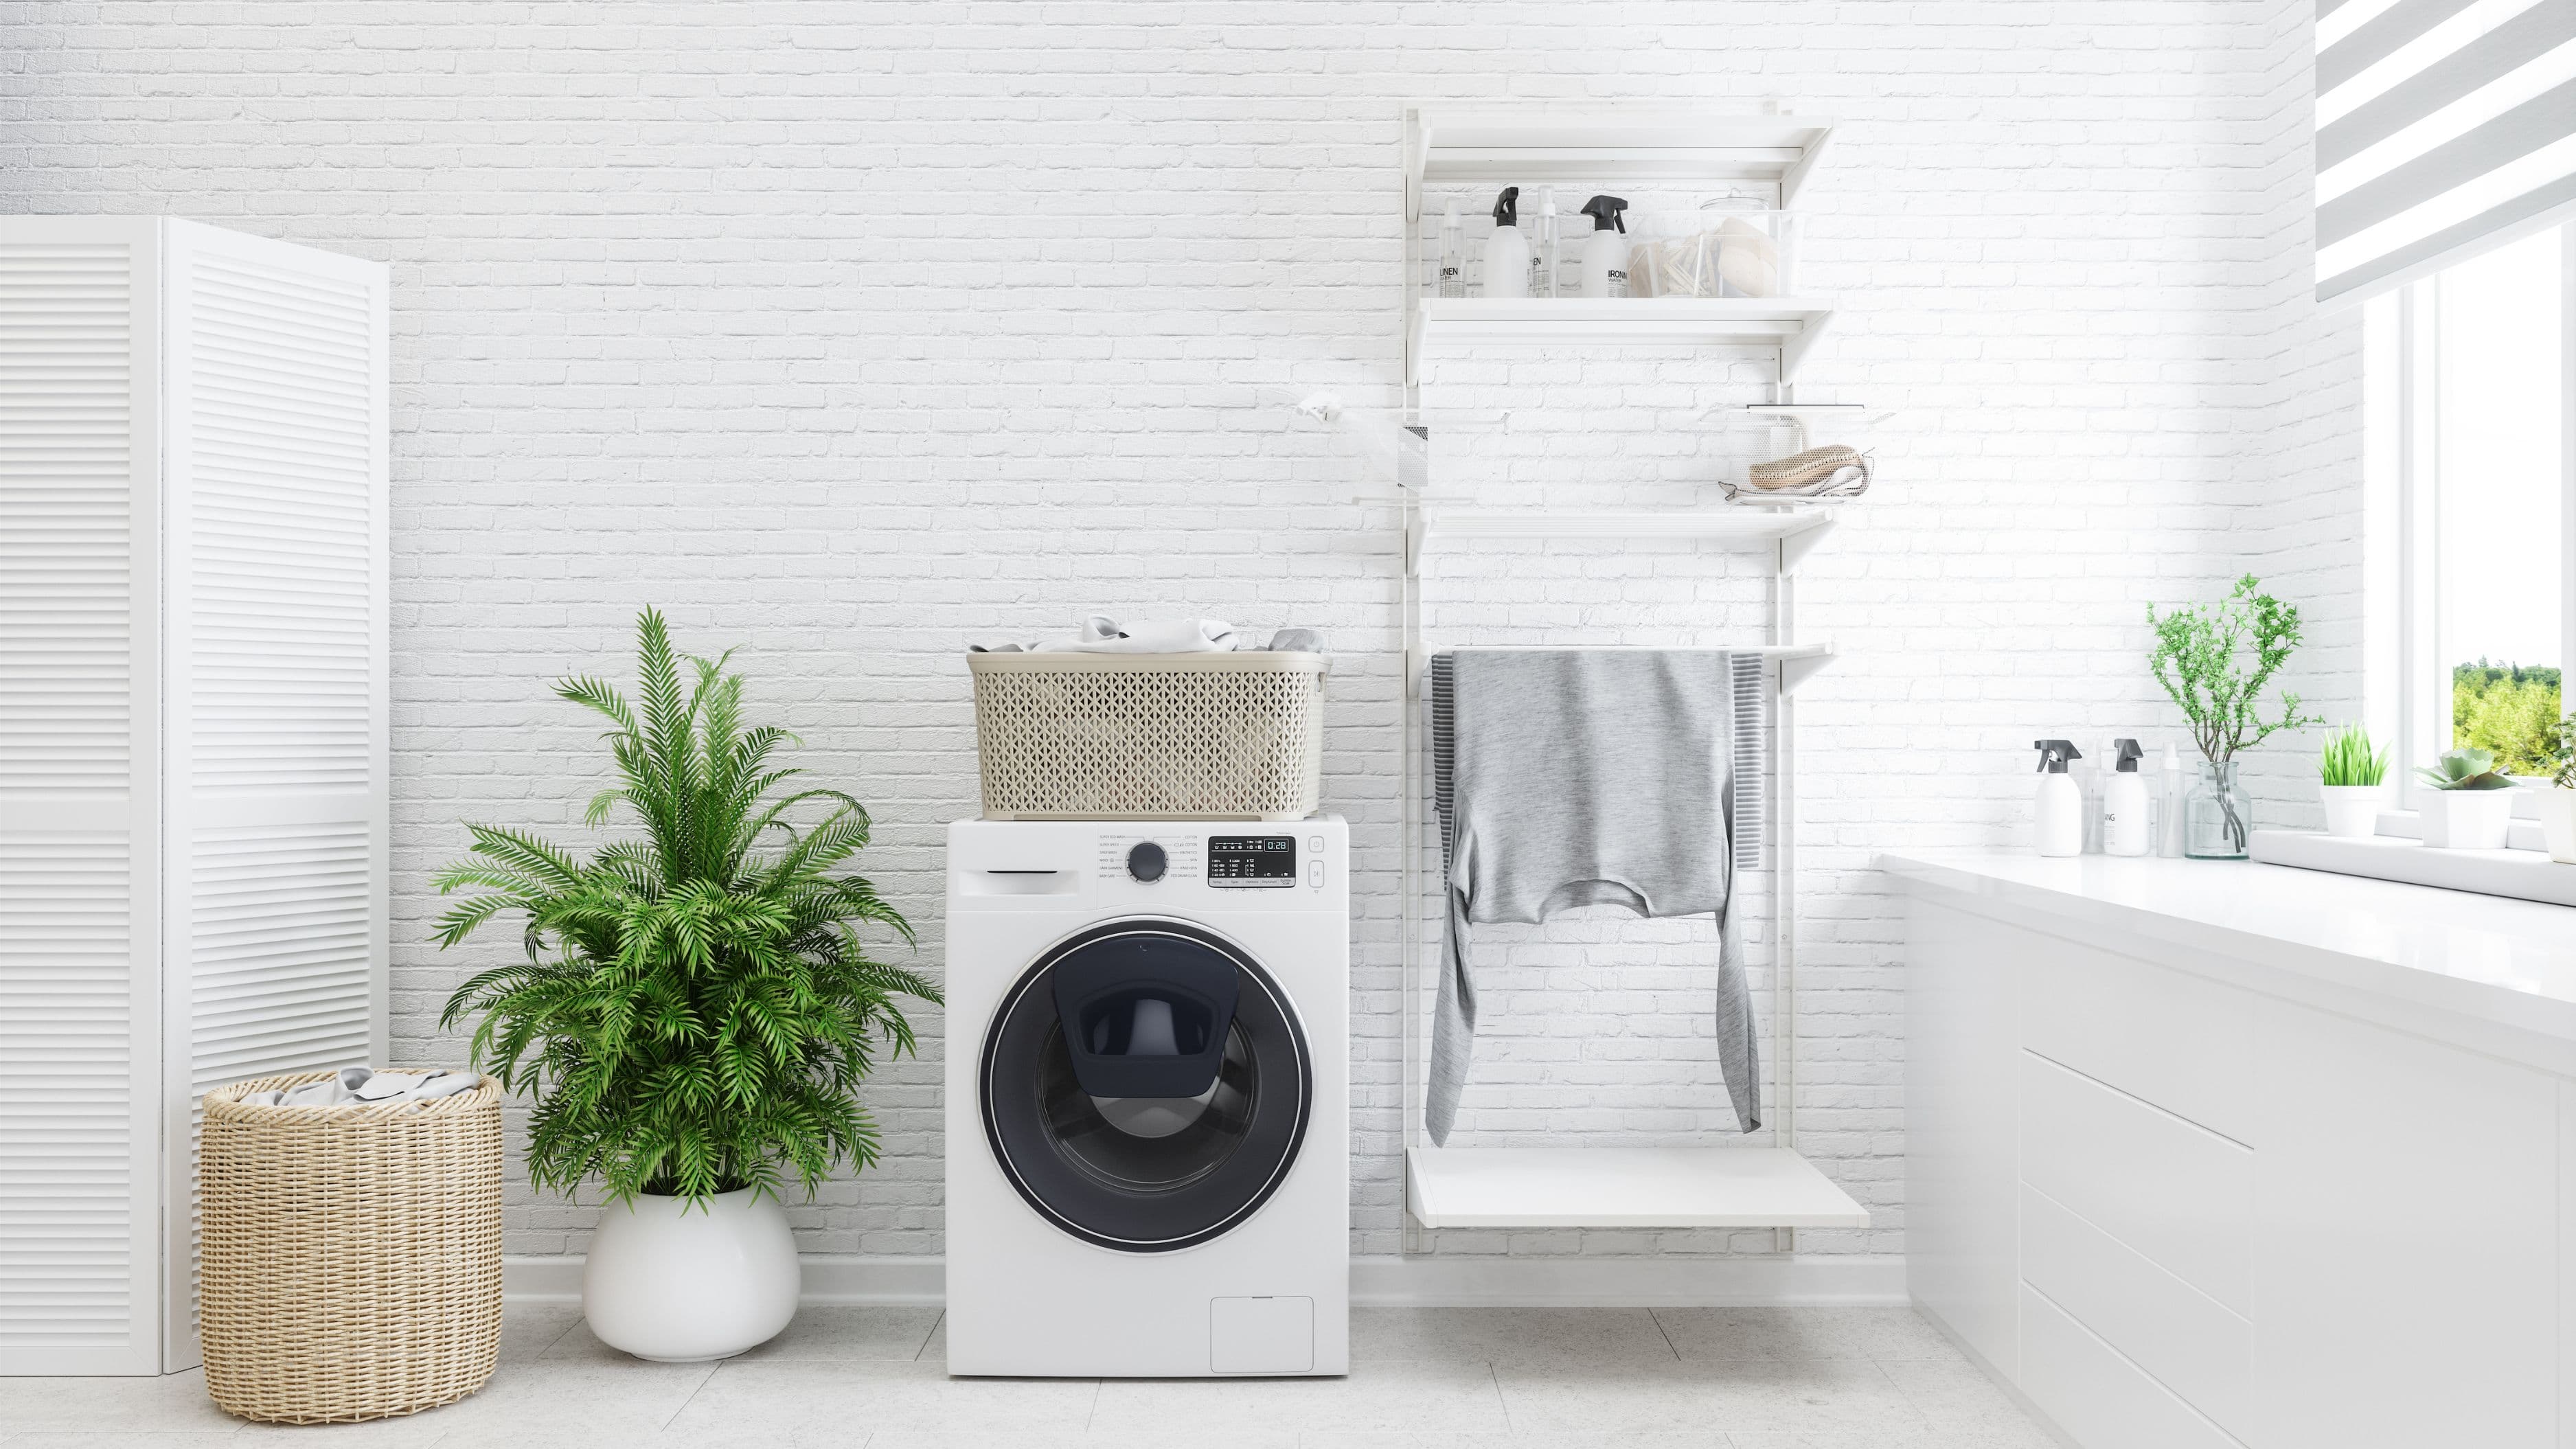
Counter space above a front-loading washer (if they're side-by-side rather than stacked) is one of the highest-value additions in a laundry room. Even 24 inches of countertop gives you a surface for folding, sorting, and setting detergent without having to carry things to another room. If your appliances are stacked and a full counter isn't possible, a narrow shelf at chest height does meaningful work.
Storage for detergent, dryer sheets, stain treatment, and other supplies should be planned into the layout from the start – not retrofitted later. Wall-mounted shelving above the appliances, a narrow cabinet on an adjacent wall, or pull-out drawers below a counter all work well. In a closet conversion, over-door organizers make use of otherwise wasted space.
If space allows, a hanging rod for air-drying or for hanging clothes as they come out of the dryer is worth including. Even a single rod running across the top of the space prevents the common scenario of clothes draped over every nearby surface while they wait to be put away.
A floor drain, while not required, is worth adding if you're opening the floor anyway and the plumber is already on site. It adds modest cost but provides meaningful protection if the washer ever overflows or a supply line develops a leak.
Step 5: Handle Permits and Rough-In Work in the Right Order
Laundry room conversions typically require permits for plumbing and electrical work, and in some jurisdictions for any structural changes. Pulling the appropriate permits before starting work protects you legally, ensures inspections happen at the right stages, and matters when you sell the home. Unpermitted plumbing and electrical work is a real problem at sale time and can affect your homeowner's insurance.
The right sequence of work once permits are in hand: rough-in plumbing first, then rough-in electrical, then any framing or wall work, then inspection, then close up walls, then finish work (drywall, paint, flooring), then install appliances last. Installing appliances before finishing the walls makes finishing work harder and can result in damage to the appliances during construction. Patience with the sequence pays off in the quality of the finished result.
Budget to have a licensed plumber handle the water supply and drain connections and a licensed electrician handle the circuit work – these aren't areas where DIY saves meaningful money relative to the risk of doing them incorrectly. The finish work (painting, flooring, trim, shelving) is where a confident DIYer can save significantly on labor.
What to Avoid
Running a dryer exhaust vent through flexible vinyl duct is the single most common ventilation mistake in laundry room installations. Vinyl flex duct is a fire hazard – it can collapse, accumulate lint, and isn't rated for the temperatures dryers produce. Use rigid metal duct throughout, or at minimum foil flex duct where the run needs to navigate tight turns. Check and clean the vent annually regardless of which type you use.
Skipping a washing machine drain pan is a decision most people regret. A plastic pan placed under the washer costs $30 to $50 and connects to a drain, catching any overflow or leak before it damages flooring or framing. It's inexpensive insurance that takes five minutes to install.
Don't assume your existing floor is adequate for the added weight of appliances. A washer in spin cycle creates significant vibration and dynamic load. Most floor systems in standard residential construction handle this without issue, but if your planned location is an upper floor with a long joist span, it's worth confirming with a contractor or structural engineer, particularly if you notice any bounce or flex in the existing floor.
Cost Overview
For a closet conversion with nearby existing plumbing, the total project cost typically falls in the range of $2,000 to $5,000, including appliances. If plumbing and electrical runs are short and straightforward, the infrastructure work (plumbing + electrical, permitted) generally runs $1,000 to $2,500. New appliances add $700 to $2,500 depending on the units you choose. Finish work and storage additions round out the budget.
For a more complex installation requiring longer plumbing runs, new electrical panel capacity, or significant framing work, budgets of $5,000 to $10,000 are realistic. Getting two or three quotes from licensed contractors before starting gives you a reliable range for your specific situation.
FAQ
Do I need a permit to add a laundry room? In most jurisdictions, yes – any work involving new plumbing connections, new electrical circuits, or structural changes requires permits. Check with your local building department before starting. Unpermitted work can create problems when you sell the home and may not be covered by your homeowner's insurance.
What if I can't run a dryer vent to an exterior wall? A ventless heat pump dryer is the cleanest solution. Heat pump dryers don't exhaust to the exterior – they condense moisture from the air and either collect it in a tank or drain it. They're more energy-efficient than conventional dryers and are widely available from major appliance brands. They're also more expensive upfront ($900 to $1,600), but eliminate the venting constraint entirely.
Can I do this in an apartment or condo? It depends on your lease or HOA rules and your building's plumbing configuration. Many apartments prohibit washing machines due to drain and water pressure concerns. Some condos permit washer-dryer installations in specific locations with prior approval. Check your documents before planning anything, and if you're a renter, get written permission before starting any work.
How long does a laundry room conversion typically take? From permit application to finished installation, most projects take 3 to 6 weeks. The actual construction time is often just a few days, but permit processing and contractor scheduling add time. Planning ahead of when you need the space functional is the most common scheduling mistake.
Is it worth adding a utility sink? If space and budget allow, yes. A utility sink is useful for hand-washing, pre-treating stains, and general cleaning tasks. It requires an additional drain connection, which adds plumbing cost, but since the plumber is already on site for the appliance connections, the incremental cost is lower than having it done separately. Utility sinks themselves range from $80 to $400 for the basin and faucet.
Converting an underused space into a dedicated laundry room is one of the more satisfying home improvement projects precisely because the functional payoff is immediate and daily. The planning takes more time than the construction, but getting the infrastructure decisions right from the start – plumbing location, ventilation path, electrical capacity – is what turns a workable project into a genuinely finished, functional space that adds real value to your home.
📚 Sources
This Old House. How to Install a Washer and Dryer. https://www.thisoldhouse.com/laundry-rooms/21117829/how-to-install-a-washer-and-dryer
Family Handyman. Laundry Room Addition: What You Need to Know. https://www.familyhandyman.com/project/laundry-room-addition/
U.S. Consumer Product Safety Commission. Clothes Dryer Fire Safety. https://www.cpsc.gov/safety-education/safety-education-centers/clothes-dryers
Bob Vila. How Much Does It Cost to Add a Laundry Room? https://www.bobvila.com/articles/cost-to-add-a-laundry-room/
International Residential Code (IRC). Section P2700 – Plumbing Fixtures. https://codes.iccsafe.org/content/IRC2021P5