It's not a quick weekend project. But done in stages, it's entirely achievable for most homeowners – and the long-term savings on energy bills, combined with the comfort improvements, make it one of the most financially solid renovation decisions you can make.
What Passive House Insulation Actually Means
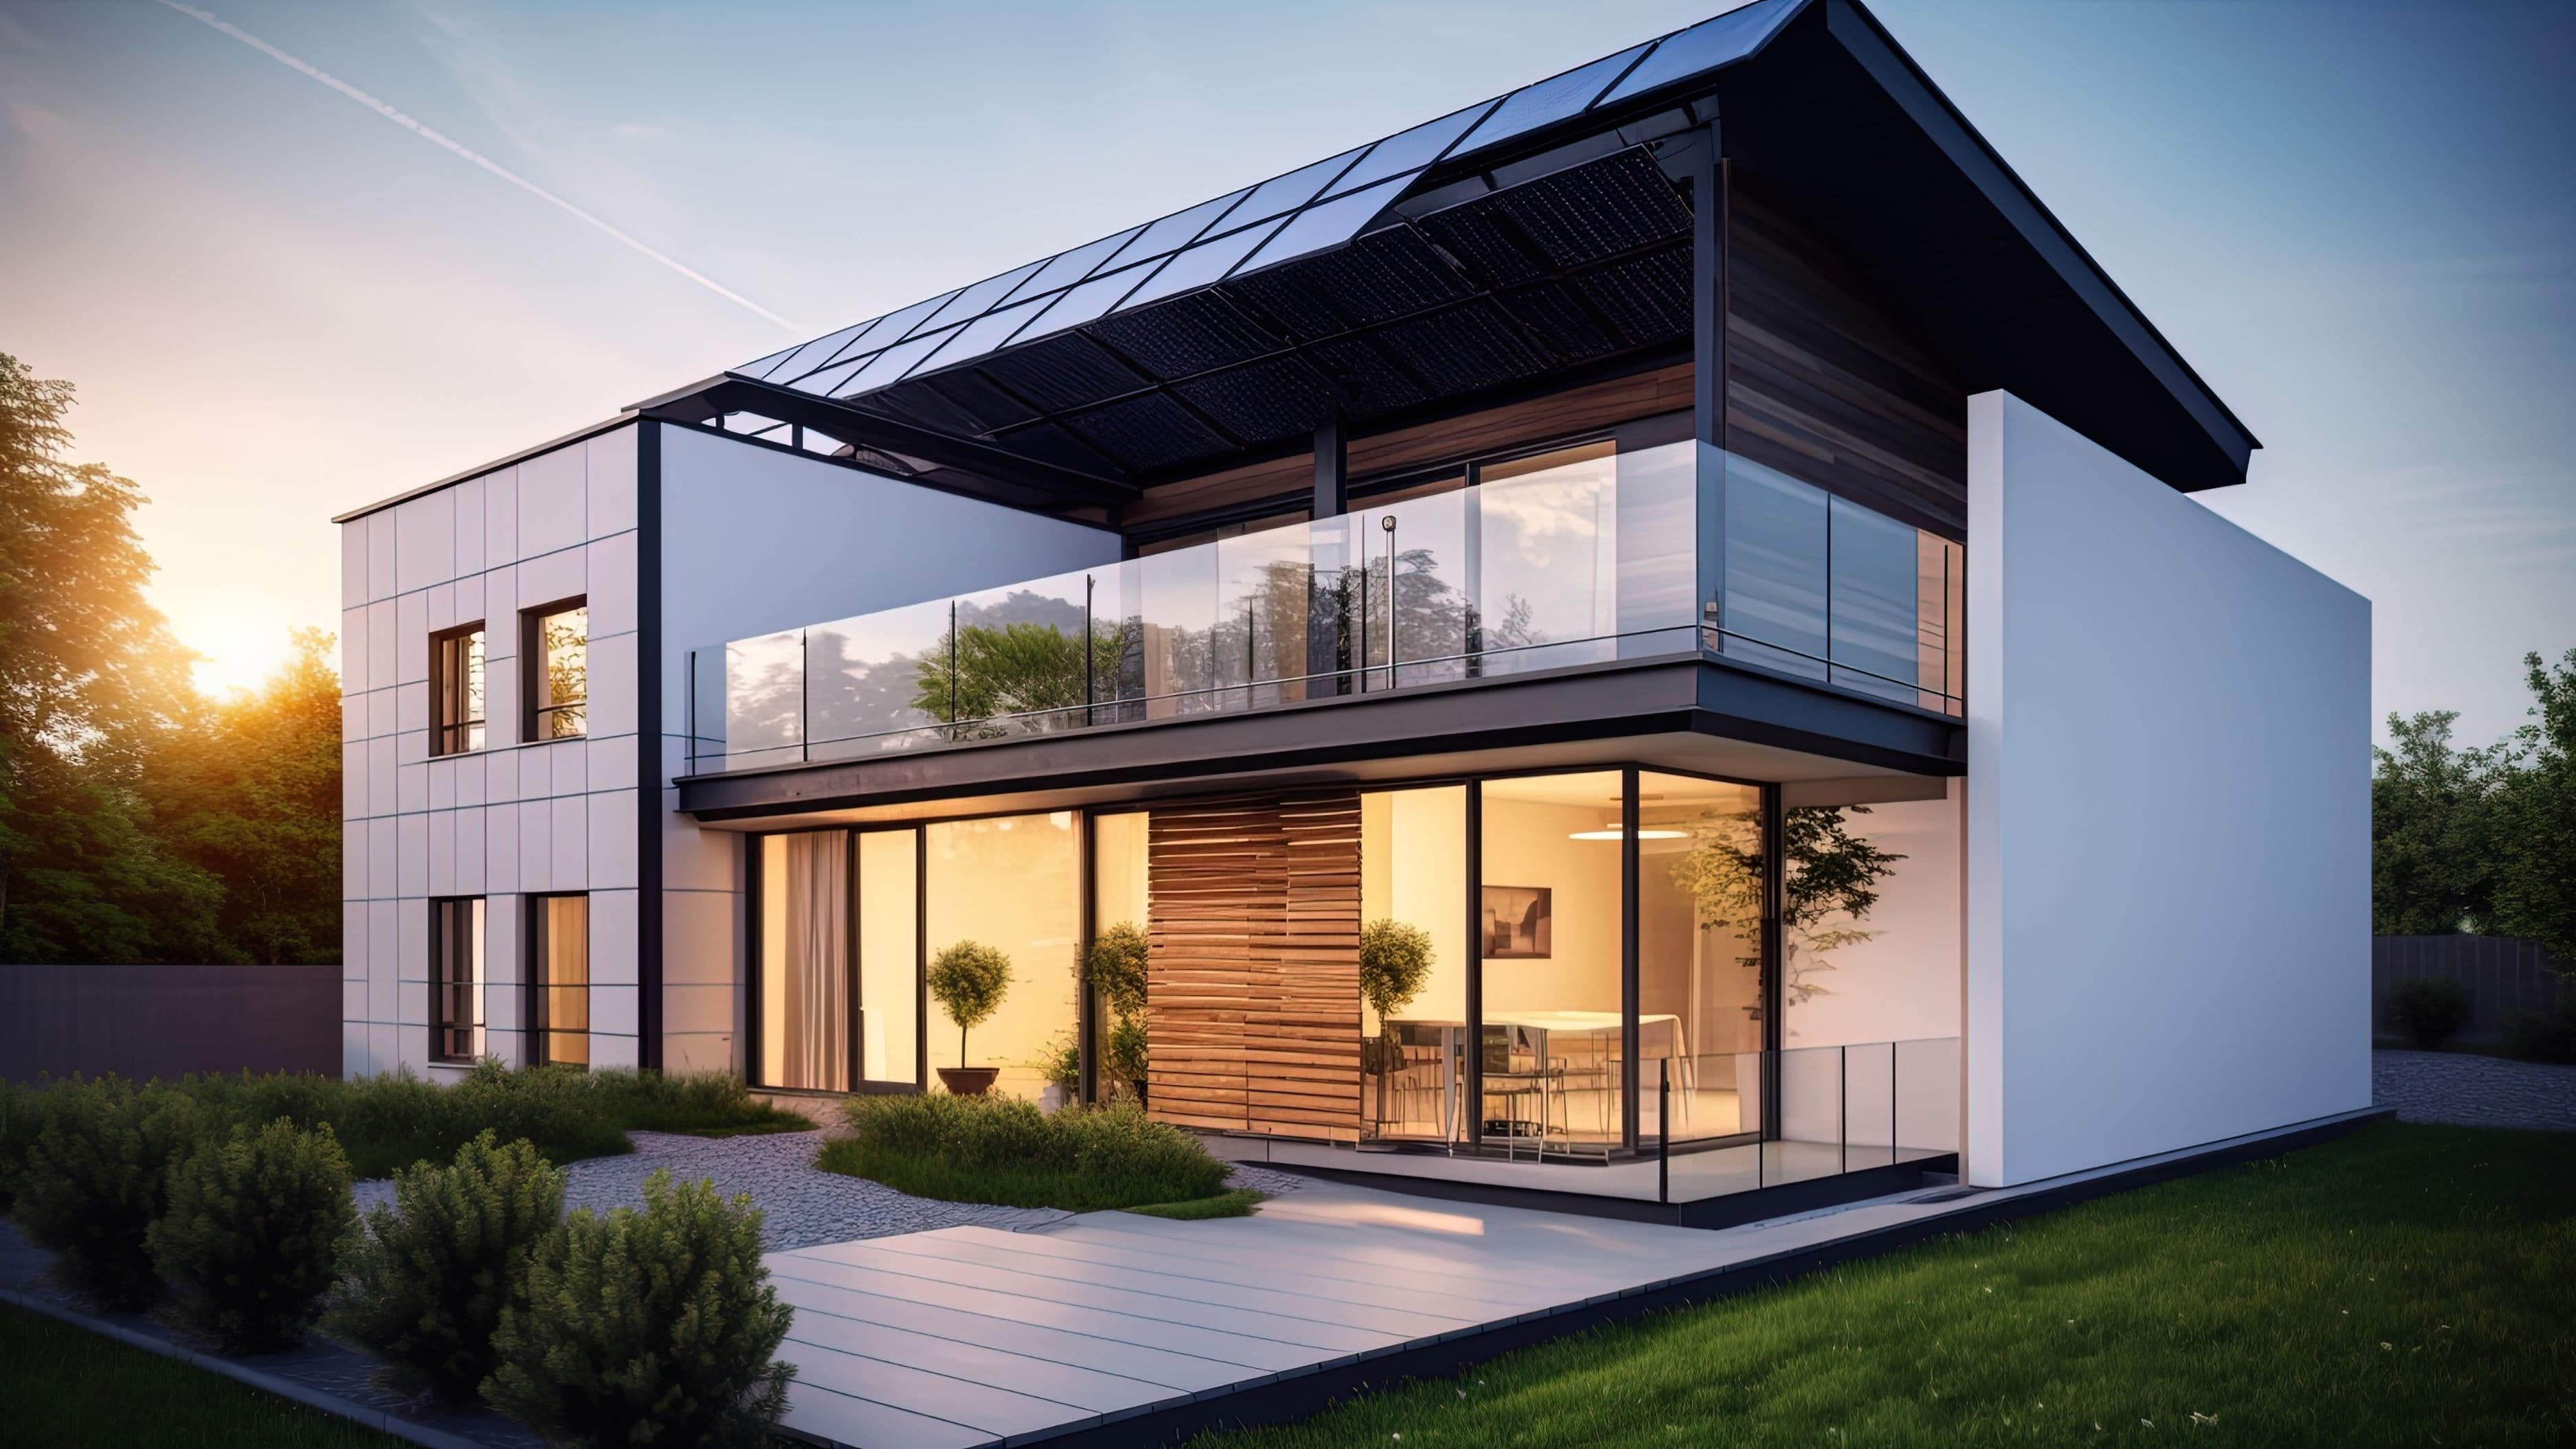
Passive house (or Passivhaus) is a building standard developed in Germany in the early 1990s that focuses on dramatically reducing a building's energy demand through a combination of superior insulation, airtightness, and controlled ventilation. A certified passive house uses up to 90% less energy for heating and cooling than a conventionally built home. The standard is demanding – it specifies exact thermal performance targets, air leakage limits, and thermal bridge requirements that most existing homes fall well short of.
Retrofitting an existing home to full certified passive house standard is complex and expensive, and in most cases isn't the realistic goal.
What most homeowners are working toward is a deep energy retrofit that applies passive house principles – thick continuous insulation, improved airtightness, elimination of thermal bridges, and mechanical ventilation with heat recovery – to significantly reduce energy demand and improve comfort without necessarily hitting every certification number. Even getting halfway to passive house performance levels produces dramatic results in terms of energy bills and indoor temperature stability.
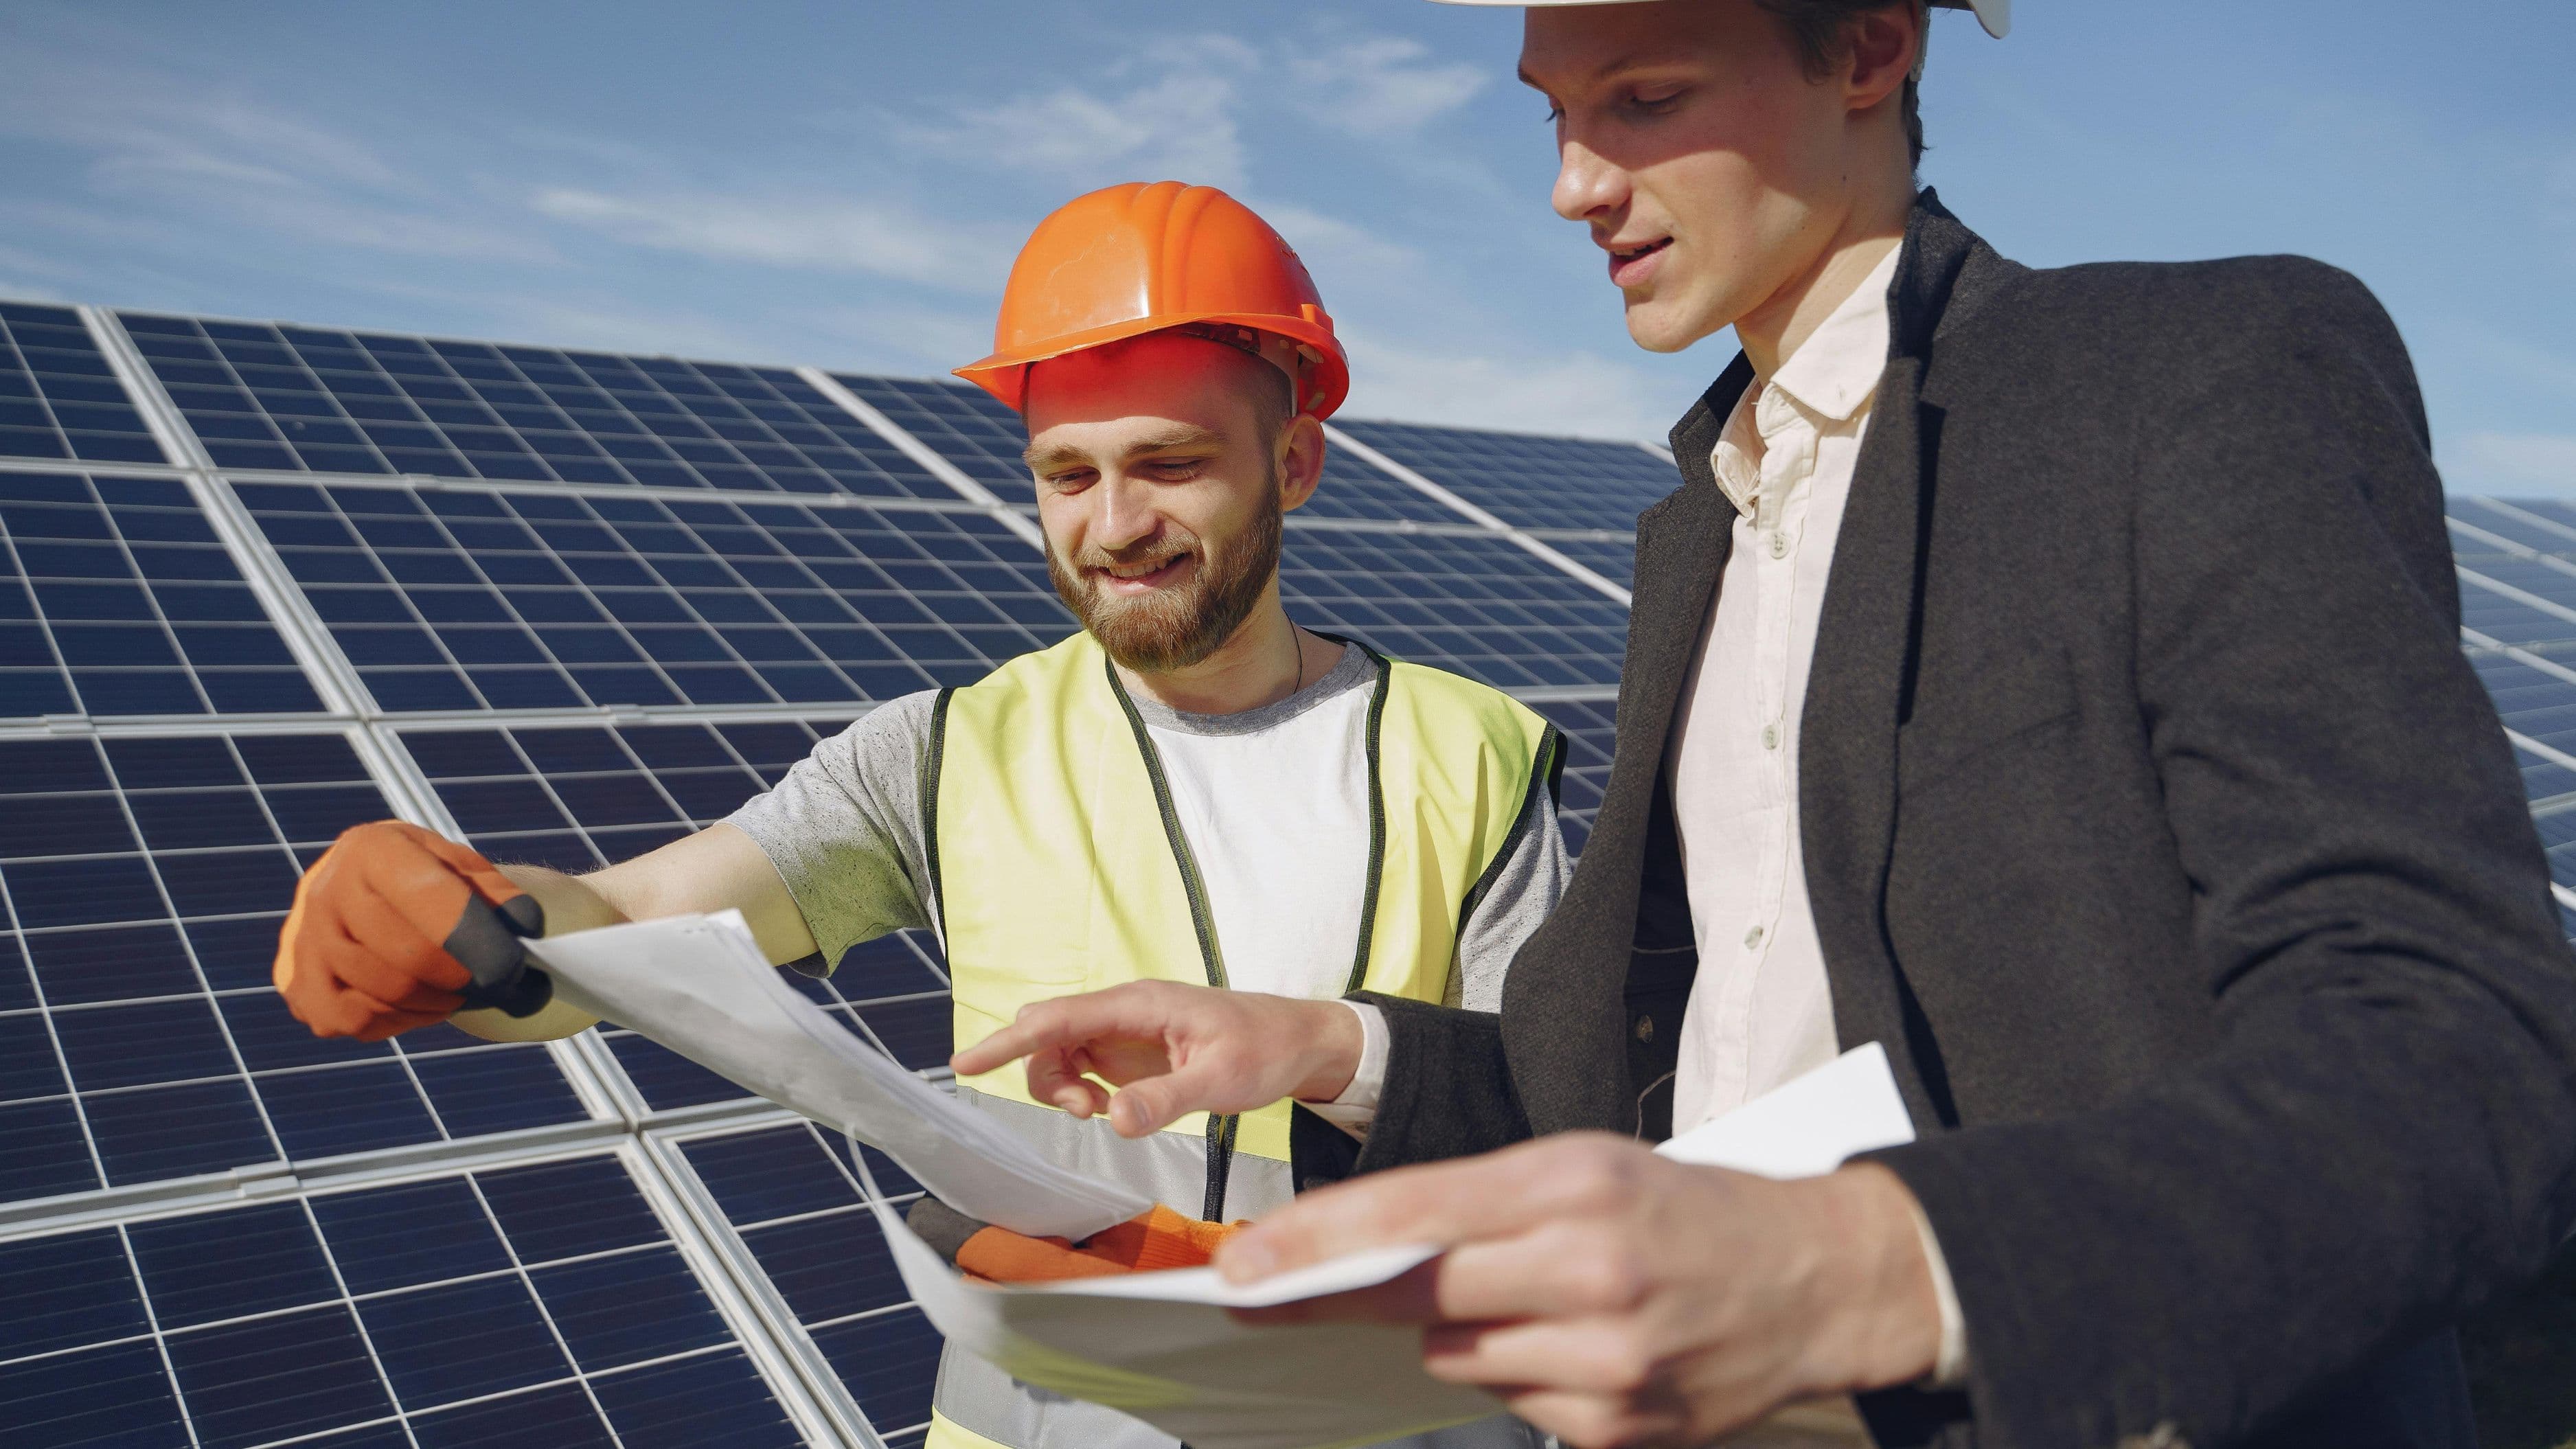
Step 1: Start With an Energy Assessment
Before you insulate anything, you need to know where your home is losing energy and how much. A professional energy assessment – also called an EPC (Energy Performance Certificate) assessment in the UK, or a home energy audit in the US – will identify the main areas of heat loss, current insulation levels, air leakage points, and the most cost-effective upgrade priorities for your specific property.
A basic energy audit costs roughly $200–$500 in the US or £150–£400 in the UK, depending on the level of detail. A blower door test, which measures air leakage by pressurising the building and identifying where air is escaping, is particularly valuable and should be requested specifically if your assessor doesn't include it by default. For a serious passive house retrofit, you want a qualified assessor who is familiar with the standard and can help you sequence your upgrades logically. Doing a large insulation project without this step first risks spending money in the wrong order.
Cost level: Low (relative to the overall project).
Impact: High – it shapes every decision that follows.
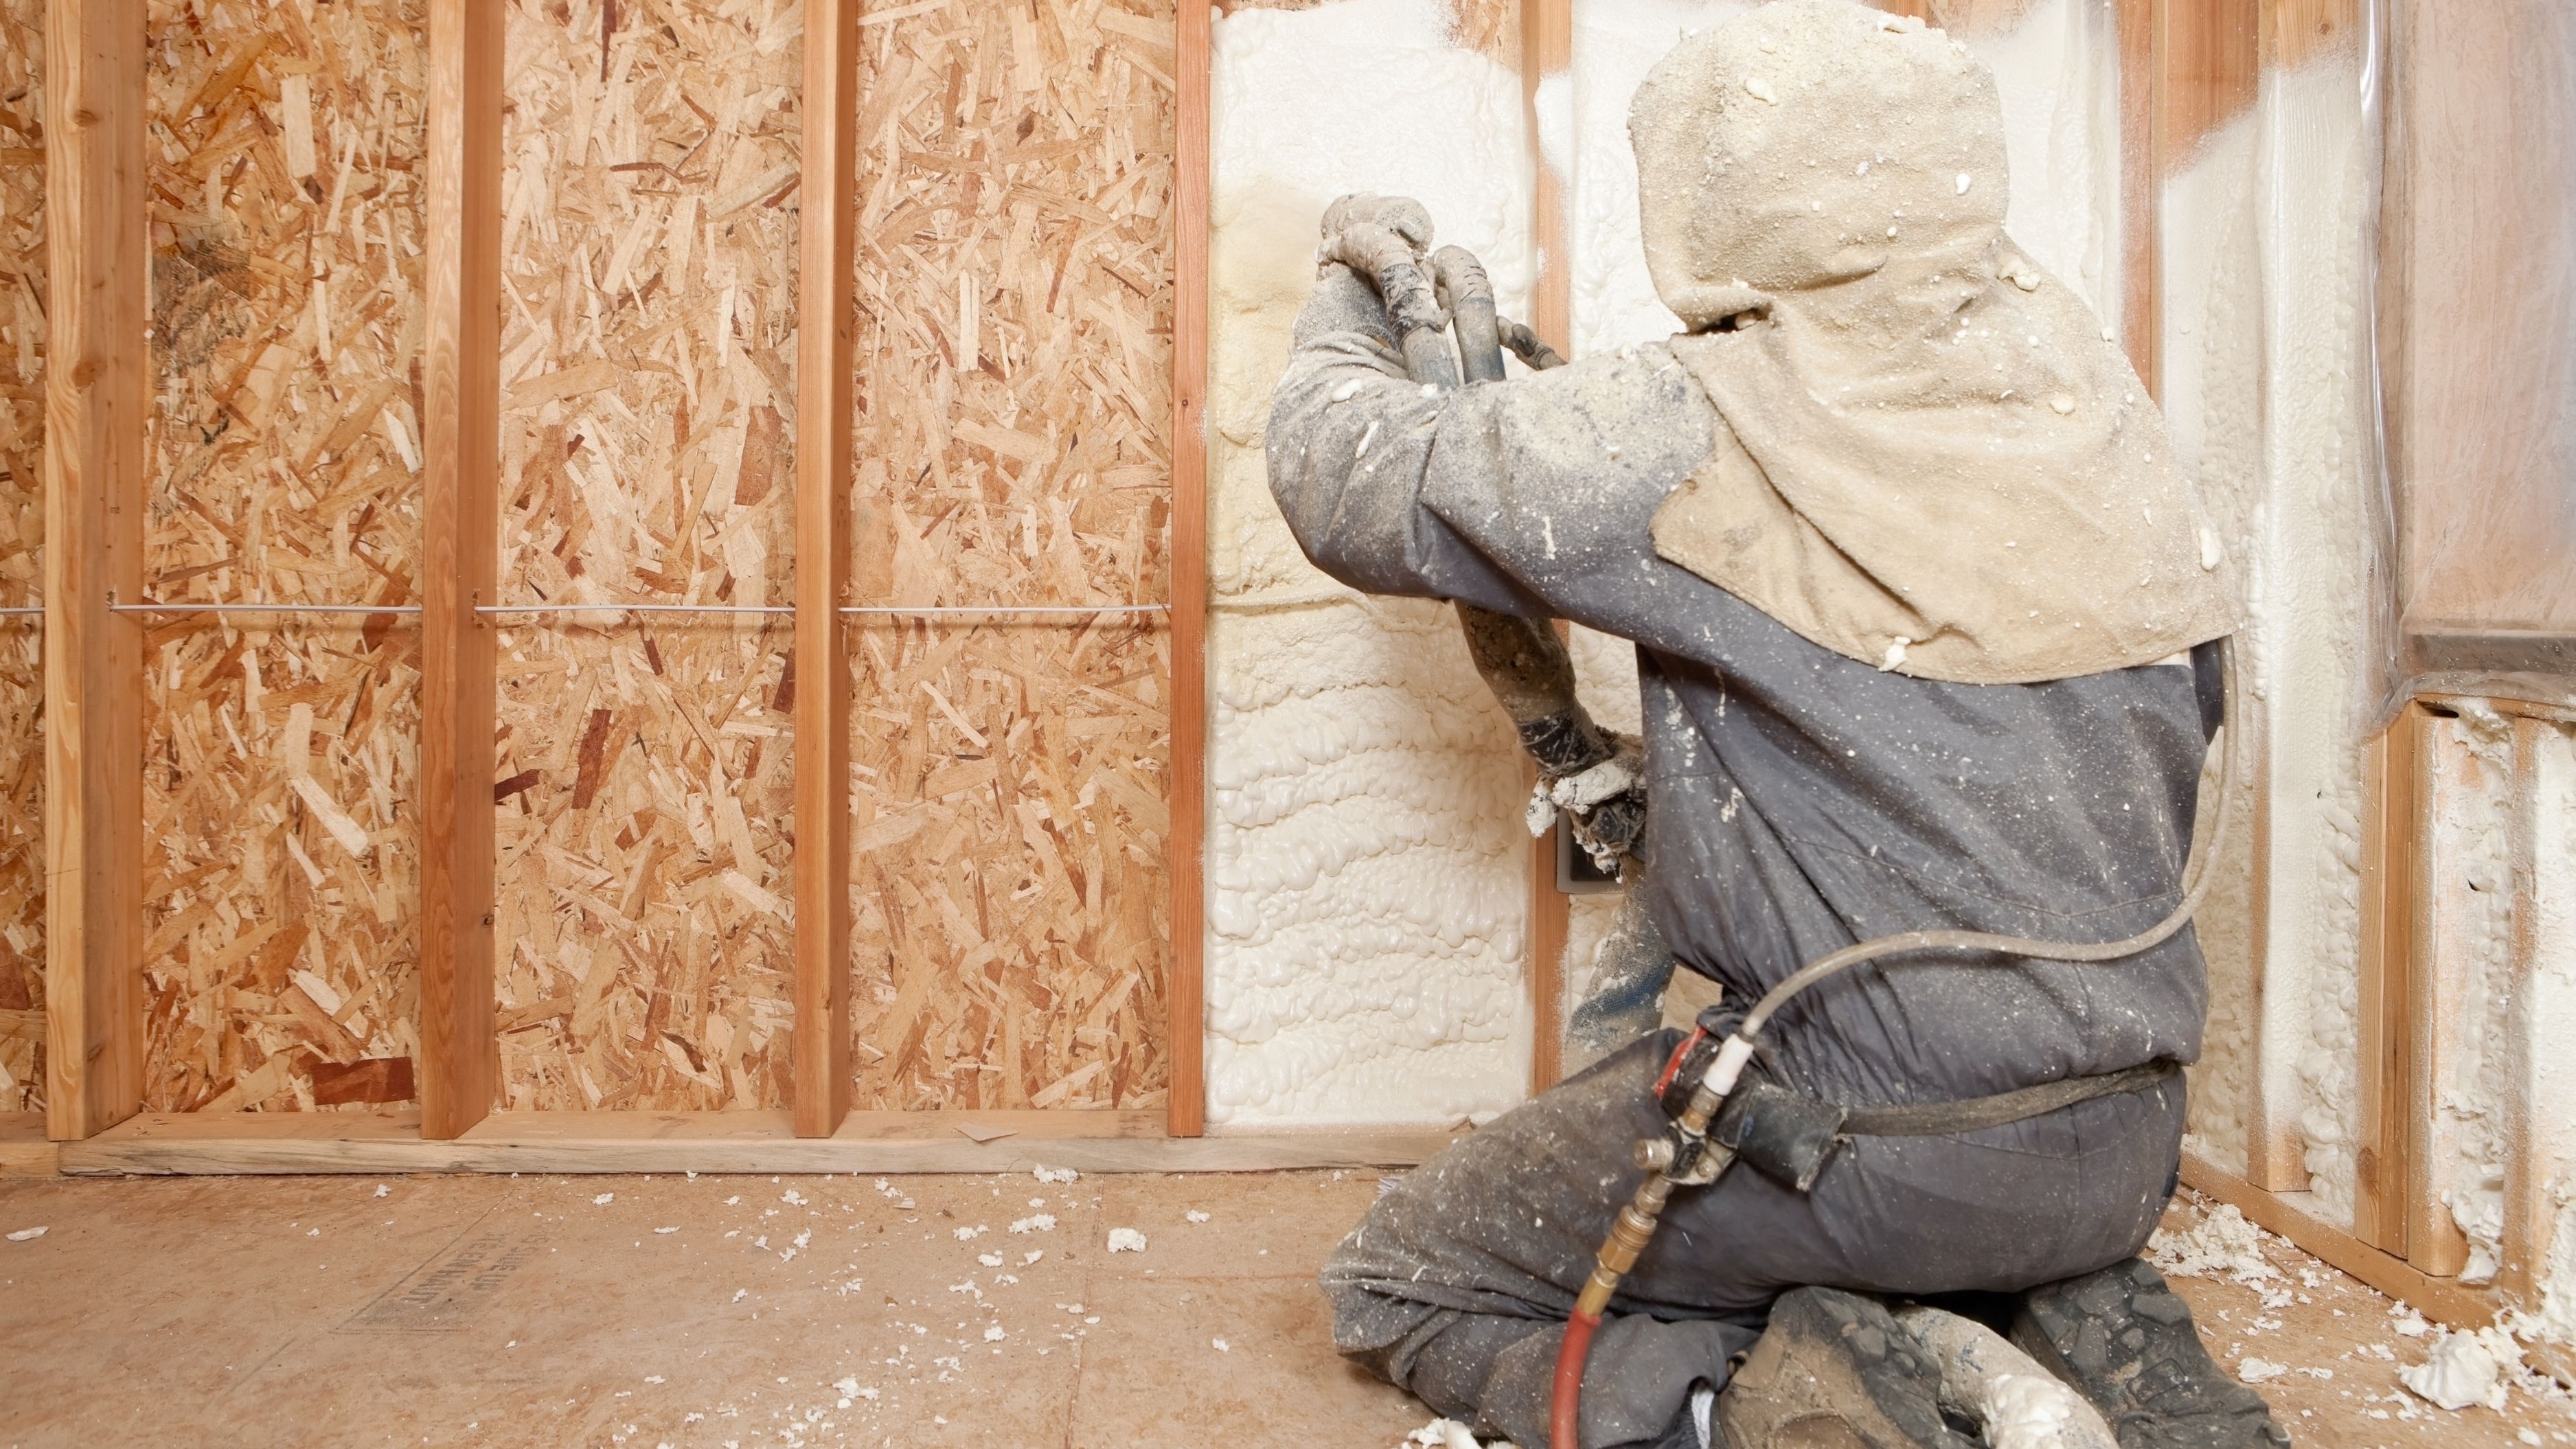
Step 2: Seal the Building Envelope Before Insulating
This step is counterintuitive to many homeowners who jump straight to adding insulation. But adding thick insulation to a leaky building envelope traps moisture, reduces the insulation's effectiveness, and can cause condensation and mould problems inside the wall structure. Airtightness needs to come before or alongside insulation work, not after it.
Common air leakage points in older homes include gaps around electrical outlets and switches on external walls, penetrations where pipes and cables pass through walls and ceilings, the junction between walls and floors, loft hatches, and around window and door frames. Many of these can be addressed with expanding foam sealant, acoustic mastic, or airtightness tapes – materials that cost relatively little but make a measurable difference. More significant air leakage through structural gaps may require professional attention during the insulation work itself. The target for a deep energy retrofit is typically an air change rate of 0.6 ACH (air changes per hour) or lower under 50 Pascals of pressure – a number your blower door test will measure.
Cost level: Low to medium (materials are inexpensive; professional sealing during a larger project adds moderate cost).
Impact: Very high – airtightness work often delivers more energy savings per pound spent than additional insulation thickness.
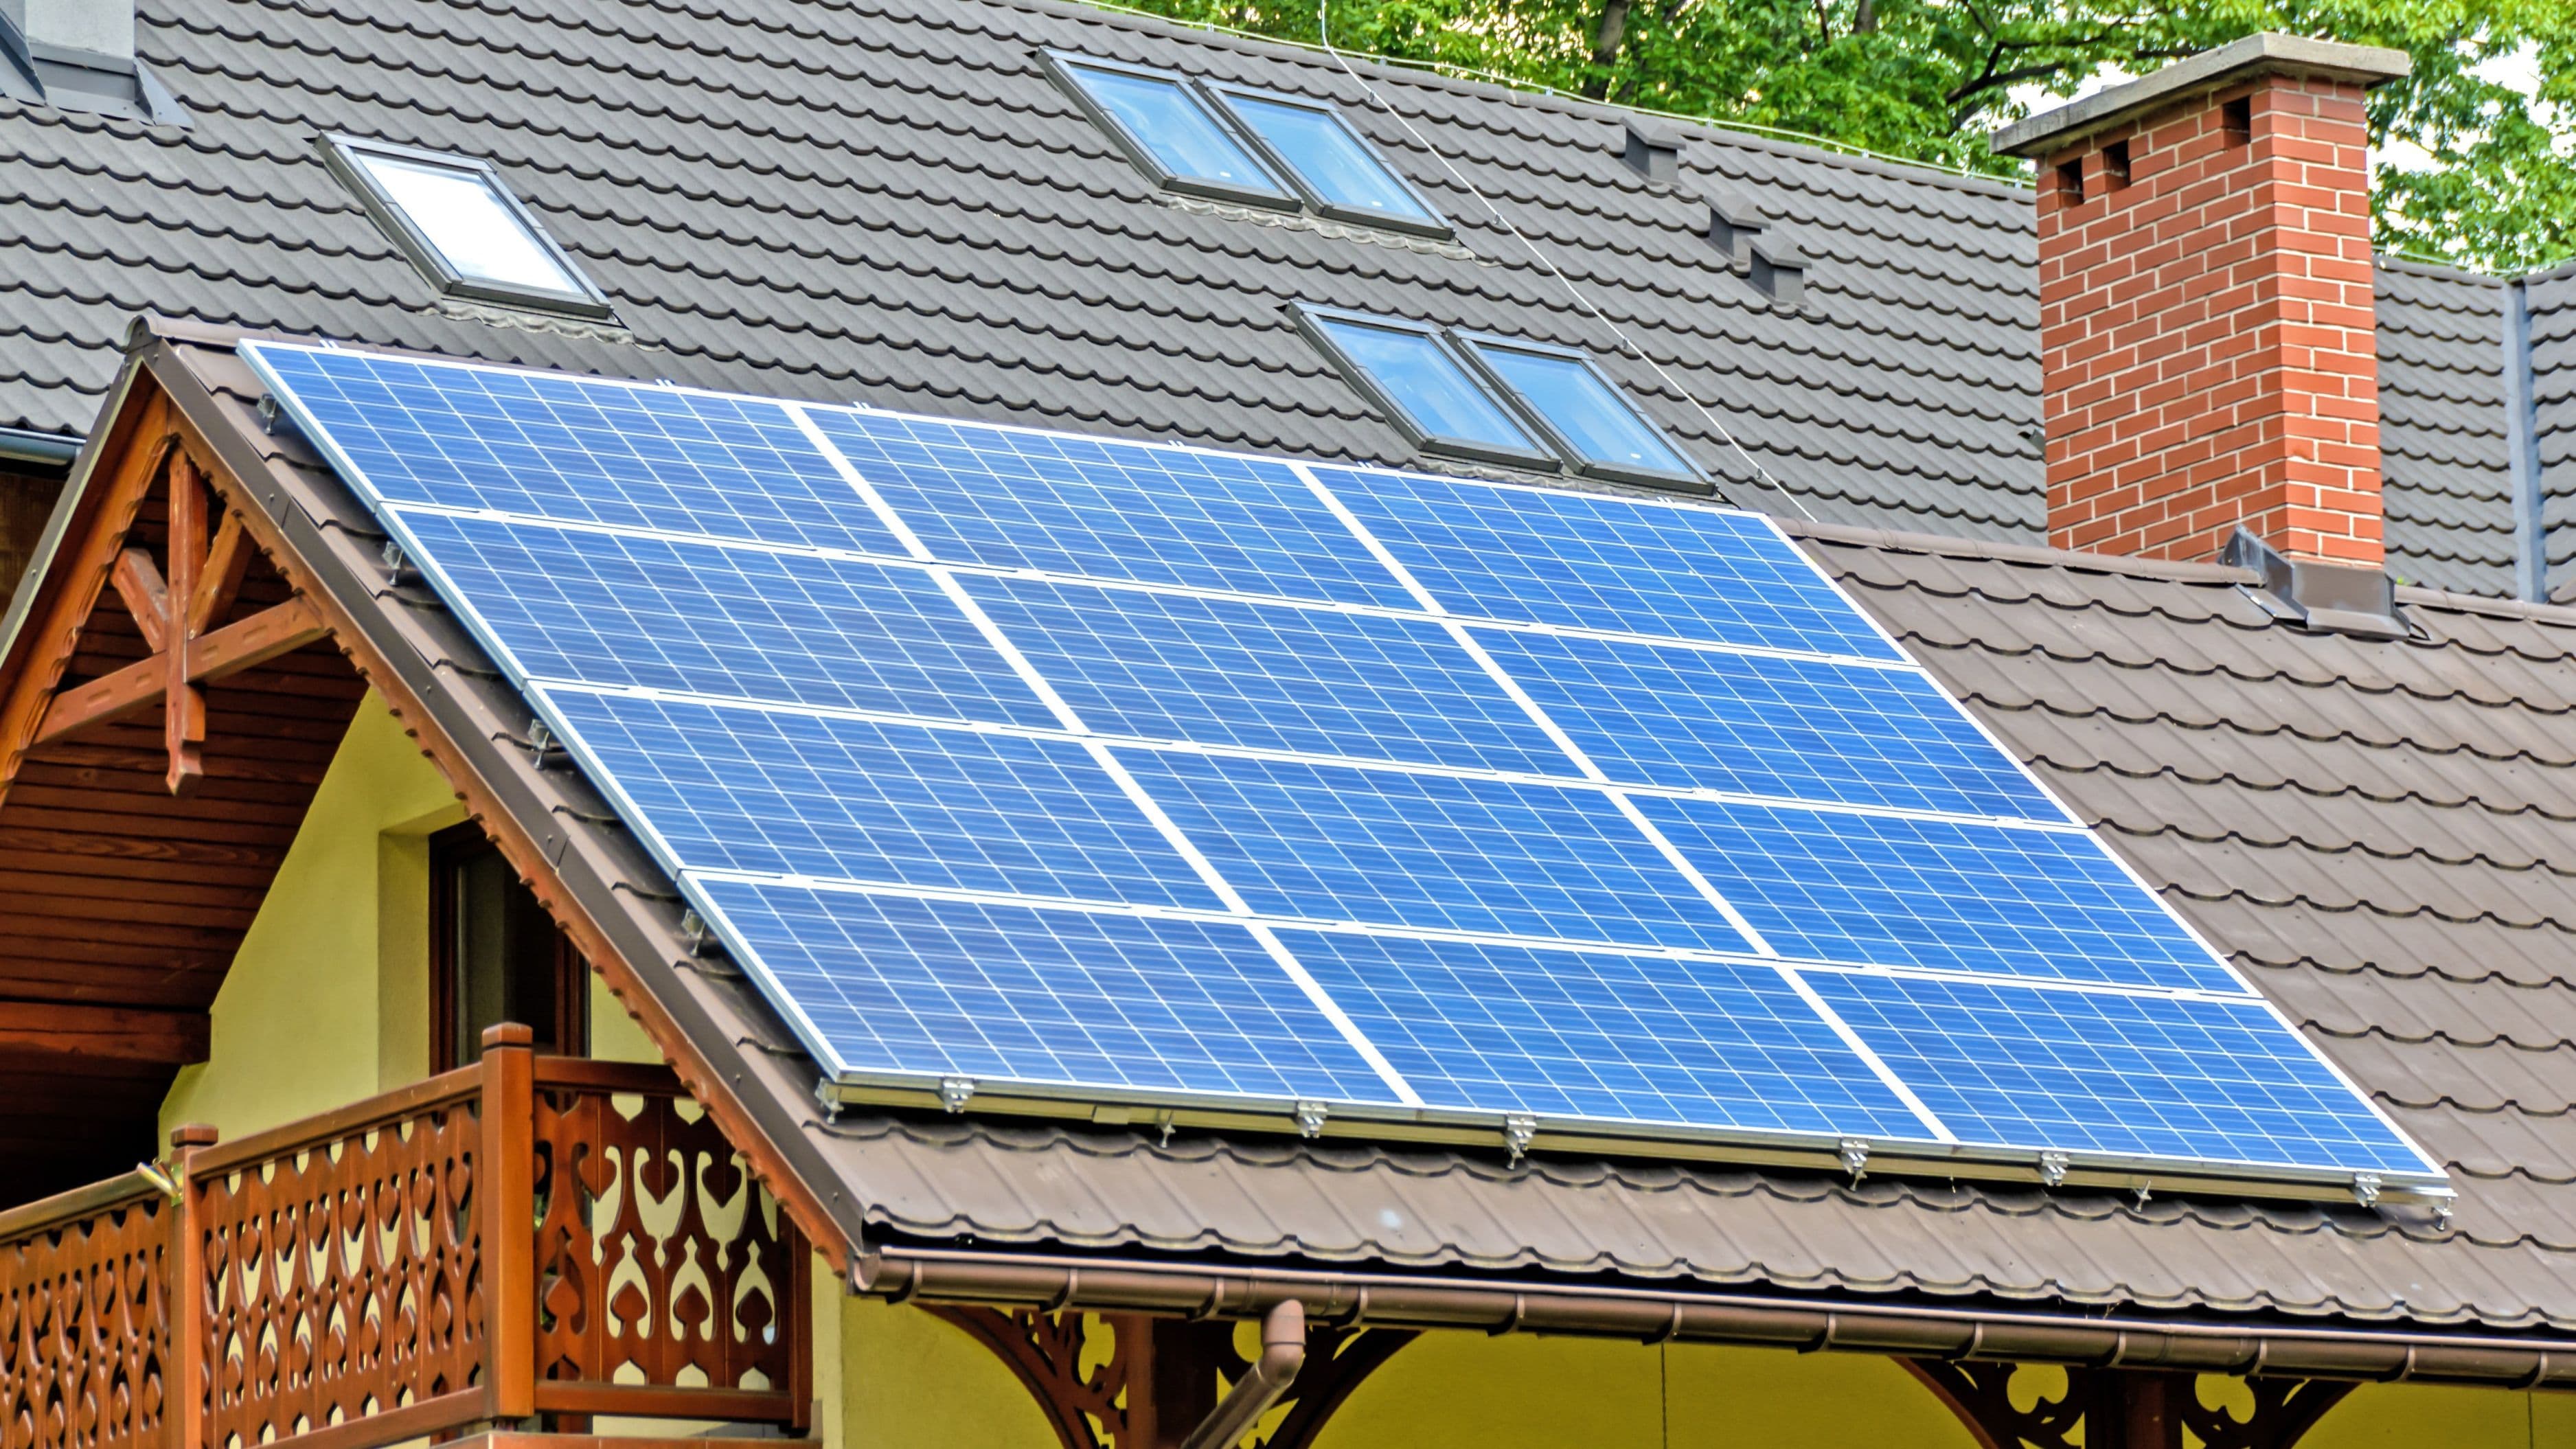
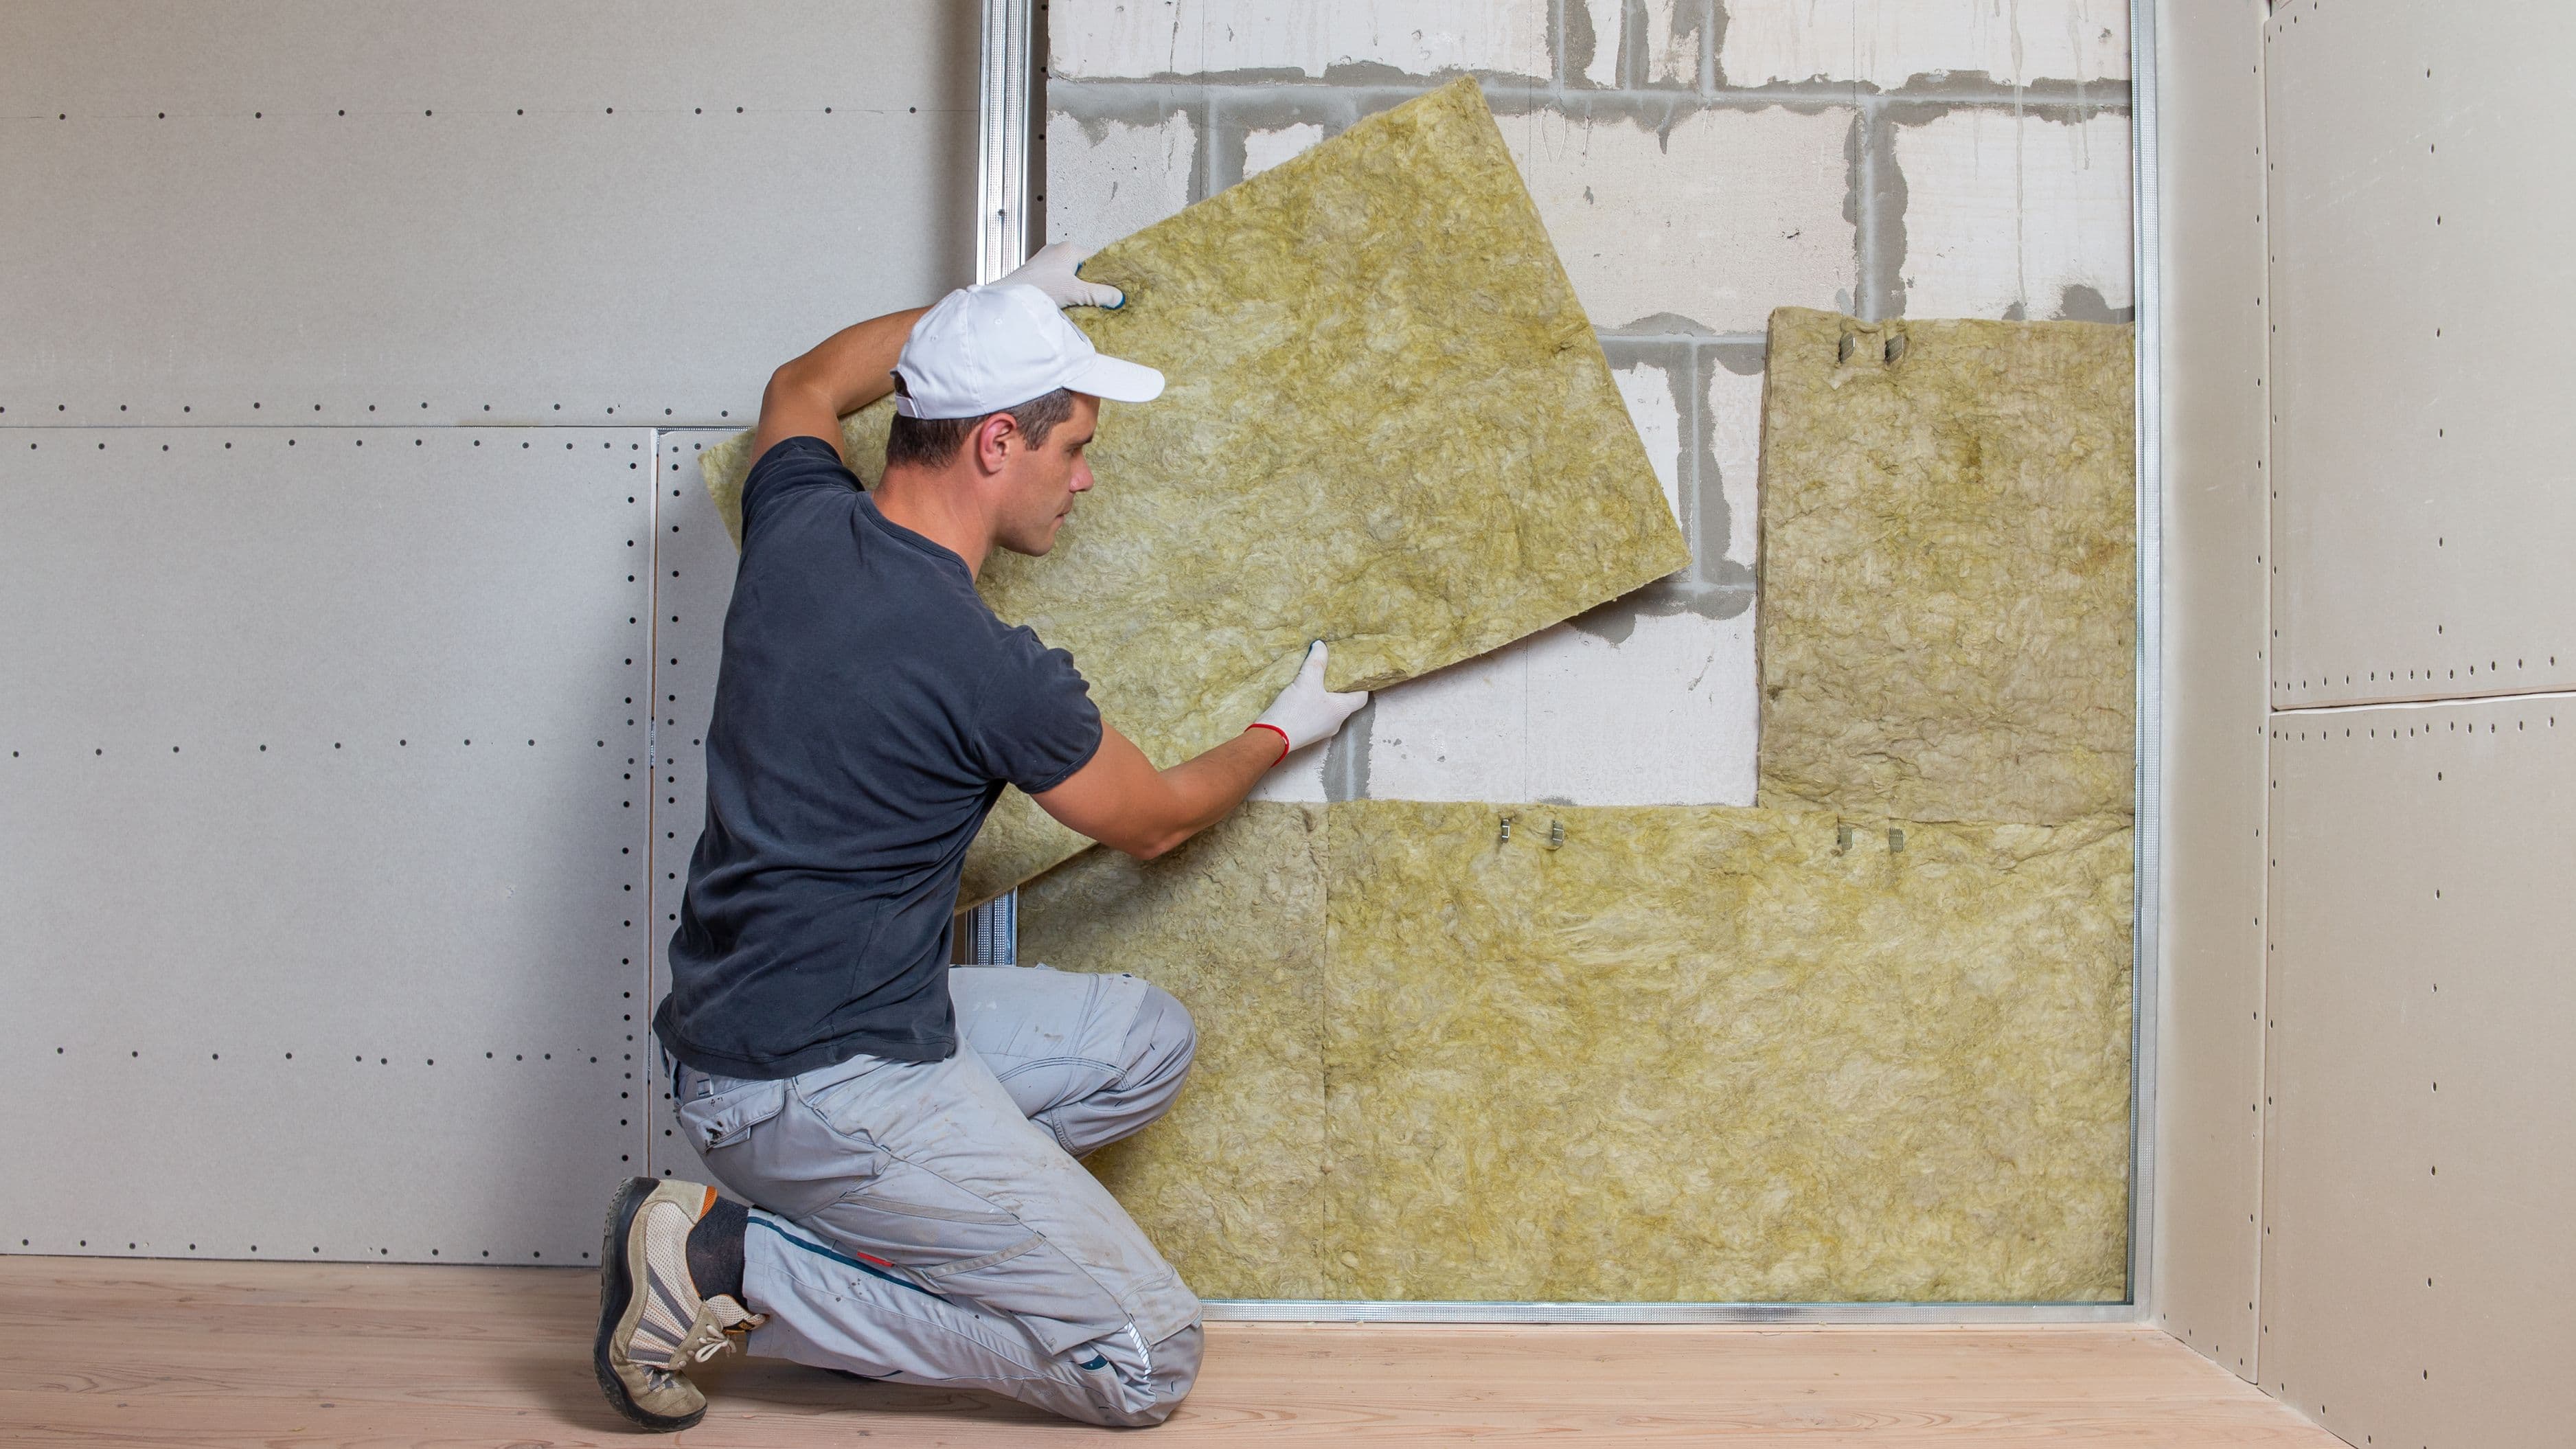
Step 3: Insulate the Roof or Loft First
Heat rises, and an uninsulated or under-insulated roof is typically the single largest source of heat loss in an older home. Loft insulation is also the most accessible and cost-effective upgrade in most properties, which makes it the right starting point.
For a passive house standard retrofit, you need insulation that performs significantly better than typical building regulations require.
Standard UK loft insulation is 270mm of mineral wool – adequate by code, but not passive house level. A deep retrofit typically targets 400–600mm of mineral wool or equivalent, or a thinner layer of higher-performance rigid insulation (such as PIR board or EPS) where space is constrained. Cold roof versus warm roof construction matters here: in a cold loft (insulation laid between and over the joists at ceiling level, keeping the loft space cold), you have relatively free rein to pile up depth. In a warm roof construction (insulation between and over the rafters, keeping the roof space warm), depth is more constrained and higher-performance insulation materials are more important.
Roof insulation for a typical semi-detached house typically costs £400–£900 for materials and installation, though a full passive house specification using premium materials will sit at the higher end or above. The energy savings are usually the fastest to show up on your bills of any insulation measure.
Cost level: Low to medium.
Time: 1–2 days for a standard loft.
Impact: Very high.
Step 4: Insulate External Walls
Walls represent the largest surface area of your building envelope and, after the roof, are the most significant route for heat loss. There are three approaches to wall insulation: external wall insulation (EWI), internal wall insulation (IWI), and cavity wall insulation for homes that have a cavity between the inner and outer leaf of the wall. Which option applies to your home depends on how it was built.
Cavity wall insulation is the simplest option for homes built after around 1920 that have an existing air gap between the inner and outer wall leaves. Insulation – typically mineral wool bead, EPS bead, or polyurethane foam – is injected into the cavity through small drilled holes. This is relatively inexpensive (typically £500–£1,500 for a semi-detached home) and disruptive-free, but the cavity width limits how much insulation you can add. Cavity insulation alone will not reach passive house performance levels.
External wall insulation involves fixing a layer of rigid insulation board directly to the outside of the building, then rendering or cladding over it. This is the preferred approach for achieving passive house-level wall performance because it allows for thick, continuous insulation without reducing interior room sizes. It also covers and eliminates external thermal bridges (the points where structural elements bridge the insulation layer and allow heat to pass through). EWI typically costs £8,000–£20,000+ for a full house depending on size and insulation thickness. It's the highest-impact wall insulation option but also the most disruptive and expensive.
Internal wall insulation is typically used where external changes to the building's appearance aren't possible – in conservation areas, for example, or with certain brick or stone facades. Rigid insulation boards or stud walls filled with mineral wool are fixed to the inside face of external walls. The downside is that it reduces room sizes slightly and requires careful detailing around window reveals, skirting boards, and electrical fittings. Internal insulation also has more difficulty eliminating thermal bridges than EWI.
For a passive house retrofit, EWI is the most effective wall approach. For a phased or budget-constrained project, combining cavity fill with internal insulation on the most exposed walls can substantially improve performance at lower cost.
Cost level: Medium to very high depending on method.
Impact: High – particularly EWI with thick continuous insulation.
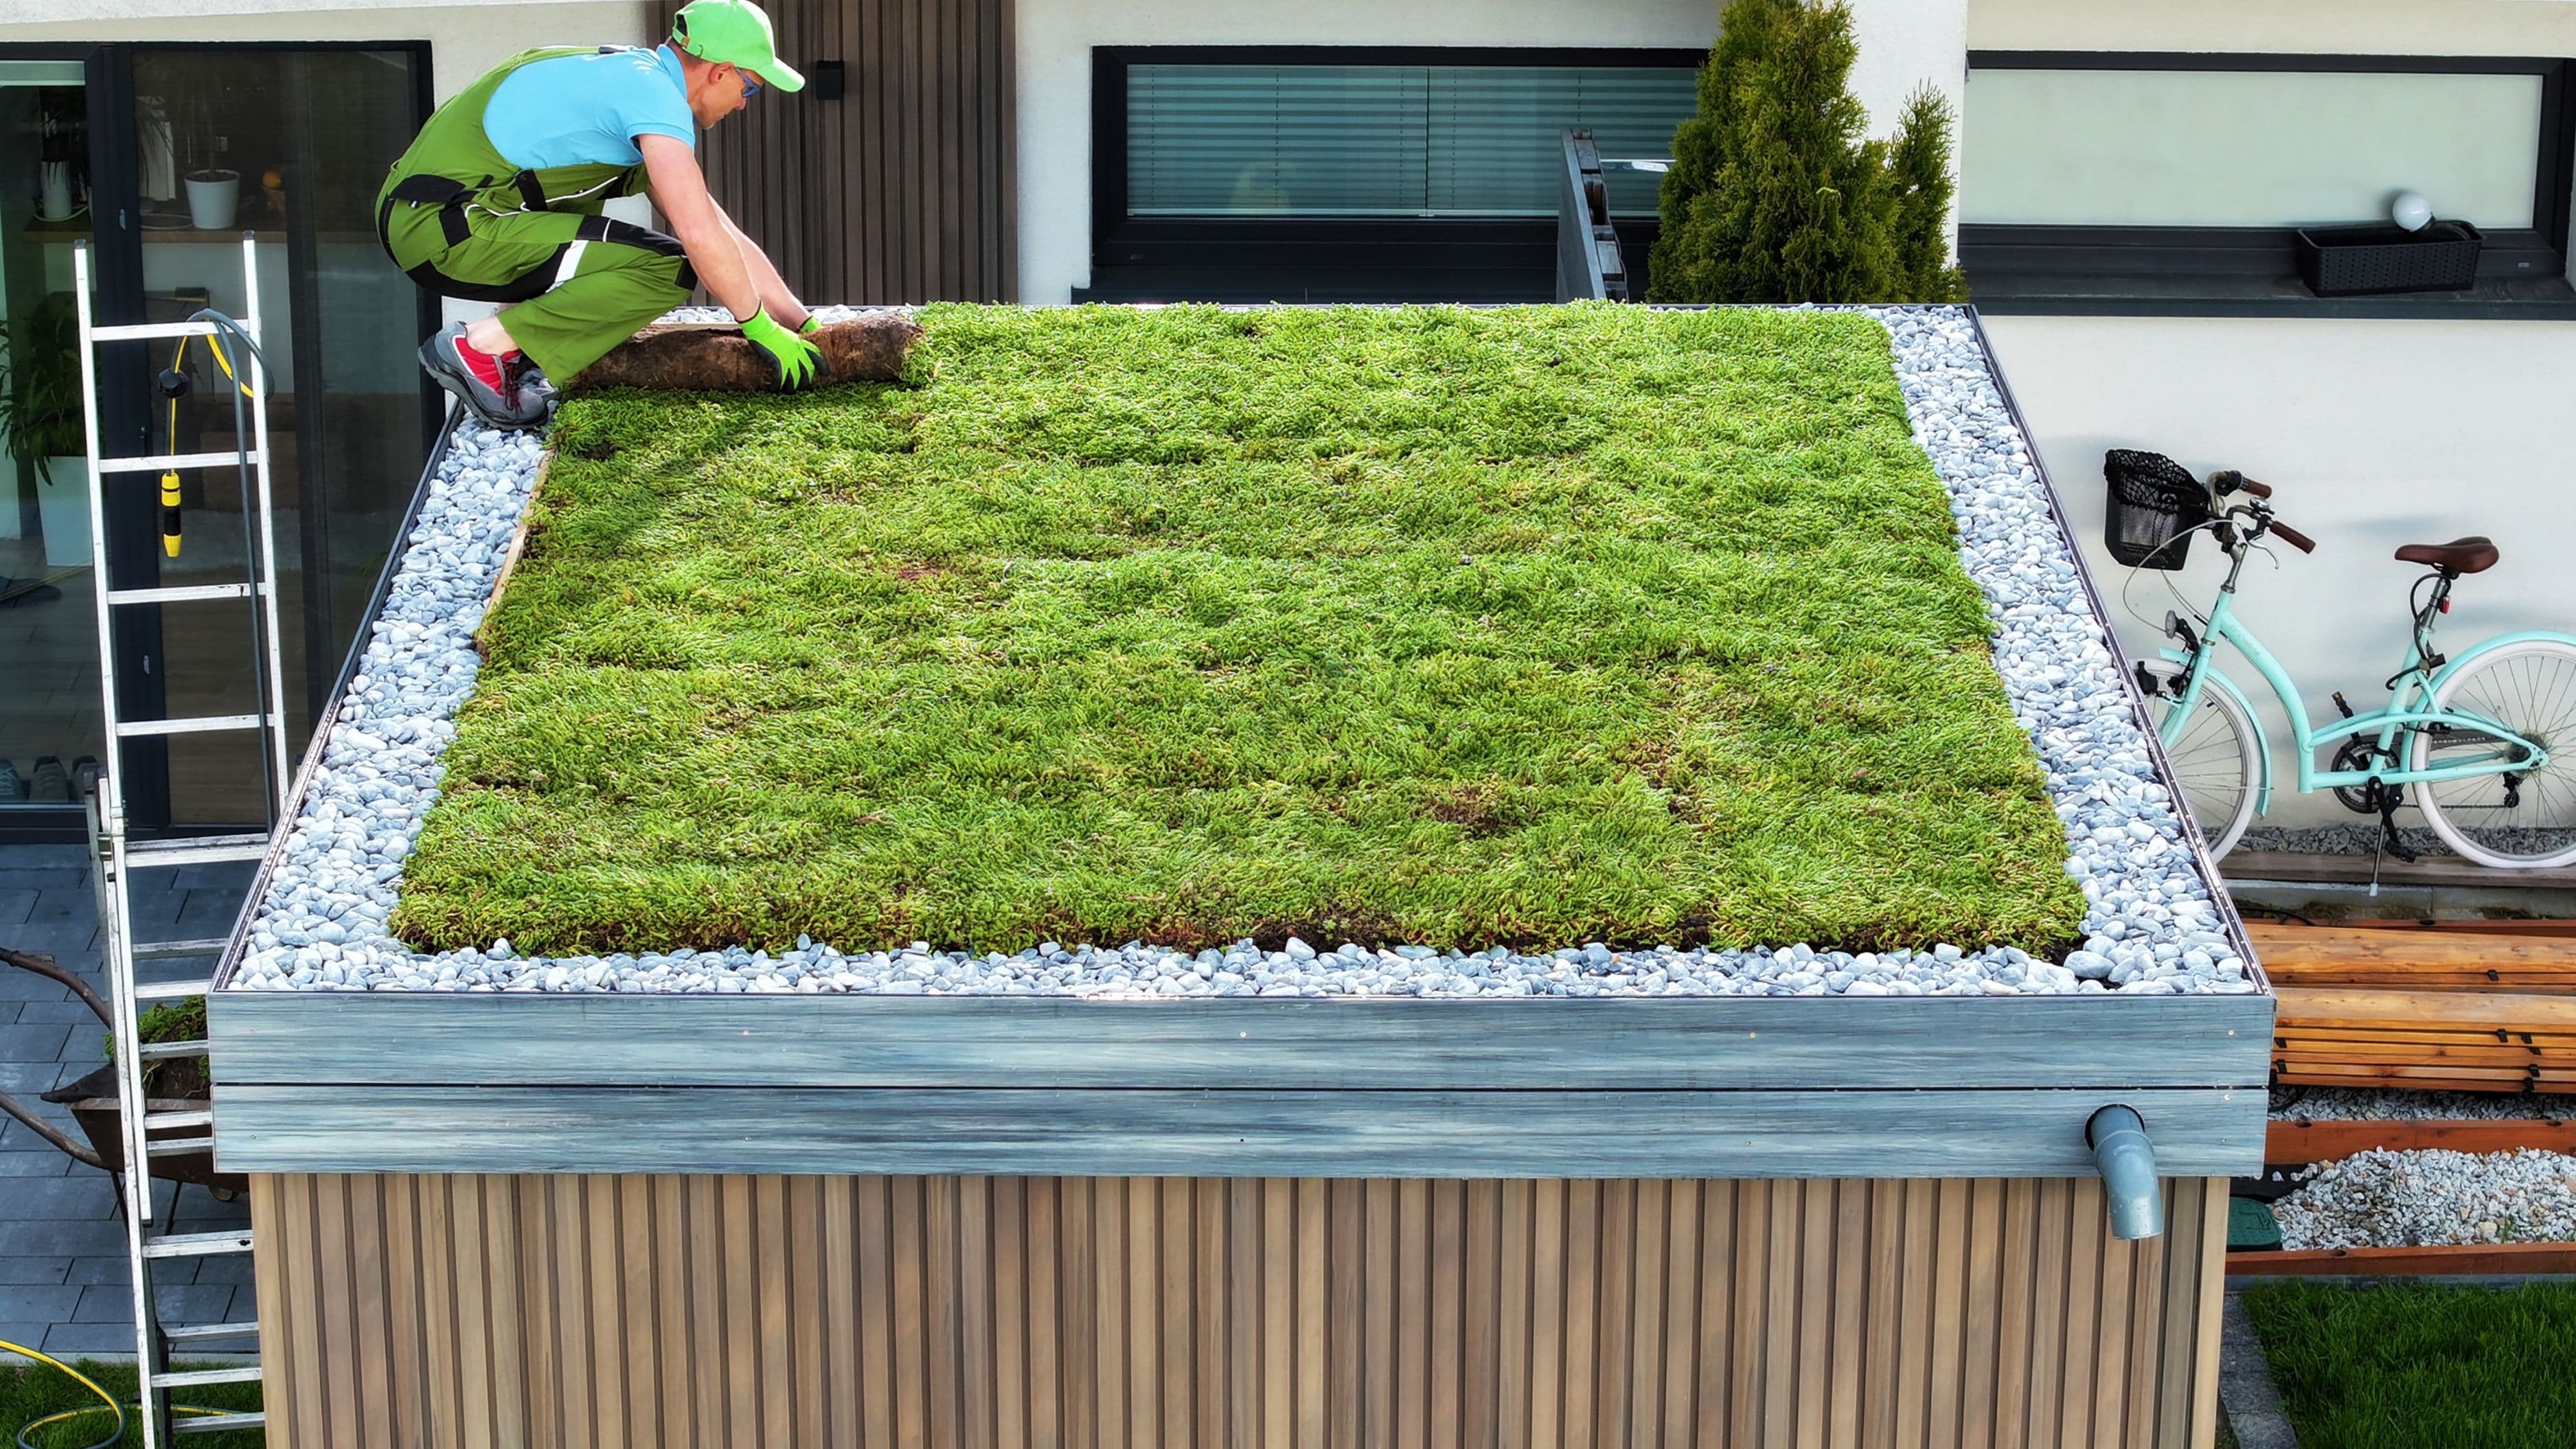
Step 5: Insulate the Ground Floor
Floor insulation is frequently overlooked but contributes meaningfully to overall thermal performance. The approach depends on your floor construction. Suspended timber floors have gaps between the joists through which both cold air and heat can move, and can often be insulated by lifting the floorboards and fitting rigid insulation between the joists – a job that is disruptive but manageable. Solid concrete floors require a layer of rigid insulation on top of the existing slab, then a new screed or floor finish over it, which will raise the floor level by 50–150mm and requires adjustment of door frames, skirting boards, and thresholds.
Floor insulation for a typical ground floor typically costs £800–£3,000 depending on construction type and method. The energy savings are real but usually smaller than roof and wall insulation because the temperature differential between the ground and the living space is less extreme than between the living space and the outside air above.
Cost level: Medium.
Time: 2–5 days depending on scope.
Impact: Medium to high.
Step 6: Add Mechanical Ventilation with Heat Recovery (MVHR)
This step is where passive house retrofits diverge most sharply from conventional insulation upgrades, and it's the one most homeowners aren't expecting. As you seal and insulate a building to passive house levels, you simultaneously remove the natural ventilation that keeps indoor air fresh and humidity levels stable. A house that is airtight without a controlled ventilation system develops condensation, stuffiness, and air quality problems that will eventually cause health issues and building damage.
Mechanical ventilation with heat recovery (MVHR) solves this by supplying fresh filtered air to living spaces and extracting stale air from kitchens and bathrooms, running both streams through a heat exchanger that recovers 85–95% of the heat from the outgoing air before it's expelled. The result is continuous fresh air with almost no energy penalty. MVHR is standard in new passive house construction and is increasingly common in deep retrofits. A whole-house MVHR system typically costs £3,000–£8,000 installed, including ducting. It requires some ceiling or wall access for ducting routes, and installation is best planned during a broader renovation rather than added to a finished home.
Cost level: High.
Impact: Essential for any serious passive house retrofit – don't insulate to this level without it.
Tips for Getting the Most From Your Retrofit
Sequence the work logically. Do the loft first, then walls, then floor. Address airtightness at each stage rather than leaving it to the end. Add MVHR before you close up walls and ceilings if at all possible – retrofitting ducting through a finished building is significantly harder and more expensive.
Eliminate thermal bridges at every opportunity. A thermal bridge is any point where a highly conductive material (steel lintels, concrete floor slabs, window frames) connects the warm inside to the cold outside, bypassing the insulation layer. Thermal bridges are responsible for cold spots, condensation, and a measurable reduction in overall insulation performance. Good insulation detailing – particularly around windows and at wall-floor and wall-roof junctions – makes a real difference to the final result.
Use a qualified installer for each stage. Passive house insulation detailing requires more precision than standard insulation work, particularly around airtightness membranes, window reveals, and service penetrations. A poorly installed passive house retrofit can underperform significantly compared to a well-installed standard retrofit.
What to Avoid
Installing insulation without addressing airtightness first. Insulation in a leaky envelope will underperform and may cause moisture problems inside the wall or roof structure. Seal first, insulate second.
Choosing insulation thickness based on building regulations minimums. The UK and most US states set minimum insulation requirements that are significantly below passive house performance levels. If you're retrofitting for long-term performance, design to passive house targets rather than regulatory minimums.
Ignoring thermal bridges. Many homeowners insulate walls and roofs thoroughly but leave structural cold bridges – particularly around window frames and at floor junctions – that substantially reduce the real-world performance of the insulation.
Attempting a deep retrofit without professional guidance. Passive house retrofitting involves moisture physics, ventilation calculations, and thermal bridge analysis that go beyond typical renovation knowledge. Work with a designer or contractor with passive house experience, particularly for the initial assessment and for the MVHR specification.
Frequently Asked Questions
Can any home be retrofitted to passive house standard? Most homes can be significantly improved using passive house principles, but full certification is harder to achieve in some building types – particularly older solid-wall construction or properties in conservation areas where external changes are restricted. A deep energy retrofit that applies passive house principles without meeting every certification number is a realistic and valuable goal for most homes
.
How long does the full retrofit take? Done all at once, a comprehensive passive house retrofit is typically a 6–16 week project depending on the size of the home and scope of work. Most homeowners do it in phases over several years, starting with loft insulation and airtightness and adding wall and floor insulation and MVHR over time.
What grants or incentives are available? In the UK, the Great British Insulation Scheme and the ECO4 scheme offer funding for wall and loft insulation in eligible homes. In the US, the Inflation Reduction Act provides tax credits of up to 30% for qualifying energy efficiency improvements, including insulation. These schemes change regularly, so check the current government guidance for up-to-date eligibility.
Will passive house insulation levels make my home feel stuffy? Not with MVHR installed. Without it, yes – a very airtight home without controlled ventilation will feel stuffy and humid. MVHR is the reason passive houses have excellent indoor air quality despite very low air leakage rates.
A Project Worth Planning For
A full passive house retrofit is a significant investment – total costs for a comprehensive project typically range from £30,000 to £80,000 or more depending on the home's size and starting condition. But it's also a one-time investment that transforms the building's energy performance for decades, dramatically reduces energy bills, improves comfort year-round, and adds real market value to the property.
Done in stages, with the loft and airtightness improvements first, you'll see real results at every phase rather than waiting for the full project to be complete.
Start with the energy assessment, understand your home's specific weak points, and build a sequenced plan that matches your budget and timeline. The upgrade is ambitious – but it's one of the most impactful things you can do to a home.
📚 Sources
Passivhaus Trust – What is a Passivhaus retrofit?: https://www.passivhaustrust.org.uk/what_is_passivhaus.php
UK Government – Great British Insulation Scheme: https://www.gov.uk/apply-great-british-insulation-scheme
Energy Saving Trust – Insulating your home: https://energysavingtrust.org.uk/home-insulation
U.S. Department of Energy – Passive House: https://www.energy.gov/energysaver/passive-house
U.S. Department of Energy – Insulation: https://www.energy.gov/energysaver/insulation
PHIUS (Passive House Institute US) – Retrofit resources: https://www.phius.org/what-is-passive-building/for-existing-buildings
🔍 Explore Related Topics