These five retrofits are drawn directly from passive house building science but scaled to work as standalone upgrades. Each one addresses a specific mechanism of heat loss or gain, delivers measurable results, and can be completed without disrupting the rest of your home.
1. Air Sealing – The Highest-Return Retrofit You're Probably Skipping
Cost: $200–$1,500 DIY / $800–$3,500 professional
Difficulty: Low to medium
Impact: High
Passive house design targets an airtightness level of 0.6 air changes per hour at 50 pascals of pressure (ACH50) – roughly 10 to 20 times tighter than typical existing US homes. You don't need to hit that standard to see significant results. Even modest improvements to your home's air barrier can cut heating and cooling losses by 10–25%.
The places that matter most aren't the obvious gaps around windows and doors – those contribute relatively little to total air leakage. The big offenders are the junctions between your living space and unconditioned areas: the attic floor (especially around recessed lighting fixtures, framing penetrations, and the attic hatch), the rim joists in the basement or crawlspace where the floor framing meets the foundation wall, and any plumbing or electrical penetrations that pass through exterior walls or floor/ceiling assemblies.
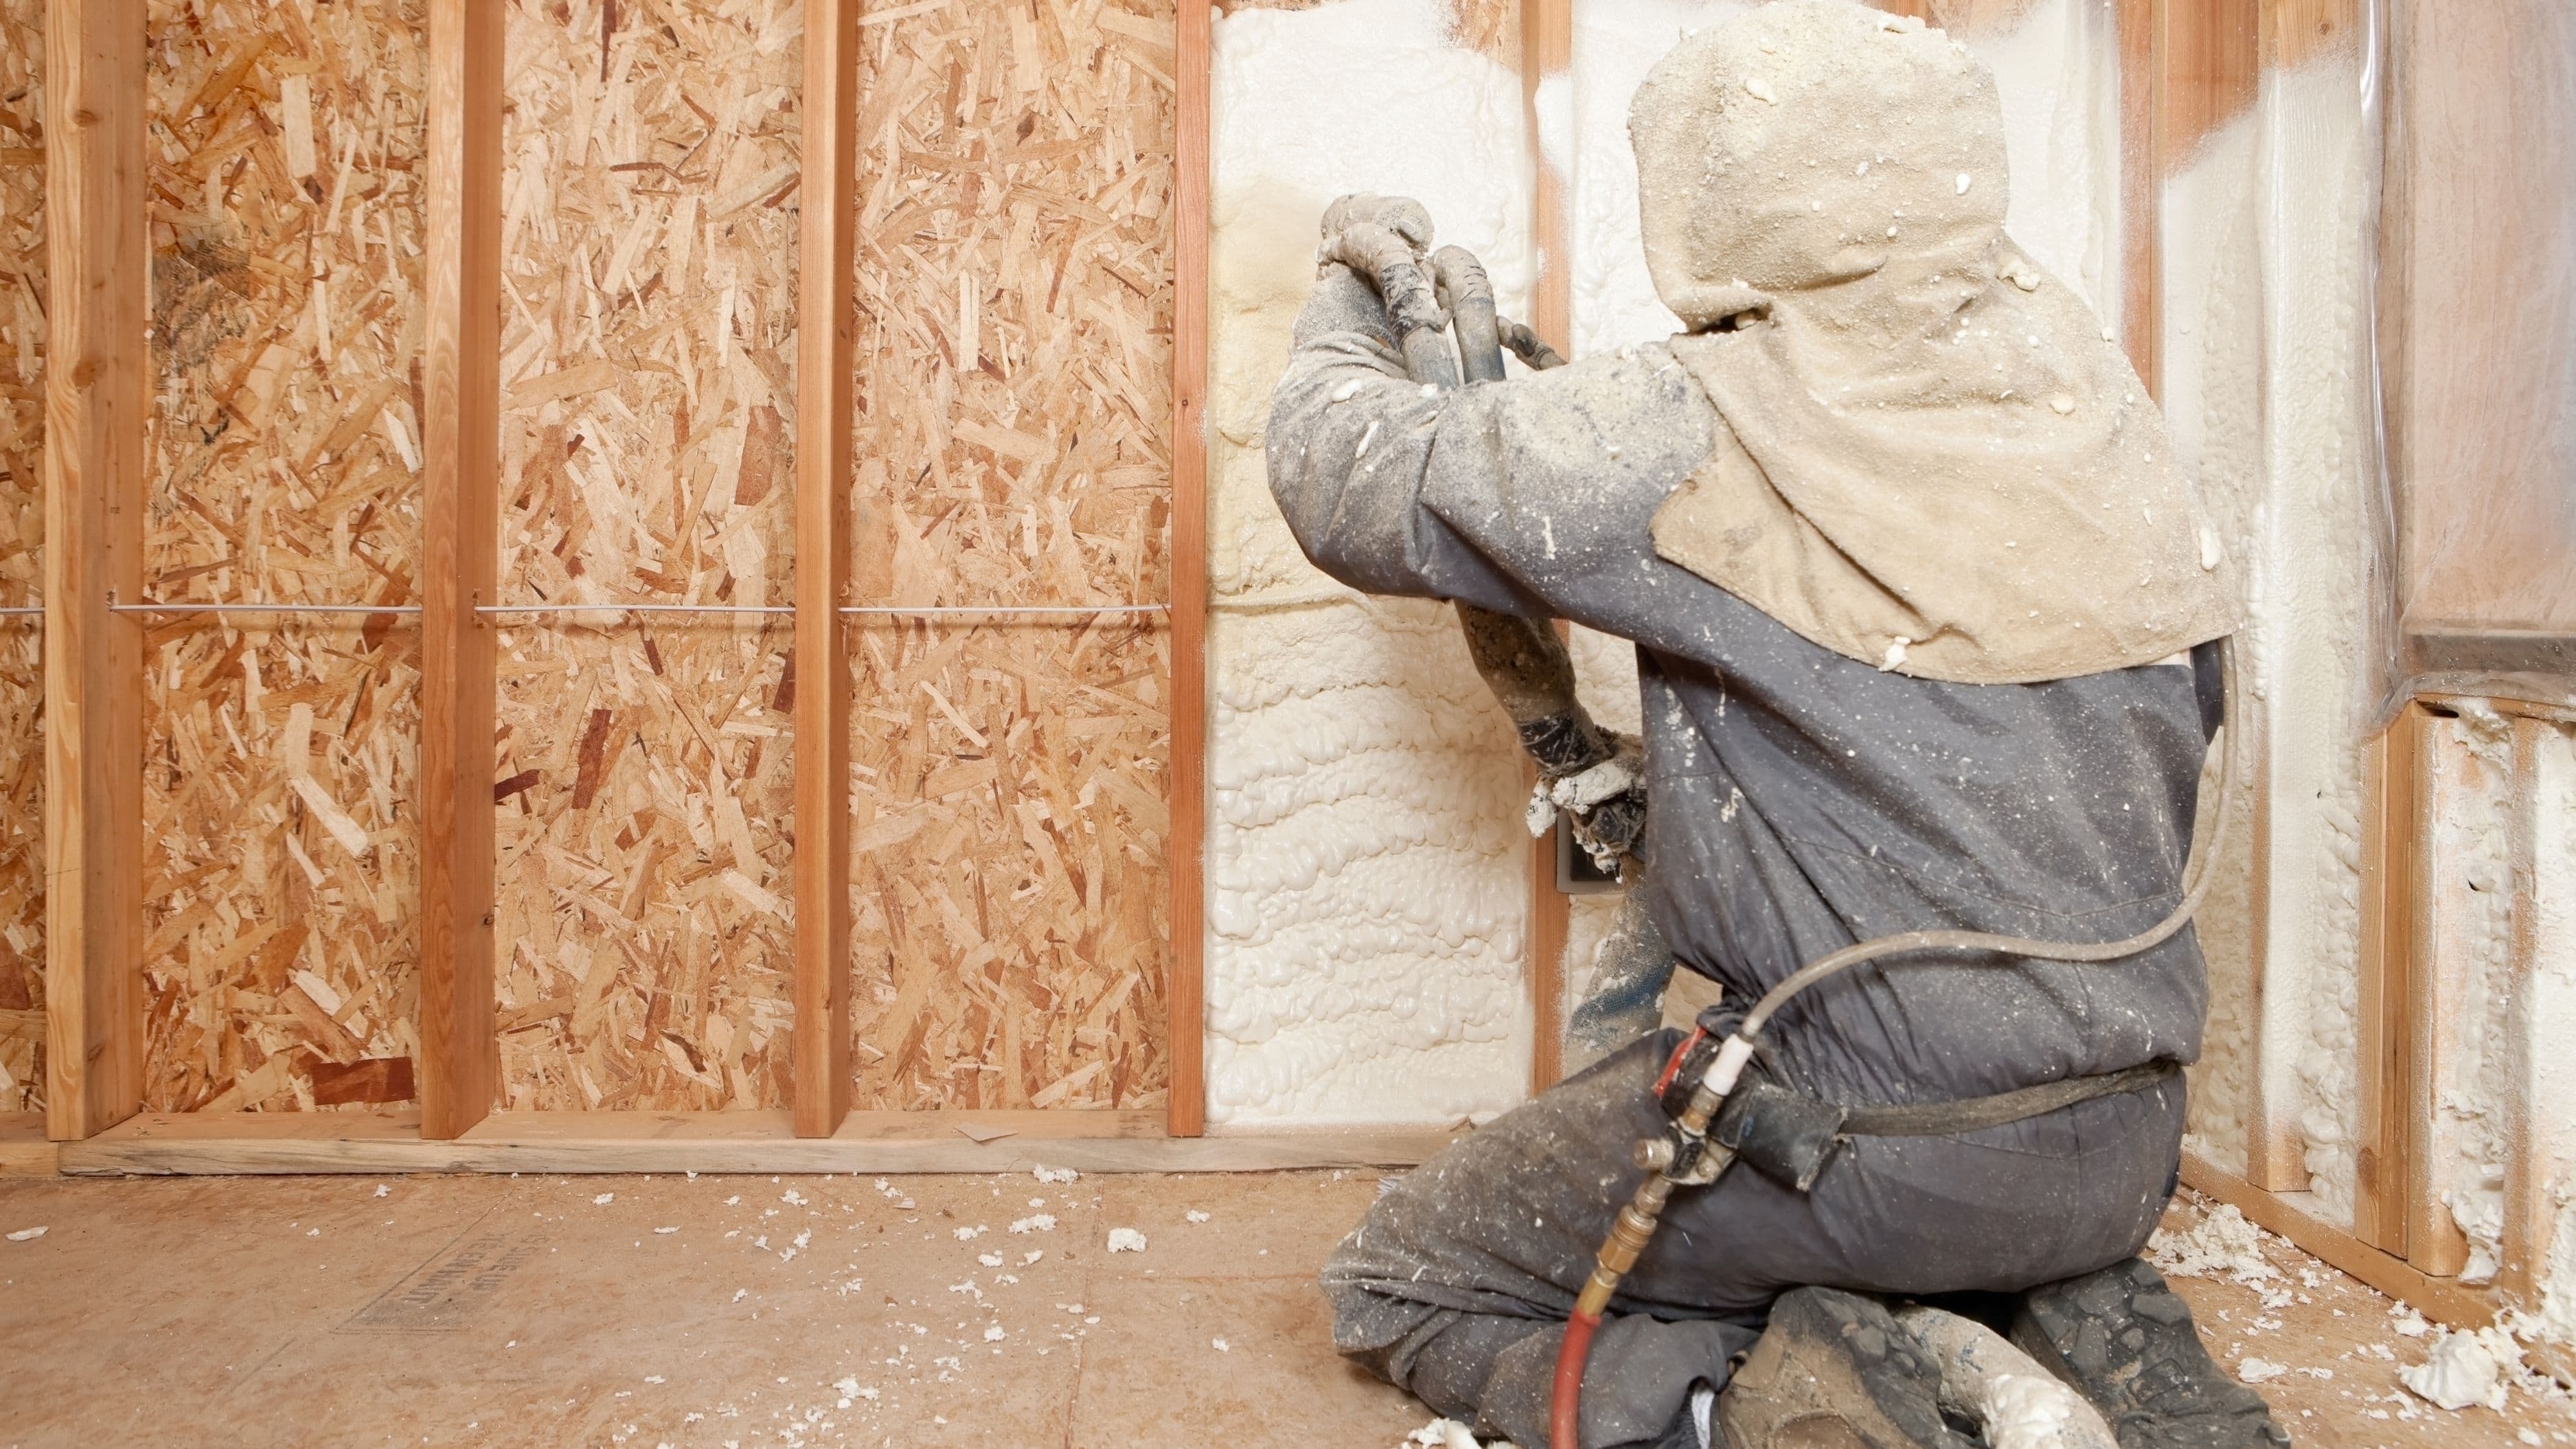
For a DIY approach, start with the attic. Pull back insulation wherever it exists over the top plates, around ceiling penetrations, and at the attic hatch. Apply spray foam (a single-component foam in a can works for smaller gaps; two-part foam kits handle larger voids) to seal all visible air pathways before reinstalling or adding insulation on top. At the rim joist in the basement, cut rigid foam board to fit snugly between each joist bay, then foam the perimeter of each piece to create an air and thermal barrier. An energy auditor with a blower door can quantify exactly how leaky your home is before and after, which helps prioritize where your sealing effort is most needed.
The impact compounds with every other energy upgrade you make. Improving insulation in a leaky home is like insulating a sieve – stopping the air movement first makes everything else more effective.
2. Attic Insulation Upgrade – The Simplest Path to Passive-Adjacent Performance
Cost: $1,500–$4,500 for blown-in (professional) / $600–$1,800 DIY batts
Difficulty: Low (blown-in requires equipment; batts are DIY-accessible)
Impact: High in heating-dominated climates, medium in cooling-dominated climates
The attic is where most homes lose the largest share of conditioned air through both conduction and, as discussed above, air leakage. Passive house standards call for highly insulated roof or ceiling assemblies – R-60 to R-80 in cold climates. Most existing US homes have R-19 to R-30 in the attic, if that. Upgrading to R-49 to R-60 with blown-in cellulose or fiberglass is one of the most cost-effective single improvements you can make to an existing home.
Blown-in loose fill is the preferred approach for an existing attic because it covers the entire floor plane uniformly, including around truss members and irregular framing, without the gaps and compression issues that batt insulation develops over time. Professional installation using a rented blower machine takes a day and is within reach for a capable DIYer – many home improvement stores rent the equipment when you buy a minimum quantity of bags. The insulation should cover all existing insulation layers plus the new material, with no thermal bridges visible at the surface.
One critical step that most guides skip: seal all air leaks at the attic floor before adding insulation, not after. Insulation sitting on top of unsealed penetrations does little to slow air movement. The correct sequence is always air seal first, then insulate. If you're adding insulation on top of existing material without the air sealing step, you're leaving the most important part of the work undone.
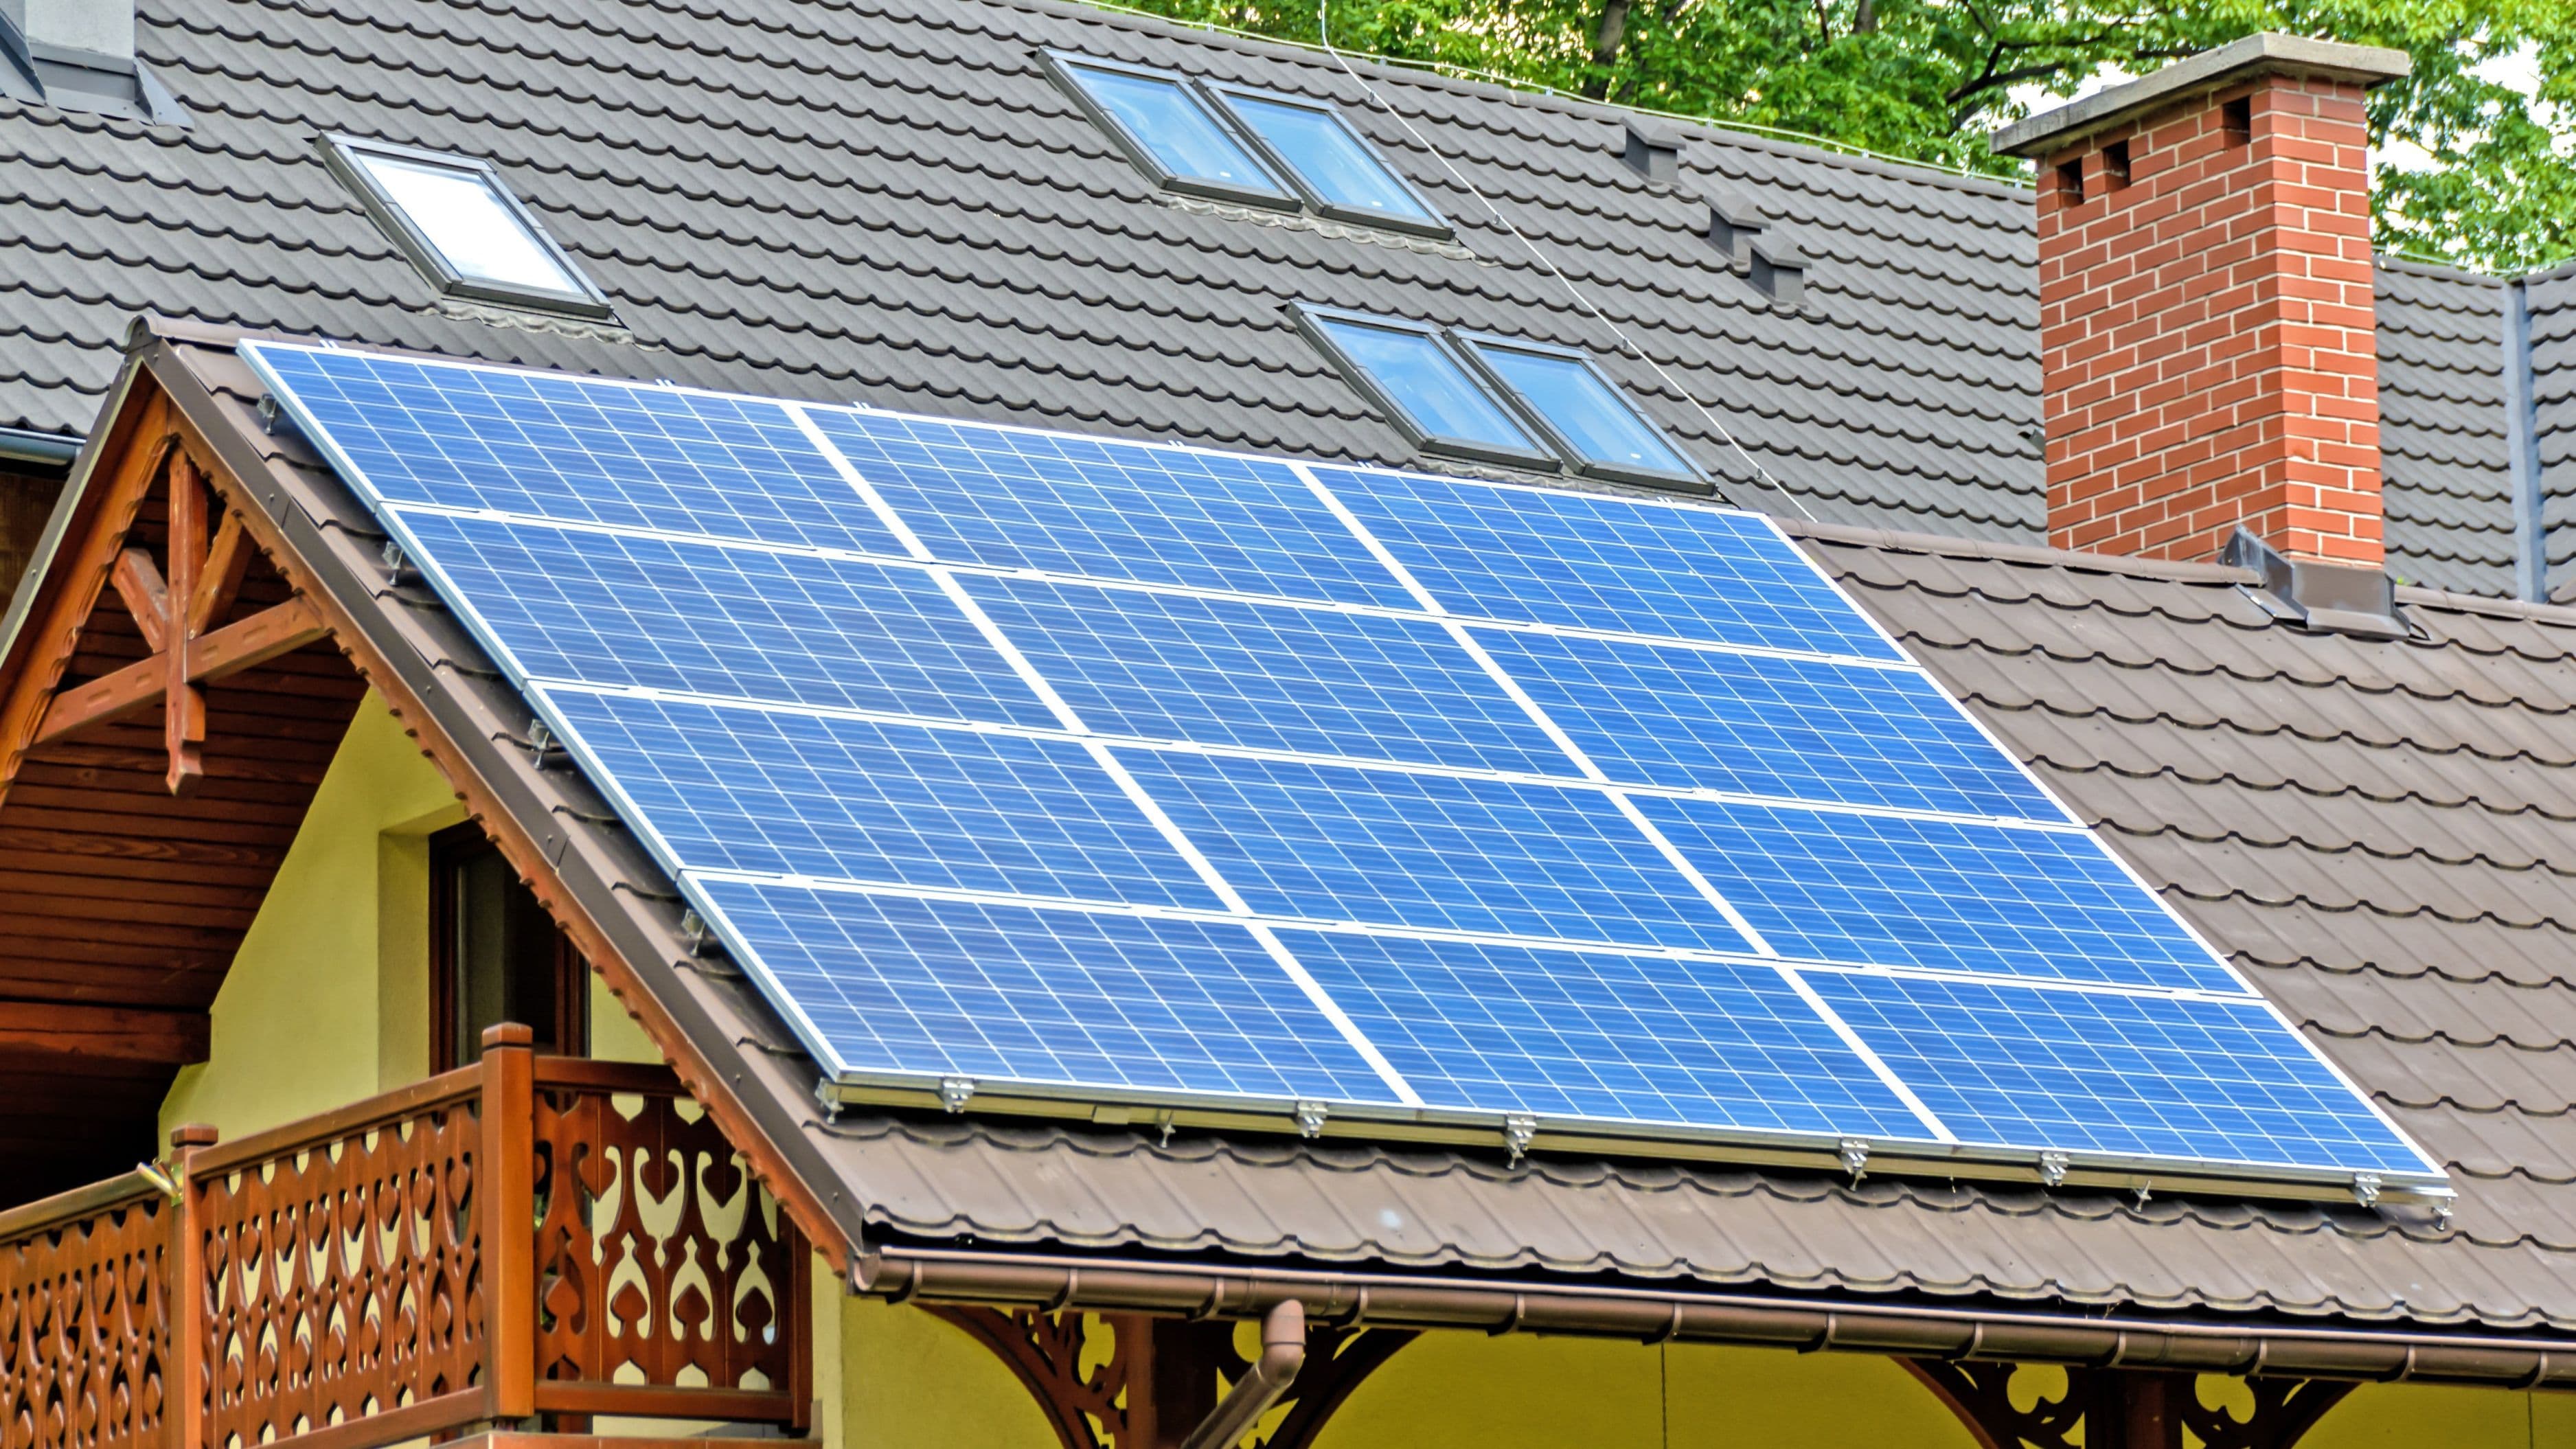
For homes in hot climates where cooling is the primary bill driver, attic radiant barriers – reflective foil installed on the underside of roof rafters – address solar heat gain rather than conductive heat loss and can meaningfully reduce attic temperatures during summer. These are a different product with a different mechanism, but they complement insulation upgrades in hot, sunny climates.
3. Window Retrofits and Interior Storm Panels – Passive Gains Without Replacement Cost
Cost: Interior storm panels $8–$20 per window / Full window replacement $600–$1,200 per window installed
Difficulty: Low (interior panels are DIY-installed in minutes)
Impact: Medium – significant for single-pane windows, modest for double-pane
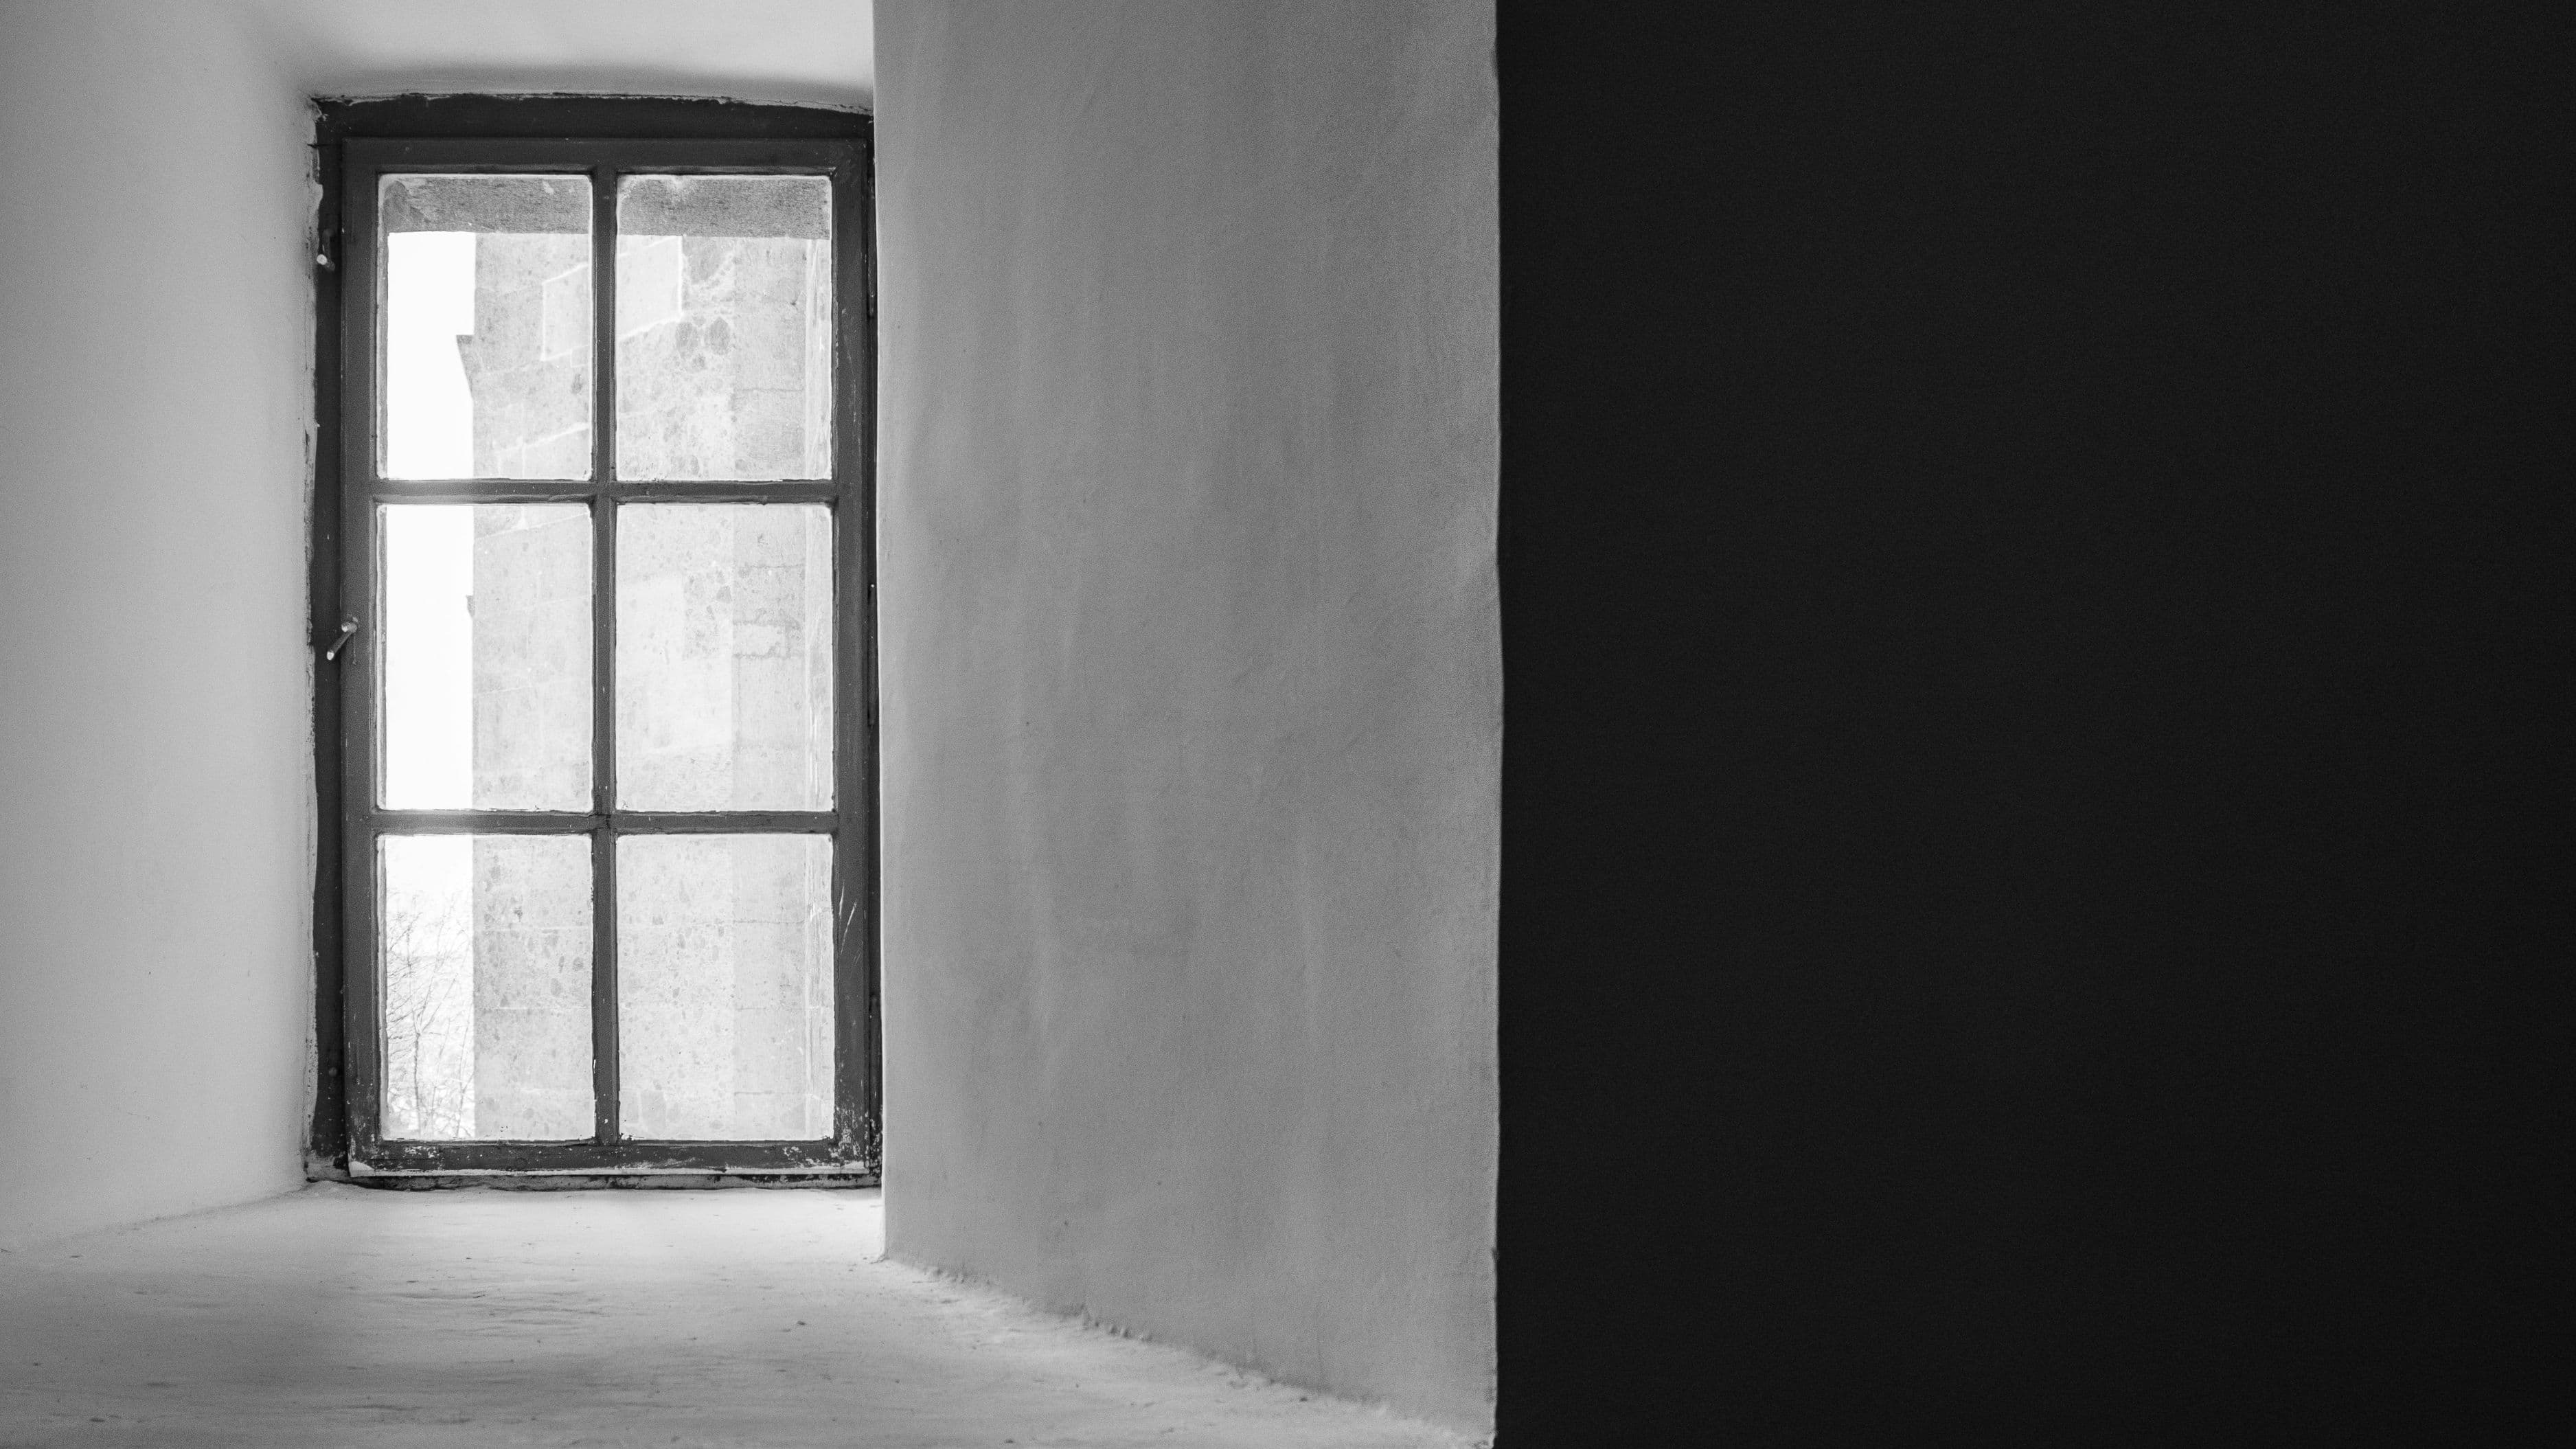
Windows are the most thermally vulnerable element in most home envelopes. A standard double-pane window achieves roughly R-2 to R-3. A well-insulated wall might be R-15 to R-25. Even in a modest-sized home with a reasonable window area, those windows represent a disproportionate share of total envelope heat loss. Passive house standards call for triple-pane windows at R-5 to R-8 – nearly impossible to retrofit into existing rough openings without significant work.
Full window replacement is expensive and disruptive, but it delivers results. If your home has single-pane windows or early-generation double-pane units with broken seals (visible as permanent fogging between panes), replacement improves both thermal performance and condensation control significantly. The payback period on window replacement for energy savings alone is typically 10–20 years, which makes it harder to justify purely on energy economics – but comfort improvement, noise reduction, and home value appreciation often tip the decision.
For homes with functioning double-pane windows, interior storm panels are a genuinely underrated alternative. Products like Indow window inserts or similar compression-fit panels add an additional air layer on the interior face of existing windows, improving effective performance to roughly R-4 to R-6 without any permanent modification to the window itself. They're removable for summer ventilation, nearly invisible from outside, and cost a fraction of replacement. In older homes with higher-quality frames but thermally mediocre glazing, interior storm panels are among the best bang-for-buck upgrades available.
The operational dimension matters too: keeping blinds or insulating cellular shades closed at night in winter, and closed on south and west exposures during summer afternoons, adds passive thermal control that no product addresses but that changes your heating and cooling load meaningfully. This costs nothing and is a behavioral retrofit worth treating seriously.
4. Mechanical Ventilation With Heat Recovery – The Passive House Upgrade That Changes Air Quality and Efficiency at Once
Cost: $800–$1,500 for a spot ERV / $3,000–$8,000 for a whole-home HRV or ERV system installed
Difficulty: Spot units are DIY-accessible; whole-home systems typically require professional installation
Impact: Medium to high depending on existing ventilation situation and climate
This is the upgrade that most homeowners haven't heard of, and it's the one that most directly embodies passive house philosophy. In a leaky house, fresh air comes in randomly through cracks and gaps – you don't control where it enters, at what temperature, or carrying what pollutants. When you air seal a home, you gain control over its air quality but also take on the responsibility of providing intentional ventilation, because a tight house doesn't breathe on its own.
A heat recovery ventilator (HRV) or energy recovery ventilator (ERV) solves this by exchanging stale indoor air for fresh outdoor air while capturing 70–85% of the heat (or in an ERV, heat and moisture) from the outgoing air and transferring it to the incoming stream. You get fresh air continuously without losing most of the energy you spent conditioning the indoor air. In cold climates, this means fresh air arrives pre-warmed. In hot, humid climates, an ERV also manages moisture, preventing the fresh air introduction from significantly raising indoor humidity.
For homes that aren't ready for a full HRV ducting project, single-room ERV units – wall-mounted devices that serve one room – are a practical starting point. Lunos e2 fans are a popular example: two small wall-mounted units work in tandem, alternating between exhaust and intake modes and transferring heat through ceramic core heat exchangers. A pair of units serving a bedroom runs around $1,000–1,500 installed and provides meaningful heat recovery ventilation in that zone without any ductwork.
Whole-home HRV or ERV systems are more involved – they require supply and exhaust ductwork and a central unit, typically installed in a mechanical room or attic – but they deliver whole-home air quality improvement and energy efficiency in a single system. If you're already doing significant air sealing work and planning other mechanical upgrades, this is the point at which whole-home ventilation makes the most sense to include.
5. Thermal Mass Improvements and Interior Insulation – Low-Profile Upgrades for Specific Problem Areas
Cost: $500–$4,000 depending on scope and approach
Difficulty: Medium
Impact: Medium – most effective in specific problem areas rather than as whole-home solutions
Passive house design uses thermal mass – dense materials like concrete, stone, or phase-change materials that absorb and release heat slowly – to moderate indoor temperature swings. True thermal mass upgrades in existing homes are difficult and expensive. But there are targeted applications that deliver similar benefits in specific problem areas without structural work.
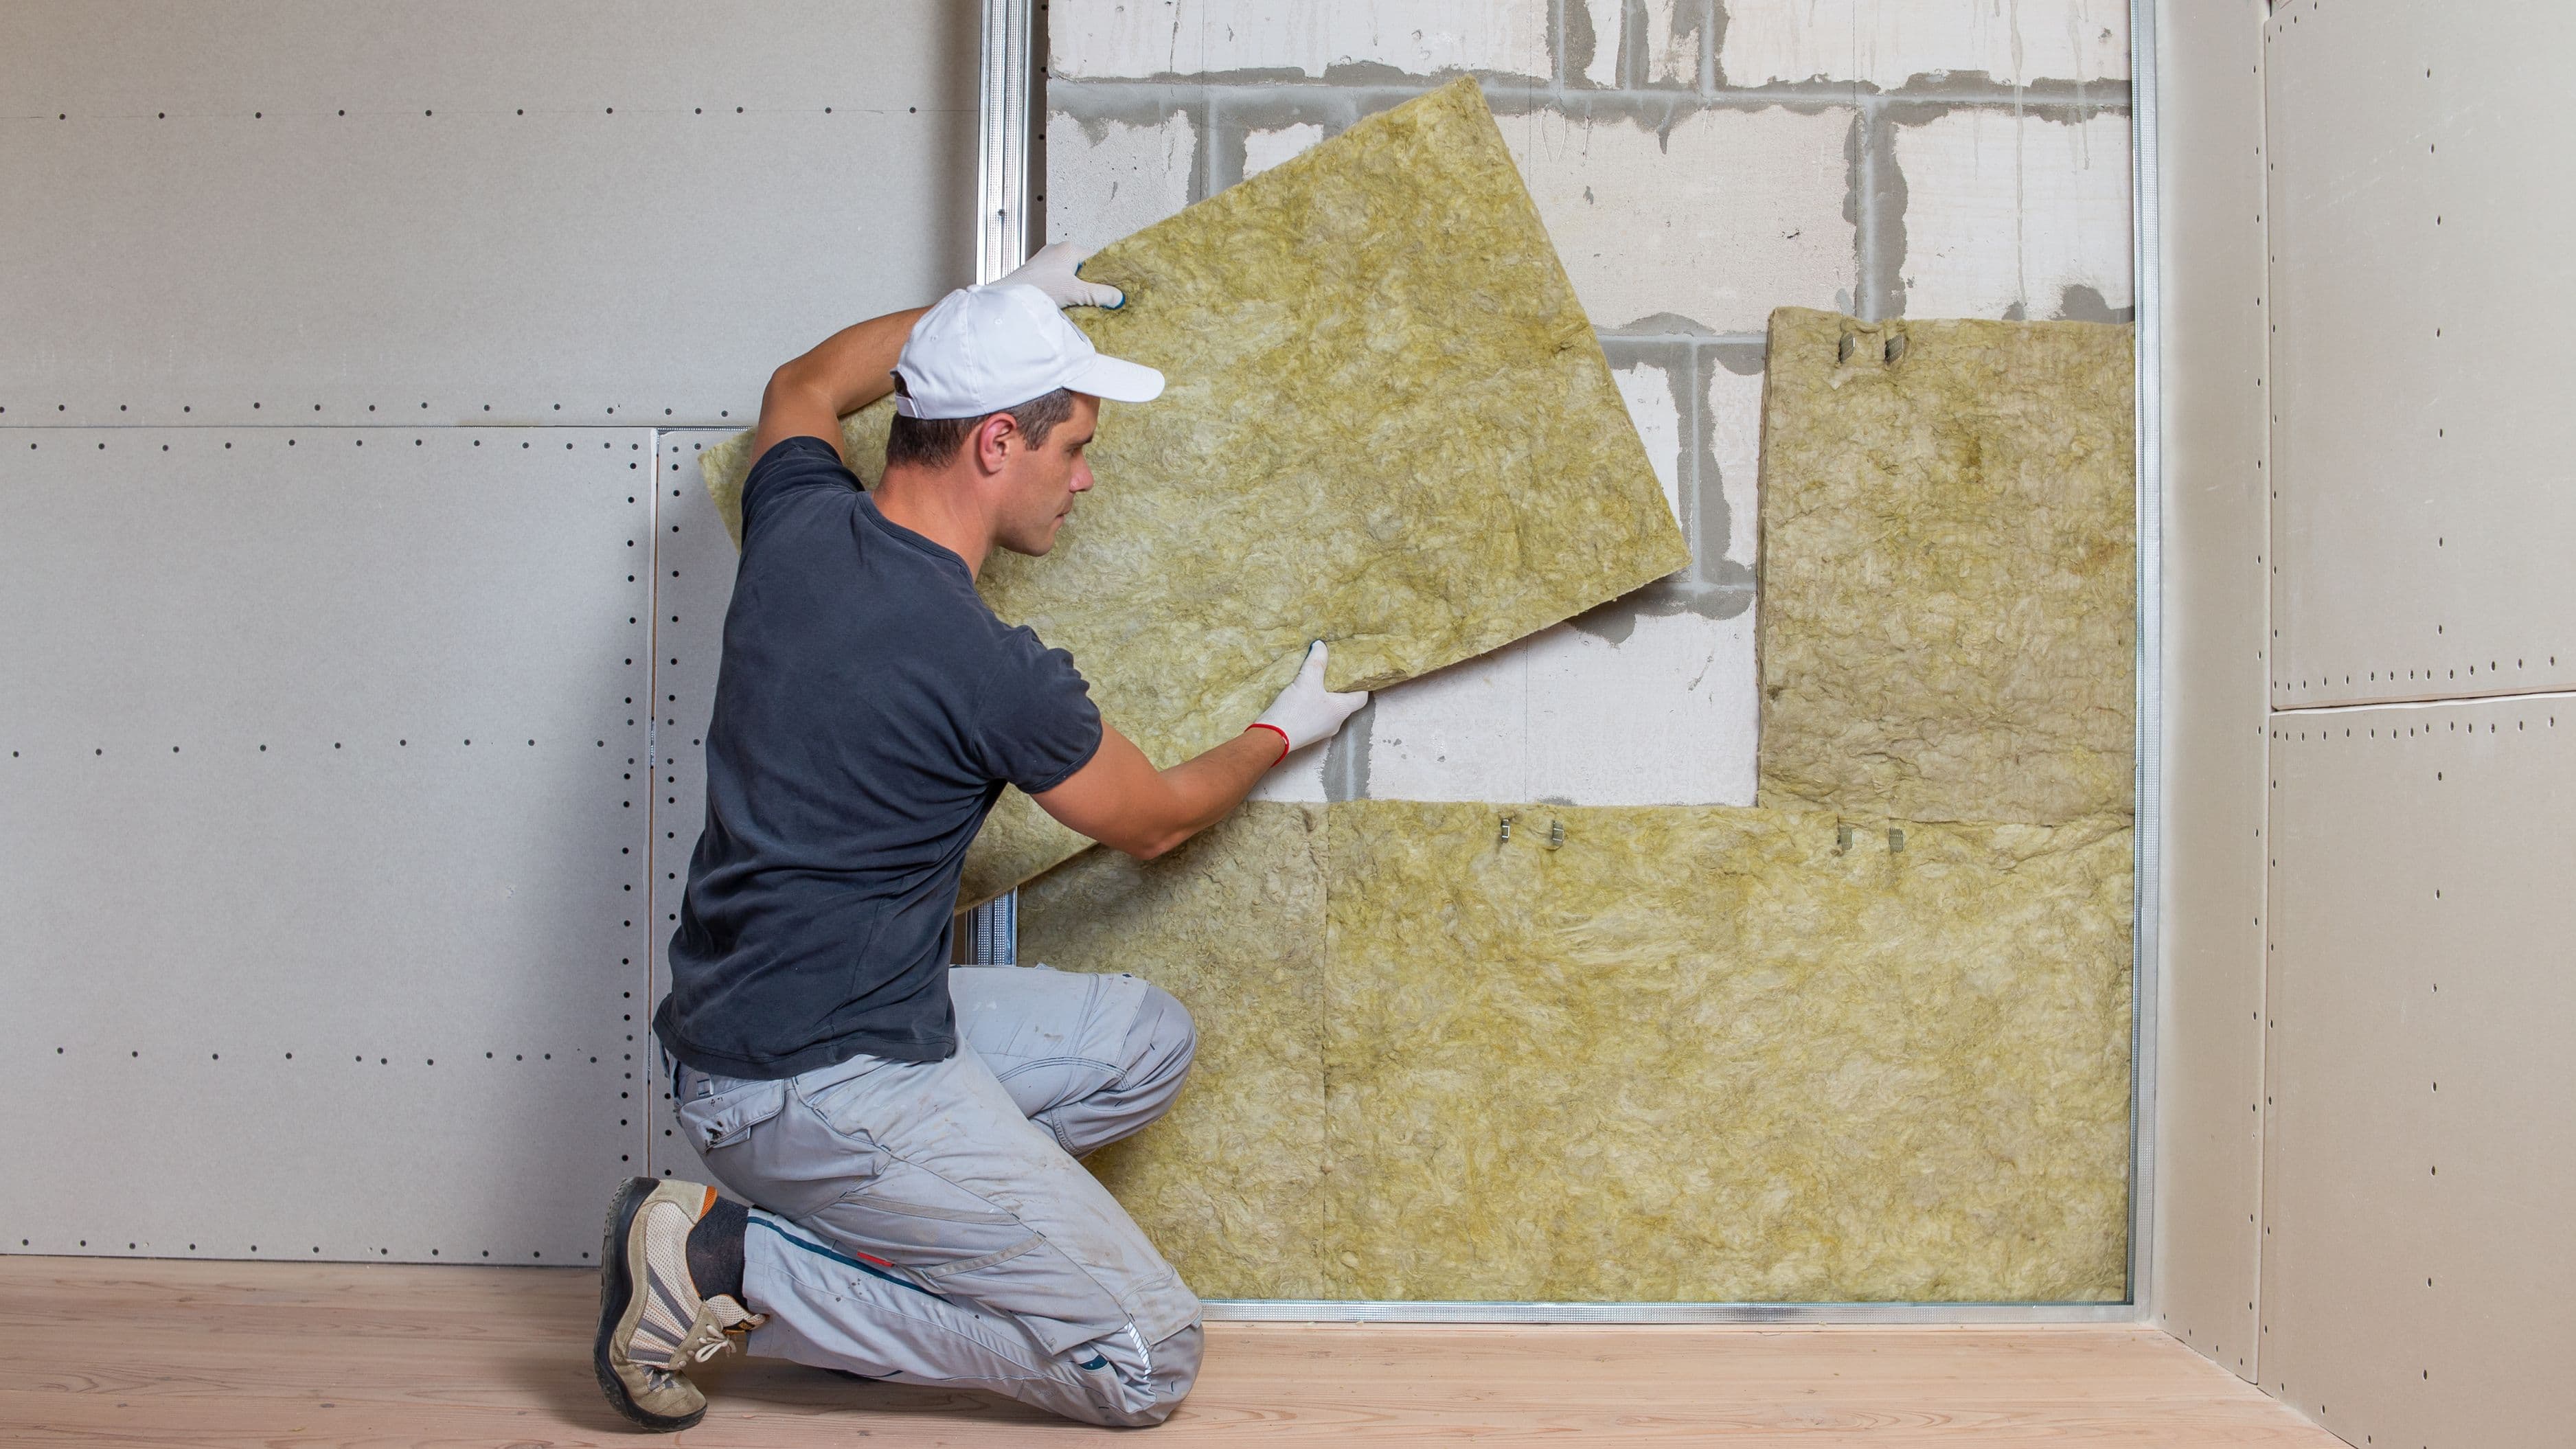
Exterior-facing knee walls in conditioned attic spaces are frequently under-insulated or not insulated at all, creating a cold perimeter wall in an otherwise conditioned room. Adding rigid foam board to the interior face of these knee walls, foamed at all edges, addresses a specific and disproportionate heat loss path that many homeowners don't know exists. The same approach applies to bonus rooms over garages, where the floor assembly often has minimal insulation between the conditioned space above and the unheated garage below. Rigid foam board or spray foam applied to the underside of that floor deck from the garage, sealed to the framing, transforms a chronically cold or hot floor into a thermally stable one.
Insulating basement walls rather than the floor is another targeted approach that passive house practitioners prefer. Insulating the perimeter walls of a basement – using 2 inches of rigid foam board against the concrete, then framed wall or another layer of rigid foam on the interior – keeps the thermal mass of the concrete slab within the conditioned envelope, where it moderates temperature rather than draining heat from the space. This is meaningfully more effective than insulating over the slab alone, and it doesn't require raising floor heights.
Interior insulation in any of these targeted applications works best when it's continuous – no thermal bridges through the insulation plane – and when it includes an air barrier at the warm side of the assembly. Gaps, compressed areas, or direct framing contact through the insulation create thermal bridges that partially defeat the purpose of the upgrade.
Common Mistakes to Avoid
Doing upgrades in the wrong sequence is the most common and costly mistake. The logical order is: air seal first, then improve insulation, then address ventilation, then consider mechanical system upgrades. Insulating before air sealing leaves the most important work undone. Upgrading to a more efficient HVAC system before addressing the envelope means you're sizing and operating equipment against a higher load than necessary.
Adding insulation without addressing moisture dynamics can cause problems in some climates. Tightening an assembly that previously dried through air leakage can trap moisture that damages framing or creates mold. In cold climates especially, if you're significantly tightening and insulating an assembly, it's worth consulting with an energy auditor or building scientist about vapor management for your specific climate zone and assembly type.
Finally, don't assume every upgrade delivers the same return in every climate. Attic insulation has the highest return in cold climates where heating is the primary cost. In hot, humid climates, air sealing focused on crawlspace encapsulation and controlling solar gain through window management or exterior shading often delivers more. Match your upgrade sequence to your climate and your actual energy bill drivers.
FAQ
Do I need a blower door test before starting any of these retrofits? It's not required, but it's genuinely useful. A blower door test by an energy auditor costs $200–$400 and tells you exactly how leaky your home is and where the biggest air leakage sites are. This eliminates guesswork in the air sealing phase and gives you a baseline to measure improvement against. Many utility companies offer subsidized energy audits – worth checking before paying full price.
Can I do air sealing in a home with existing vermiculite or other hazardous insulation in the attic? No. If you have any reason to suspect asbestos-containing materials in your attic (vermiculite insulation is the most common concern), get it tested before disturbing anything. Disturbing asbestos-containing materials releases fibers. Have the material tested first, and if it tests positive, work with a licensed abatement contractor before any attic air sealing or insulation work.
Will tightening my home's air seal cause moisture problems? In most cases, no – especially if you're adding intentional ventilation (an HRV or ERV) as part of the project. The risk is higher if you significantly tighten an assembly without addressing moisture movement and without adding controlled ventilation. Talking to an energy auditor about your specific home and climate before aggressive air sealing is the right approach if you have any concerns.
How much can I realistically save on energy bills by combining these upgrades? A comprehensive package – meaningful air sealing, attic insulation upgrade to R-49+, and controlled ventilation – typically reduces heating and cooling energy use by 20–40% in homes that start from average airtightness and insulation levels. Individual upgrades deliver smaller fractions of that total. The Department of Energy's Home Energy Score program can give you a baseline estimate for your specific home.
Do these retrofits qualify for any tax credits? Yes. The Inflation Reduction Act's Energy Efficient Home Improvement Credit (25C) covers insulation materials and air sealing at 30% of cost up to $1,200 annually, and heat pumps and HRV/ERV systems at higher caps. Specific products must meet efficiency thresholds to qualify. Check the current IRS guidance on the 25C credit for the most current eligible product categories and cost limits.
📚 Sources
Passive House Institute US – Retrofit Principles and Standards – https://www.phius.org/passive-building-standard
U.S. Department of Energy – Air Sealing Your Home – https://www.energy.gov/energysaver/air-sealing-your-home
U.S. Department of Energy – Insulation – https://www.energy.gov/energysaver/insulation
Building Science Corporation – Understanding Attic Ventilation and Air Sealing – https://www.buildingscience.com/documents/digests/bsd-102-understanding-attic-ventilation
Lawrence Berkeley National Laboratory – Residential Windows and Heat Loss – https://windows.lbl.gov/info-resources/window-related-resources/energy-efficient-windows
IRS – Energy Efficient Home Improvement Credit (25C) – https://www.irs.gov/credits-deductions/energy-efficient-home-improvement-credit
EnergyStar – HRV and ERV Systems – https://www.energystar.gov/products/heating_cooling/heat_recovery_ventilators
🔍 Explore Related Topics