
Know Your Hole Size
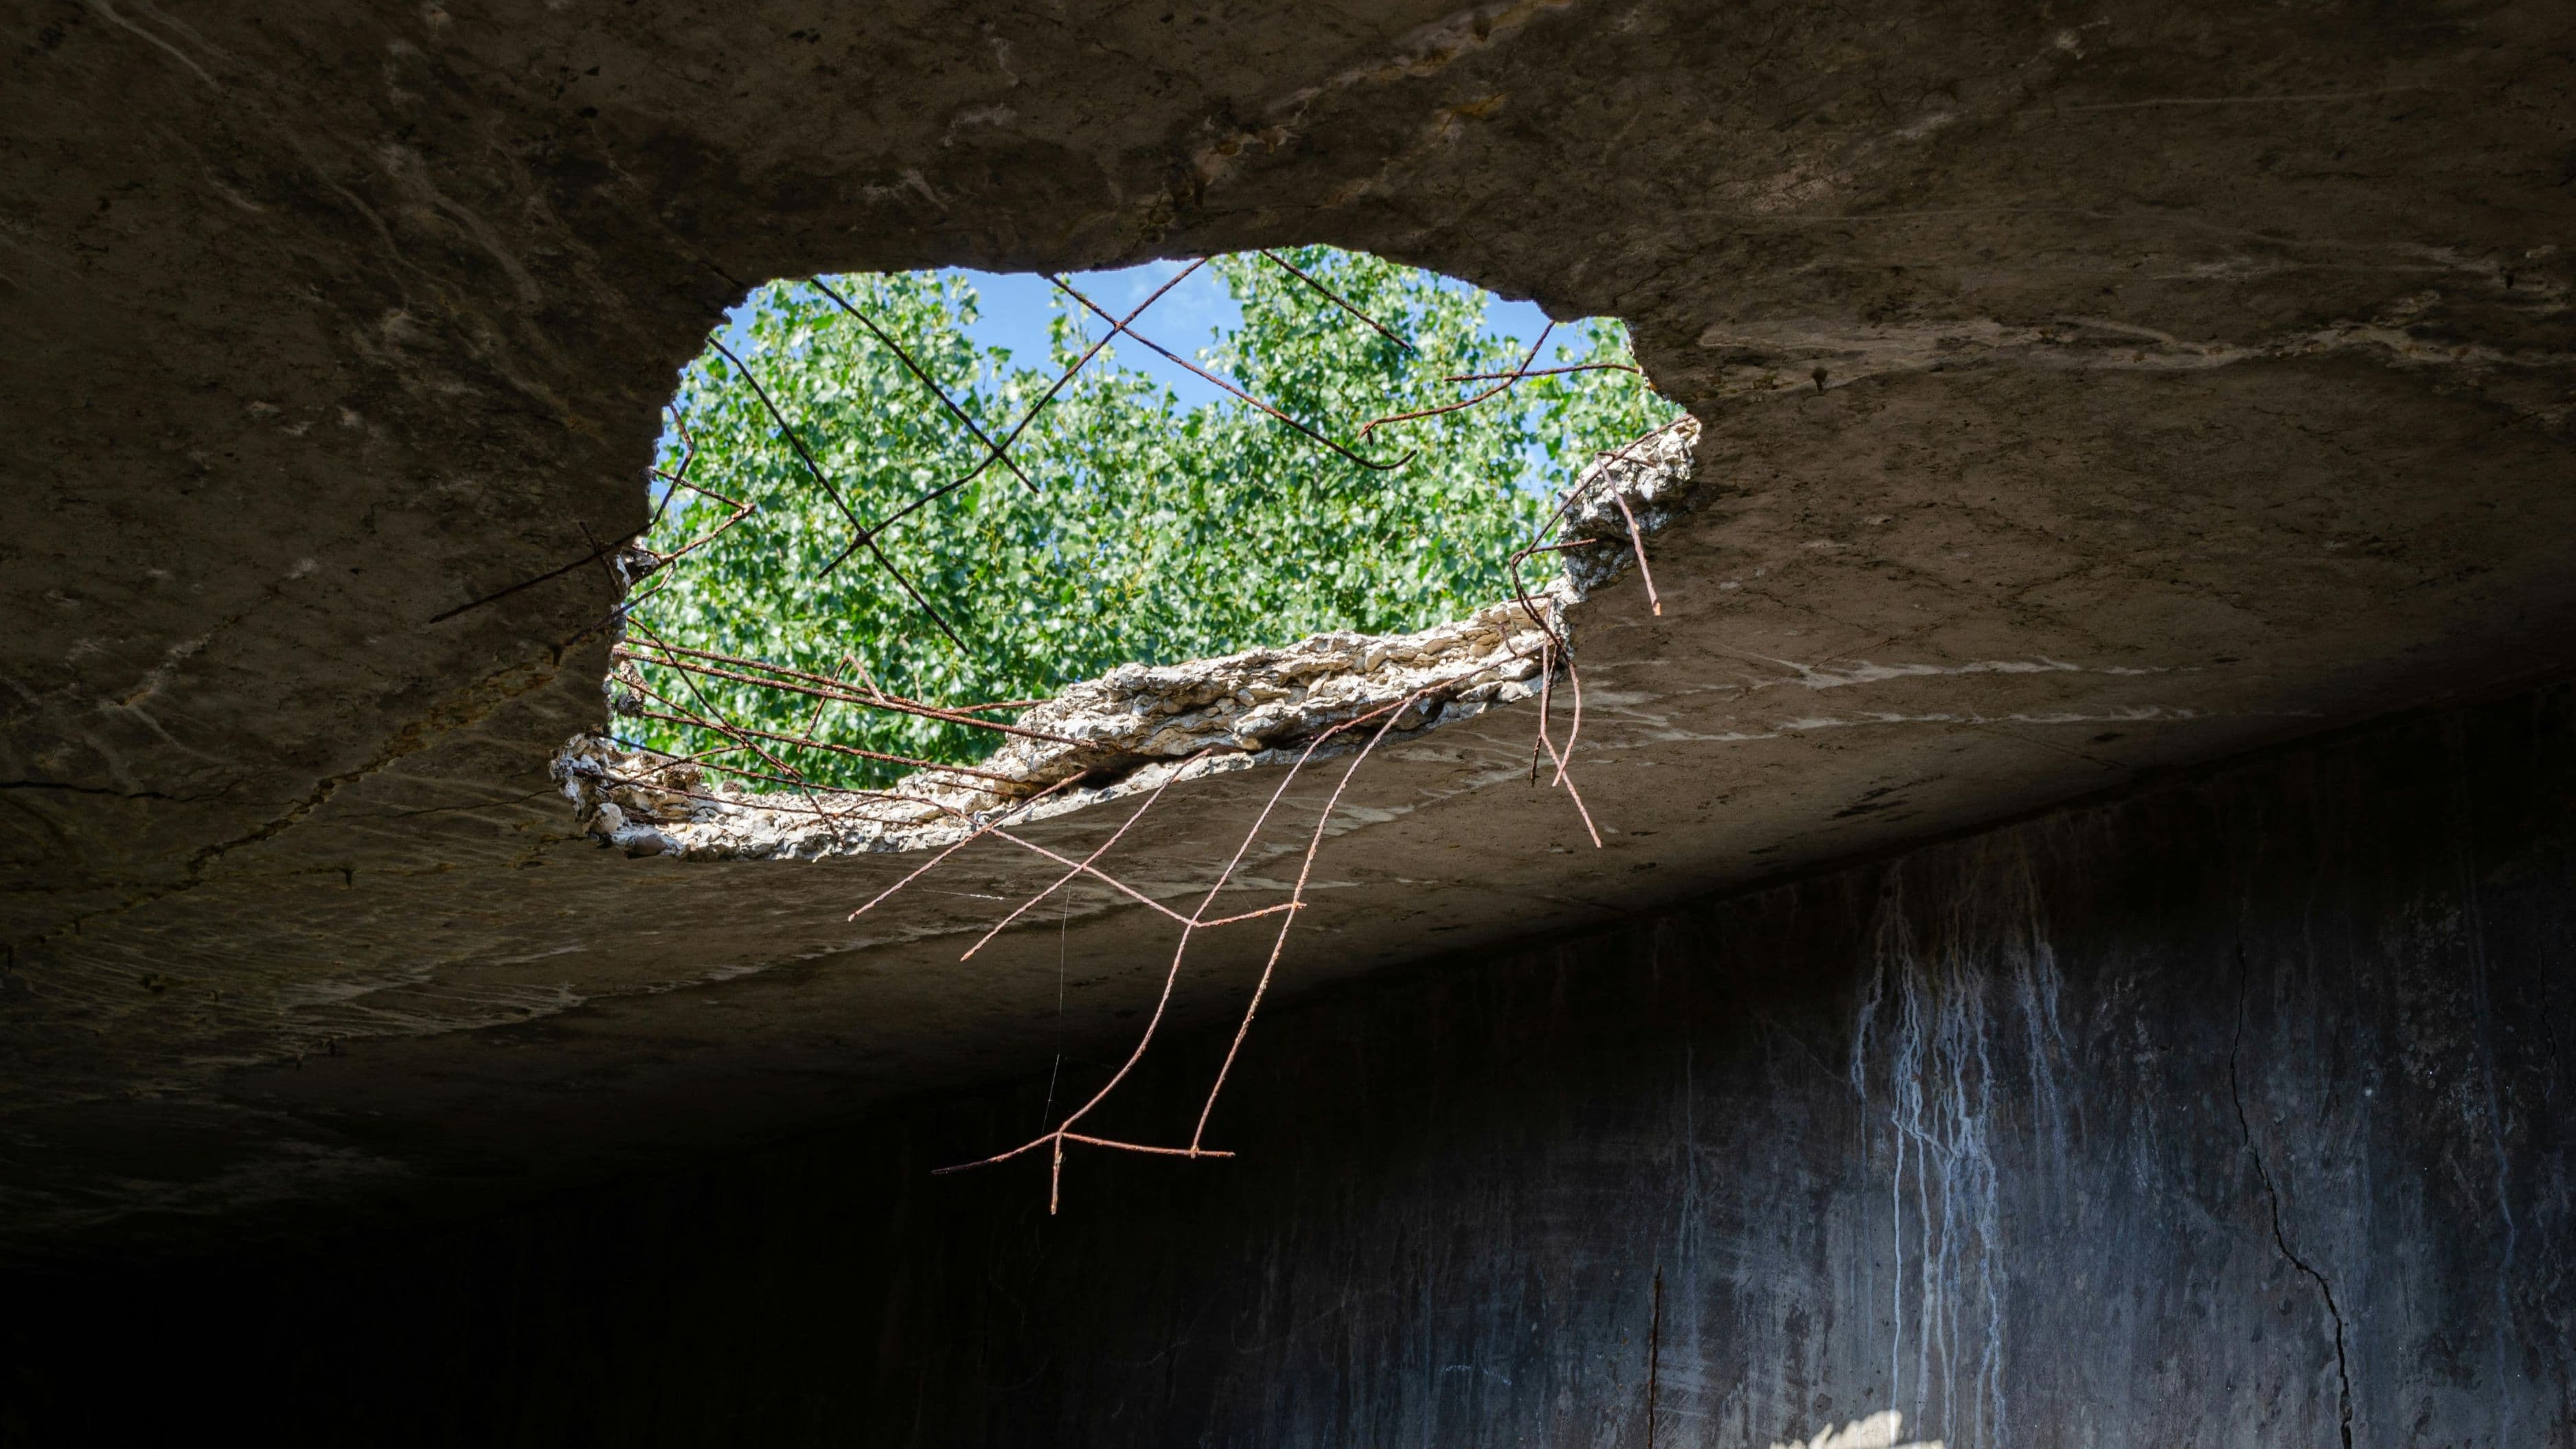
Not all holes demand the same fix. Tiny nail holes (under ¼ inch) need nothing more than spackling paste and a putty knife—just fill, smooth, and you're done in five minutes. Medium holes (¼ inch to 4 inches) require a mesh patch or adhesive aluminum patch that bridges the gap and gives your compound something to grip. Large holes (over 4 inches) need the "California patch" method with actual drywall backing, but even this sounds scarier than it actually is once you see the process.
Gather Your Arsenal
Hit the hardware store with this shopping list: spackling paste or joint compound, a putty knife (4-inch works for most jobs), sandpaper (120-grit for shaping, 220-grit for finishing), a mesh patch kit or aluminum repair patch, primer, and paint that matches your wall. You'll also want a utility knife, a damp sponge, and a small piece of scrap drywall if you're tackling a large hole. The total investment runs about $15-25, and you'll have leftover supplies for future repairs that inevitably pop up.
Prep Like You Mean It
Clean around the damaged area with a damp cloth to remove dust, loose paint, and any crumbling drywall—compound won't stick to debris. Use your utility knife to cut away any torn paper or ragged edges, creating a clean border that gives you a solid surface to work with. For larger holes, press gently around the perimeter to make sure the surrounding drywall is firmly attached to the studs; if you feel any give, you've got a bigger problem that might need professional attention.
Small Holes: The Five-Minute Fix
Squeeze spackling paste directly into nail holes and small dings, then use your putty knife to scrape across the surface in one smooth motion—think of spreading butter on toast. The goal is to leave the paste slightly raised above the wall surface because it'll shrink as it dries. Let it dry completely (usually 30 minutes to an hour), then sand lightly with 220-grit sandpaper until the patch feels flush with the wall when you run your hand over it, keeping your touch light to avoid creating a dip.
Medium Holes: Mesh Magic
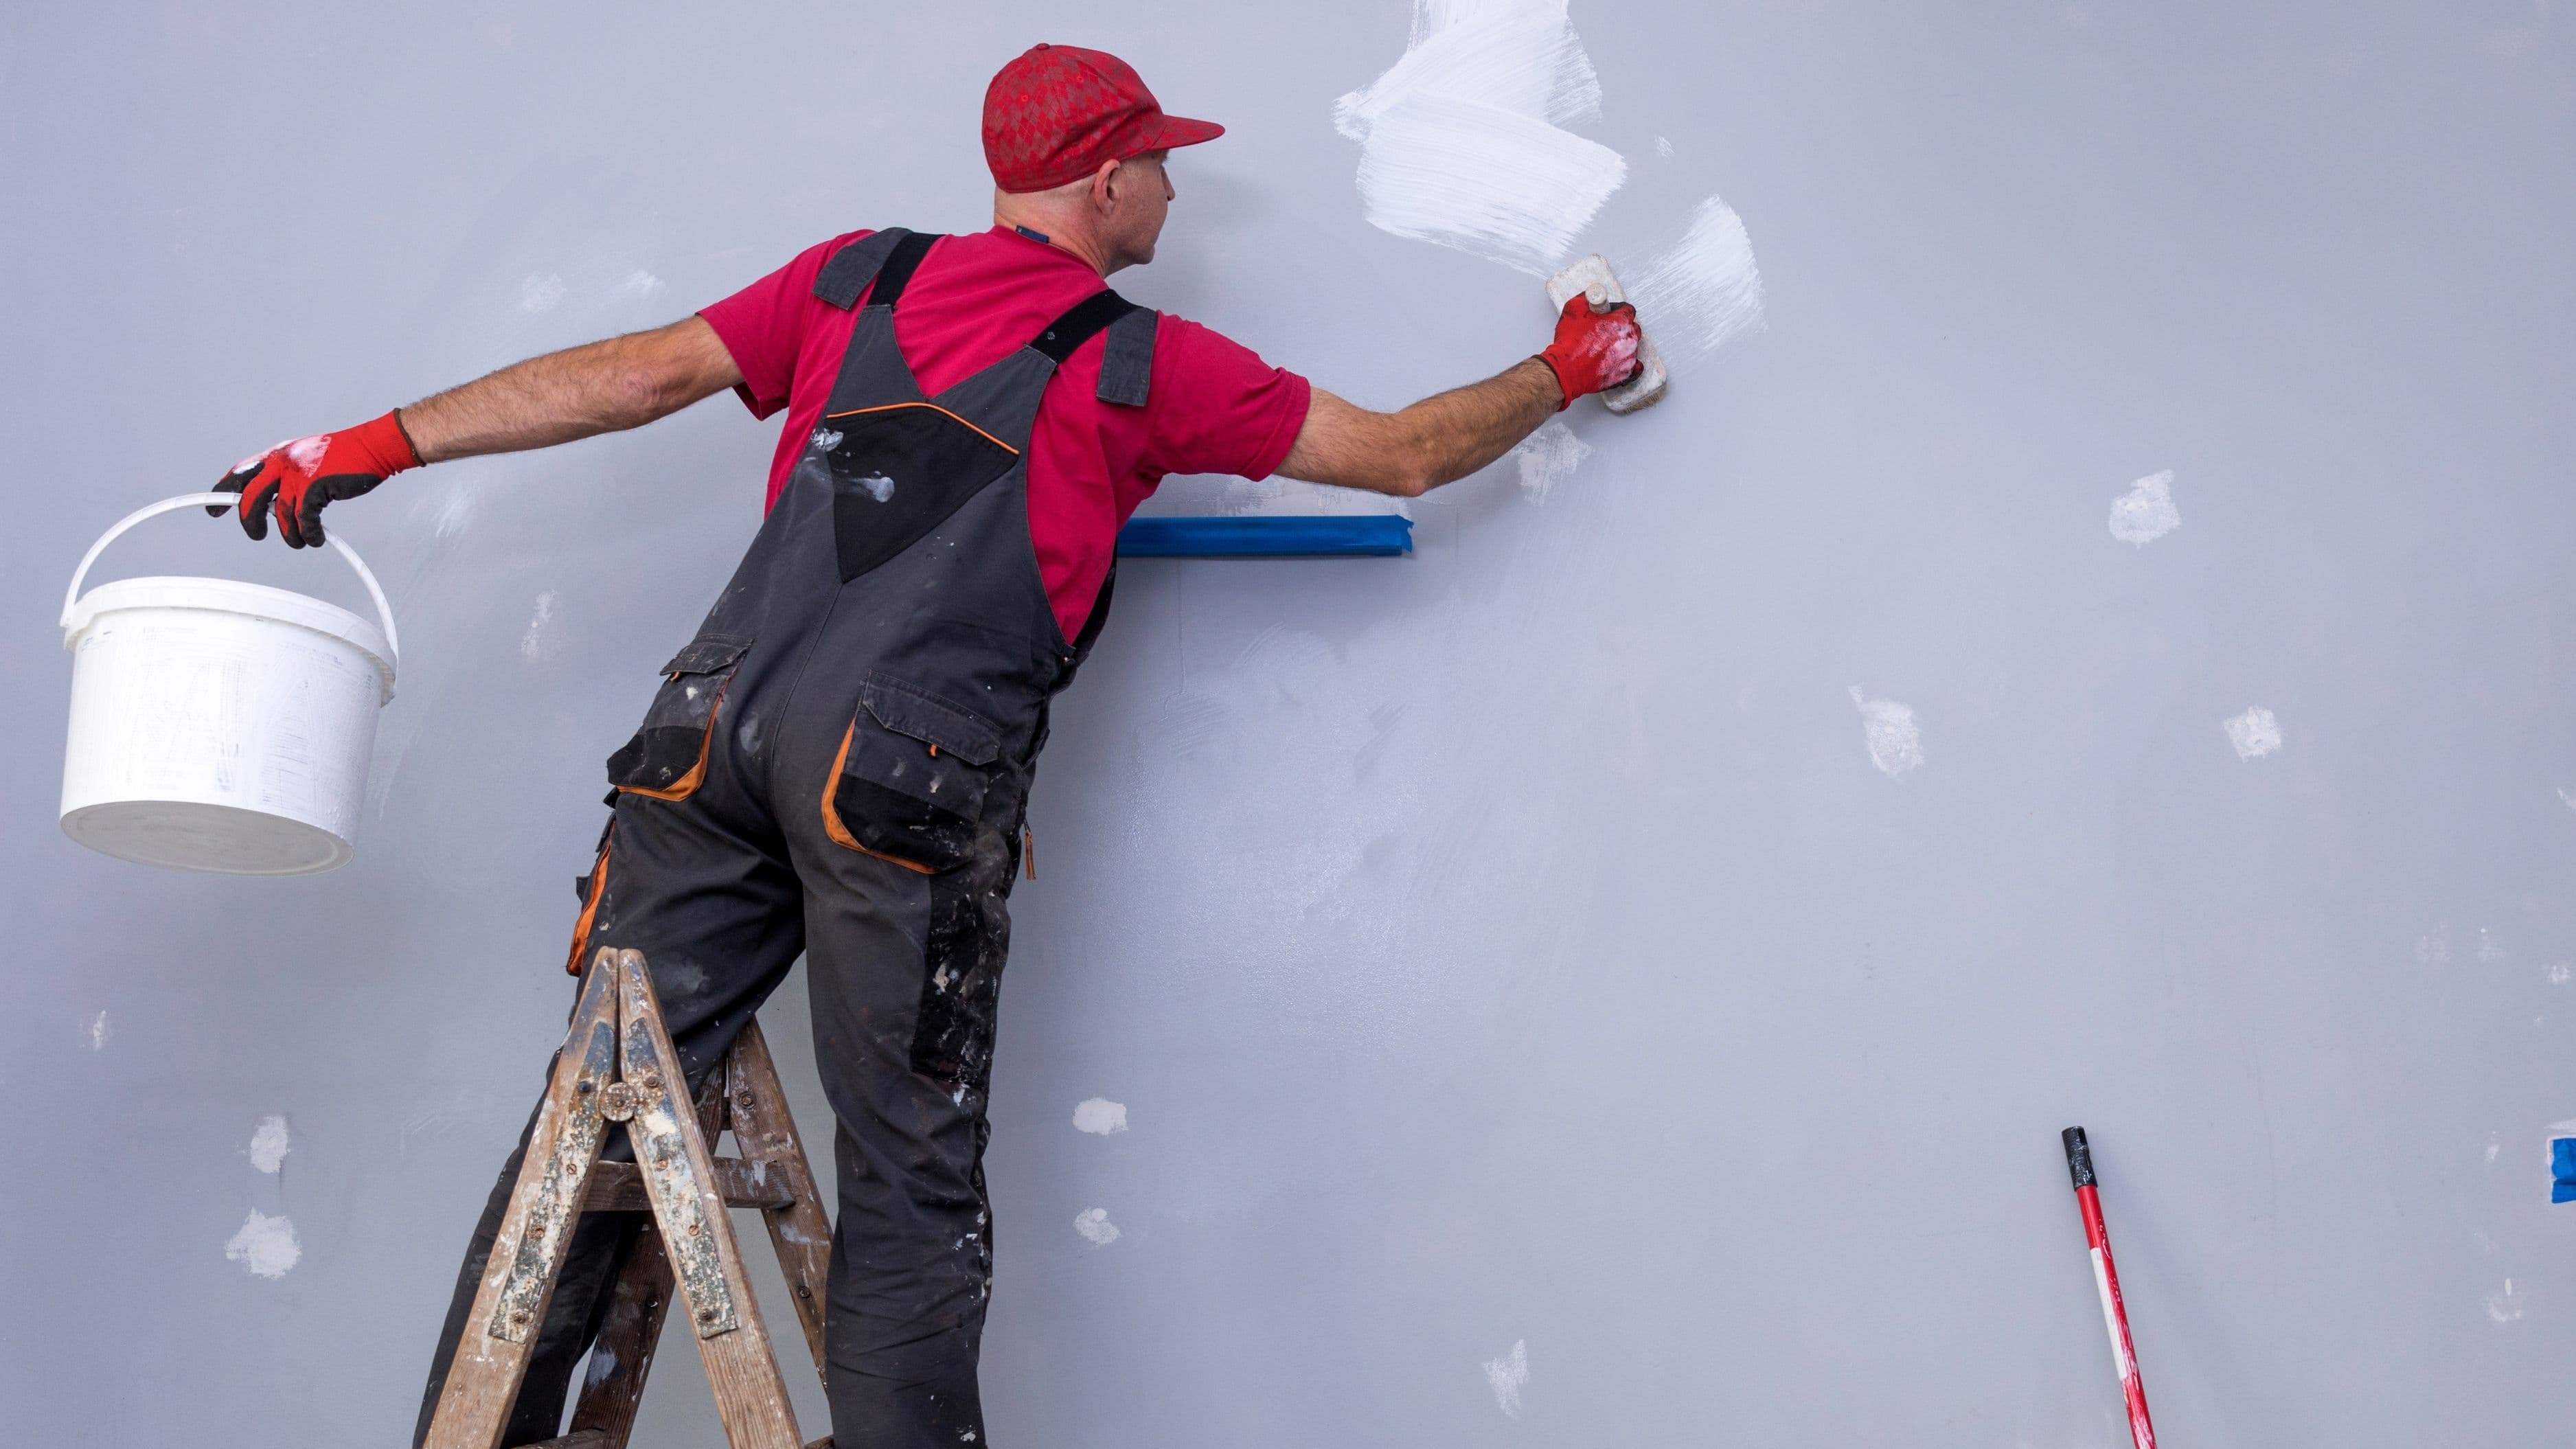
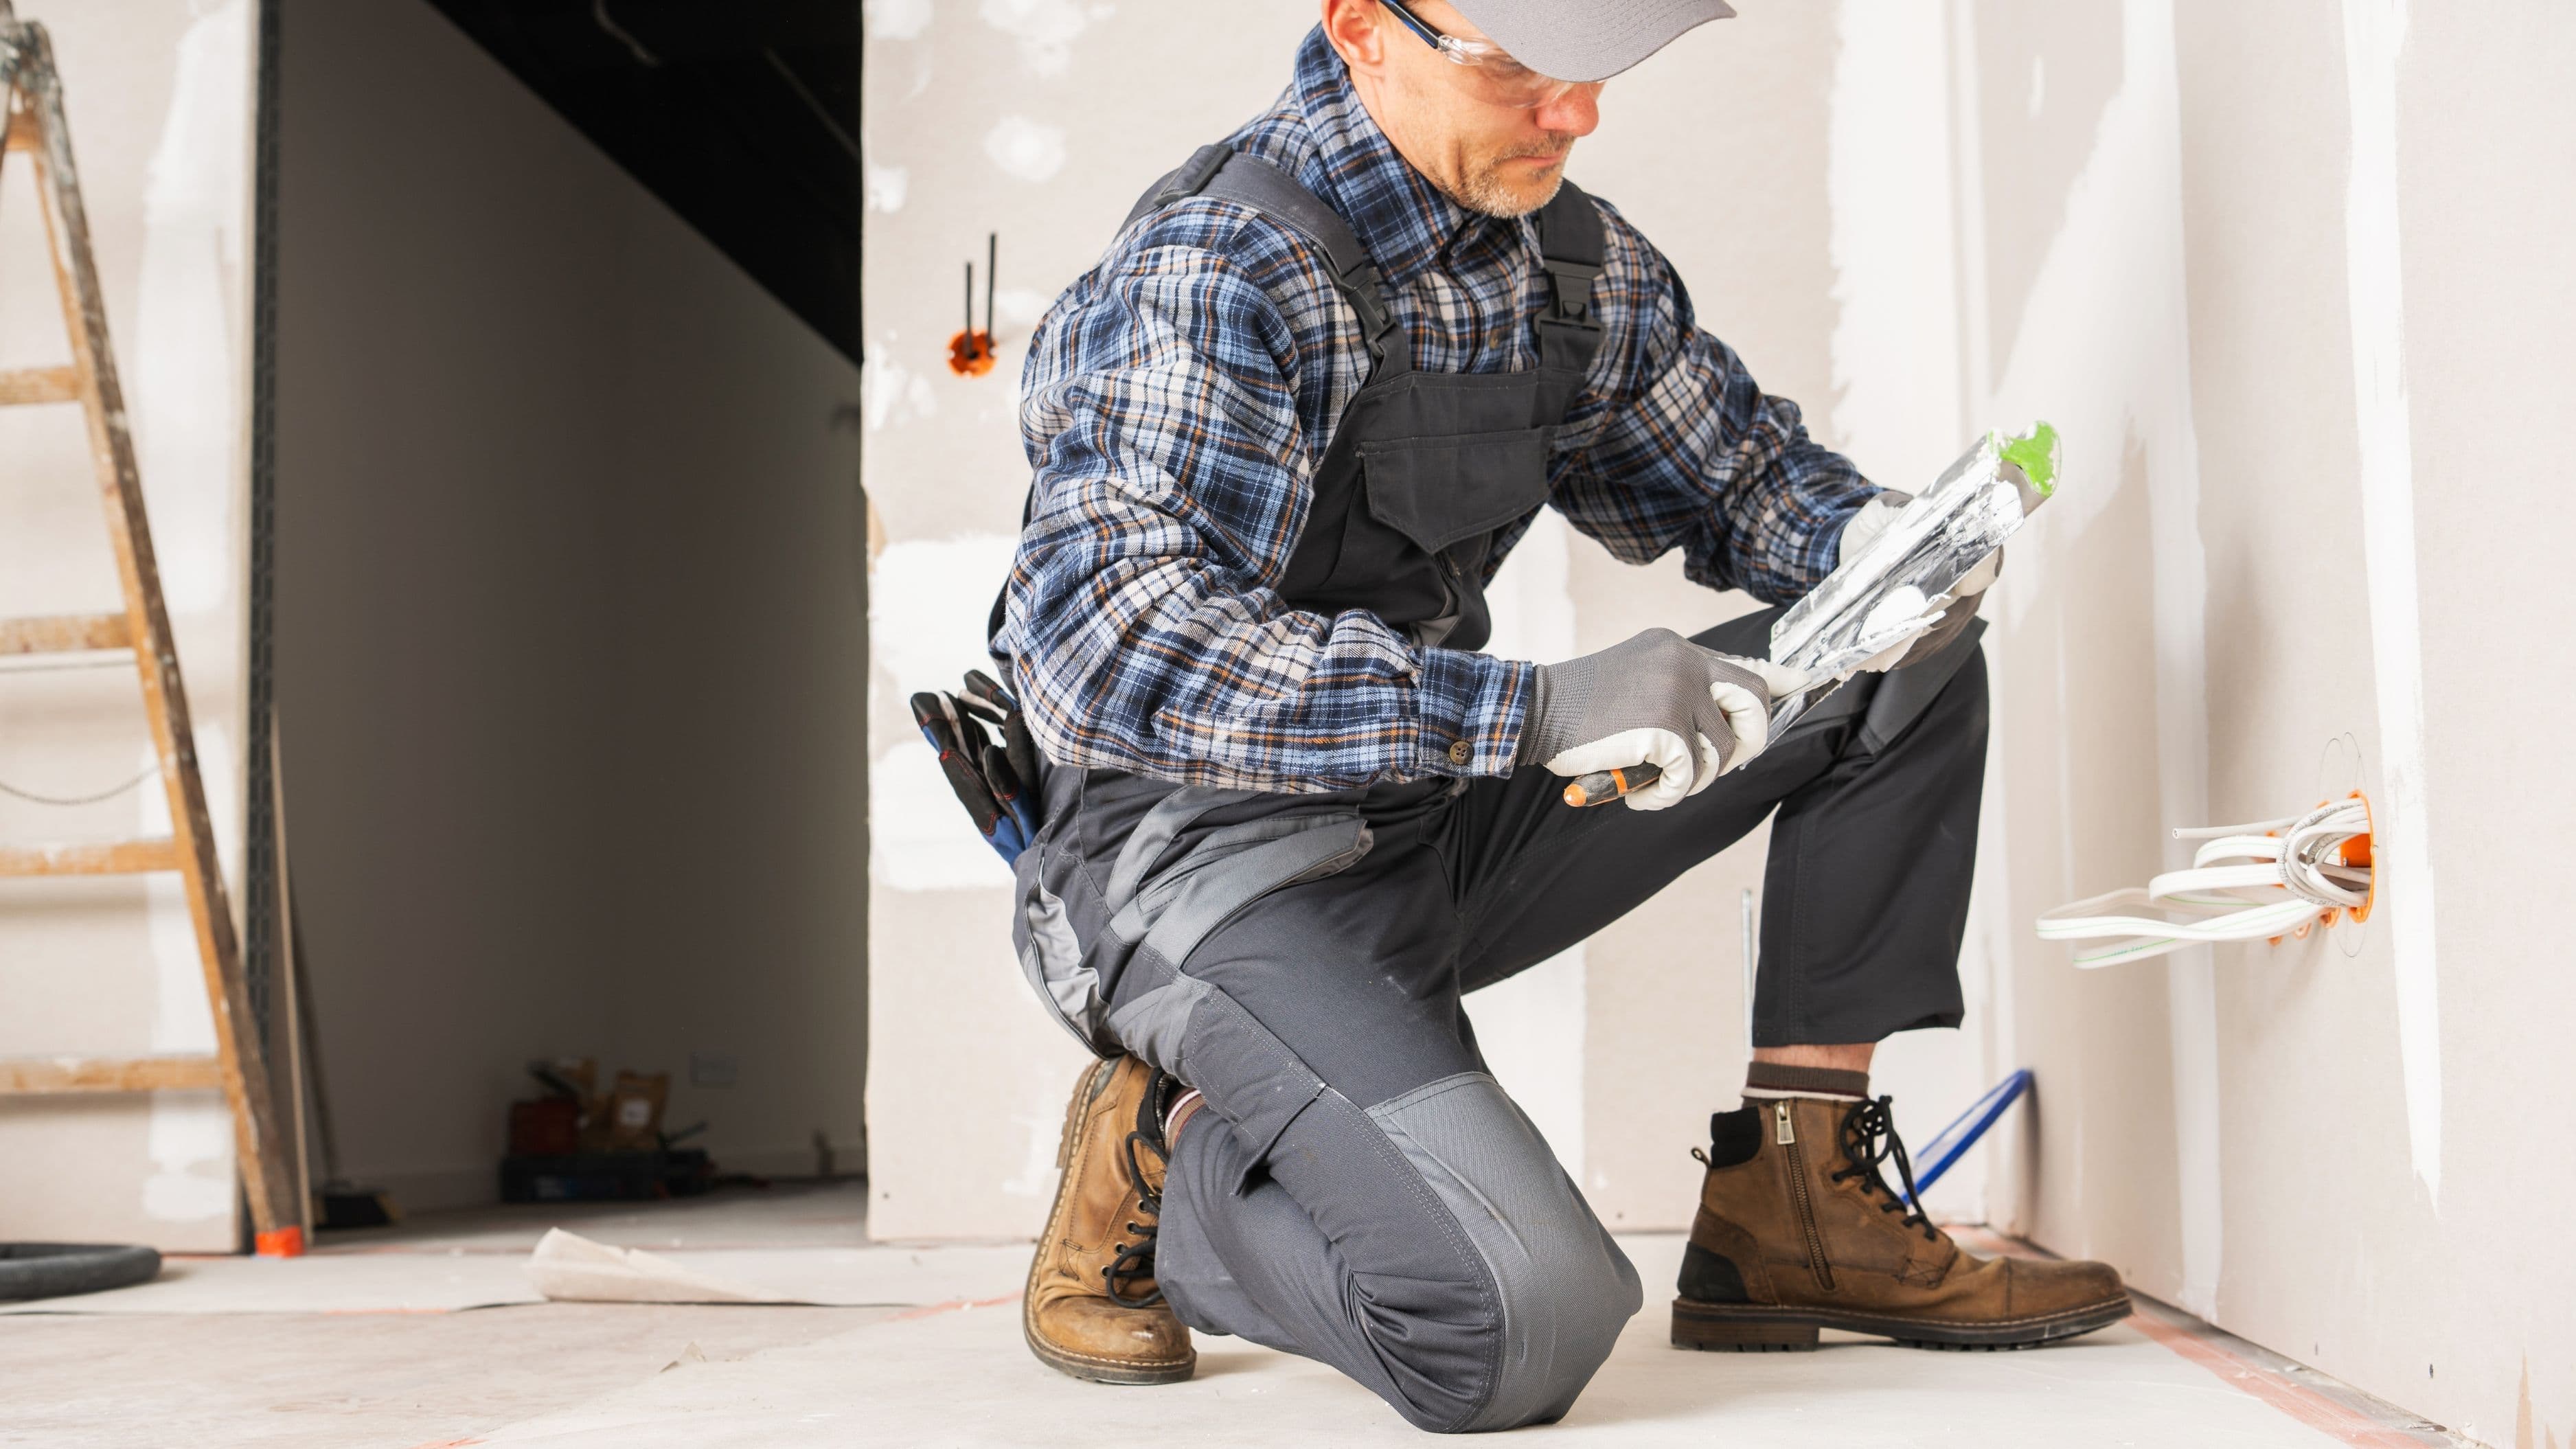
Peel the backing off your mesh patch and center it over the hole, pressing firmly so the adhesive grabs the wall all around the damaged area. Scoop joint compound onto your putty knife and spread it across the patch in thin layers, feathering the edges outward 2-3 inches beyond the patch to blend it into the existing wall. Apply your first coat thin enough that you can still see the mesh texture through it—this prevents cracking as it dries and gives you a stable base for subsequent coats.
The Art of Layering
Wait for each coat to dry completely (check the product label, but figure 2-4 hours minimum) before adding the next layer. Your second coat should extend slightly beyond the first, building up the surface gradually while keeping the edges feathered and nearly invisible. Most repairs need three coats total: the first embeds the patch, the second builds up the surface, and the third creates a smooth finish that disappears into the surrounding wall.
Large Holes: Go Big or Go Home
Cut a square around the large hole with your utility knife, creating clean edges that extend to the nearest studs if possible—this gives you something solid to attach your patch to. Cut a piece of scrap drywall slightly smaller than your opening, then cut a backing board (a paint stirrer or thin wood strip works perfectly) about 2 inches longer than your hole. Slide the backing board into the hole horizontally, then drive drywall screws through the existing wall into the backing board on both sides, creating an anchor point for your patch.
Secure the Patch Piece
Apply construction adhesive or joint compound around the edges of your backing board, then press your drywall patch into place and secure it with a few drywall screws driven into the backing board. The patch should sit slightly recessed (about 1/8 inch) below the surrounding wall surface—this gives you room to apply joint compound without creating a bulge. Cover the seams with mesh tape, then proceed with the same layering technique you'd use for medium holes, building up the surface until it's perfectly flush.
Sand Like a Sculptor
Let your final coat dry overnight for maximum hardness, then sand with 120-grit sandpaper using circular motions to knock down any ridges or high spots. Switch to 220-grit sandpaper and sand the entire patched area with light, sweeping strokes that blend it seamlessly into the surrounding wall—your hand should glide over the repair without detecting any change in texture. Wipe away dust with a damp sponge (not soaking wet, just barely damp) and let the area dry completely before moving to the next step.
Prime Before You Paint
Never skip primer on a drywall patch—bare compound absorbs paint differently than the surrounding wall, leaving you with a visible "shadow" no matter how many coats you apply. Roll or brush on a coat of primer that covers your entire repair plus an inch or two beyond, let it dry per the manufacturer's instructions, then apply your topcoat paint. For the best color match, paint the entire wall from corner to corner rather than just the patched spot, since even "matching" paint can show slight variations when applied only to a small area.
Pro Tips That Make the Difference
Keep your putty knife at a low angle (almost parallel to the wall) when spreading compound—this creates smooth, feathered edges instead of hard ridges that scream "amateur repair job." Clean your tools immediately after use by running them under warm water; dried compound turns them into useless lumps that you'll just have to throw away. If your repair keeps cracking, you're probably applying coats too thick or not letting them dry completely between applications—patience truly is the secret ingredient here.
When to Call Backup
Some damage goes beyond DIY territory. If you discover mold around the hole, water damage that extends beyond the immediate area, or holes larger than 8 inches in diameter, it's time to call a professional who can assess whether there's structural damage or other issues lurking behind that wall. Large repairs also benefit from professional texture matching if your walls have heavy stipple or knockdown texture—recreating these patterns convincingly takes practice and specialized tools that most homeowners don't keep lying around.
Pick one hole in your home and patch it this weekend. That satisfaction you'll feel running your hand over a perfectly smooth repair? That's the momentum that turns into confidence for your next project. Start small, master the technique, and watch your home transform one patch at a time.
📚 Sources
1. National Association of Home Builders. (2023). "Common Home Repair Costs and DIY Alternatives." NAHB Research Center.
2. This Old House. (2024). "Drywall Repair: How to Patch Holes of Any Size." This Old House Magazine, 45(3), 78-82.
3. The Family Handyman. (2023). "Professional Drywall Finishing Techniques for Homeowners." Reader's Digest Association.
-jhajrFUGfI3zCQGjpAWcxuNPi1zUTB.jpg&w=3840&q=75)