
Setting Realistic Expectations First
There are two legitimate paths here, and understanding the difference matters before you start any work. The first is removing your existing tile, installing a radiant heating system, and re-tiling on top, which is more involved but gives you full control over the finished result. The second is a low-profile overlay approach, where a thin electric heating mat and new mortar bed go directly over your existing tile, followed by new tile installed on top, effectively raising your floor height slightly rather than removing what's there.
Neither approach lets you slide a heating element under tile that stays completely undisturbed, and any product or method claiming otherwise deserves real skepticism. What you're actually deciding between is a full removal-and-reinstall project versus a build-up overlay that avoids demolition but adds height and requires new tile regardless.
Difficulty, Time, and Cost
Difficulty: Intermediate to advanced. Tile removal, mortar work, and precise heating mat installation require real attention to detail, and the electrical connection portion should be handled by a licensed electrician regardless of your DIY comfort level elsewhere in the project.
Time: For a full removal-and-reinstall approach, plan for 3 to 5 days for an average bathroom-sized space, including tile removal, subfloor prep, heating system installation, and re-tiling with proper curing time. The overlay approach is somewhat faster, often 2 to 3 days, since it skips demolition.
Cost: Electric radiant heating systems typically run $8 to $15 per square foot for materials alone, with a licensed electrician's labor for the circuit connection adding $200 to $500 depending on your local rates and panel accessibility. Hydronic (water-based) systems cost more upfront and are significantly more complex to retrofit, generally making electric systems the more practical choice for a retrofit project like this one.
What You'll Need
Electric radiant floor heating mat or cable system sized to your specific square footage
Floor thermostat with GFCI protection, often required by code for bathroom installations
Tile removal tools (if going the full removal route): chisel, hammer, oscillating tool with tile-cutting blade
Cement backer board or uncoupling membrane, depending on your subfloor condition
Thin-set mortar and tile spacers
Multimeter for testing heating mat continuity before and after installation
New tile (existing tile typically cannot be reused after removal without damage)
Step 1: Test Your Existing Subfloor Condition
Before committing to either approach, confirm your subfloor is solid, level, and free of moisture issues, since radiant heating systems perform poorly and can fail prematurely over an uneven or compromised subfloor. If you're pursuing the overlay approach, also confirm your existing tile is firmly bonded with no loose or hollow-sounding sections, tapping systematically across the floor and listening for a dull, hollow sound that indicates poor adhesion underneath.
Any loose tile, soft subfloor spots, or signs of past water damage need to be addressed before installing a heating system on top, since building over an unstable base all but guarantees problems with the new installation down the line.
Step 2: Plan Your Electrical Circuit Before Starting
Radiant floor heating systems typically require a dedicated 120V or 240V circuit, depending on the system's wattage and square footage, and this needs to connect back to your electrical panel with appropriate breaker sizing. This is the point in the project where bringing in a licensed electrician isn't optional caution, it's necessary for both safety and code compliance, since improperly sized circuits or incorrect GFCI protection create genuine fire and shock hazards.
Have an electrician assess your panel's available capacity and rough in the circuit before you begin the flooring work, so the electrical connection is ready to go once your heating mat is physically installed.
Step 3: Remove Existing Tile (Full Removal Approach)
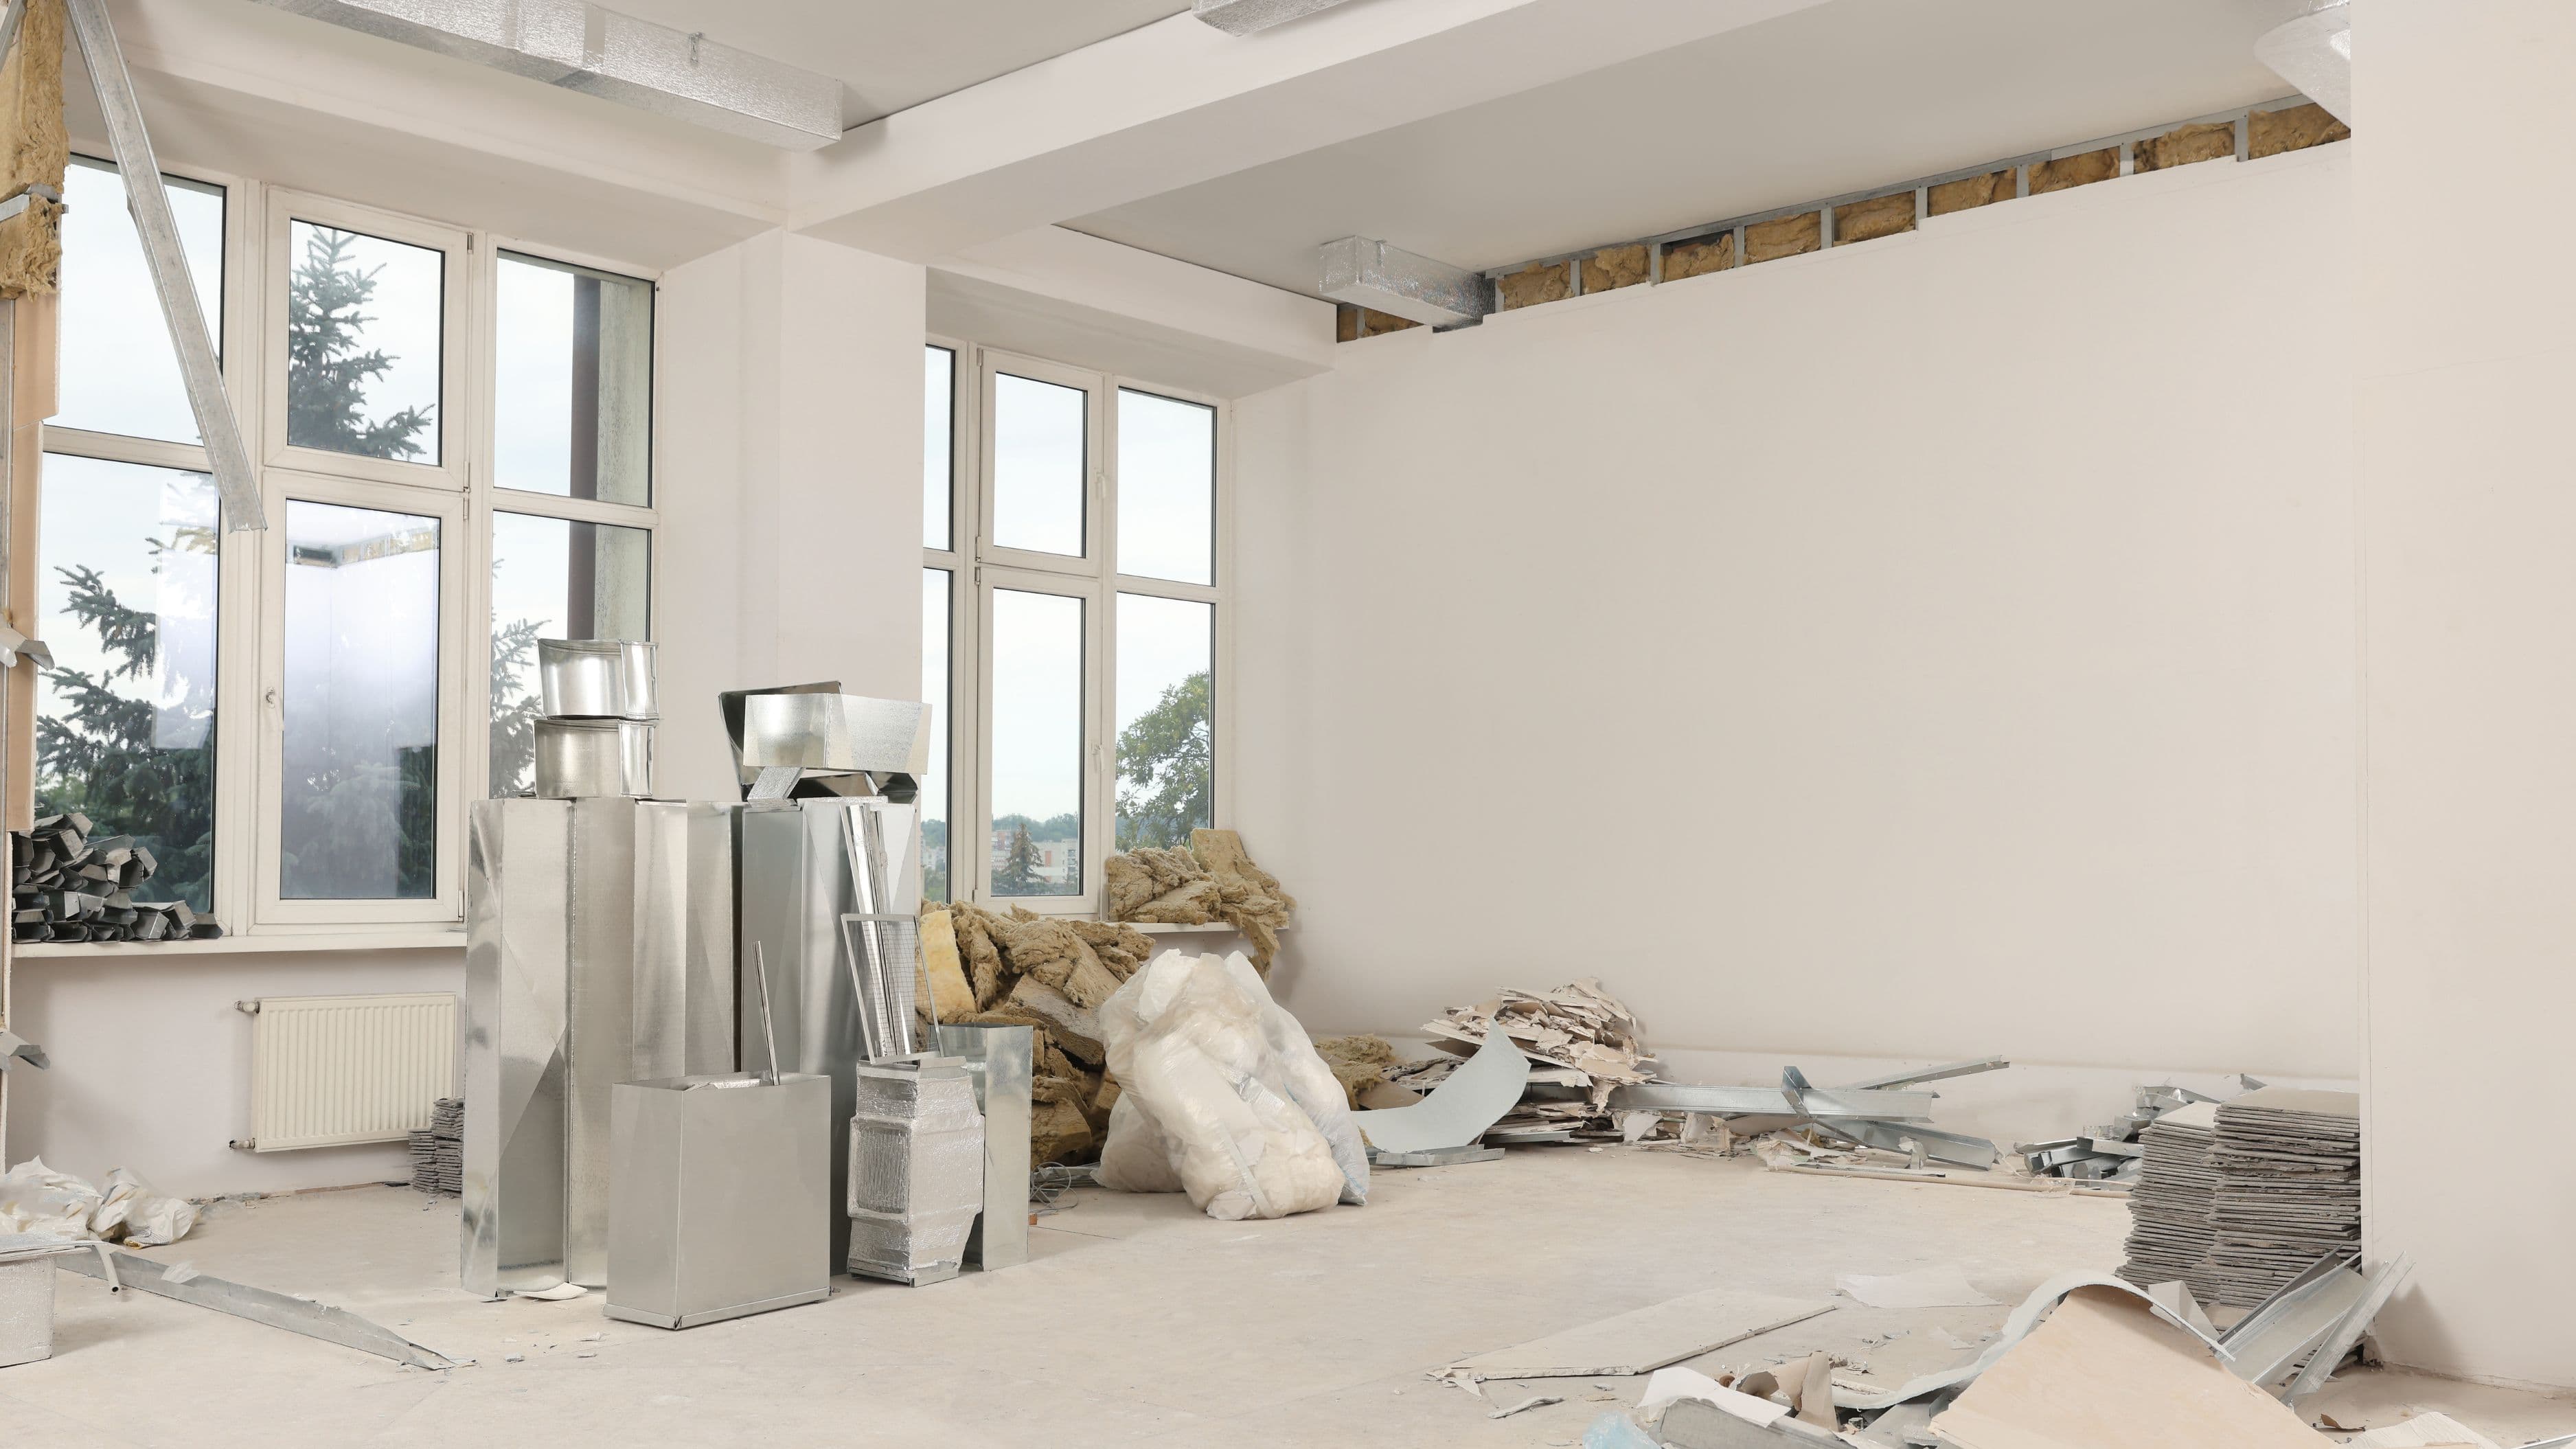
If you're going the removal route, use a hammer and chisel or an oscillating tool with a tile-cutting blade to work through the grout lines first, then carefully pry up individual tiles, working from a damaged or loose tile if one exists to create a starting point. Wear safety glasses and gloves throughout this process, since tile shards can be sharp and unpredictable when they break.
Once tile is removed, clear away the old thin-set mortar down to a clean, level subfloor. This step is more labor-intensive than it sounds, and this is often the point where DIYers realize the project is taking longer than initially planned, so build in extra time here rather than assuming a fast timeline.
Step 4: Install Backer Board or Uncoupling Membrane
Over your prepared subfloor, install cement backer board or a specialized uncoupling membrane designed to work with radiant heating systems, following the specific manufacturer instructions for your chosen heating product, since some systems are designed to integrate directly with specific membrane products. This layer creates a stable, moisture-resistant surface for both the heating element and the tile that goes on top of it.
Step 5: Lay Out and Secure the Heating Mat or Cable
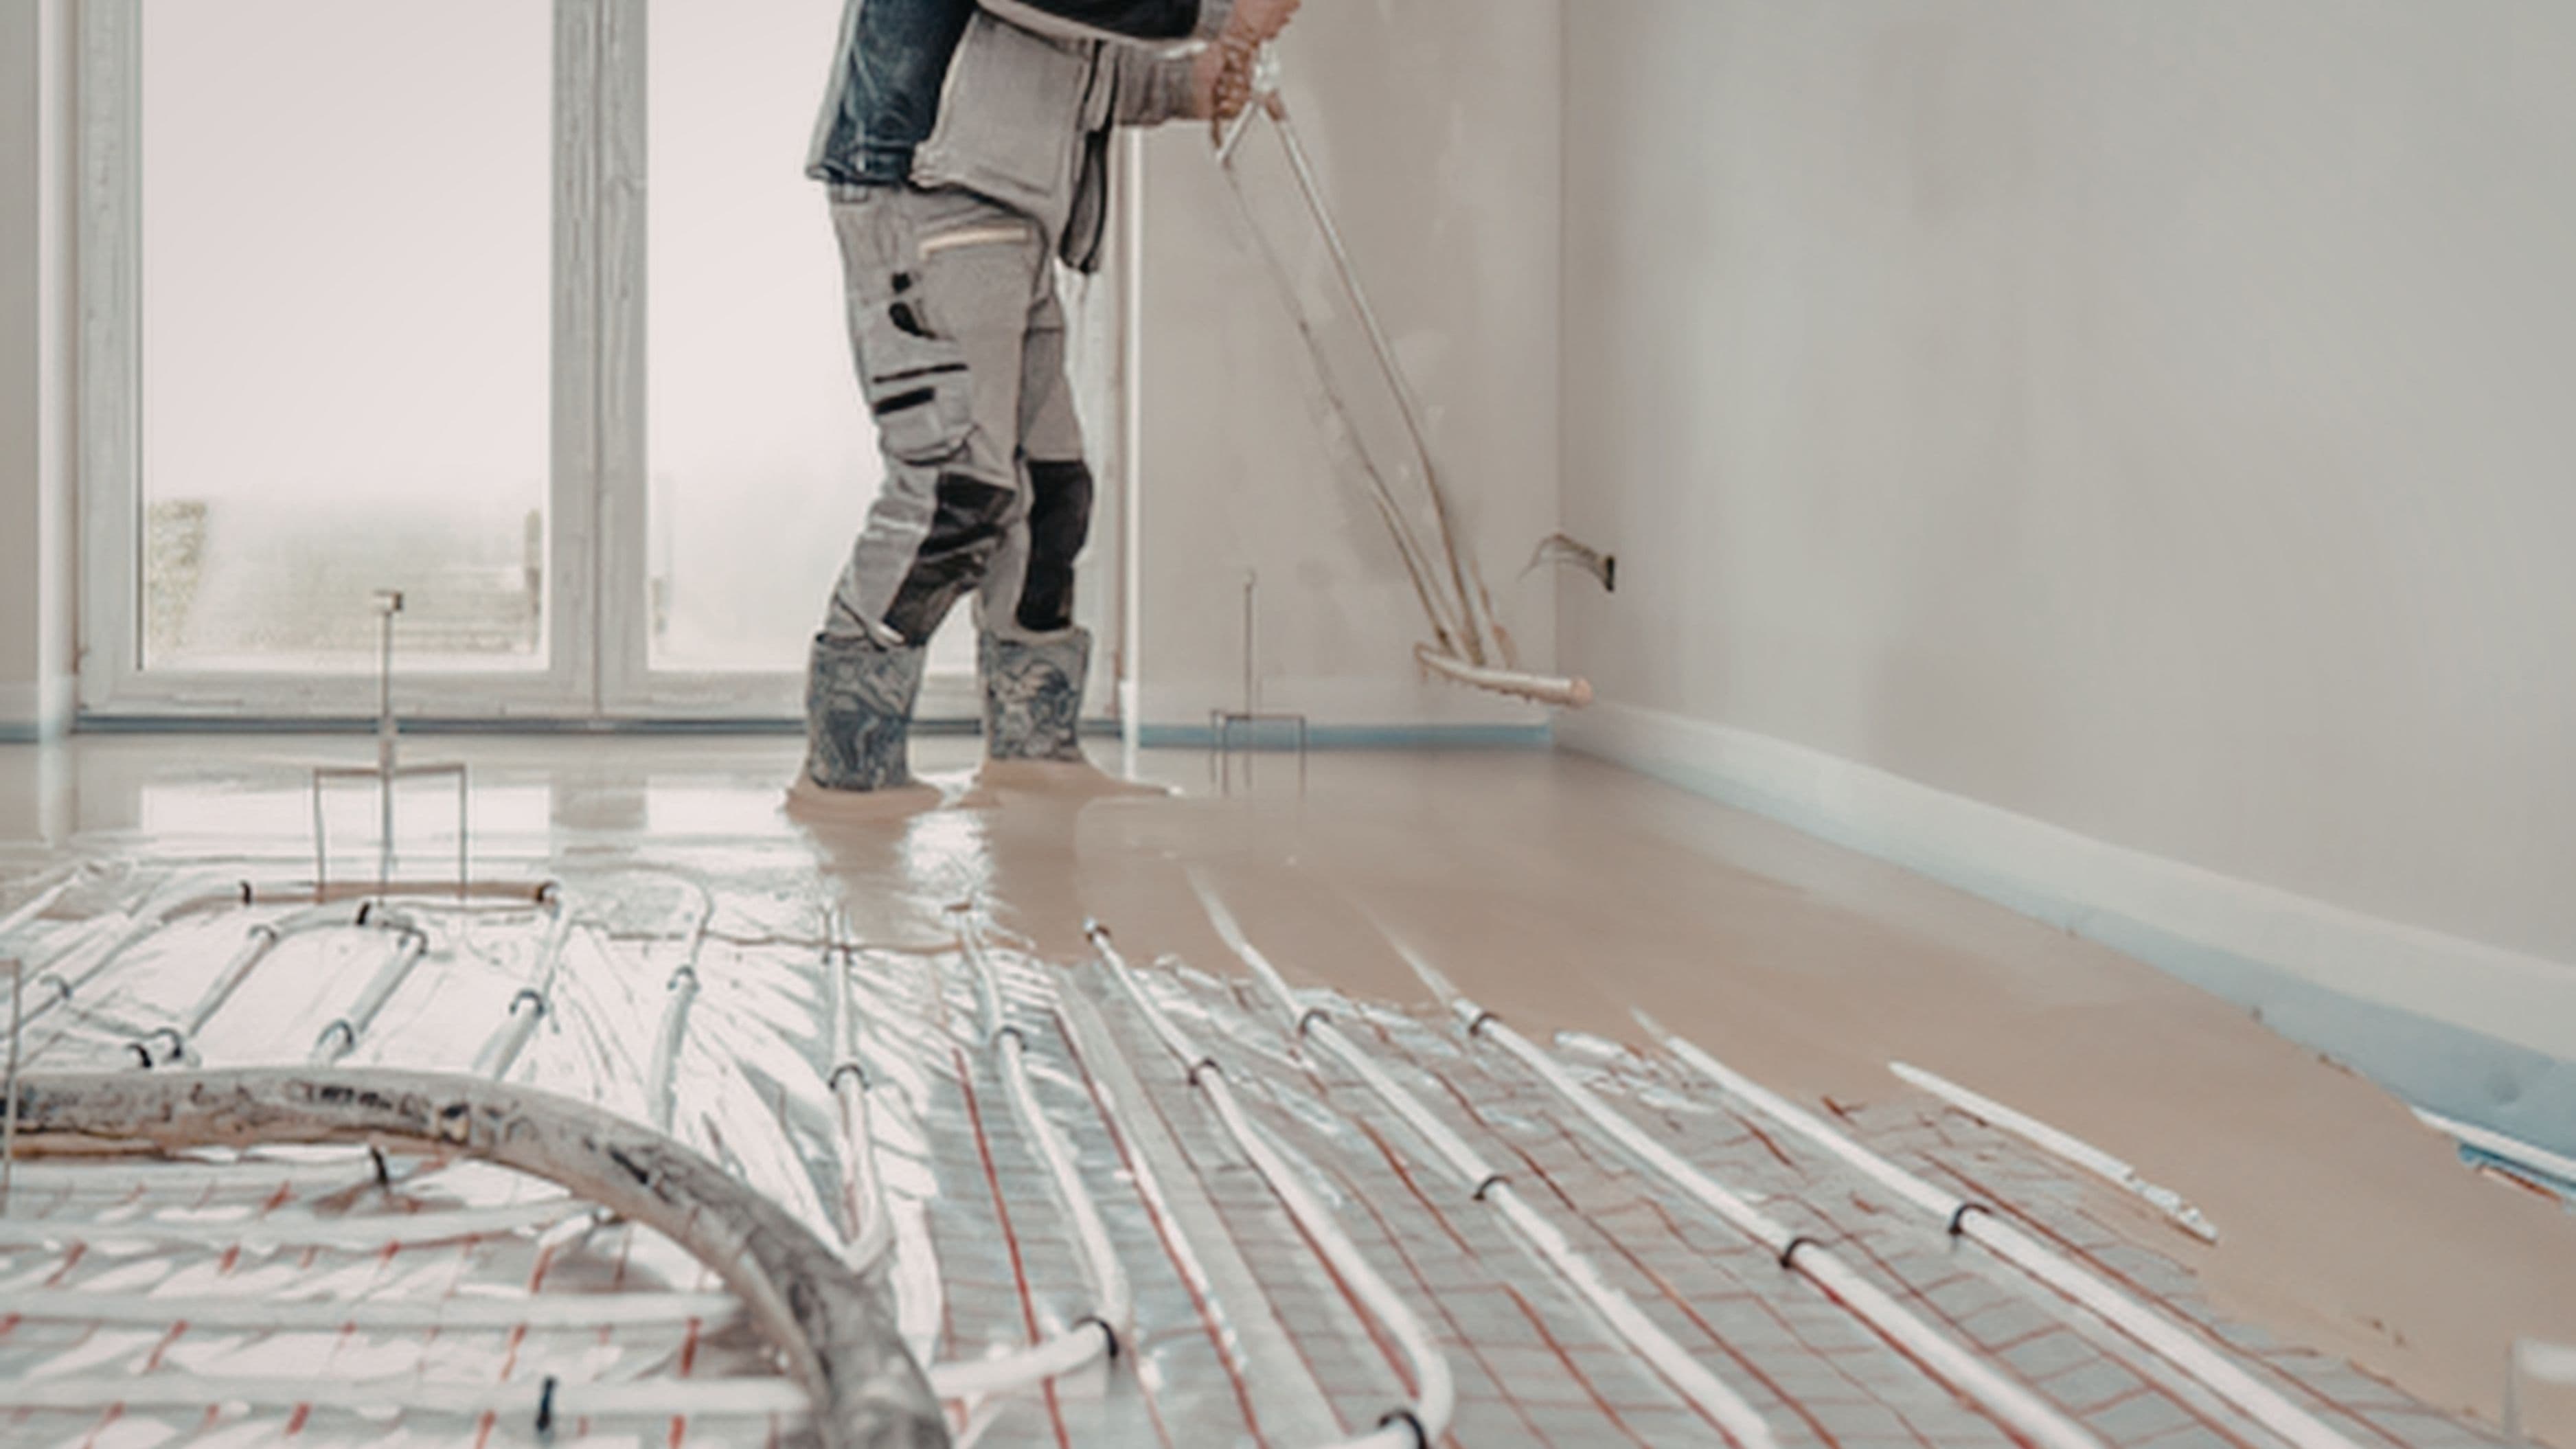
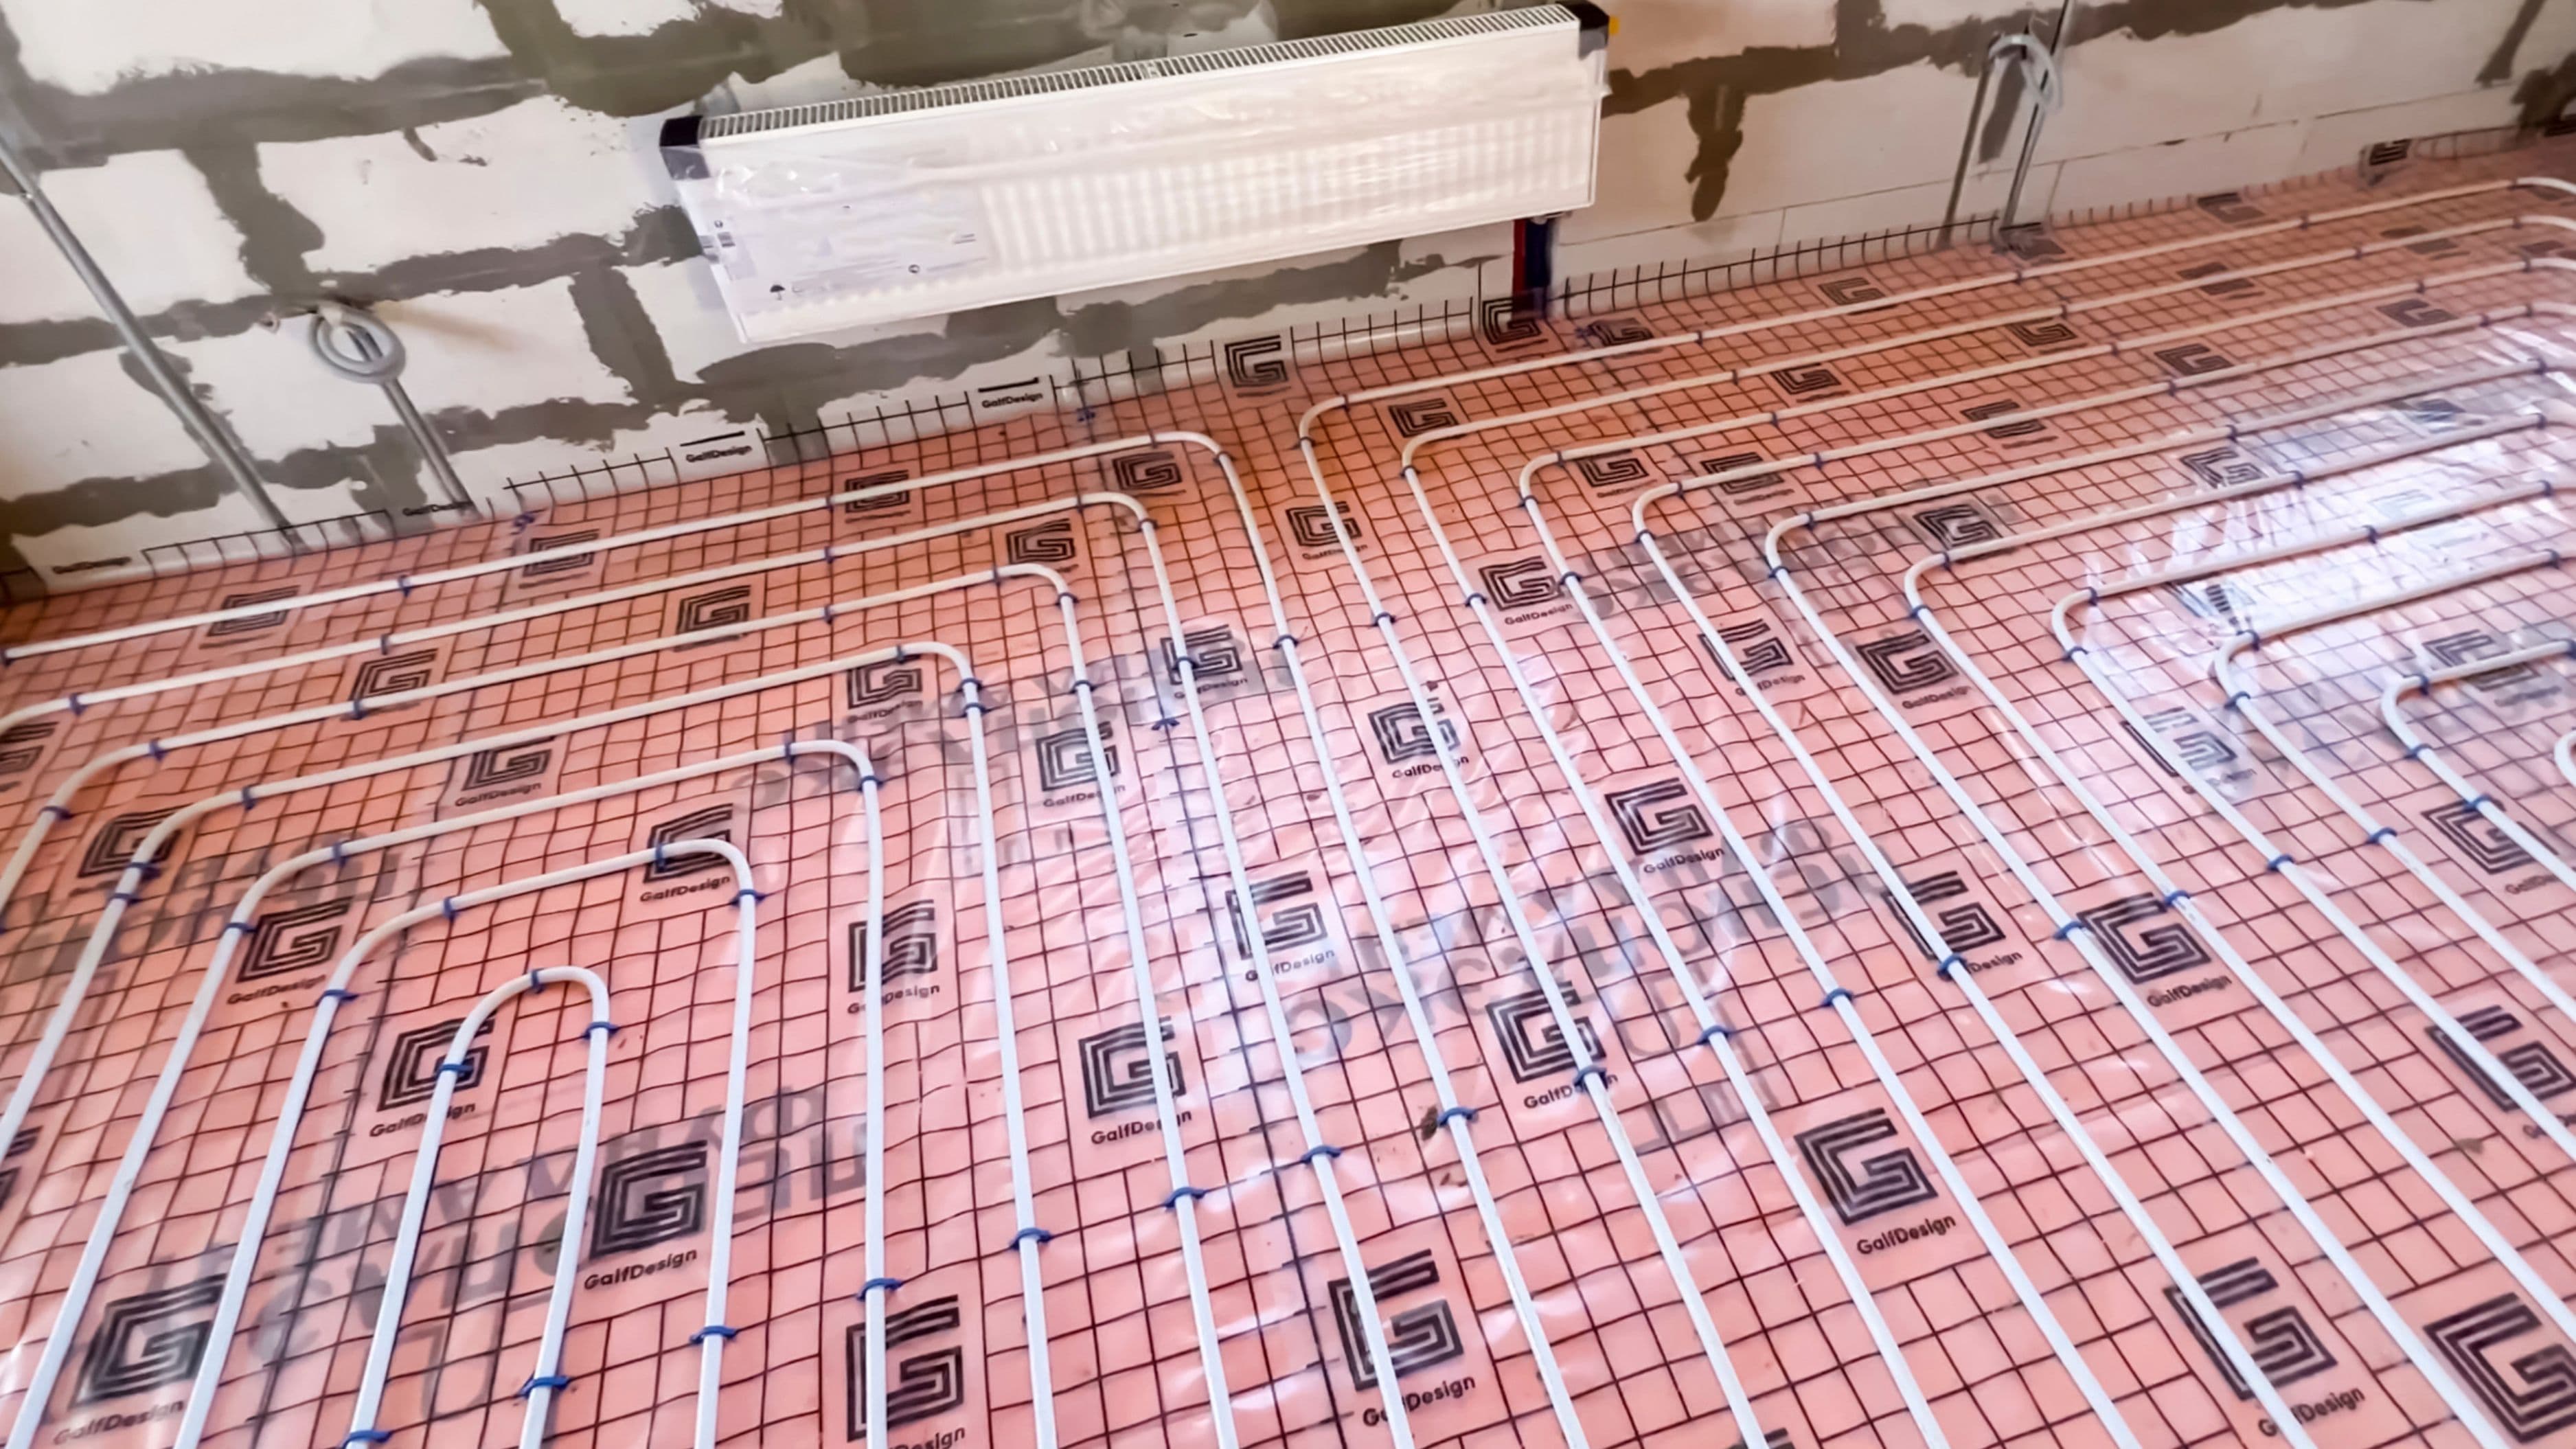
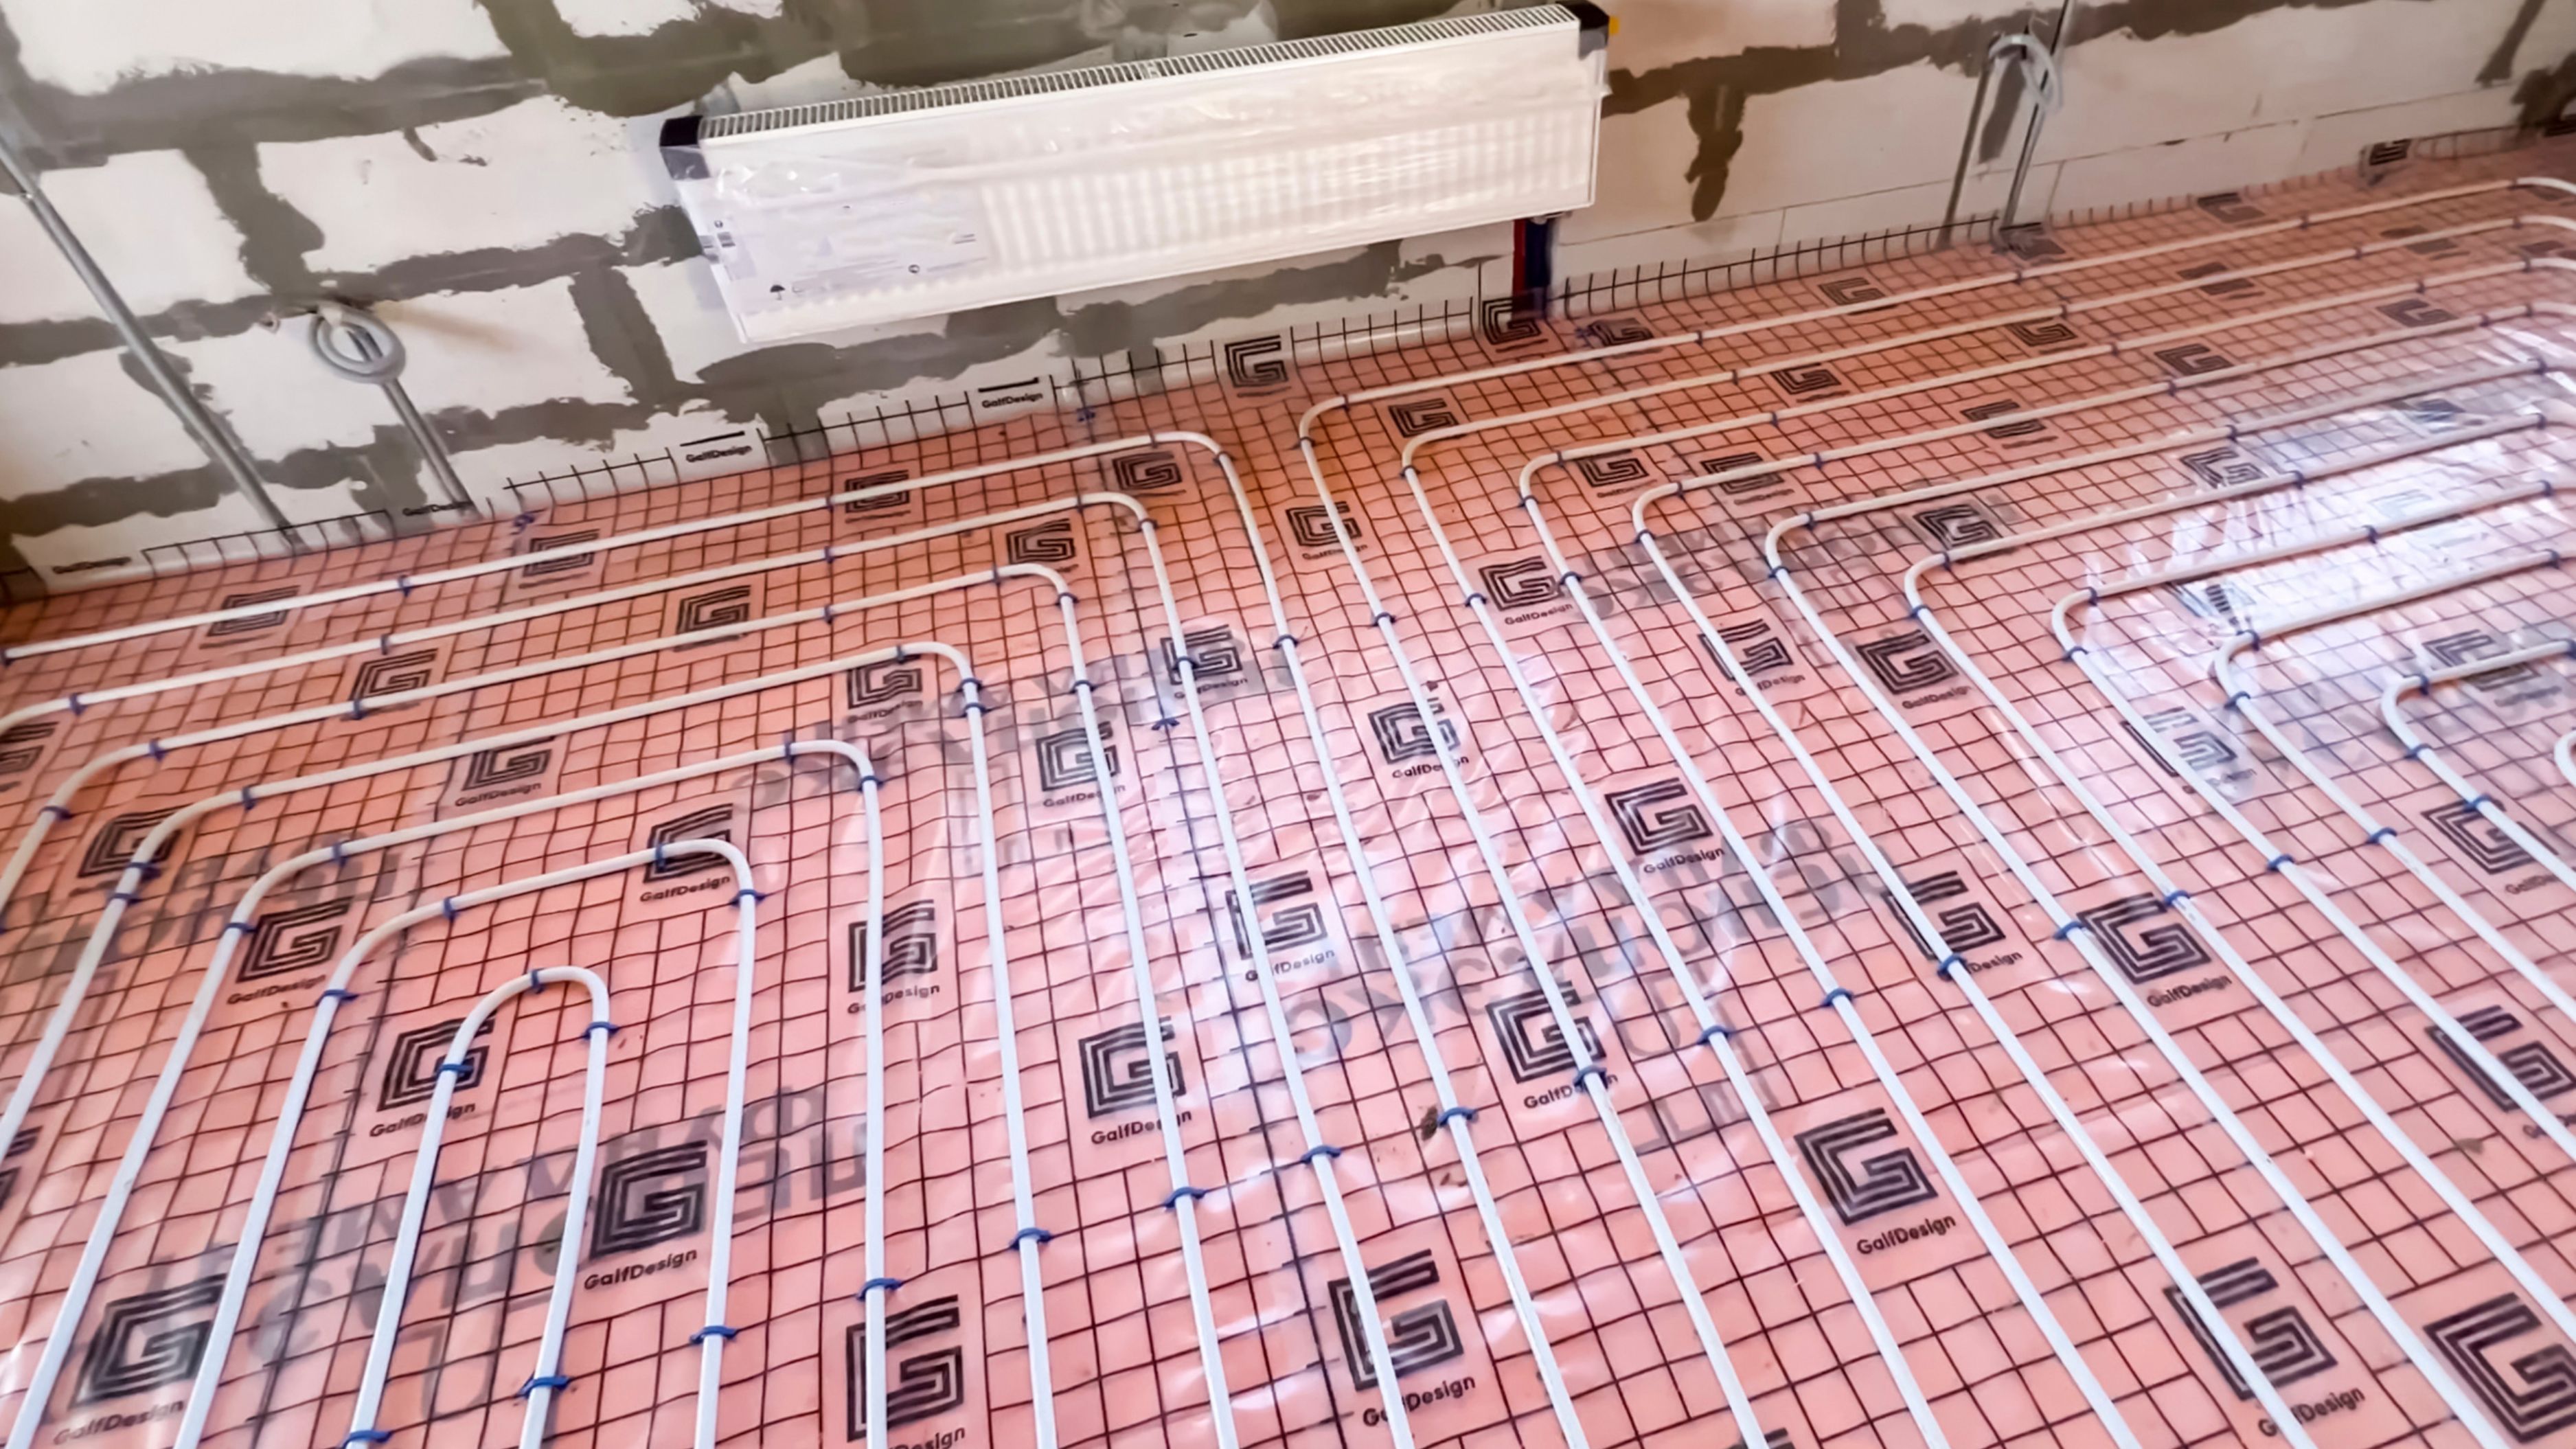
Following your heating system's layout diagram, typically provided by the manufacturer based on your room's dimensions, secure the mat or cable to the backer board using the recommended method, often a combination of adhesive and mechanical fasteners specific to the product. Keep the heating element a consistent distance from walls and fixtures as specified in the installation instructions, since manufacturers typically require clearance from certain fixtures for both performance and safety reasons.
Before covering the heating element with thin-set, use a multimeter to test its resistance against the manufacturer's specified reading, then take a photo of the layout for your records. This test confirms the element wasn't damaged during installation, and catching a problem now saves you from tearing out fully tiled flooring later if an issue is discovered after everything is covered.
Step 6: Cover With Thin-Set and Install New Tile
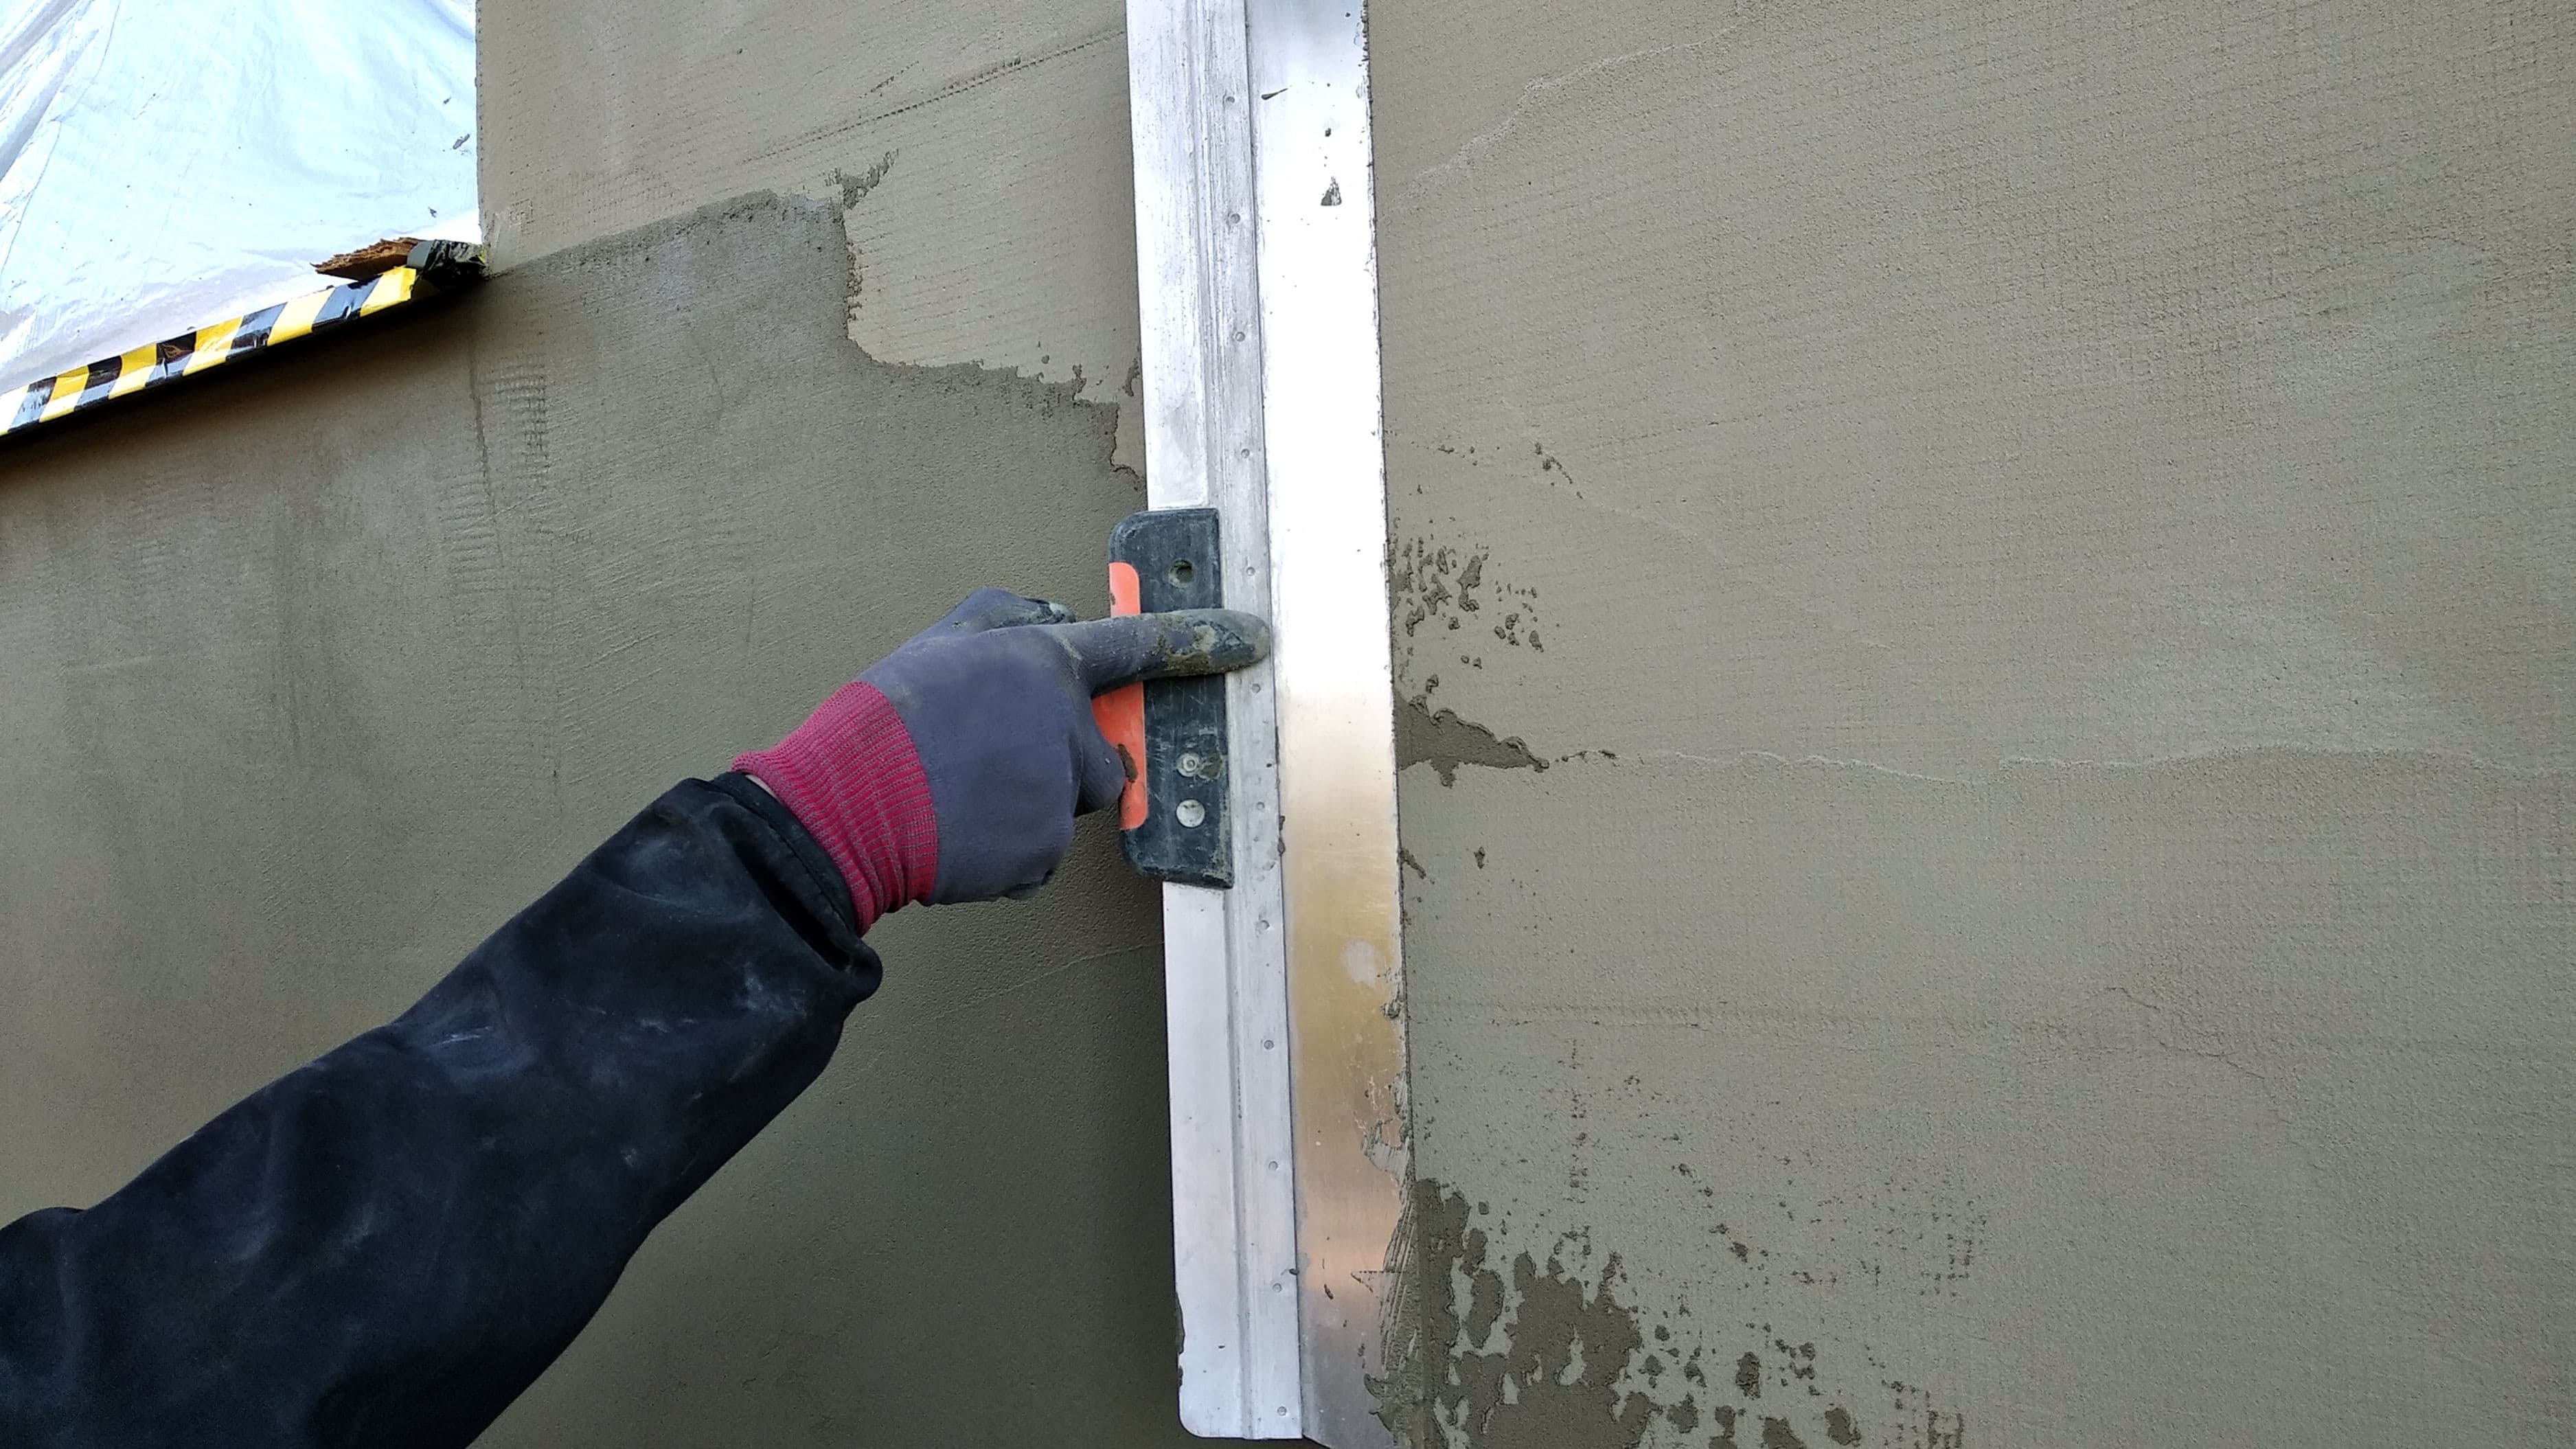
Apply a layer of thin-set mortar over the heating element using a notched trowel, being careful not to drag or shift the heating mat's positioning as you work. Once the thin-set has set according to manufacturer timing, proceed with standard tile installation, using appropriate spacers and working in manageable sections to maintain consistent lines.
Allow the tile installation to cure fully, generally 24 to 72 hours depending on your specific thin-set and grout products, before grouting, and avoid activating the heating system until the entire installation, including grout, has fully cured according to manufacturer guidelines.
Step 7: Connect and Test the System
Once your electrician has completed the circuit connection to your thermostat and heating system, test the system fully before considering the project complete. Run the system through its full range, checking for even heat distribution across the floor and confirming the thermostat responds accurately to temperature adjustments.
Tips for Success
Ordering slightly more heating mat or cable than your exact square footage calculation, following manufacturer guidance on excess allowance, gives you flexibility to work around room irregularities without running short mid-installation. Taking detailed photos at every stage, especially before covering the heating element with thin-set, gives you a reference if any issue needs troubleshooting later without needing to remove tile to investigate.
Common Mistakes to Avoid
Skipping the continuity test before covering the heating mat is one of the most costly mistakes in this entire project, since a damaged element discovered after tiling means removing newly installed tile to fix it. Activating the heating system before tile and grout have fully cured is another common error that can cause cracking or bonding failure in the new tile installation.
Attempting the electrical connection without a licensed electrician, even for homeowners generally comfortable with DIY electrical work, is not worth the risk given the specific code requirements around GFCI protection and circuit sizing for radiant heating systems.
Underestimating the demolition and prep time is also common, since removing tile and old mortar cleanly down to a level subfloor consistently takes longer than most DIYers initially expect.
When to Call a Professional
Beyond the electrical connection, which should always involve a licensed electrician, consider hiring a professional installer for the full project if your subfloor has structural concerns, if you're working in a multi-story home where added floor height from an overlay approach could create transition issues with adjoining rooms, or if this is your first tile installation project of any kind. Radiant heating systems represent a meaningful investment, and a failed installation due to inexperience can cost more to fix than hiring a professional would have cost upfront.
FAQ
Can I add radiant heating without removing any existing tile at all? Not genuinely. The closest option is a low-profile overlay system installed directly over existing tile, but this still requires new tile on top of the heating element and raises your finished floor height, so "no disturbance at all" isn't realistically achievable with current radiant heating technology.
Is electric or hydronic radiant heating better for a retrofit project? Electric systems are significantly more practical for retrofitting an existing space, since hydronic systems require running water lines and connecting to a boiler or water heater, adding substantial complexity and cost that generally only makes sense in new construction or major renovations.
How much will this raise my finished floor height? Expect an increase of roughly 3/8 to 1/2 inch total from the heating mat, additional thin-set, and new tile combined, which is usually manageable but worth checking against door clearances and transitions to adjoining rooms before starting.
📚 Sources
U.S. Department of Energy, "Radiant Heating" – https://www.energy.gov/energysaver/radiant-heating
National Electrical Code Resources, National Fire Protection Association – https://www.nfpa.org/codes-and-standards/nfpa-70-standard-development/70
Tile Council of North America, "Handbook for Ceramic, Glass, and Stone Tile Installation" – https://www.tcnatile.com/