
This guide walks you through the whole process. Whether you're upgrading an existing system with a smart controller or building a new drip or zone-based system from scratch, here's exactly what to do.
What You're Actually Installing
Before getting into steps, it helps to understand what a smart irrigation system consists of – because the phrase covers a range of setups.
At the simplest end, a smart irrigation controller replaces your existing timer and connects to Wi-Fi. It uses local weather data and soil sensors to automatically skip or adjust watering when rain is coming or the soil is already moist. This is the easiest upgrade: no new pipes, no digging. If you already have an in-ground sprinkler system with multiple zones and a controller, swapping out the controller is a 30-minute job that delivers most of the water-saving benefits.
A step up from that is a drip irrigation system with smart controls. Drip is the most water-efficient method for garden beds, raised beds, and foundation plantings – water goes directly to the root zone with minimal evaporation. Drip systems can be surface-mounted (no digging required), connected to an outdoor hose bib, and controlled by a smart timer. This is the most accessible DIY option for homeowners without existing in-ground irrigation.
A full smart zone system with in-ground sprinkler heads, buried supply lines, and multiple valve zones is the most involved installation, but it's still well within DIY reach for most homeowners with a free weekend and patience for a bit of trench digging.
What You'll Need
The tools and materials vary by system type, but here's a comprehensive list covering most situations:
Tools: Flathead and Phillips screwdrivers, wire strippers, voltage tester, shovel or trenching spade (for in-ground systems), hole saw or spade bit (if adding valve boxes), adjustable wrench, Teflon tape.
Materials for a smart controller upgrade: Smart irrigation controller (Rachio 3, RainBird ST8I-WIFI, or Orbit B-hyve are the leading options), wire nuts or wire connectors, and possibly a weather sensor if your controller doesn't include one.
Additional materials for a new drip system: Drip irrigation kit sized for your coverage area (1/2" mainline tubing, 1/4" distribution tubing, emitters, stakes), backflow preventer, pressure regulator (drip systems run at 25–30 PSI; most hose bibs deliver 50–80 PSI), Y-filter, and a smart hose timer.
Additional materials for a full zone system: PVC supply pipe or poly irrigation pipe, zone valves, valve manifold, wire for valve connections (18-gauge multi-conductor irrigation wire), sprinkler heads or drip emitters, and a valve box.
Estimated cost: Smart controller upgrade only: $80–$250. New drip system with smart timer: $100–$300 for a typical garden. Full in-ground zone system: $300–$800+ depending on yard size and zone count.
Step 1: Plan Your Zones and Layout
Good planning saves you rework. Before buying anything, sketch your yard and identify what needs watering and how it groups into zones. Zones are separated by watering need – grass has different requirements from vegetable beds, which differ from foundation shrubs. Each zone connects to one valve and waters on its own schedule.
A few practical rules: group plants with similar water needs together. Keep sun-exposed areas separate from shaded ones if possible. Keep slope areas as their own zone to prevent runoff. In a typical residential yard, four to eight zones cover most situations – two or three for lawn areas, one or two for garden beds, and one for trees or foundation plantings.
For drip systems, measure the linear footage of each bed or row you want to cover. This tells you how much mainline tubing to buy. For sprinkler zones, note the shape and size of each lawn area – this determines which sprinkler head types (rotary, fixed spray, gear drive) work best and how many you'll need based on their throw radius.
Step 2: Check Your Water Pressure and Flow Rate
This step gets skipped more than any other, and it's responsible for most irrigation problems. Too much pressure blows out drip emitters and causes sprinklers to mist rather than distribute properly. Too little pressure means heads won't pop up and coverage is incomplete.
Measure your static water pressure with a pressure gauge screwed onto an outdoor hose bib (they cost about $10 at any hardware store).
Note the reading before opening the valve fully. Standard residential pressure runs 40–80 PSI. Drip systems need 20–30 PSI – if yours is higher, a pressure regulator is required and installs directly onto the hose bib or at the valve. Most sprinkler systems work best at 30–50 PSI at the head.
For flow rate, open a hose bib into a five-gallon bucket and time how long it takes to fill. Divide 5 gallons by the number of minutes to get gallons per minute (GPM). This determines how many sprinkler heads can run on one zone without exceeding your supply capacity. Each sprinkler head has a listed GPM in its specs – add up the heads per zone and confirm the total is below your available flow rate.
Step 3: Install the Smart Controller (or Smart Timer)
If you're upgrading an existing controller, start by photographing the existing wiring before disconnecting anything. Each zone wire is labeled with a number (Zone 1, Zone 2, etc.) and connects to a corresponding terminal on the controller. There's also a common wire (usually white, labeled "C" or "COM") and a power wire. Disconnect one wire at a time and reconnect it to the same terminal on the new controller, referencing your photo.
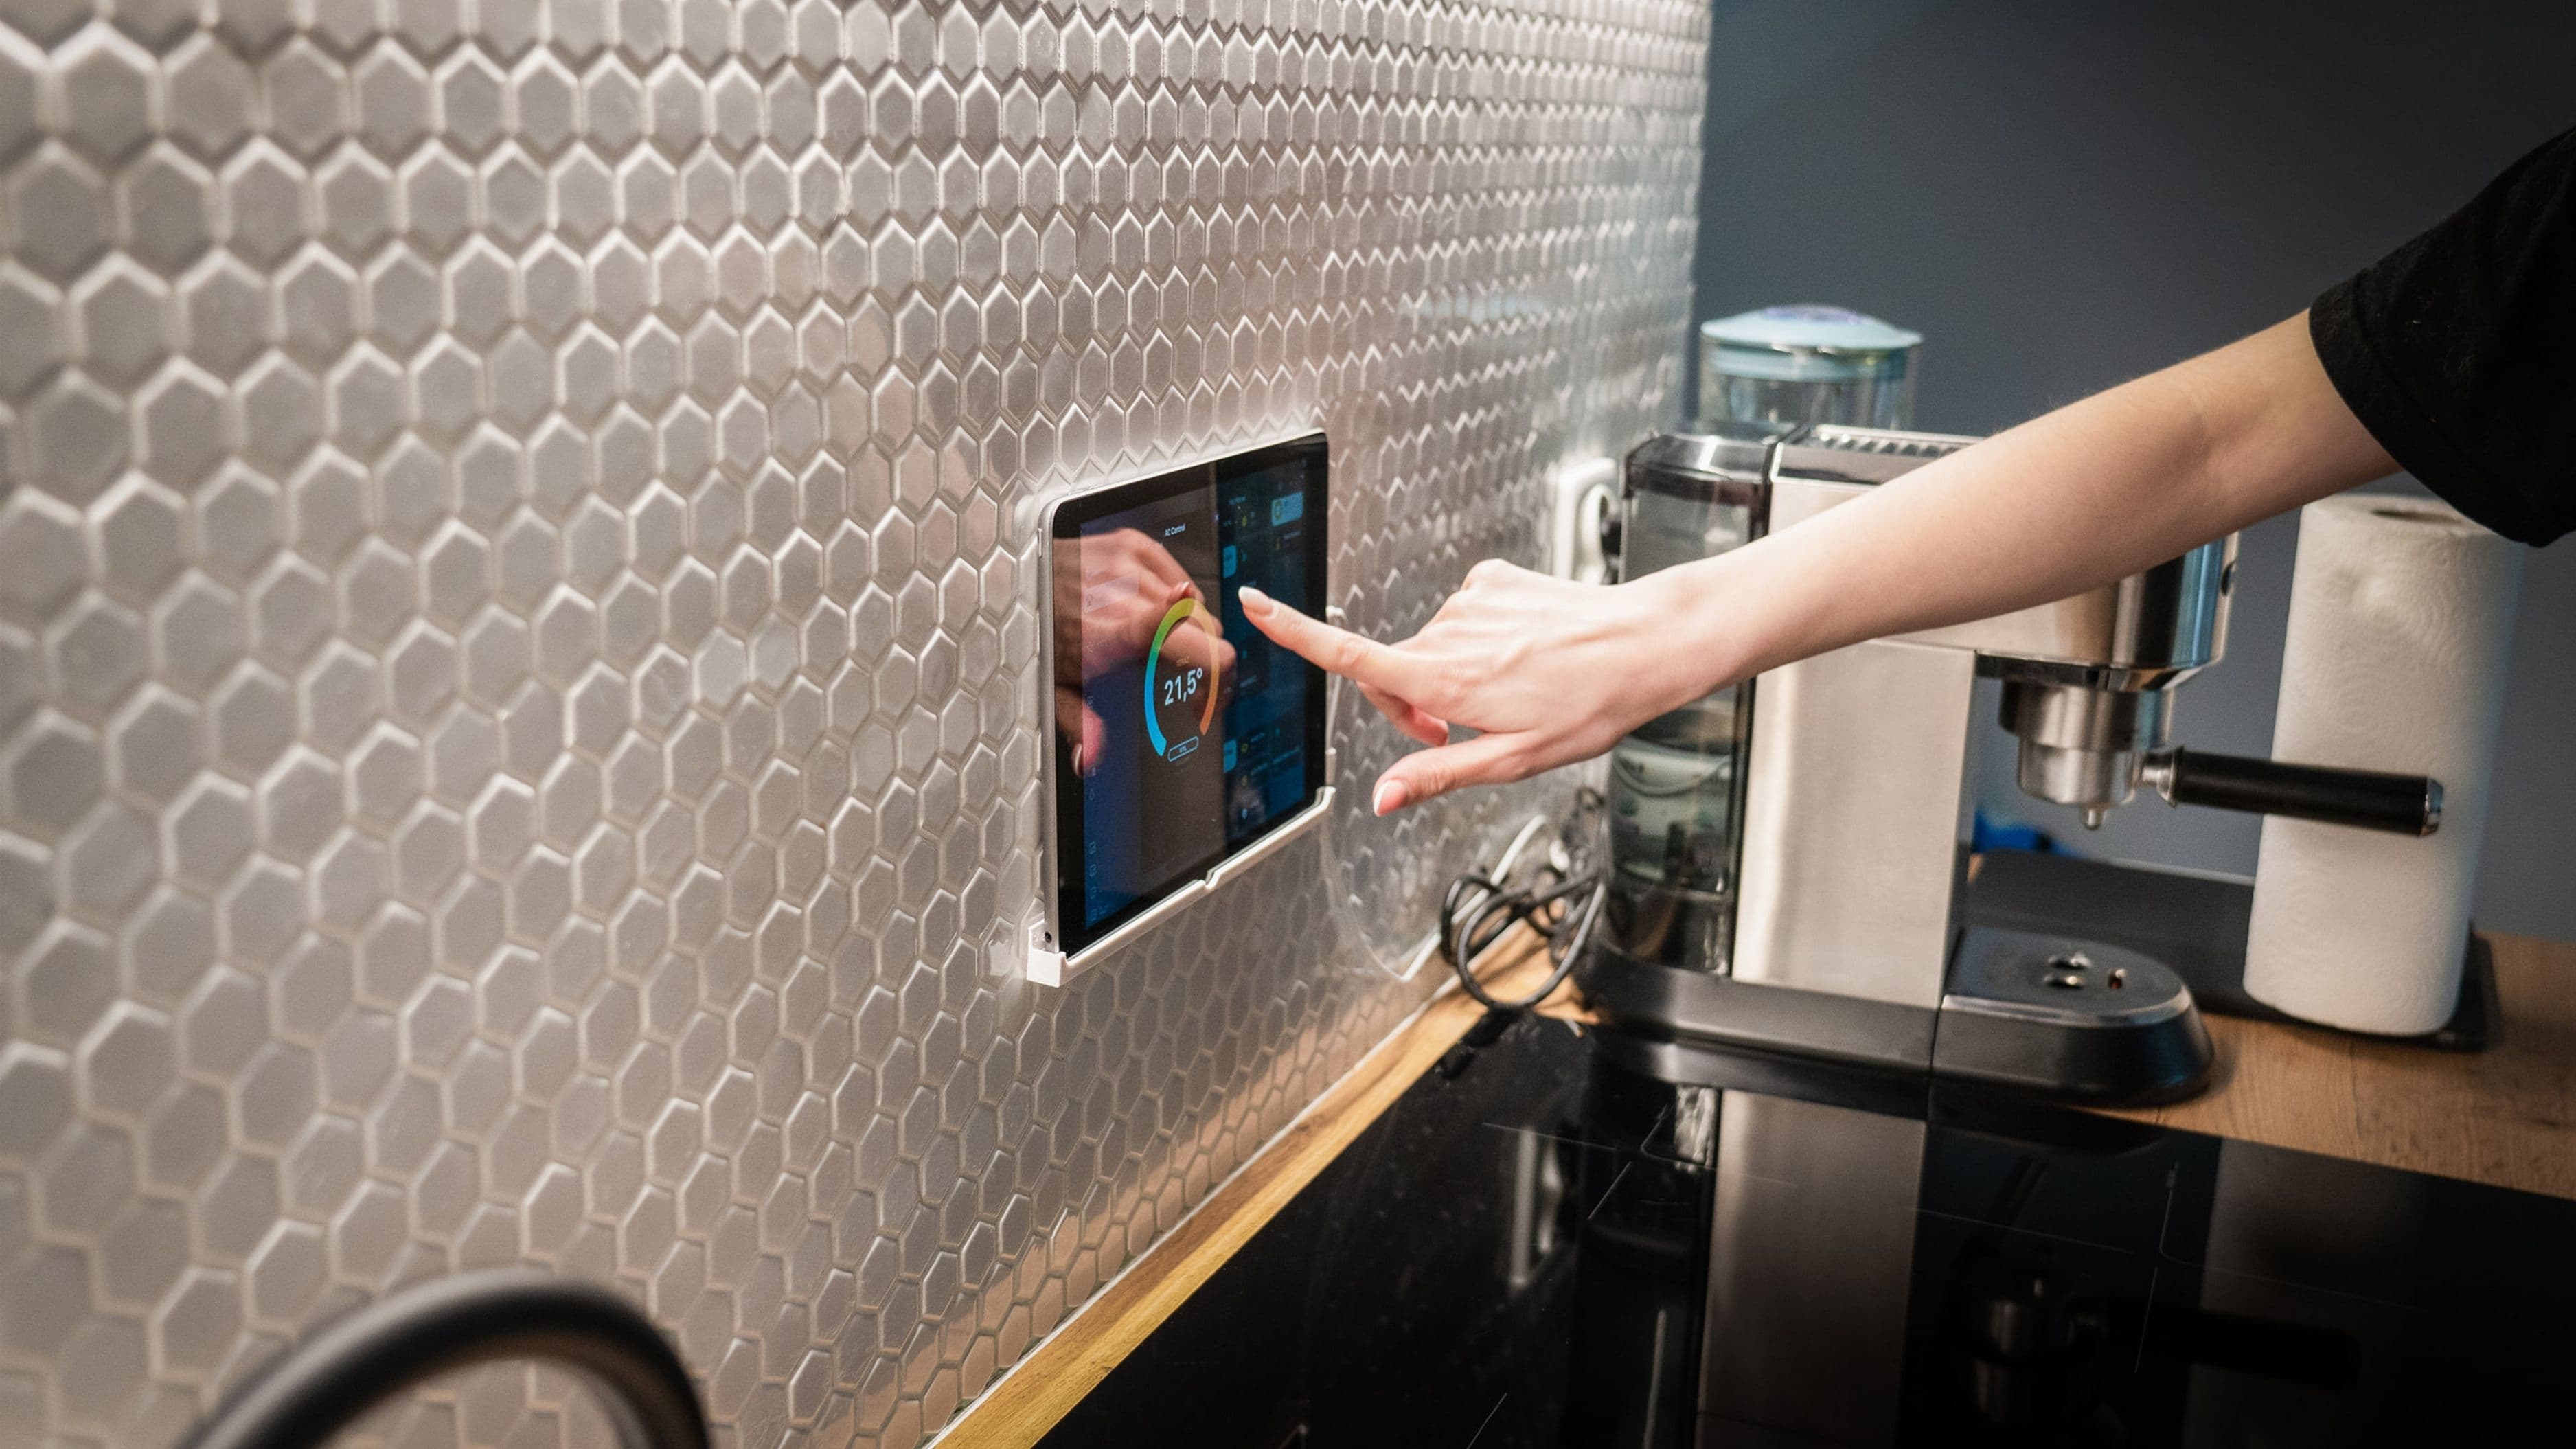
Smart controllers like the Rachio 3 walk you through setup via a clear app interface – you enter your controller's zone count, connect to Wi-Fi, and configure each zone's plant type, soil type, and sun exposure. The controller uses this information along with local weather data to calculate watering schedules automatically. The app setup takes about 20 minutes once the hardware is wired.
For new drip systems or hose-bib-based setups, a smart hose timer (like the Orbit B-hyve hose timer or the Rachio 3 with a hose bib adapter) connects directly to your outdoor spigot and controls flow on a schedule. These require no wiring at all beyond the Wi-Fi connection.
Step 4: Install Zone Valves (New Systems Only)
If you're building a new system from scratch, the valve manifold is the nerve center. Valves receive signals from the controller and open or close to send water to the corresponding zone. For most DIY installs, a pre-assembled manifold with two to four valves simplifies things considerably – you connect the manifold to your water supply, run irrigation wire from each valve back to the controller, and run pipe from each valve outlet to the zone it controls.
Valve wiring is straightforward. Each valve has two wires: a common wire (which connects back to the controller's common terminal) and a zone wire (which connects to the corresponding zone terminal). Use 18-gauge multi-conductor irrigation wire, which contains multiple individually colored wires in one jacket. Run it alongside your supply pipe in the same trench – this keeps the installation clean and protects the wire.
Install valve boxes wherever you have valve manifolds or individual valves. These rectangular green plastic boxes sit flush with the grade and protect the valves from damage and weather while keeping them accessible for maintenance.
Step 5: Lay Supply Lines and Install Heads or Emitters
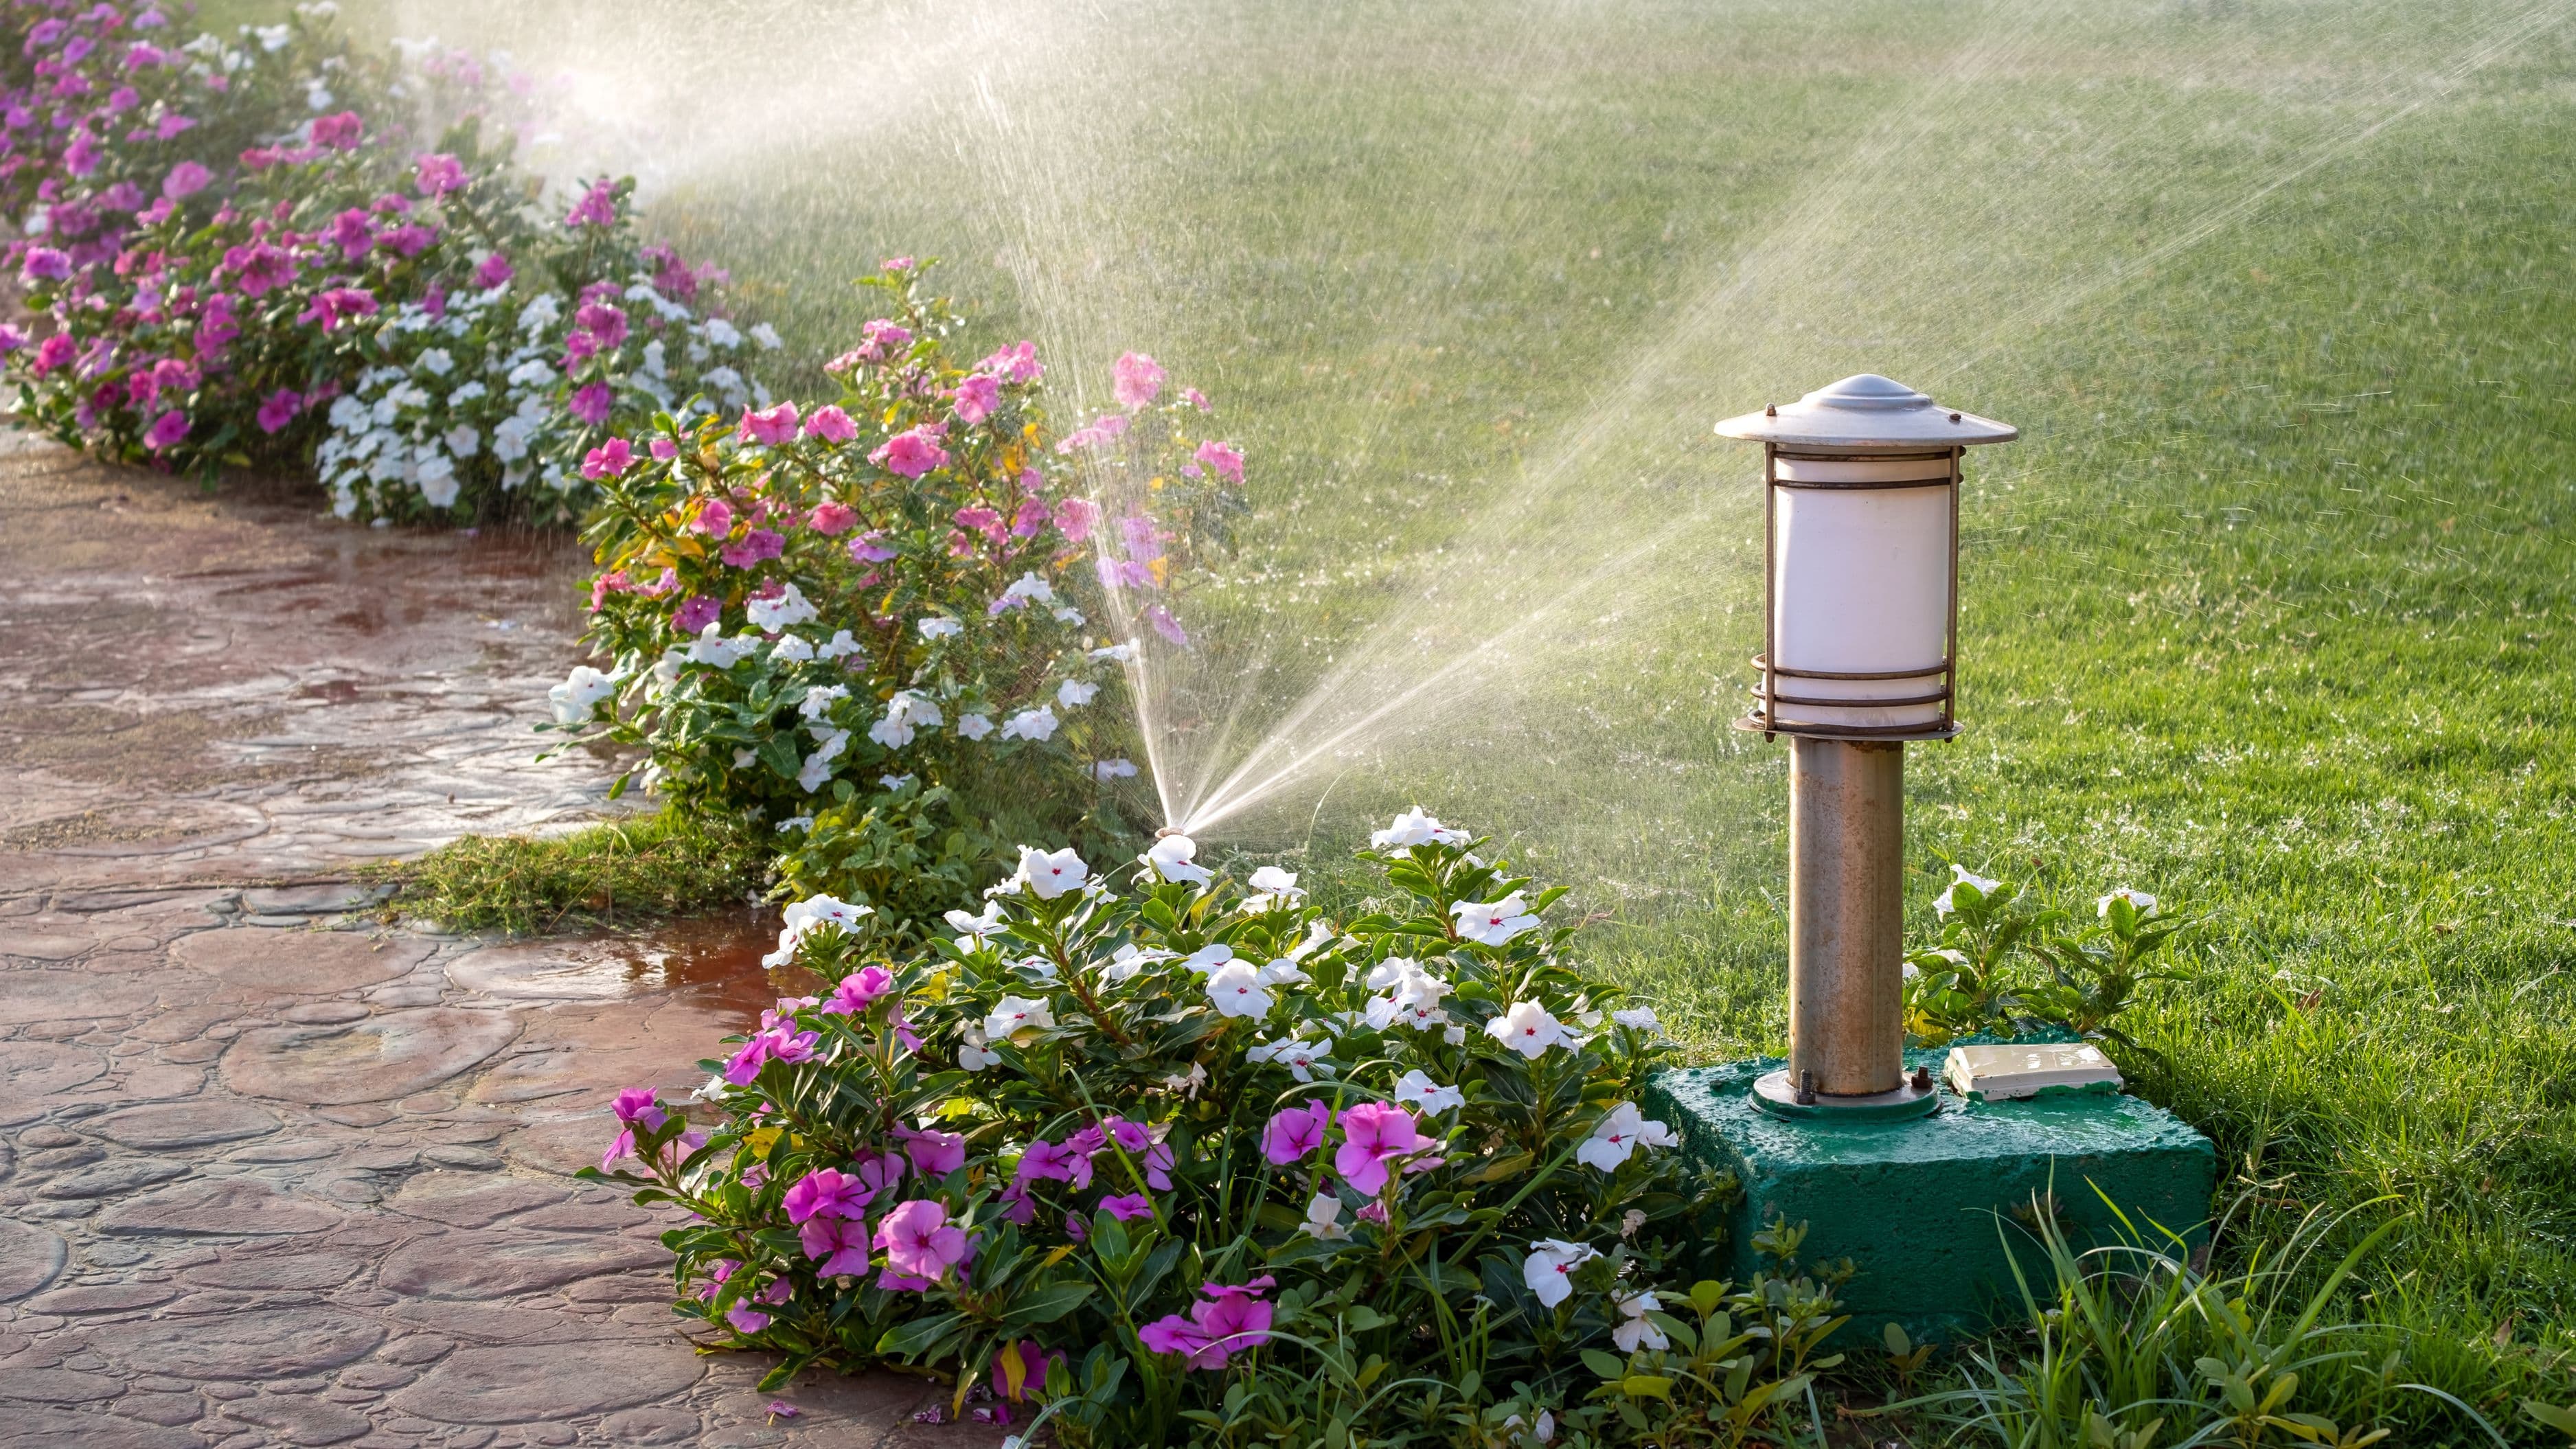
For in-ground systems, dig trenches at least 6 inches deep (8–12 inches in cold climates where frost is a concern). This keeps pipe below foot traffic stress and reduces temperature fluctuation. Use poly irrigation pipe for residential systems – it's flexible, easy to work with, and connects with barbed fittings and clamps rather than glue, making mistakes easy to undo.
At each sprinkler head location, install a swing joint or flexible riser between the lateral pipe and the head. This small addition absorbs impact when a head gets stepped on or hit by a mower, protecting the pipe connection from cracking. It's cheap insurance.
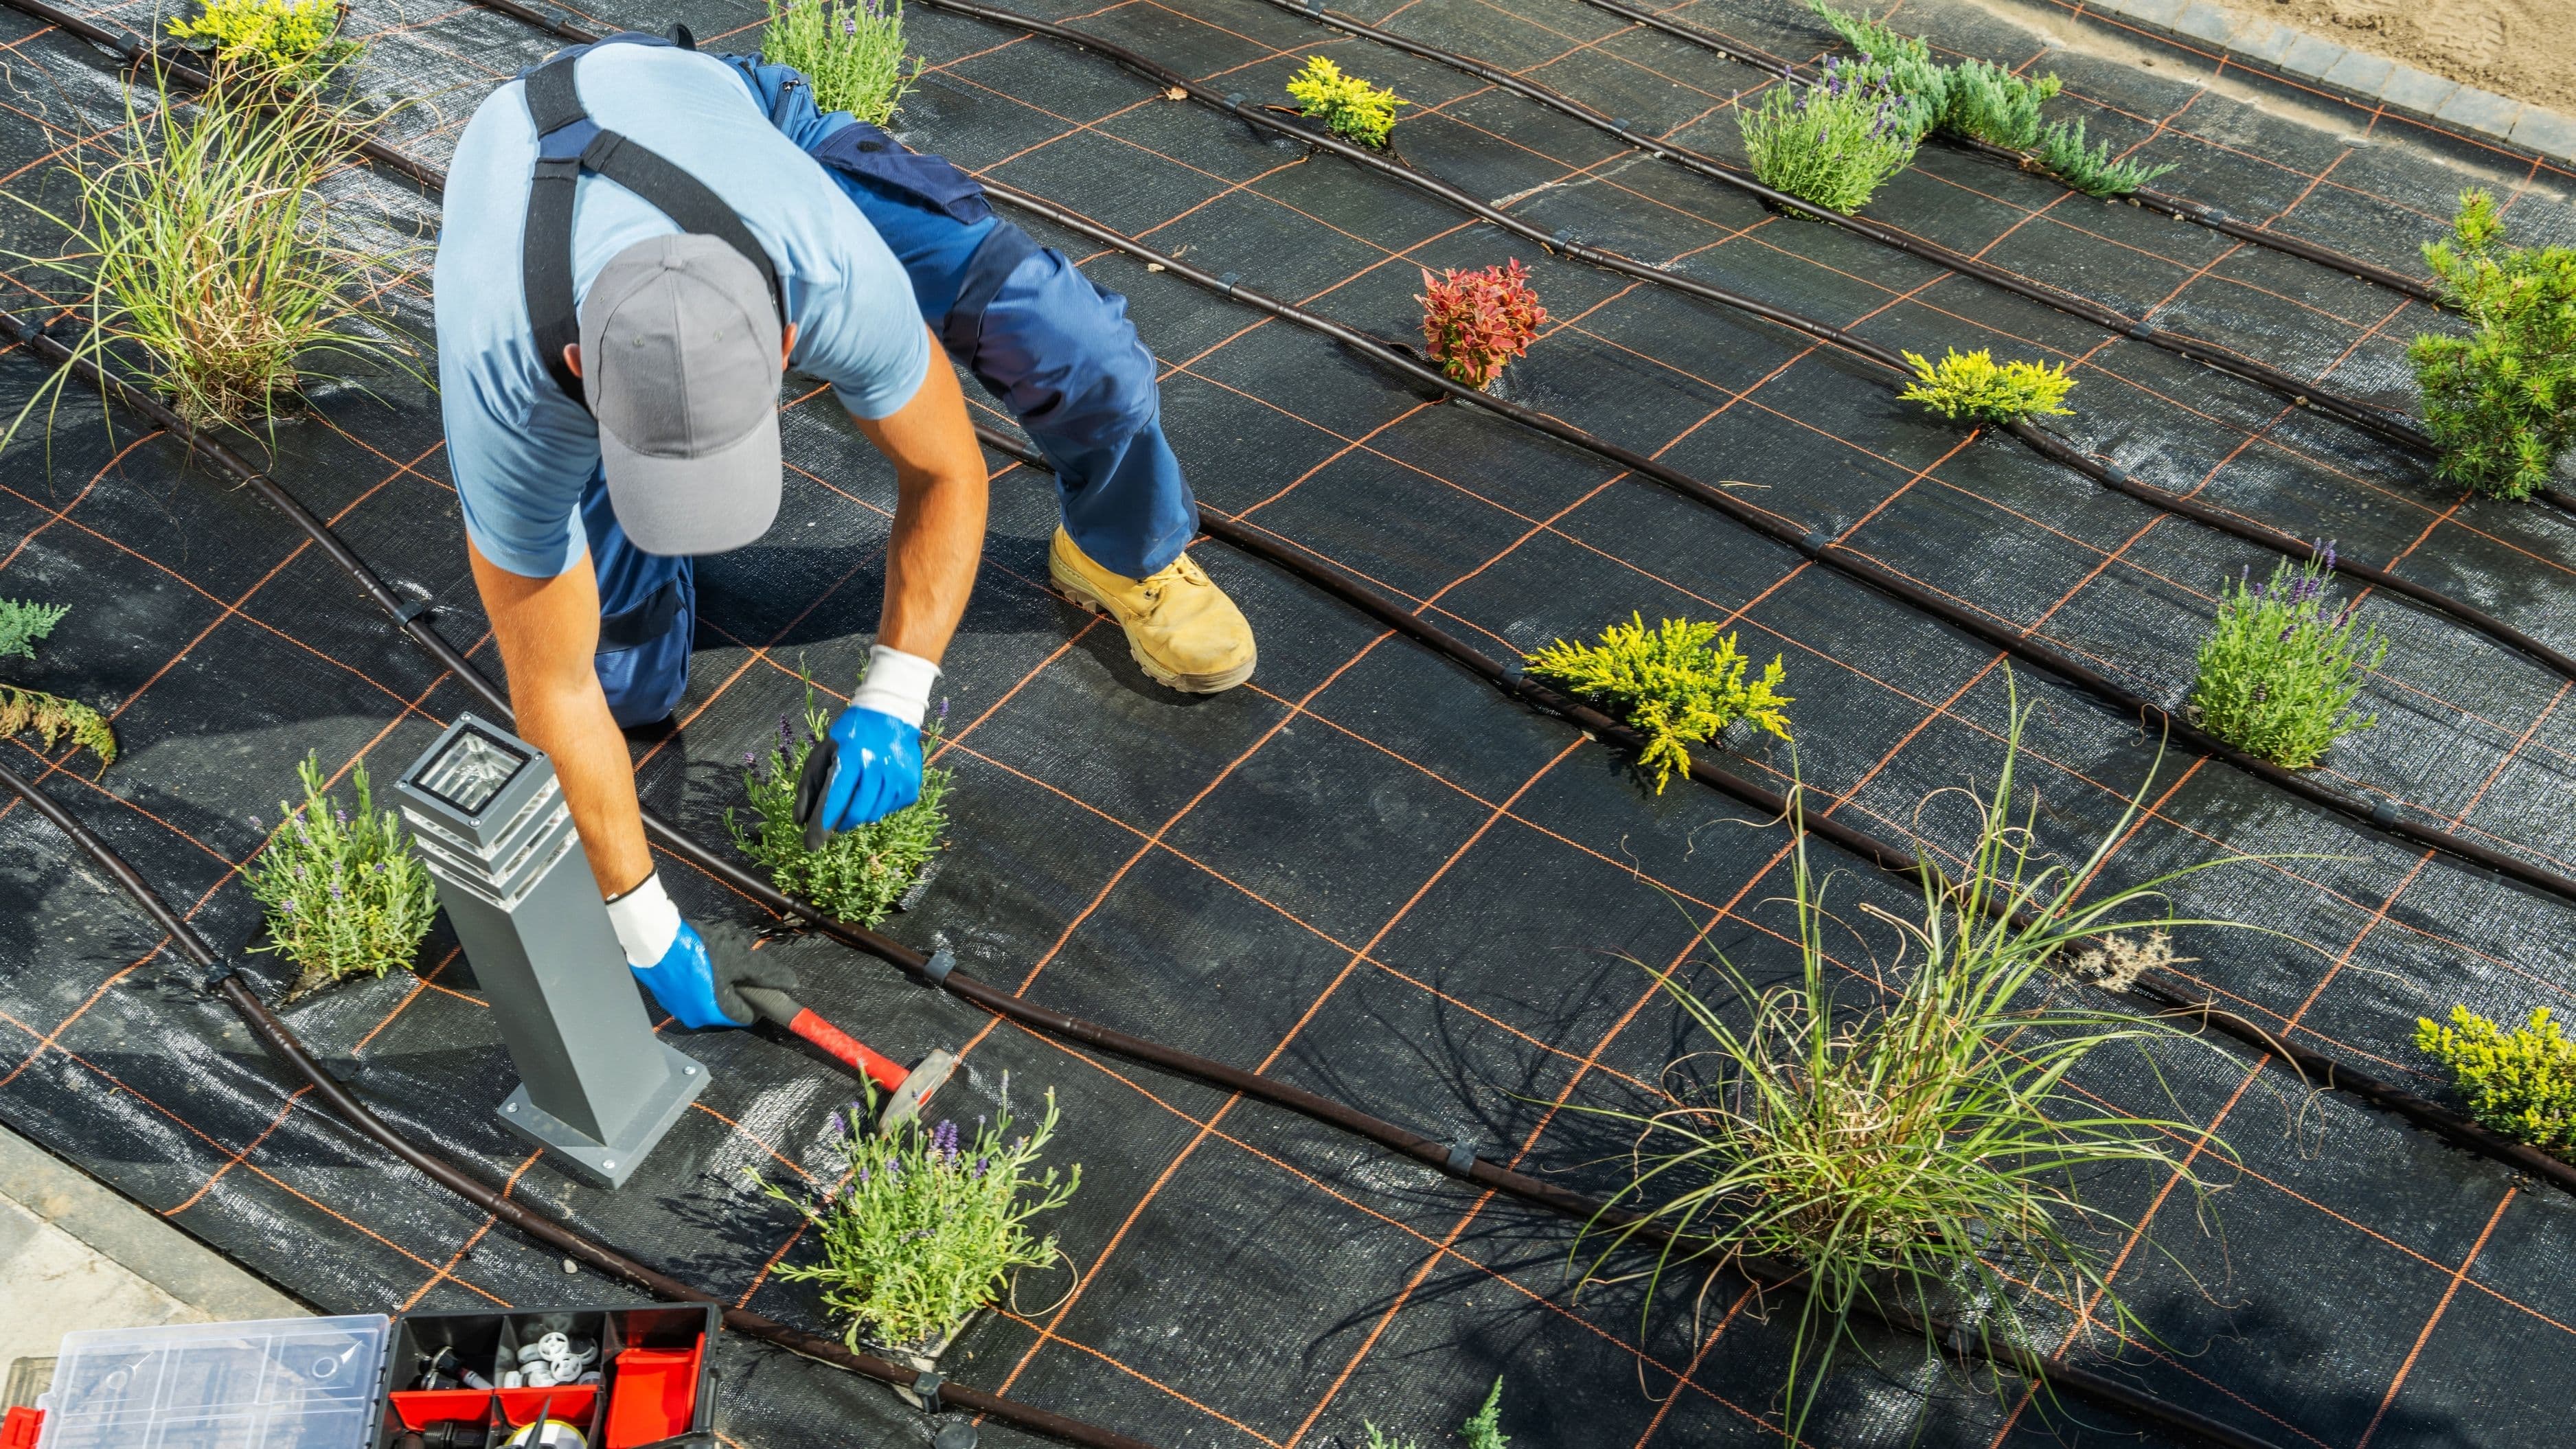
For drip systems, run 1/2" mainline tubing along the length of each bed, secured with tubing stakes every three to four feet. Punch holes in the mainline using a hole punch tool and insert barbed fittings to connect 1/4" distribution tubing that runs to individual emitters at each plant. Emitter flow rate (typically 0.5 to 2.0 GPH per emitter) should match the plant's water need and the zone's run time.
Step 6: Connect and Test Before Backfilling
Do not backfill trenches or bury anything until you've run every zone and confirmed it works correctly. Turn on one zone at a time from the controller app and walk the zone while it runs. Check for:
Sprinkler heads that aren't popping up fully (low pressure, or head is installed too deep)
Heads that are spraying in the wrong direction or with poor coverage (adjust the arc and radius using the adjustment screw on top of most heads)
Drip emitters that aren't flowing (check for kinks, blockages, or a pressure regulator that's too restrictive)
Leaks at any fitting, valve, or connection point
Fix everything you find before closing up. A leak underground requires re-digging, which is significantly less pleasant than catching it at the test stage. Once every zone passes, backfill the trenches in layers and compact gently, then top-dress with soil if needed.
Step 7: Configure Your Smart Schedules
With the hardware running, the final step is configuring the controller app to match your landscape needs. Most smart controllers use an "ET" (evapotranspiration) watering model – they calculate how much water the landscape has lost to sun, wind, and temperature each day and schedule watering to replace exactly that amount. The result is watering that responds dynamically to actual conditions rather than running on a fixed schedule regardless of weather.
For each zone, input the plant type, soil type, sun exposure, slope, and sprinkler or emitter type. The controller uses these inputs to calculate run times. Most systems then allow you to adjust schedules manually if you find a zone is underperforming or the soil is staying too wet. Run a few cycles, check soil moisture before each scheduled watering for the first two weeks, and adjust until the output matches actual conditions.
Set a rain skip threshold so the system skips watering when rain is forecast or has recently fallen. Most smart controllers do this automatically using real-time weather data – it's one of the primary ways the system pays for itself in water bill savings.
Common Mistakes to Avoid
Mixing high-water and low-water plants on the same zone is the most common design mistake. When a zone runs long enough to water drought-tolerant plants adequately, it's usually overwatering the adjacent turf, and vice versa. Zone by plant type and water need from the start.
Skipping the backflow preventer is both a plumbing code violation in most jurisdictions and a real health risk. A backflow preventer stops irrigation water (which contacts soil, fertilizer, and pesticides) from being siphoned back into your drinking water supply. Every irrigation system connected to a potable water supply needs one. Most smart hose timers have one built in; check before you buy.
Over-watering because the schedule "seems low." Many first-time smart irrigation users distrust the short run times the ET model calculates and manually increase them. The result is soggy soil, shallow roots, and higher water bills. Trust the model for the first two weeks and adjust based on actual soil moisture readings, not intuition.
Running all zones simultaneously. Your home's water supply has a limited flow rate. Running two or three zones simultaneously can drop pressure below what heads need to operate correctly. Smart controllers run zones sequentially for exactly this reason – configure each zone to run one at a time.
Frequently Asked Questions
Do I need a permit to install irrigation? Requirements vary by municipality. In-ground systems that tap into the main water supply line often require a permit, while drip systems connected to a hose bib typically don't. Check with your local building department before starting any work that involves cutting into water supply lines.
How long does installation take? A smart controller upgrade on an existing system takes 30 to 60 minutes. A new drip system for a typical garden bed takes half a day. A full in-ground zone system for a medium-sized yard typically takes one to two full days, depending on ground conditions and zone count.
Can smart irrigation work with a well pump instead of municipal water? Yes, but well systems require more careful pressure and flow rate management since those variables can fluctuate. A pressure tank and pressure switch on the well system help stabilize delivery. Check that your well's GPM output meets the demand of your planned zones.
Will a smart controller work with my existing wiring? Almost certainly. The vast majority of smart controllers are designed to replace standard 24-volt AC irrigation controllers and use the same wiring. Check that the new controller's zone count matches or exceeds your existing system, and confirm it accepts 24V AC common wire – nearly all residential systems do.
How much can I realistically save on water bills? The EPA's WaterSense program estimates that smart irrigation controllers can save the average home about 8,800 gallons of water per year compared to conventional timer-based systems. At typical water rates, that translates to $100 to $300 in annual water bill savings depending on your location and usage – often enough to recover the system's cost within one to two seasons.
Smart irrigation is one of those home upgrades that's more straightforward to install than it looks and genuinely delivers on its promise. The water savings are real, the setup is manageable over a weekend, and the result is a yard that gets exactly what it needs – automatically – without you thinking about it. Start with a controller upgrade if you have an existing system. Build from a hose bib if you're starting fresh.
Either way, you don't need to write a check to a landscaper to make it happen.
📚 Sources
EPA WaterSense – Smart Irrigation Controllers: https://www.epa.gov/watersense/smart-irrigation-controllers
EPA WaterSense – Outdoor Water Use in the United States: https://www.epa.gov/watersense/outdoors
University of Florida IFAS Extension – Drip Irrigation for the Home Landscape: https://edis.ifas.ufl.edu/publication/AE067
Irrigation Association – Residential Irrigation Best Practices: https://www.irrigation.org/IA/Resources/Landscape-Irrigation-Best-Management-Practices.aspx
Rachio – How Rachio Weather Intelligence Works: https://support.rachio.com/hc/en-us/articles/115010510267-How-Weather-Intelligence-Works
This Old House – How to Install a Drip Irrigation System: https://www.thisoldhouse.com/landscaping/21015437/how-to-install-a-drip-irrigation-system