The research on this is consistent: lighting that responds to motion is measurably more effective at deterring opportunistic crime than static lighting. A 2021 study published in the Journal of Quantitative Criminology found that improved street and property lighting reduced nighttime crime by around 36% in the study area. The principle translates directly to residential setups – the goal isn't just brightness, it's visibility, unpredictability, and coverage of the spaces intruders actually exploit.
Here's how to set it up right.
Before You Buy: Understand Where Crime Actually Happens on Your Property
The biggest mistake homeowners make with security lighting is focusing on the front door while leaving the real entry points dark. Most residential break-ins happen through side doors, rear entrances, garage doors, and ground-floor windows – not the front porch. A well-lit front entry combined with a completely dark back yard is only marginally more secure than no lighting at all.
Before purchasing any hardware, walk your property at night with your phone flashlight off and note every dark area: the side passage between your house and the fence, the gap between the garage and the gate, the corner of the yard that no existing light reaches, the area around your utility or HVAC equipment, and anywhere a person could stand concealed while assessing your property. These are your priority zones. Any lighting setup that doesn't address them is incomplete.
Estimated time for site assessment: 20–30 minutes
Cost: Free
Step 1: Choose the Right Fixture Type for Each Location
Not every location needs the same type of light, and mixing fixture types is both practical and effective. Here's how to match fixture to location:
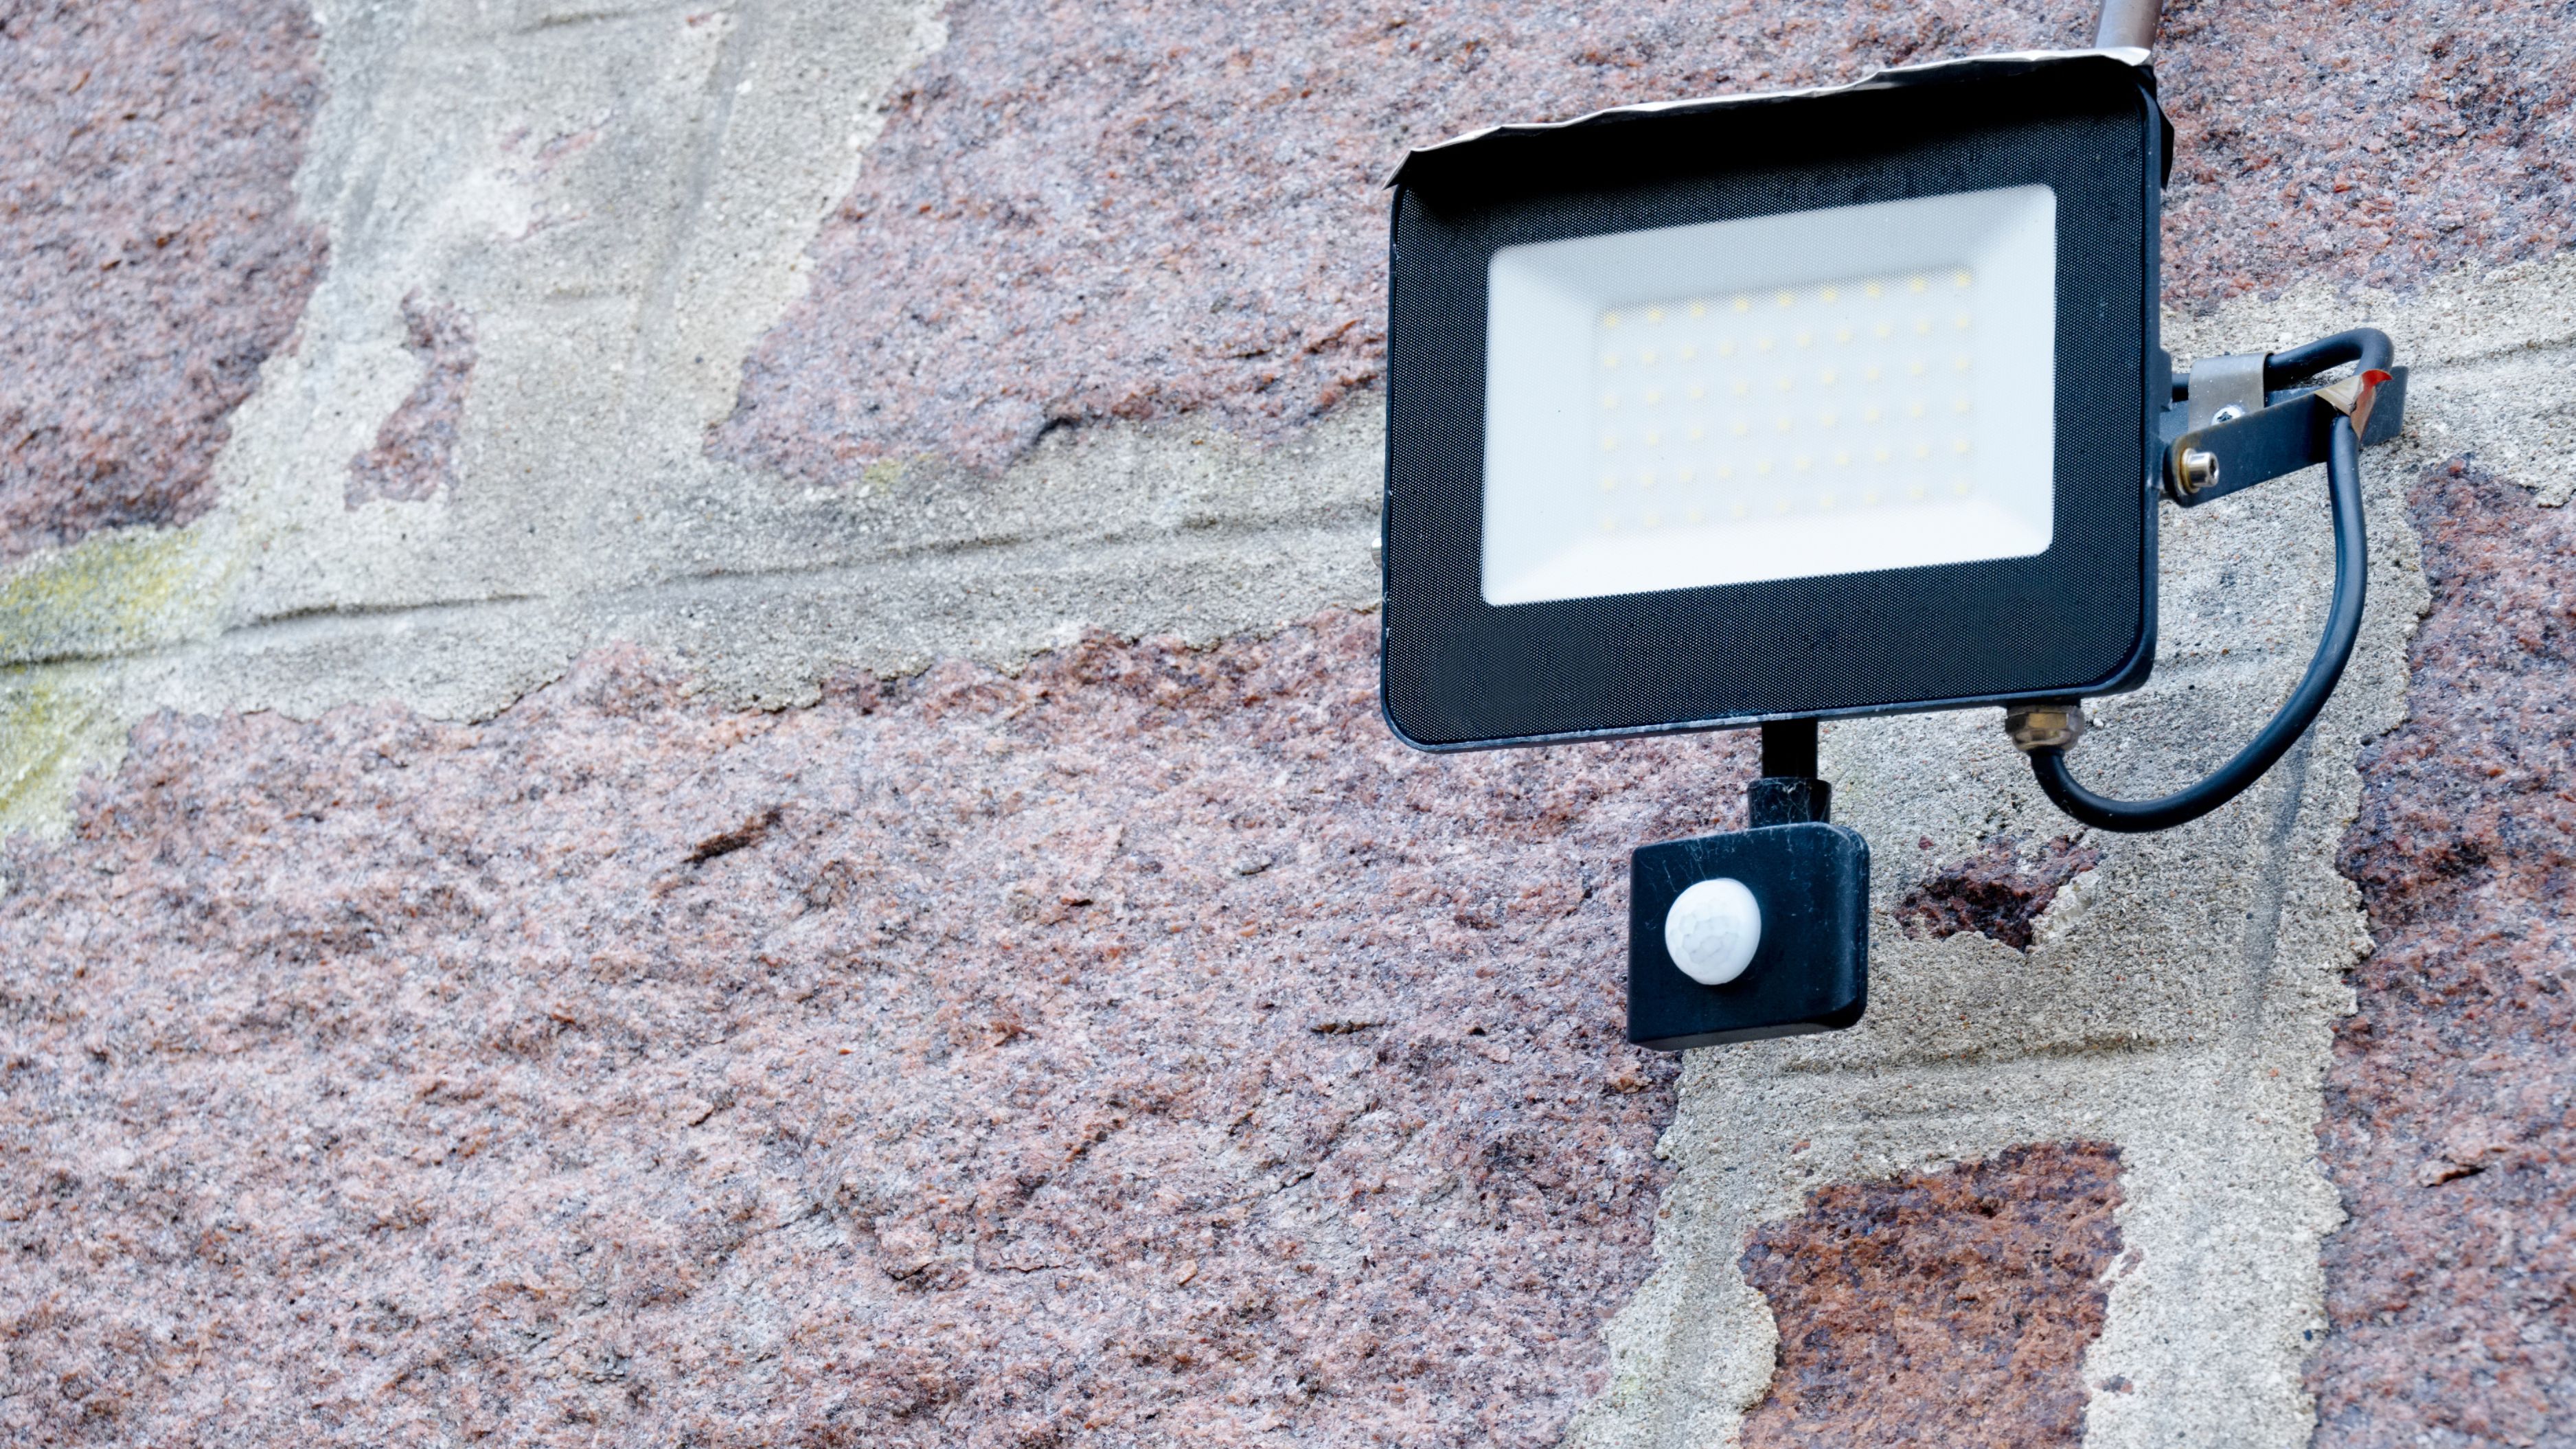
Motion-activated floodlights are the workhorses of security lighting. High-lumen LED floodlights (1,500–3,000 lumens) mounted at 8–10 feet high on eaves, garage fascia, or fence posts cover wide areas and activate instantly when triggered. These are ideal for driveways, backyards, side passages, and large outdoor spaces. Look for adjustable sensitivity and range settings – you'll want to tune them so your neighbor's cat doesn't set them off every 20 minutes.
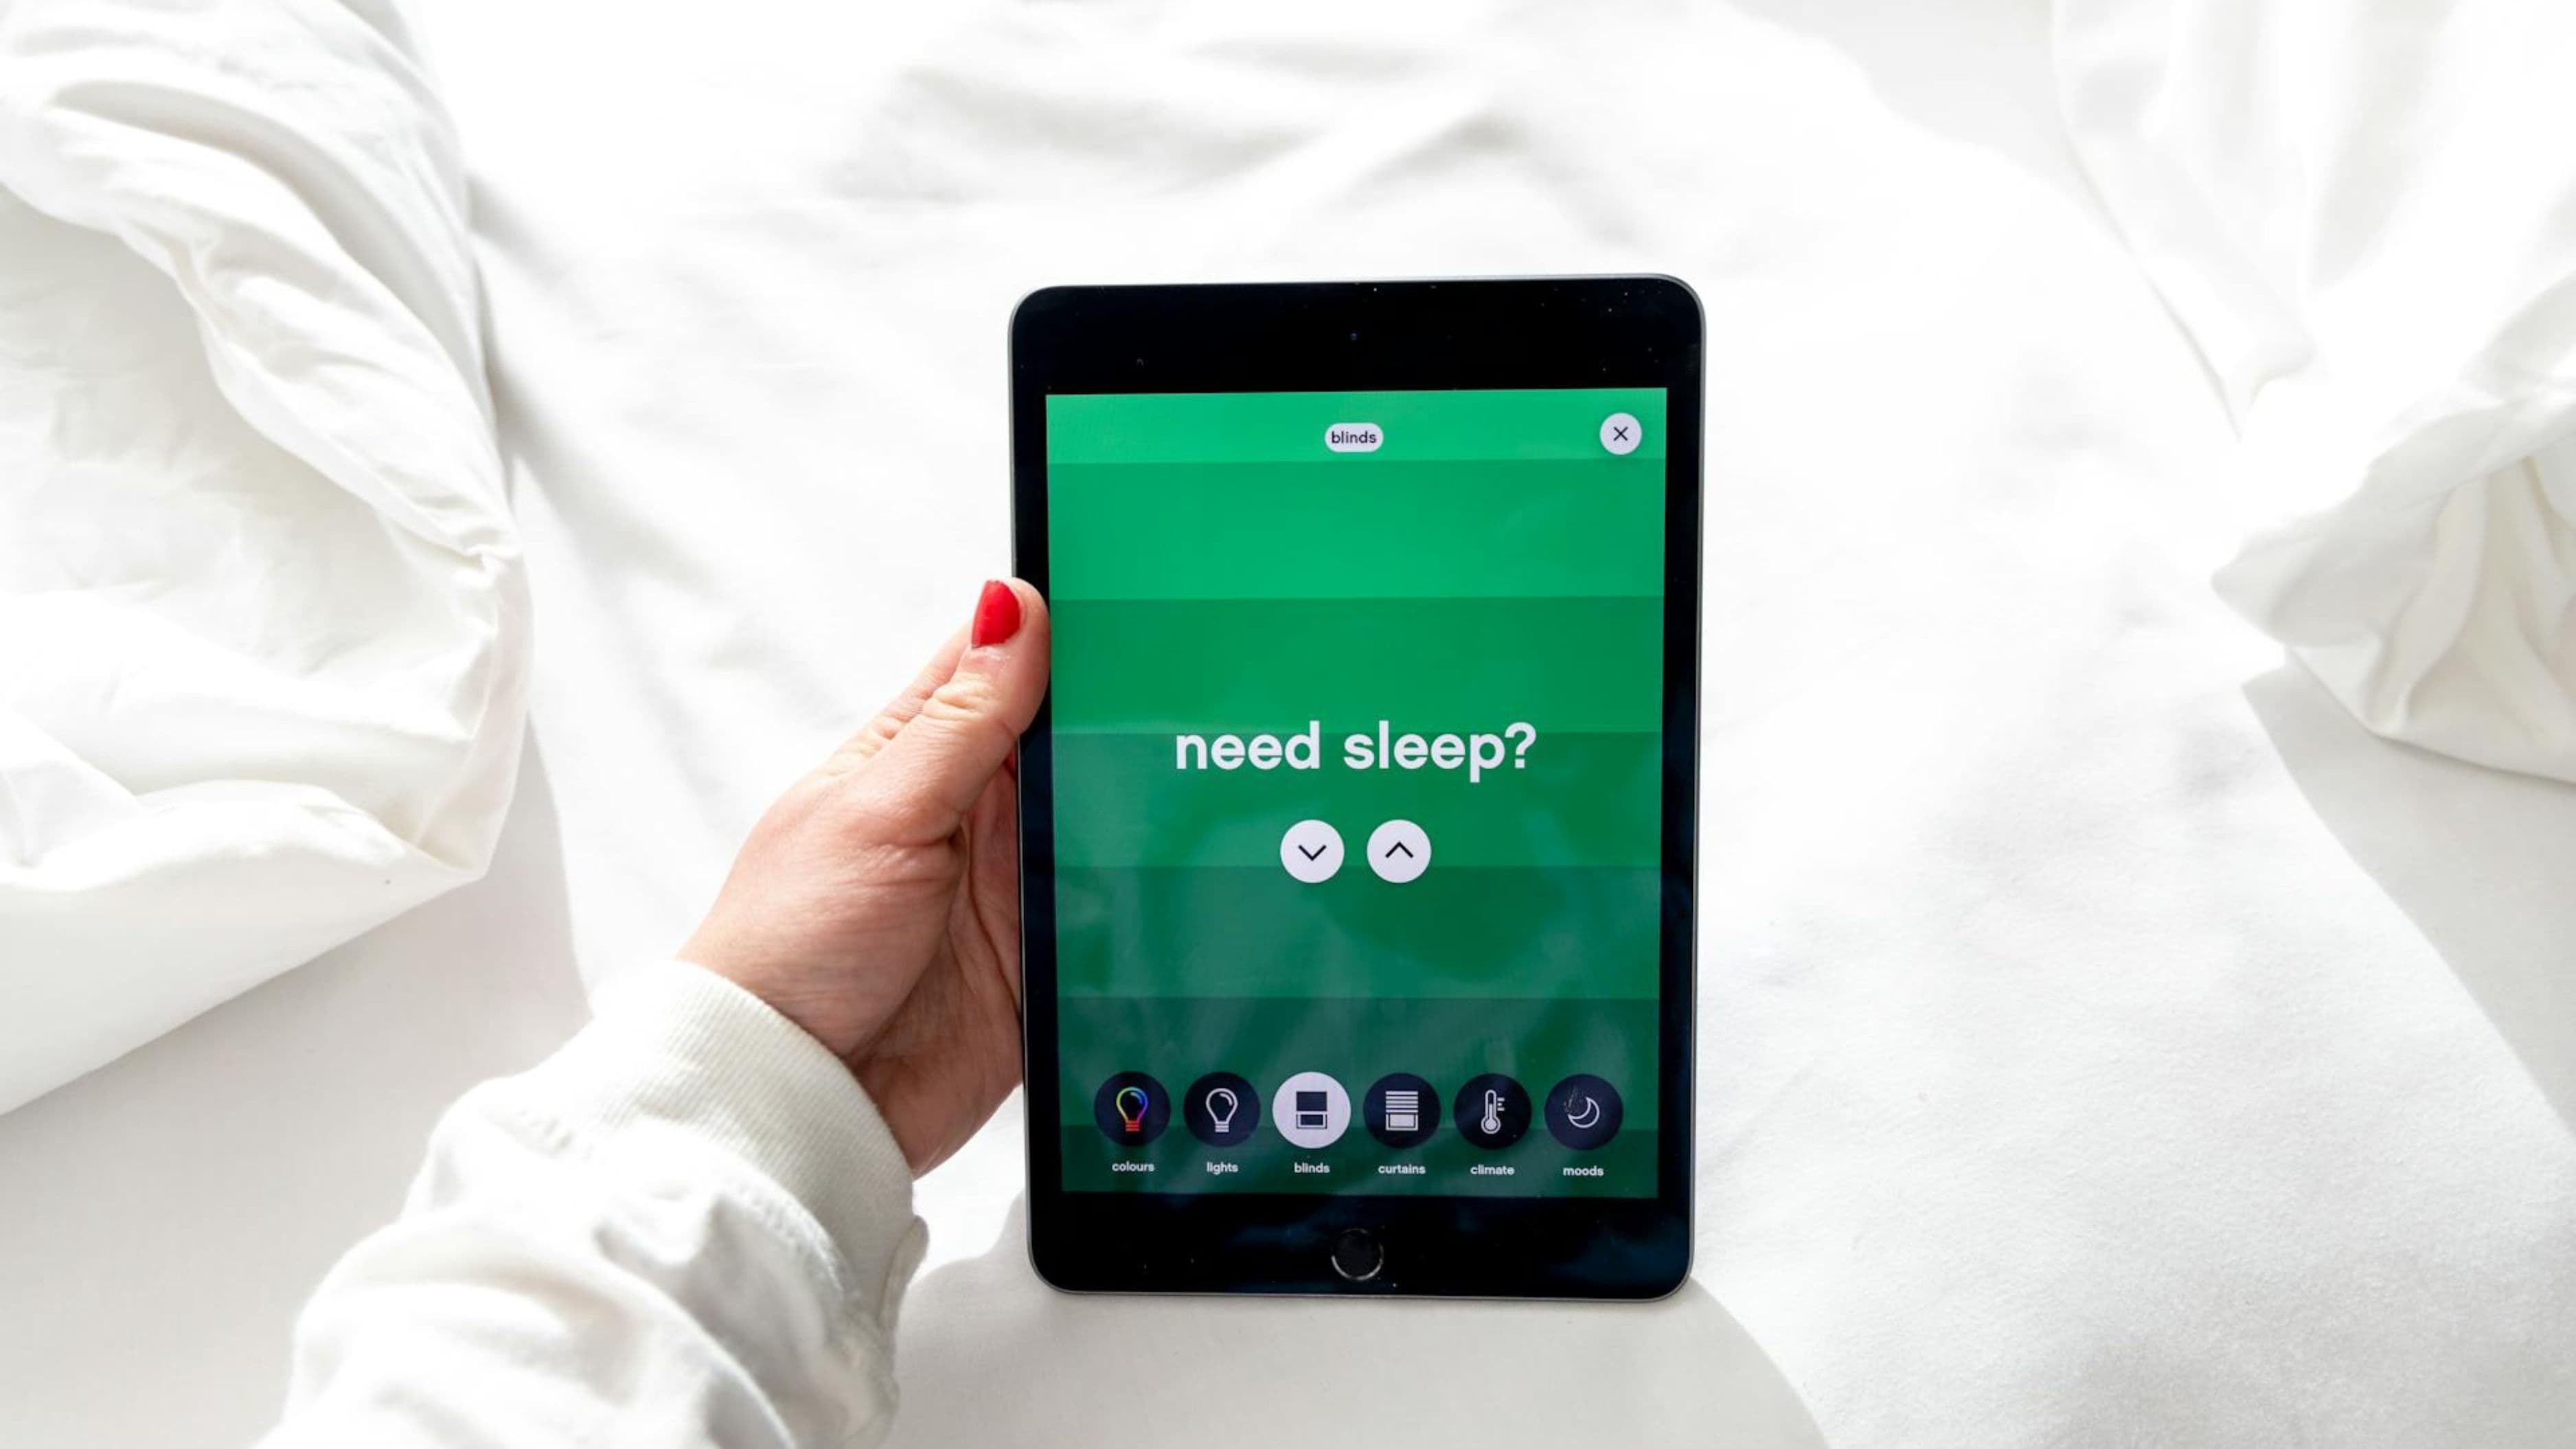
Smart bulb fixtures convert existing porch, garage, or pathway lights into remotely controllable, schedule-capable, app-connected lights. If you already have mounted fixtures in good positions, replacing the bulb with a smart equivalent (Philips Hue Outdoor, LIFX, or a compatible Zigbee bulb) is the lowest-friction upgrade available. These can be grouped, scheduled, and triggered by automation rules in your smart home hub.
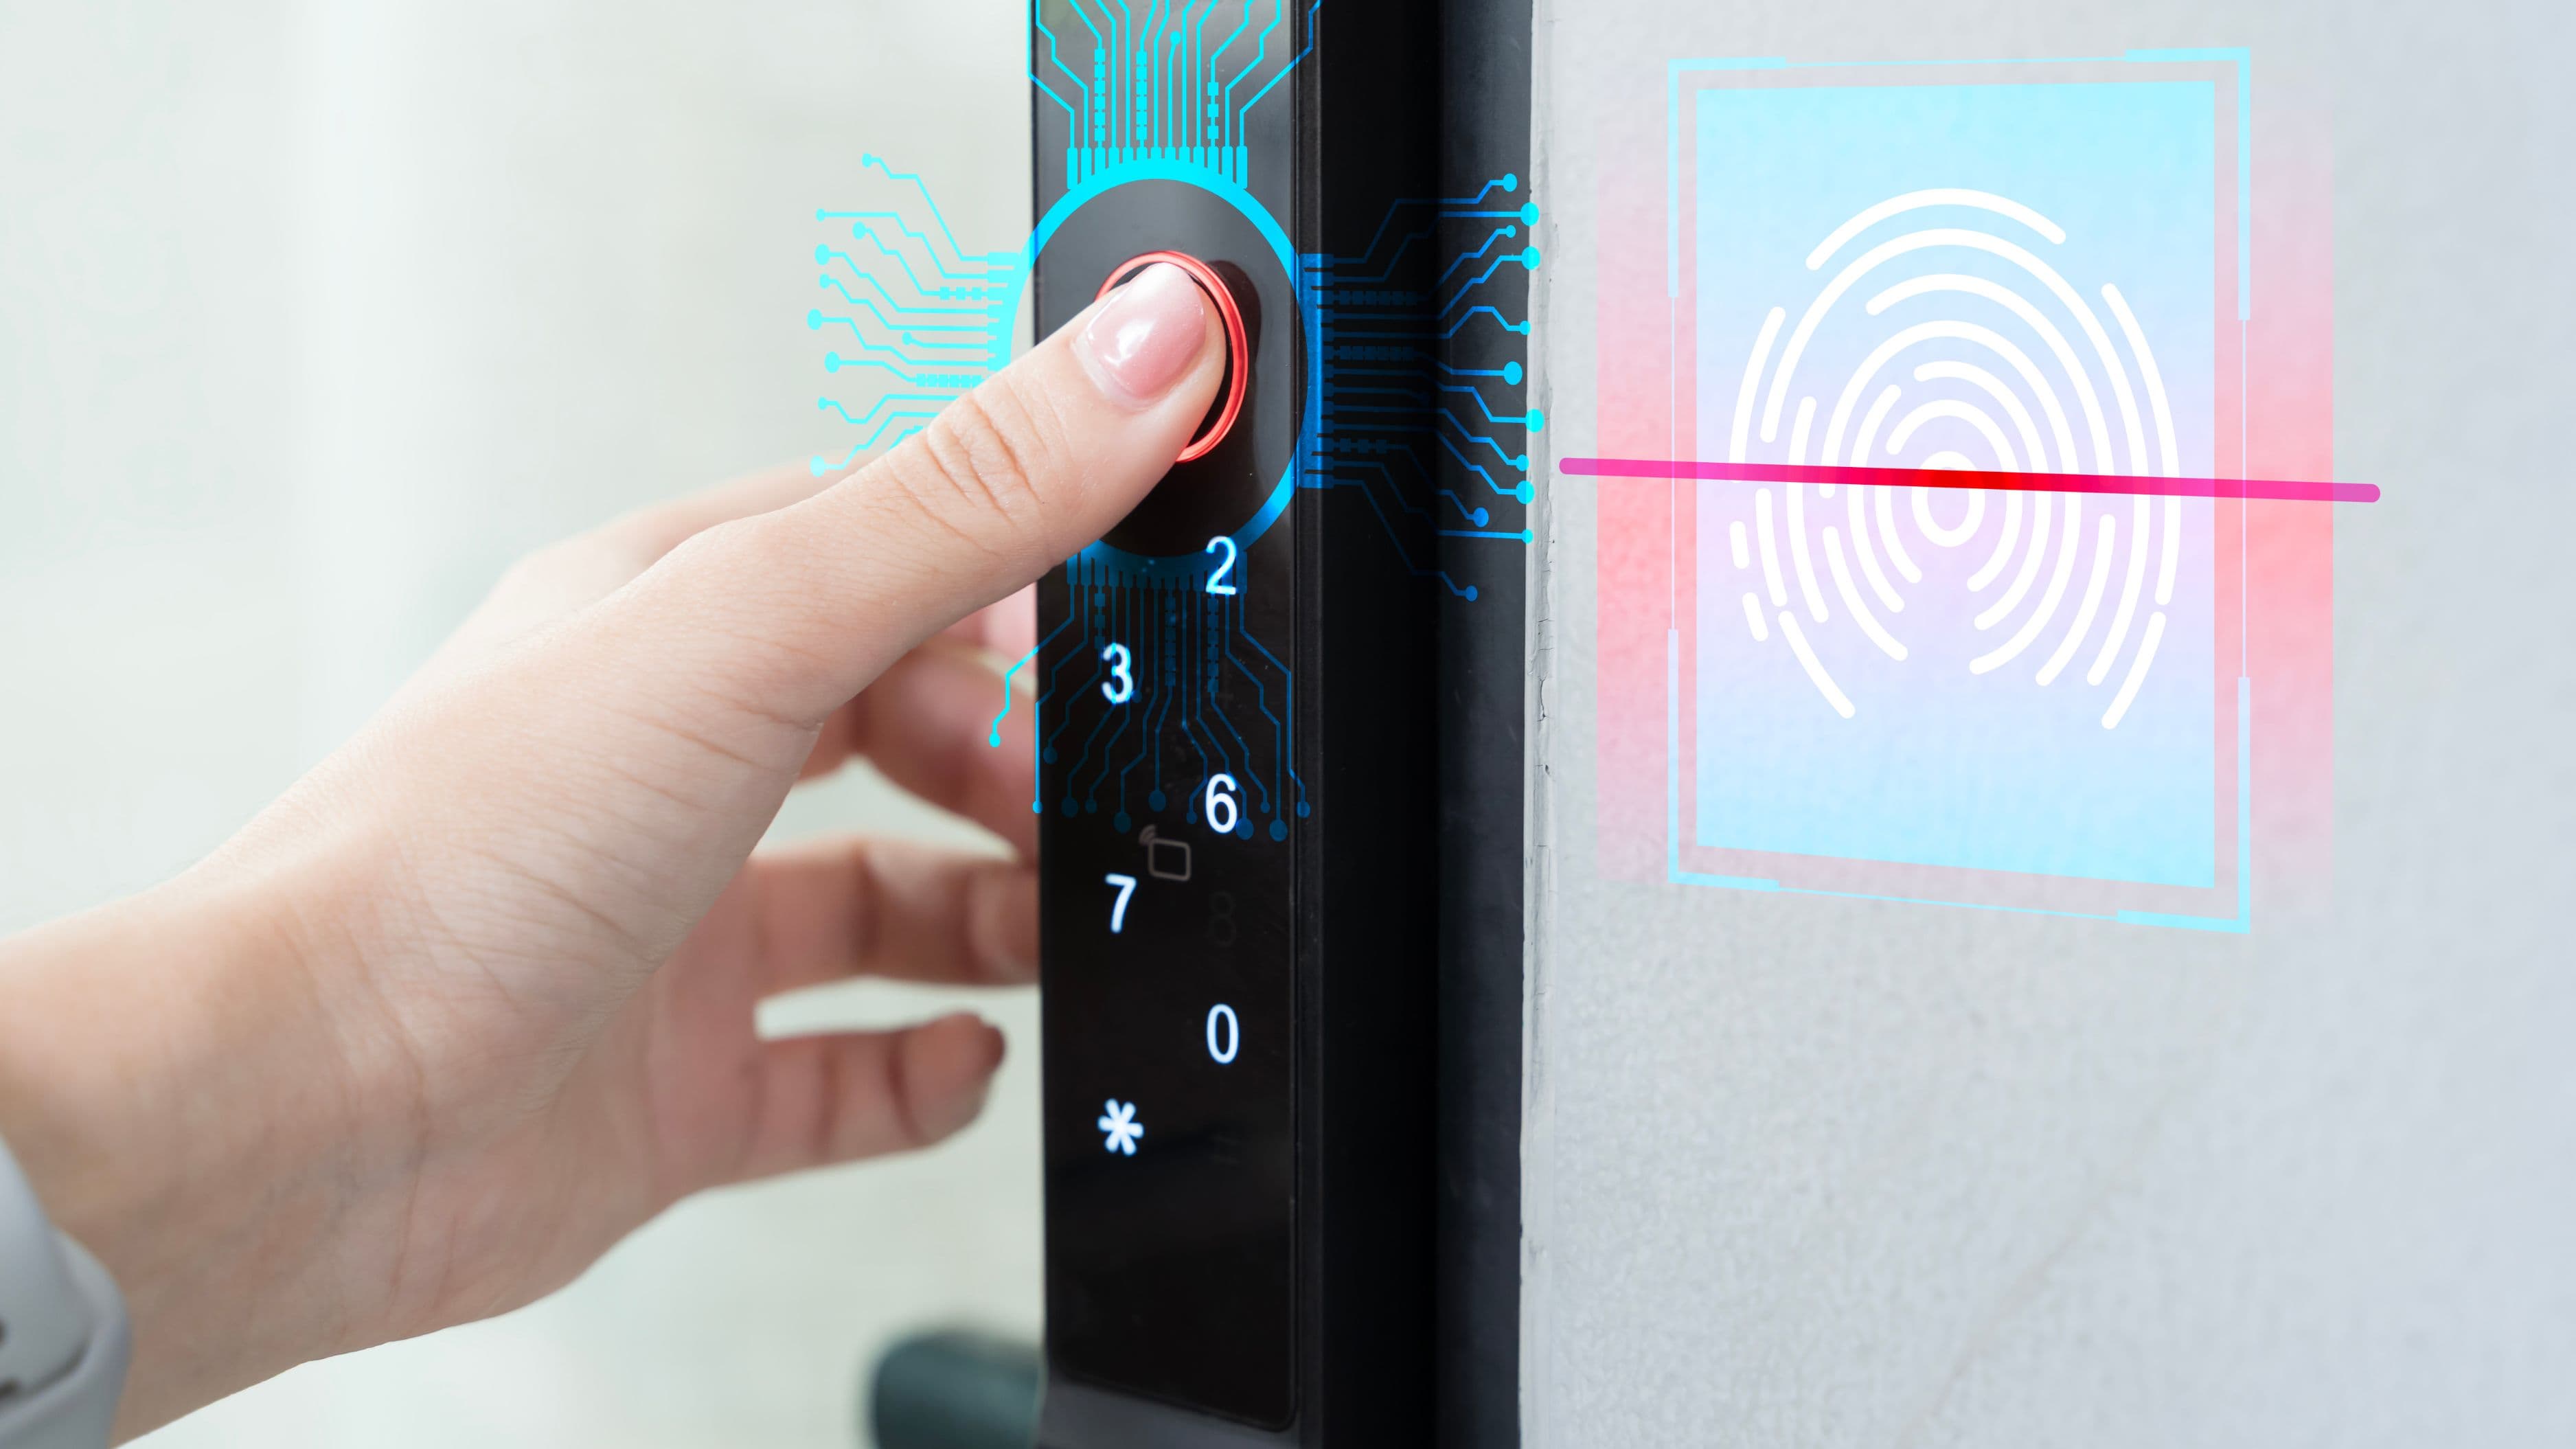
Smart camera-light combos (like the Ring Floodlight Cam or Eufy Security FloodLight Cam) combine a motion-activated floodlight with a built-in HD camera, two-way audio, and siren in a single unit. These are particularly effective at high-priority entry points because detection, lighting, recording, and deterrence all happen simultaneously. One unit at the rear entry often covers more ground than separate camera and light installations.
Path and stake lights serve a different purpose – they create a sense of occupancy and guide legitimate visitors – but they're not security lights on their own. Treat them as ambient fill rather than deterrent tools.
Estimated cost ranges:
Motion-activated LED floodlight (non-smart): $30–$80
Smart floodlight with app control: $80–$200
Camera-light combo: $150–$350 per unit
Smart bulb swap for existing fixture: $15–$60 per bulb
Step 2: Get the Placement and Angles Right
Placement matters more than lumen count. A 3,000-lumen floodlight aimed at a blank wall illuminates nothing useful. Here's the placement logic that actually works:
Height: Mount floodlights at 8–10 feet above ground level. Too low and they're easy to avoid or vandalize. Too high and the motion sensor's detection zone may miss a crouching person. 9 feet is a reliable middle ground for most installations.
Angle: Aim lights downward at roughly 45–60 degrees so they illuminate the ground plane where a person would actually be standing. Lights aimed horizontally create glare without coverage. Lights aimed straight down create a pool directly below but miss the approach path.
Coverage overlap: In high-priority zones like the rear yard, plan for overlapping coverage from two angles rather than relying on a single fixture. This eliminates the shadow zones that a single light always creates.
Motion sensor direction: Most floodlight motion sensors detect movement across their field rather than directly toward them. Position sensors so that anyone approaching the property crosses the detection zone rather than walking directly at it. An intruder approaching along a fence line will cross the sensor's field; one walking straight at the sensor from 50 feet away may not trigger it until they're much closer.
Avoid pointing lights toward neighboring properties or the street. This creates light pollution, can trigger neighbor complaints, and in some municipalities may violate local ordinances. Check local rules if you're installing powerful floodlights near property lines.
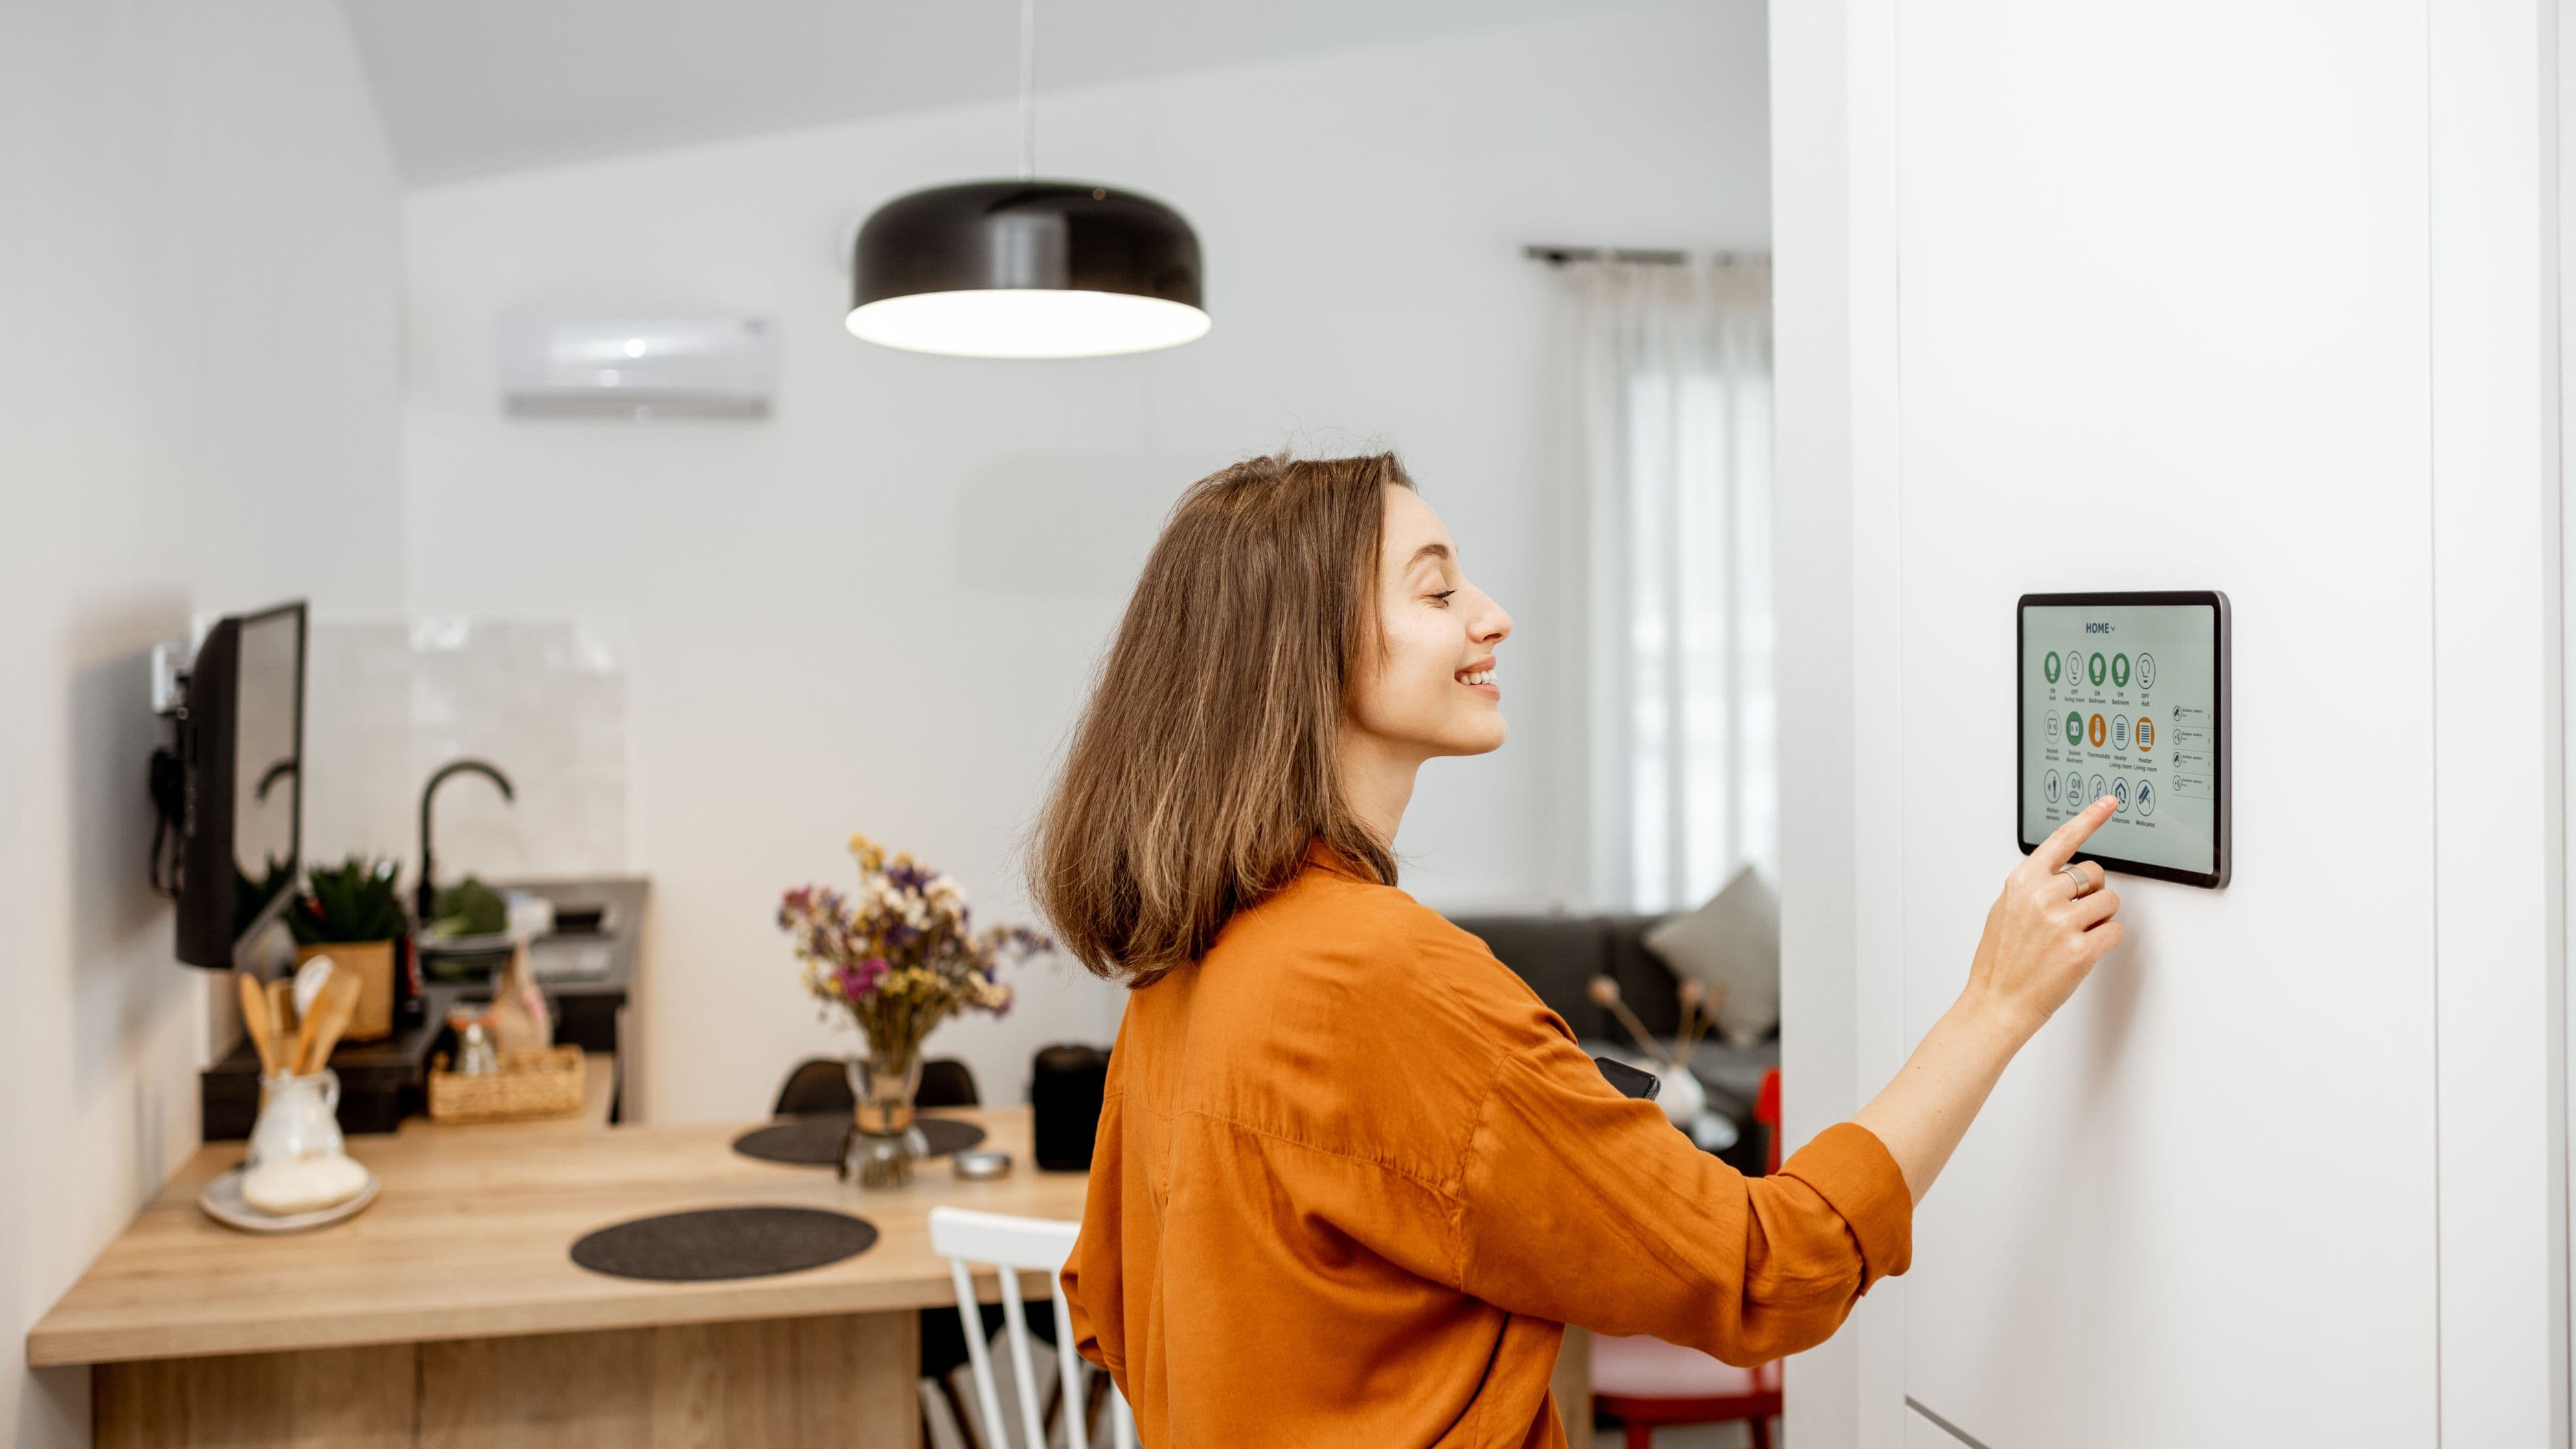
Step 3: Connect to a Smart Home System for Automation
A motion light that turns on is useful. One that turns on, sends you a notification, activates a camera, and can be controlled from your phone is significantly more useful. Getting there requires choosing your ecosystem.
The main smart home platforms for outdoor lighting are Amazon Alexa, Google Home, Apple HomeKit, and Samsung SmartThings. Most major smart lighting brands work with at least two of these. If you already have a smart home hub or voice assistant, prioritize lights that work natively with it – cross-platform compatibility exists but often involves workarounds that reduce reliability.
The automations that actually matter for security:
Motion-triggered notifications paired with camera recording is the most valuable single integration. When a motion-activated light fires, your phone gets a notification and your camera starts recording simultaneously. You know about potential activity in real time, not after the fact.
Vacation mode or "away" simulation schedules lights to turn on and off at varied, realistic-seeming times rather than a fixed pattern. A light that turns on at exactly 8:00pm and off at exactly 11:00pm every night signals a timer to anyone watching. Randomized schedules within a window (e.g., somewhere between 7:30pm and 8:15pm) look like genuine occupancy.
Integration with your alarm system means a triggered perimeter sensor or door contact can simultaneously activate exterior lights, creating a coordinated response rather than isolated components. If you use Ring, SimpliSafe, or a similar system, check whether your chosen lighting is compatible with their ecosystem before purchasing.
Estimated cost for smart hub (if needed): $50–$150 (Amazon Echo, Google Nest Hub, Samsung SmartThings hub)
Step 4: Set Sensitivity and Timing Correctly
A motion light that triggers on every passing car or neighborhood animal becomes background noise. Neighbors and household members stop noticing it, which completely defeats the deterrent purpose. Tuning sensitivity and timing correctly is as important as placement.
Motion sensitivity: Start with medium sensitivity and adjust down if you're getting too many false triggers from wind-blown branches, small animals, or street traffic. Most modern smart floodlights allow sensitivity adjustment in their app. Some allow you to draw activity zones – specific areas within the camera's field of view that will trigger alerts – which is more precise than a blanket sensitivity setting.
Light duration: Set triggered lights to stay on for 1–3 minutes after motion stops. Too short (under 30 seconds) and a lingering presence may not feel exposed long enough to deter. Too long (10+ minutes) and the light loses its alerting quality – a constantly lit yard doesn't signal "someone triggered this" the way a light that just came on does.
Time-of-day scheduling: Consider whether you want motion lights active 24/7 or only during high-risk hours (dusk to dawn is the standard). During daylight hours, motion-activated floodlights add no security value and their triggers may go unnoticed. Scheduling them active from dusk to dawn keeps them relevant and saves energy.
Step 5: Test the System Before Calling It Done
Walk your own property at night after installation, simulating the approach paths an intruder would use – along fences, from the rear, through the side passage – and verify that each one triggers coverage before reaching a potential entry point. It's surprisingly common to discover that a sensor doesn't cover the actual approach path, or that a shadow zone exists right where you'd least want one.
Also test your notification and camera recording integration. Trigger each sensor deliberately and confirm that your phone receives a notification, that the camera recording activates, and that the footage is usable. Poor camera placement, inadequate lighting for the camera's night vision, or notification delays are all issues you want to find during testing, not after an incident.
Common Mistakes to Avoid
Prioritizing front-of-house aesthetics over rear security. The front porch is the most visible part of your home, which means it's also the most observed part – by neighbors, passing cars, and anyone who might deter an opportunistic criminal through simple visibility. The rear of the property is where most break-ins actually occur. Balance your investment accordingly.
Buying the highest-lumen fixture available without considering the space. More lumens don't automatically mean better coverage. A 5,000-lumen floodlight aimed badly covers less useful area than a 1,500-lumen fixture placed and angled correctly.
Installing lights without cameras. Lights alone deter opportunistic crime. Lights with cameras create evidence, enable remote monitoring, and have a compounding deterrent effect because visible cameras signal that the property is actively monitored. If budget is limited, prioritize camera-light combos at the two or three highest-risk entry points.
Skipping the sensitivity calibration. Default settings on most motion lights are calibrated for an average environment that probably doesn't match yours. Five minutes spent adjusting the sensitivity range in the app after installation significantly improves both deterrence effectiveness and false trigger rate.
FAQ
Do smart outdoor lights need to connect to a hub or work standalone? Many smart lights offer both options. Wi-Fi-based smart lights (Ring, Wyze, Eufy, Kasa) connect directly to your home network and are controlled through their own apps, with no hub required. Zigbee or Z-Wave lights require a compatible hub but offer better reliability, lower latency, and broader smart home integration. If you already have a hub, Zigbee options are often the better long-term choice. If you're starting fresh, Wi-Fi lights are simpler to set up.
How much does a full smart outdoor lighting setup typically cost? A practical setup covering front, rear, and side entries with motion-activated smart lights and basic camera integration typically runs $400–$900 for a standard single-family home. Premium setups with multiple camera-light combos and professional-grade equipment can run higher. DIY installation keeps costs at the hardware level; electrician installation for hardwired fixtures adds $100–$300 depending on the number of fixtures and complexity.
Are solar-powered smart lights reliable for security? Solar lights are practical for low-lumen pathway and ambient lighting, but most lack the output and reliability for security floodlighting. Solar panels in partial shade or northern climates may not generate enough power to keep high-lumen floodlights charged through winter nights. For security-critical positions, hardwired or outlet-plugged lights are more dependable. Solar can supplement but shouldn't be the primary security lighting source.
Can my landlord stop me from installing smart outdoor lights? If you're renting, anything that requires drilling into the structure or modifying wiring will typically need landlord permission. Surface-mounted, solar, or outlet-plugged lights that attach without permanent modification are generally acceptable in most rental agreements. Check your lease before installing anything hardwired.
What's the best camera-light combo for a rear entry point? The Ring Floodlight Cam Wired Pro and Eufy Security Floodlight Cam 2 Pro are consistently well-reviewed for combined performance, camera quality, and smart home integration. For Apple HomeKit users, the Eve Outdoor Cam is a strong native option. Choose based on your existing smart home ecosystem to maximize automation capability.
📚 Sources
Journal of Quantitative Criminology – Outdoor Lighting and Crime: A Systematic Review: https://link.springer.com/article/10.1007/s10940-020-09490-6
U.S. Department of Justice – Improving Street Lighting to Reduce Crime: https://popcenter.asu.edu/content/street-lighting
FBI – Crime in the United States: Property Crime Statistics: https://ucr.fbi.gov/crime-in-the-u.s/2019/crime-in-the-u.s.-2019/topic-pages/property-crime
Energy.gov – LED Lighting Efficiency and Outdoor Applications: https://www.energy.gov/energysaver/led-lighting
This Old House – How to Install Motion-Sensor Lights: https://www.thisoldhouse.com/electrical/21018124/how-to-install-motion-sensor-lights
Consumer Reports – Smart Home Security: Lighting and Cameras: https://www.consumerreports.org/home-security/smart-home-security-systems-guide/
SafeWise – Home Security Lighting Guide: https://www.safewise.com/resources/security-lighting-guide/
CNET – Best Smart Outdoor Lights: https://www.cnet.com/home/smart-home/best-smart-outdoor-lights/
Ring – Floodlight Camera Setup and Placement Guide: https://support.ring.com/hc/en-us/articles/360033841511-Floodlight-Cam-Installation-Guide
National Crime Prevention Council – Home Security Tips: https://www.ncpc.org/resources/home-safety/home-security/
🔍 Explore Related Topics