Step 1: Protect the Flooring First
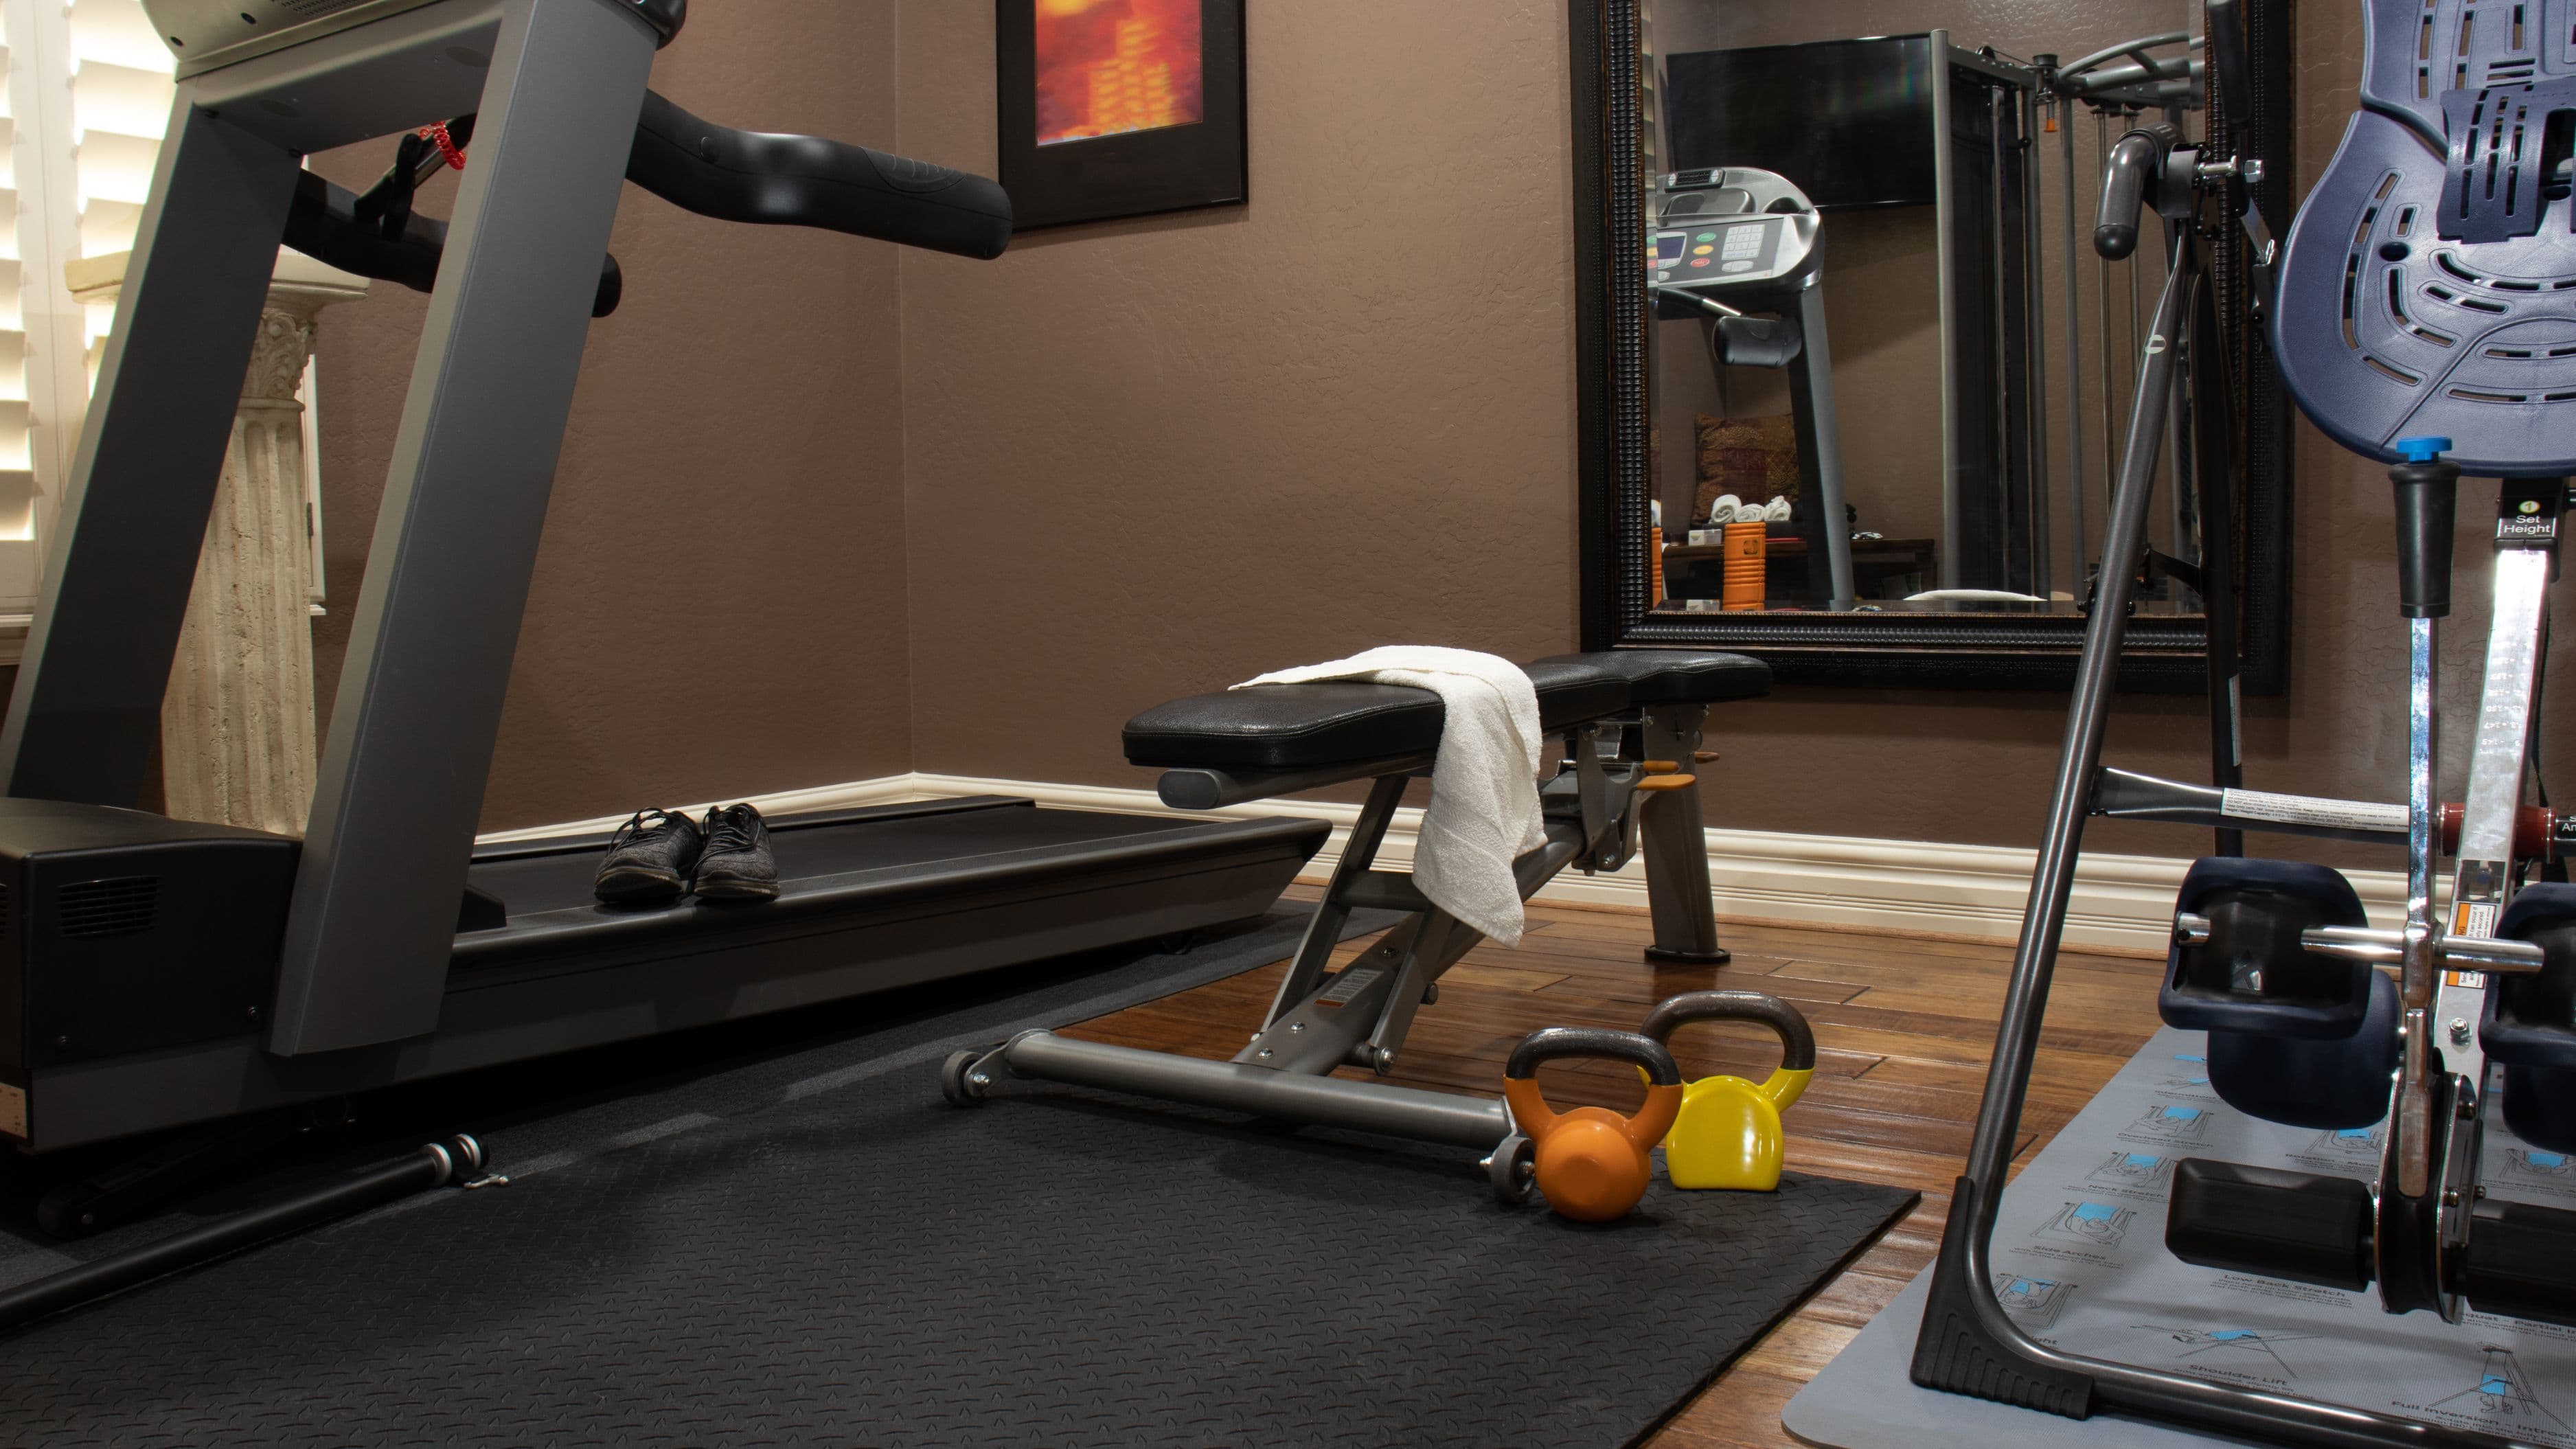
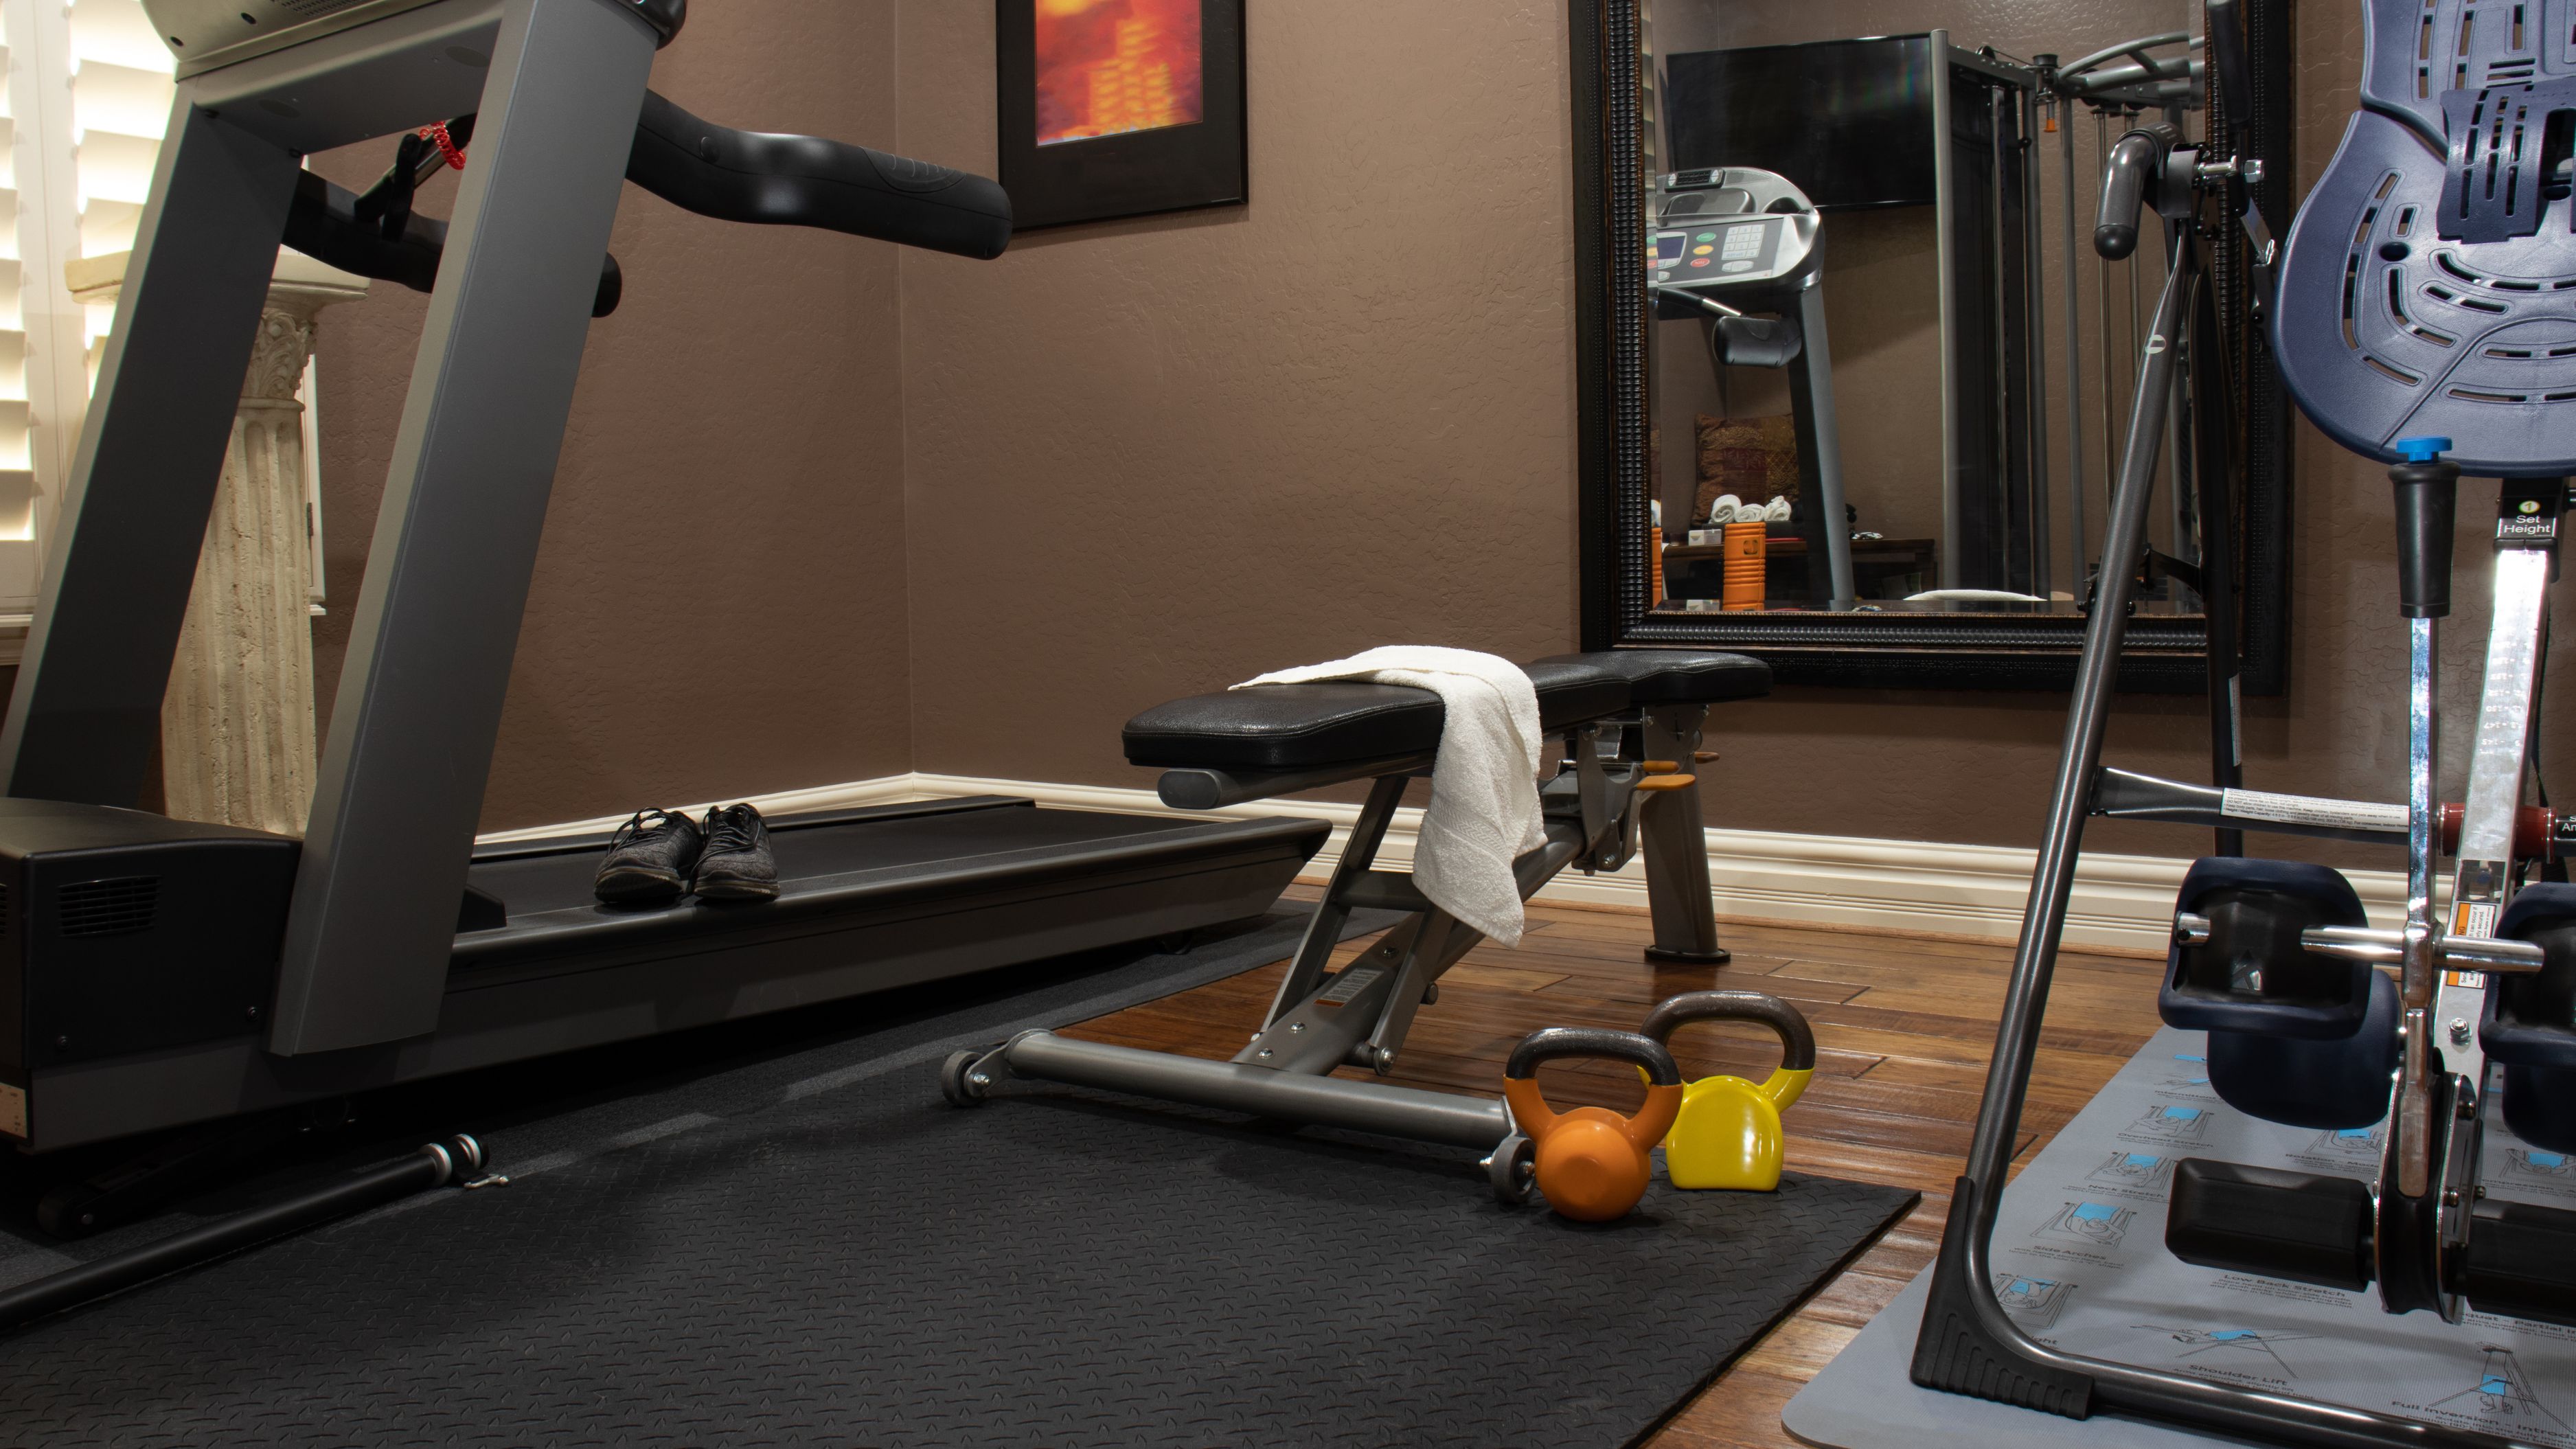
Standard bedroom flooring, whether hardwood, laminate, or carpet, isn't built to handle dropped weights, repeated impact from cardio equipment, or the wear of gym shoes moving heavy equipment around. Interlocking rubber gym tiles are the standard solution here, and they're specifically designed to be laid directly over existing flooring without adhesive, meaning they can be fully removed later without leaving residue or damage.
Cost level: Low to medium, typically $2–$5 per square foot depending on tile thickness. Thicker tiles (¾ inch or more) are worth the extra cost if you're planning to do any weightlifting involving dropped weights, since thinner tiles offer meaningfully less impact protection for both your floor and any equipment below.
Step 2: Reinforce for Heavier Equipment, If Needed
If you're planning to include a squat rack, a heavy weight bench, or substantial free weights, it's worth checking whether the room's floor joists can adequately support the concentrated weight in a smaller area than a typical bedroom's furniture distributes it across. Most standard residential floors handle moderate home gym equipment without any reinforcement needed, but concentrated weight from a heavy rack or a large stack of plates in one corner is worth spreading across a wider footprint using plywood underneath your gym flooring specifically in that section.
What to avoid: don't assume every floor can handle concentrated heavy equipment without checking – if you're uncertain about your specific floor's load capacity for a genuinely heavy home gym setup, a quick consultation with a structural professional is a reasonable, low-cost step before investing in expensive equipment.
Step 3: Protect the Walls From Equipment Contact
Wall-mounted equipment – pull-up bars, resistance band anchors, mirrors – requires mounting directly into wall studs rather than drywall alone, both for safety and to avoid damage from equipment pulling loose over time. Use a stud finder to confirm mounting locations before drilling, and patch any mounting holes with basic spackle if you remove equipment later, which is a straightforward, low-cost repair that leaves no lasting damage to the wall itself.
For areas where equipment might repeatedly bump against a wall – near a treadmill or a rowing machine – consider adding a removable wall protector panel rather than letting repeated contact damage the paint or drywall directly over time.
Step 4: Address Ventilation and Temperature
A closed bedroom door and standard bedroom-level ventilation typically aren't sufficient for a room where you'll be generating meaningful body heat and moisture from regular workouts. If your gym room doesn't have a window that opens, consider adding a portable fan or, for a more integrated solution, a small ventilation fan installed in the room, which can help manage humidity and prevent moisture buildup that could otherwise affect flooring, mirrors, or nearby walls over time.
Cost level: Low for a portable fan solution, medium for a more integrated ventilation fan requiring installation.
Step 5: Add Mirrors Without Permanent Wall Damage
Full-length mirrors are genuinely useful for checking form during strength training, and they can be mounted using a freestanding mirror frame rather than adhesive or permanent wall-mounted glass, avoiding any wall damage entirely while still providing the same practical function. If you do prefer wall-mounted mirrors for a larger surface area, use a mounting bracket system designed for easy removal rather than construction adhesive, which can damage drywall significantly if you ever need to remove the mirror later.
Step 6: Plan Equipment Layout for Airflow and Safety
Leave adequate clearance around any equipment with moving parts or requiring a full range of motion – a general guideline is at least two feet of clearance on all sides of equipment like a squat rack or a rowing machine, both for safety during use and to avoid equipment repeatedly contacting walls or door frames. Position larger equipment away from direct doorway sightlines where possible, both for a cleaner look and to reduce accidental contact when entering or exiting the room.
Realistic Expectations
Converting a spare bedroom into a functional home gym without permanent structural changes is a genuinely achievable weekend-to-week-long project for most homeowners, with total costs ranging from a few hundred dollars for a basic setup with gym flooring and bodyweight equipment, up to a few thousand dollars for a more complete setup including a squat rack, adjustable bench, and a cardio machine. The room remains fully reversible to standard bedroom use later, provided you've followed a stud-mounting and removable-flooring approach throughout rather than using permanent adhesives or structural modifications.
What to Avoid
Avoid gluing gym flooring directly to the subfloor, since this eliminates the ability to remove it cleanly later and can damage the underlying flooring material during removal. Skip drilling directly into drywall without locating studs first for any equipment bearing real weight or pulling force, since drywall alone isn't rated to support this kind of load safely.
Don't skip checking your specific floor's weight capacity if you're planning genuinely heavy equipment, since concentrated weight in a smaller area than a typical bedroom setup carries real risk of floor damage if the underlying structure isn't adequately assessed first.
FAQ
Do I need permission or a permit to convert a bedroom into a home gym? Generally no, since this typically doesn't involve structural changes, though if you're adding significant electrical work for equipment or ventilation, checking local permit requirements for that specific work is worth doing.
Can I really remove gym flooring without damaging the original floor underneath? Yes, provided you use interlocking tiles designed for temporary installation rather than adhesive-based flooring, which is specifically why this approach is recommended for a reversible home gym setup.
How much clearance do I actually need for home gym equipment? A general guideline is at least two feet around equipment with moving parts, though check the specific manufacturer's recommended clearance for any larger equipment you're considering.
A spare bedroom home gym conversion is one of the more practical, low-risk renovation projects available, and following a stud-mounting, removable-flooring approach throughout keeps the room fully reversible if your needs or the room's use ever changes down the line.
📚 Sources
This Old House: How to Build a Home Gym – https://www.thisoldhouse.com/home-improvement
Family Handyman: Home Gym Flooring Options – https://www.familyhandyman.com/
International Code Council: Residential Floor Load Standards – https://www.iccsafe.org/
🔍 Explore Related Topics