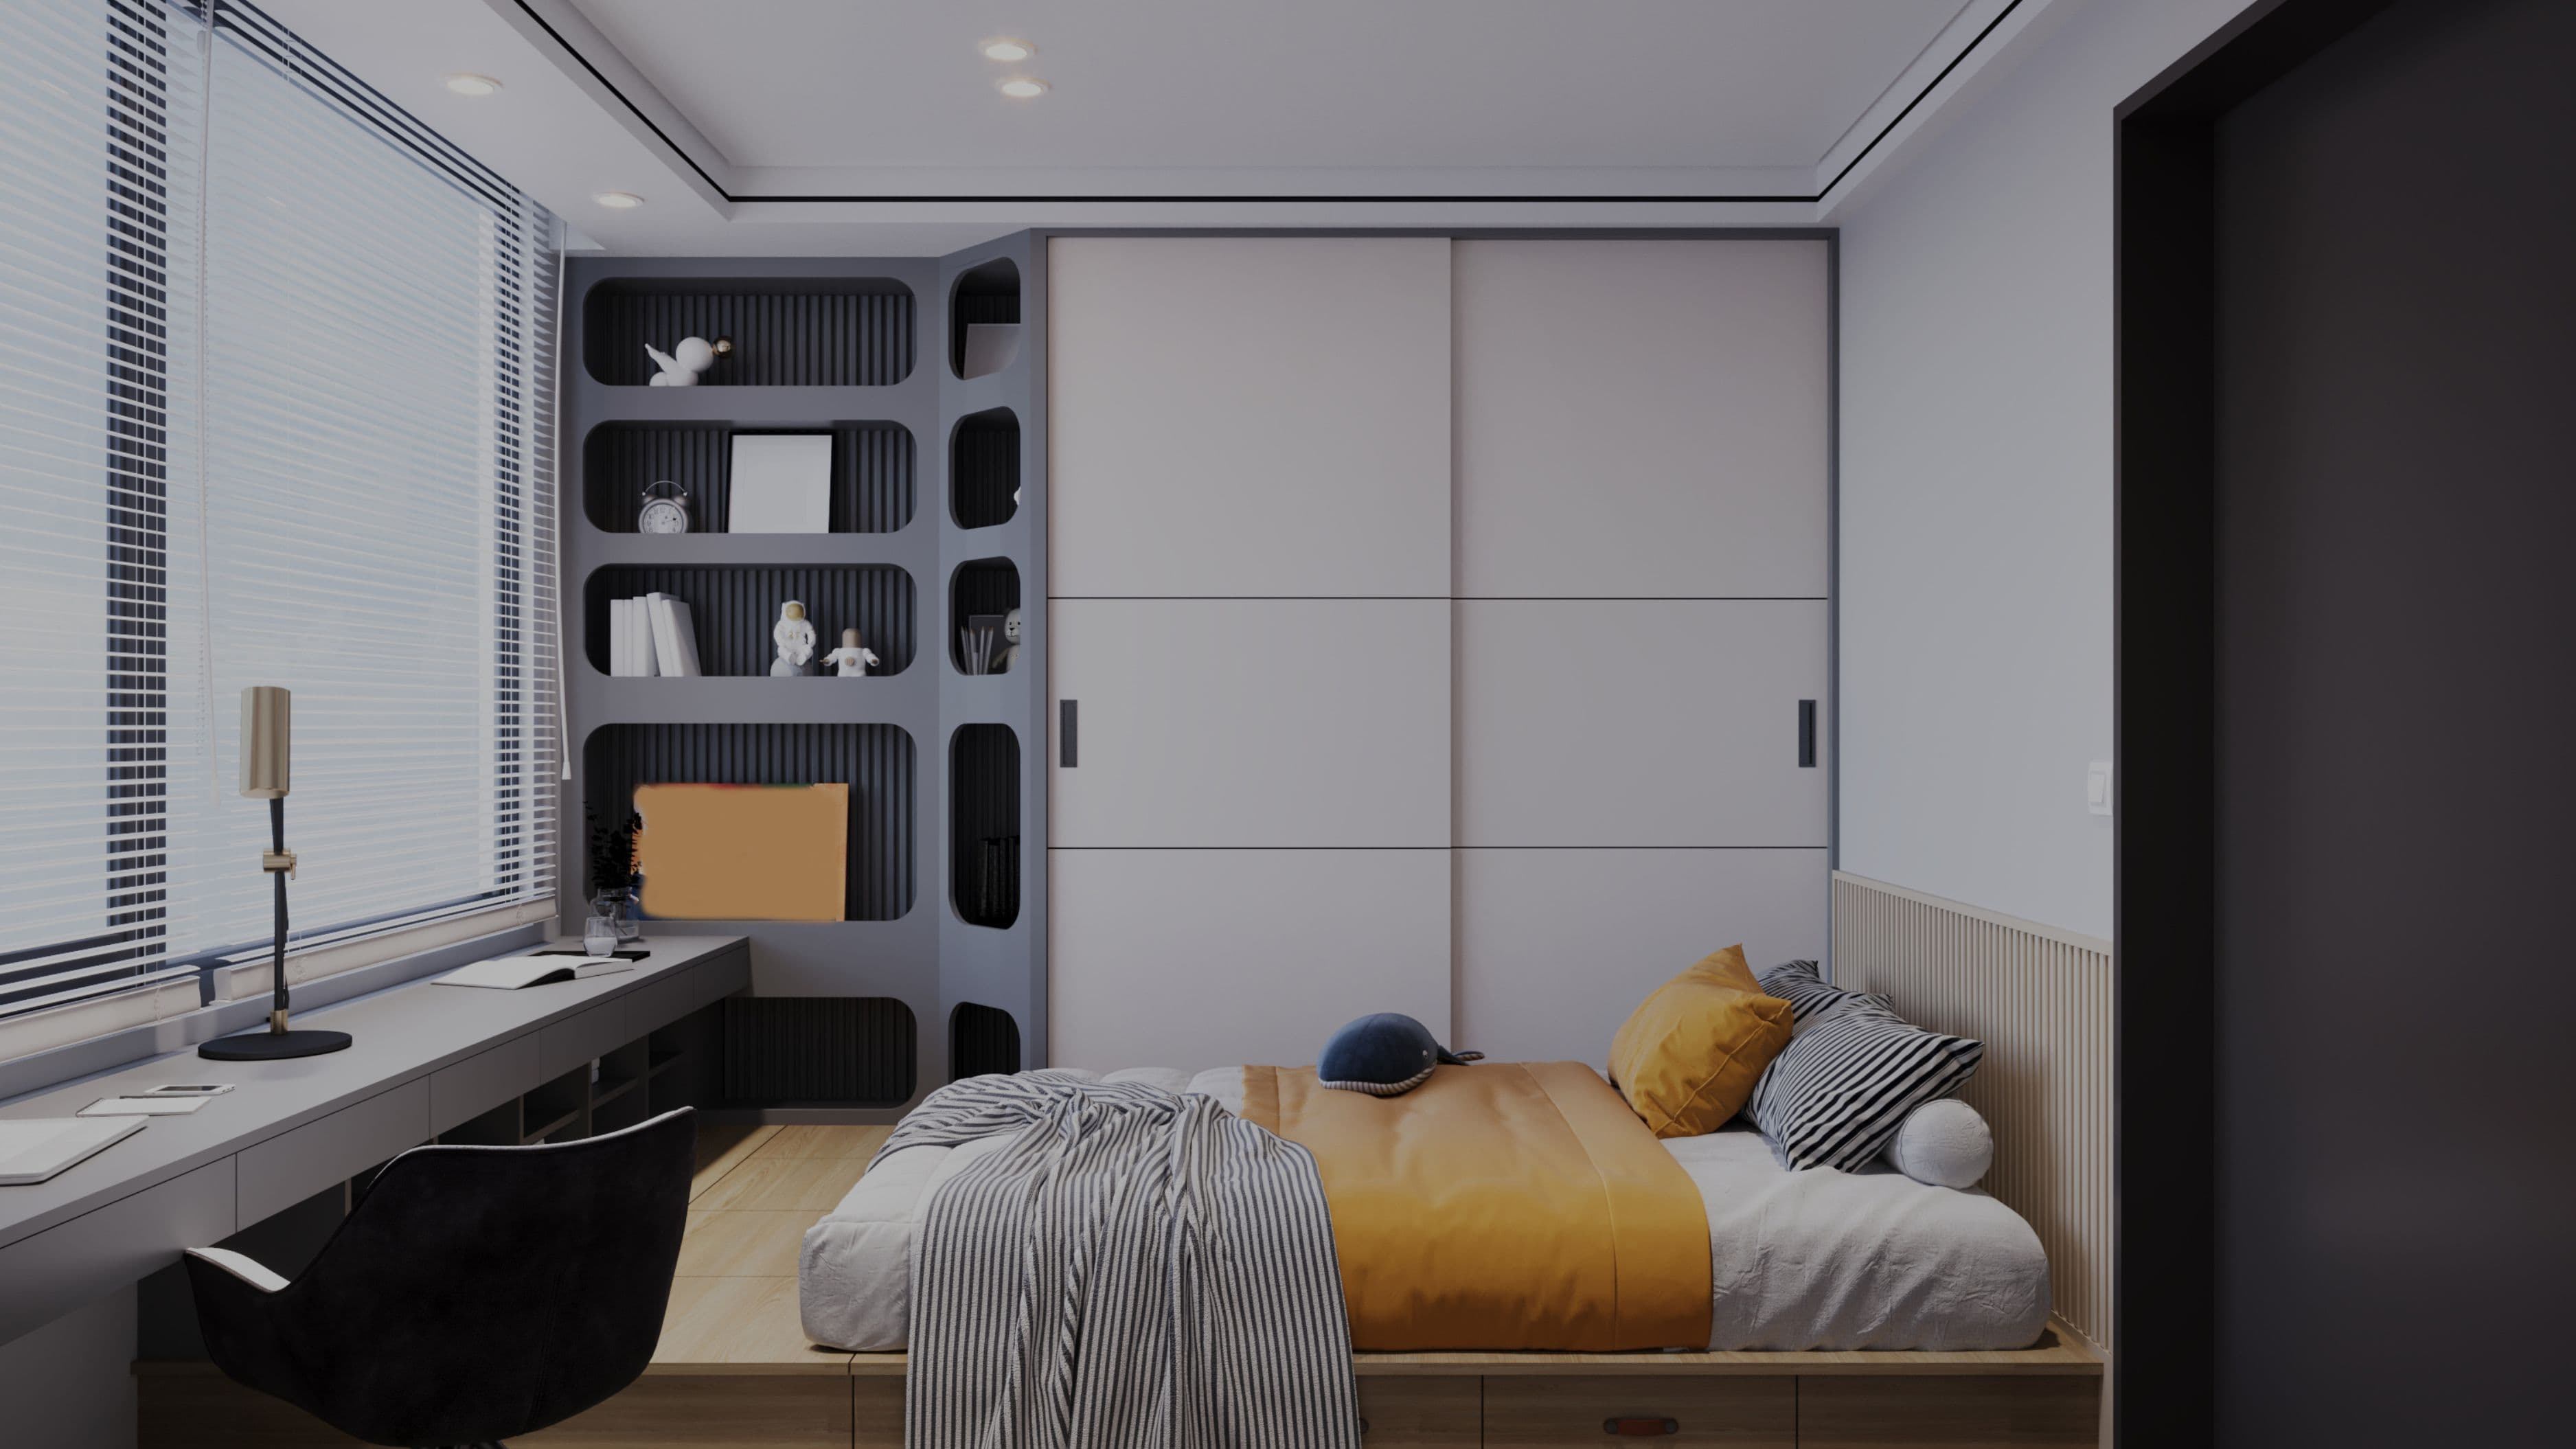

This guide walks through how to identify usable space, plan a layout that actually works, and avoid the mistakes that turn a promising closet project into a cramped, underused corner of the room.
Step 1: Assess Whether You Have Enough Space
Before committing to this project, you need to know whether your bedroom can realistically support a dedicated closet area without making the room feel cramped. A functional walk-in closet generally needs a minimum of about 4 to 5 feet of width to allow comfortable movement and access to storage on at least one side, and closer to 6 to 7 feet if you want storage on both sides with a walkway between.
Look at underused corners, an oversized closet you're not fully utilizing, or a section of the room that could be partitioned off without disrupting the room's core function, like the area around a window that doesn't serve a specific purpose. Measure carefully here rather than eyeballing it, since a closet that feels too tight to use comfortably defeats the purpose of the upgrade entirely.
Cost level: Low (planning phase, no material cost yet)
Step 2: Decide Between Converting an Existing Closet or Building a New Enclosed Space
There are two main approaches to creating a walk-in closet in a standard bedroom, and which one makes sense depends heavily on your existing layout.
If you already have a reasonably sized reach-in closet, expanding it into a small walk-in by extending into adjacent space, borrowing a few feet from the bedroom itself, is often the more straightforward and cost-effective option, since you're building on existing infrastructure rather than starting from scratch.
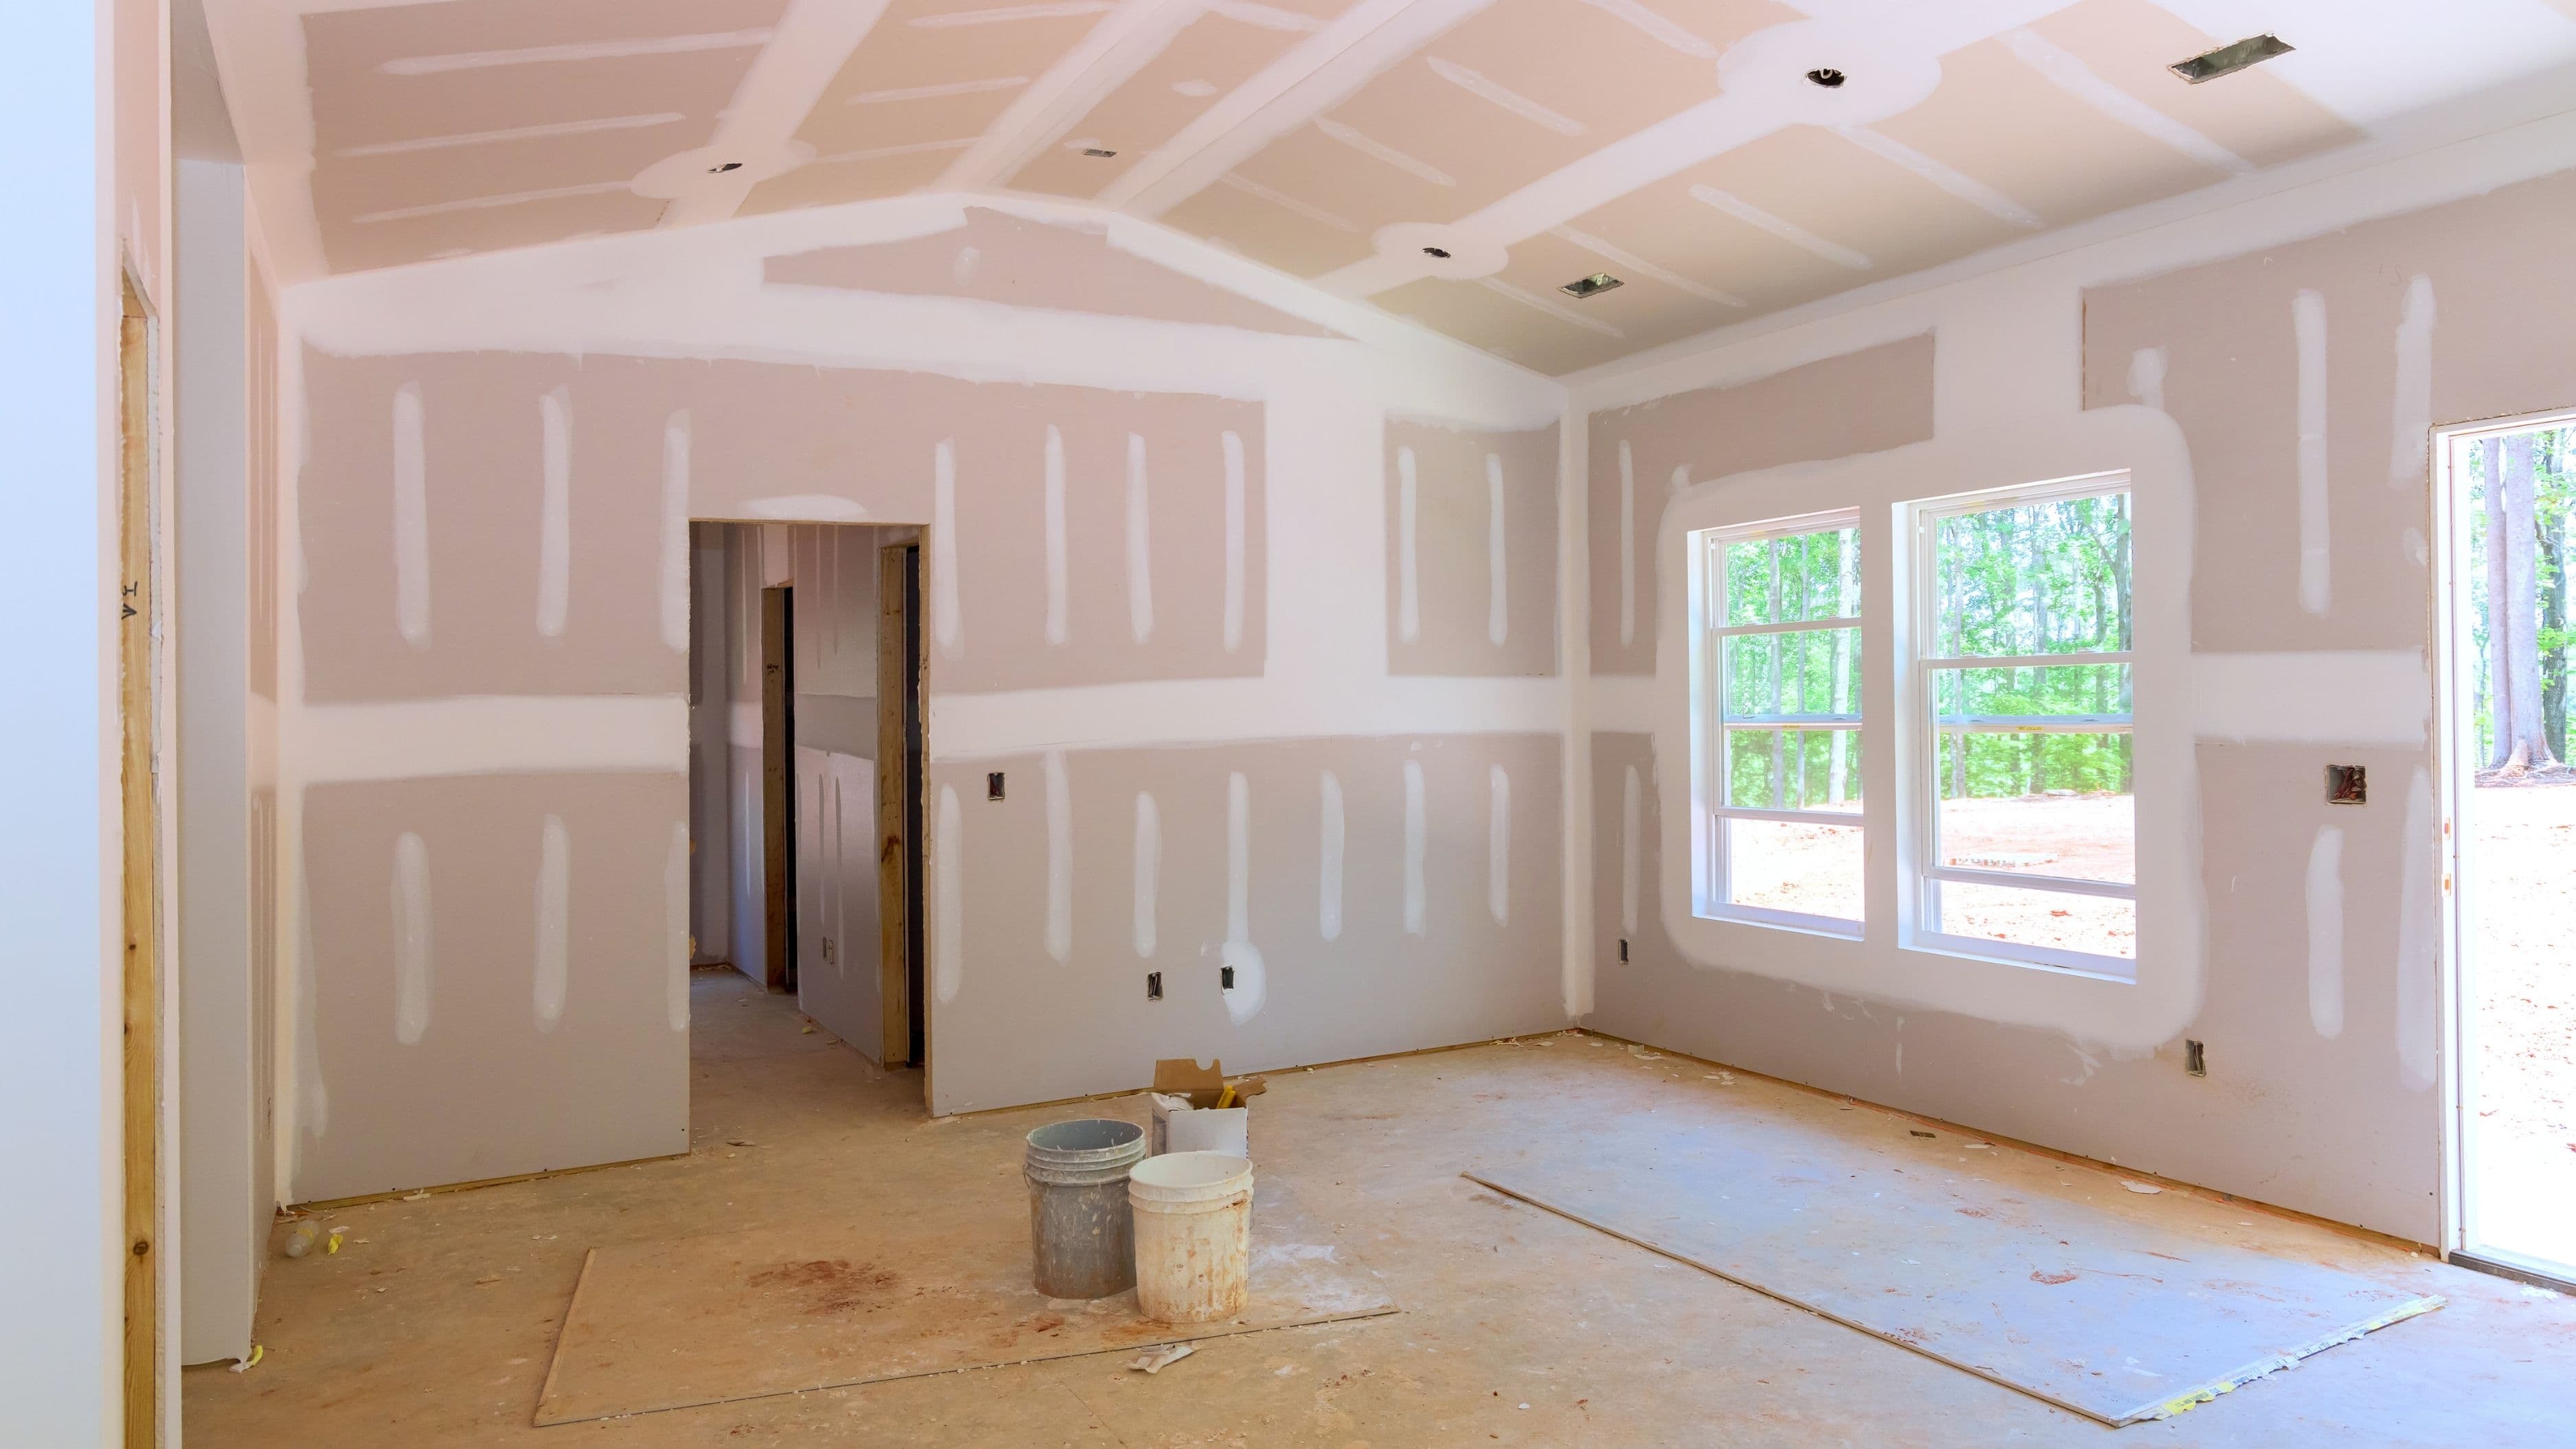
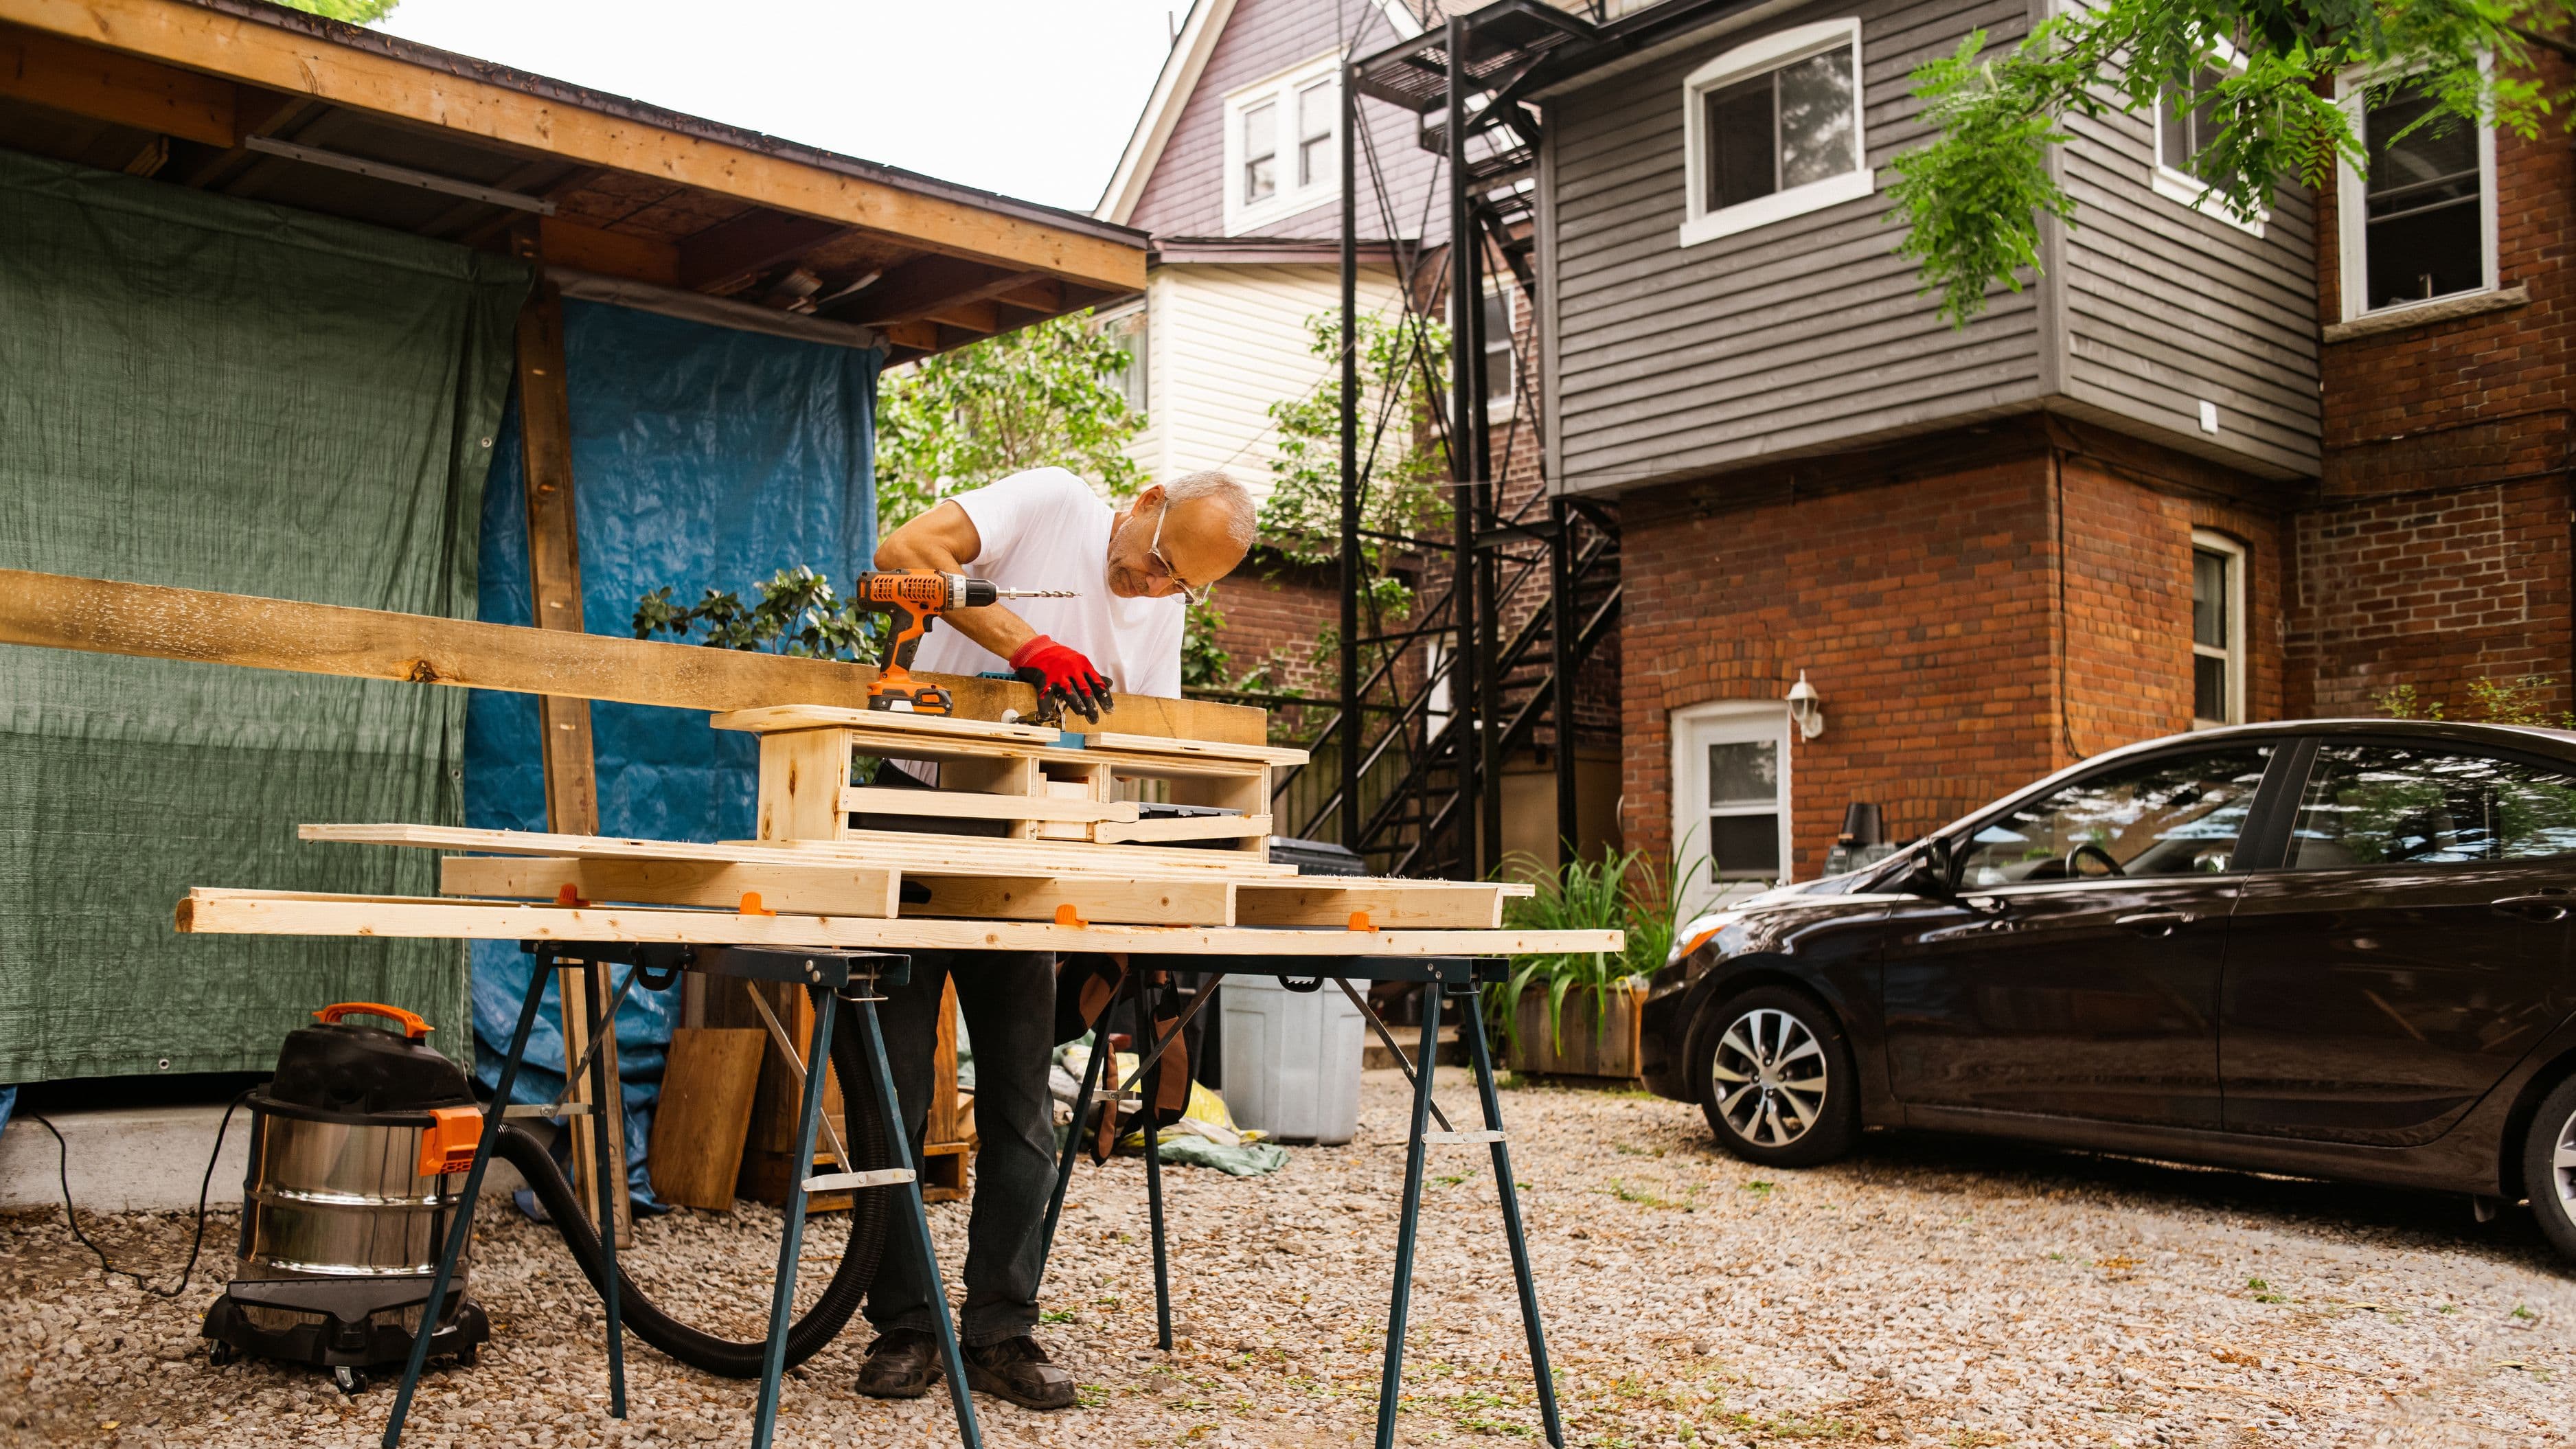
If you don't have an existing closet with expansion potential, partitioning off a corner of the bedroom using a stud wall creates a new enclosed space. This requires more construction work, framing, drywall, and potentially electrical for lighting, but gives you more flexibility in exactly where and how large the closet becomes.
Cost level: Medium (framing and drywall materials typically run $500–$1,500 depending on size, before labor if you're hiring help)
Step 3: Plan Your Layout Around How You Actually Get Dressed
A common mistake is designing a closet layout based on Pinterest inspiration rather than your actual clothing and daily routine. Before finalizing shelving and hanging rod placement, take stock of what you're actually storing: how much is hanging versus folded, how many shoes you own, whether you need space for accessories or out-of-season items.
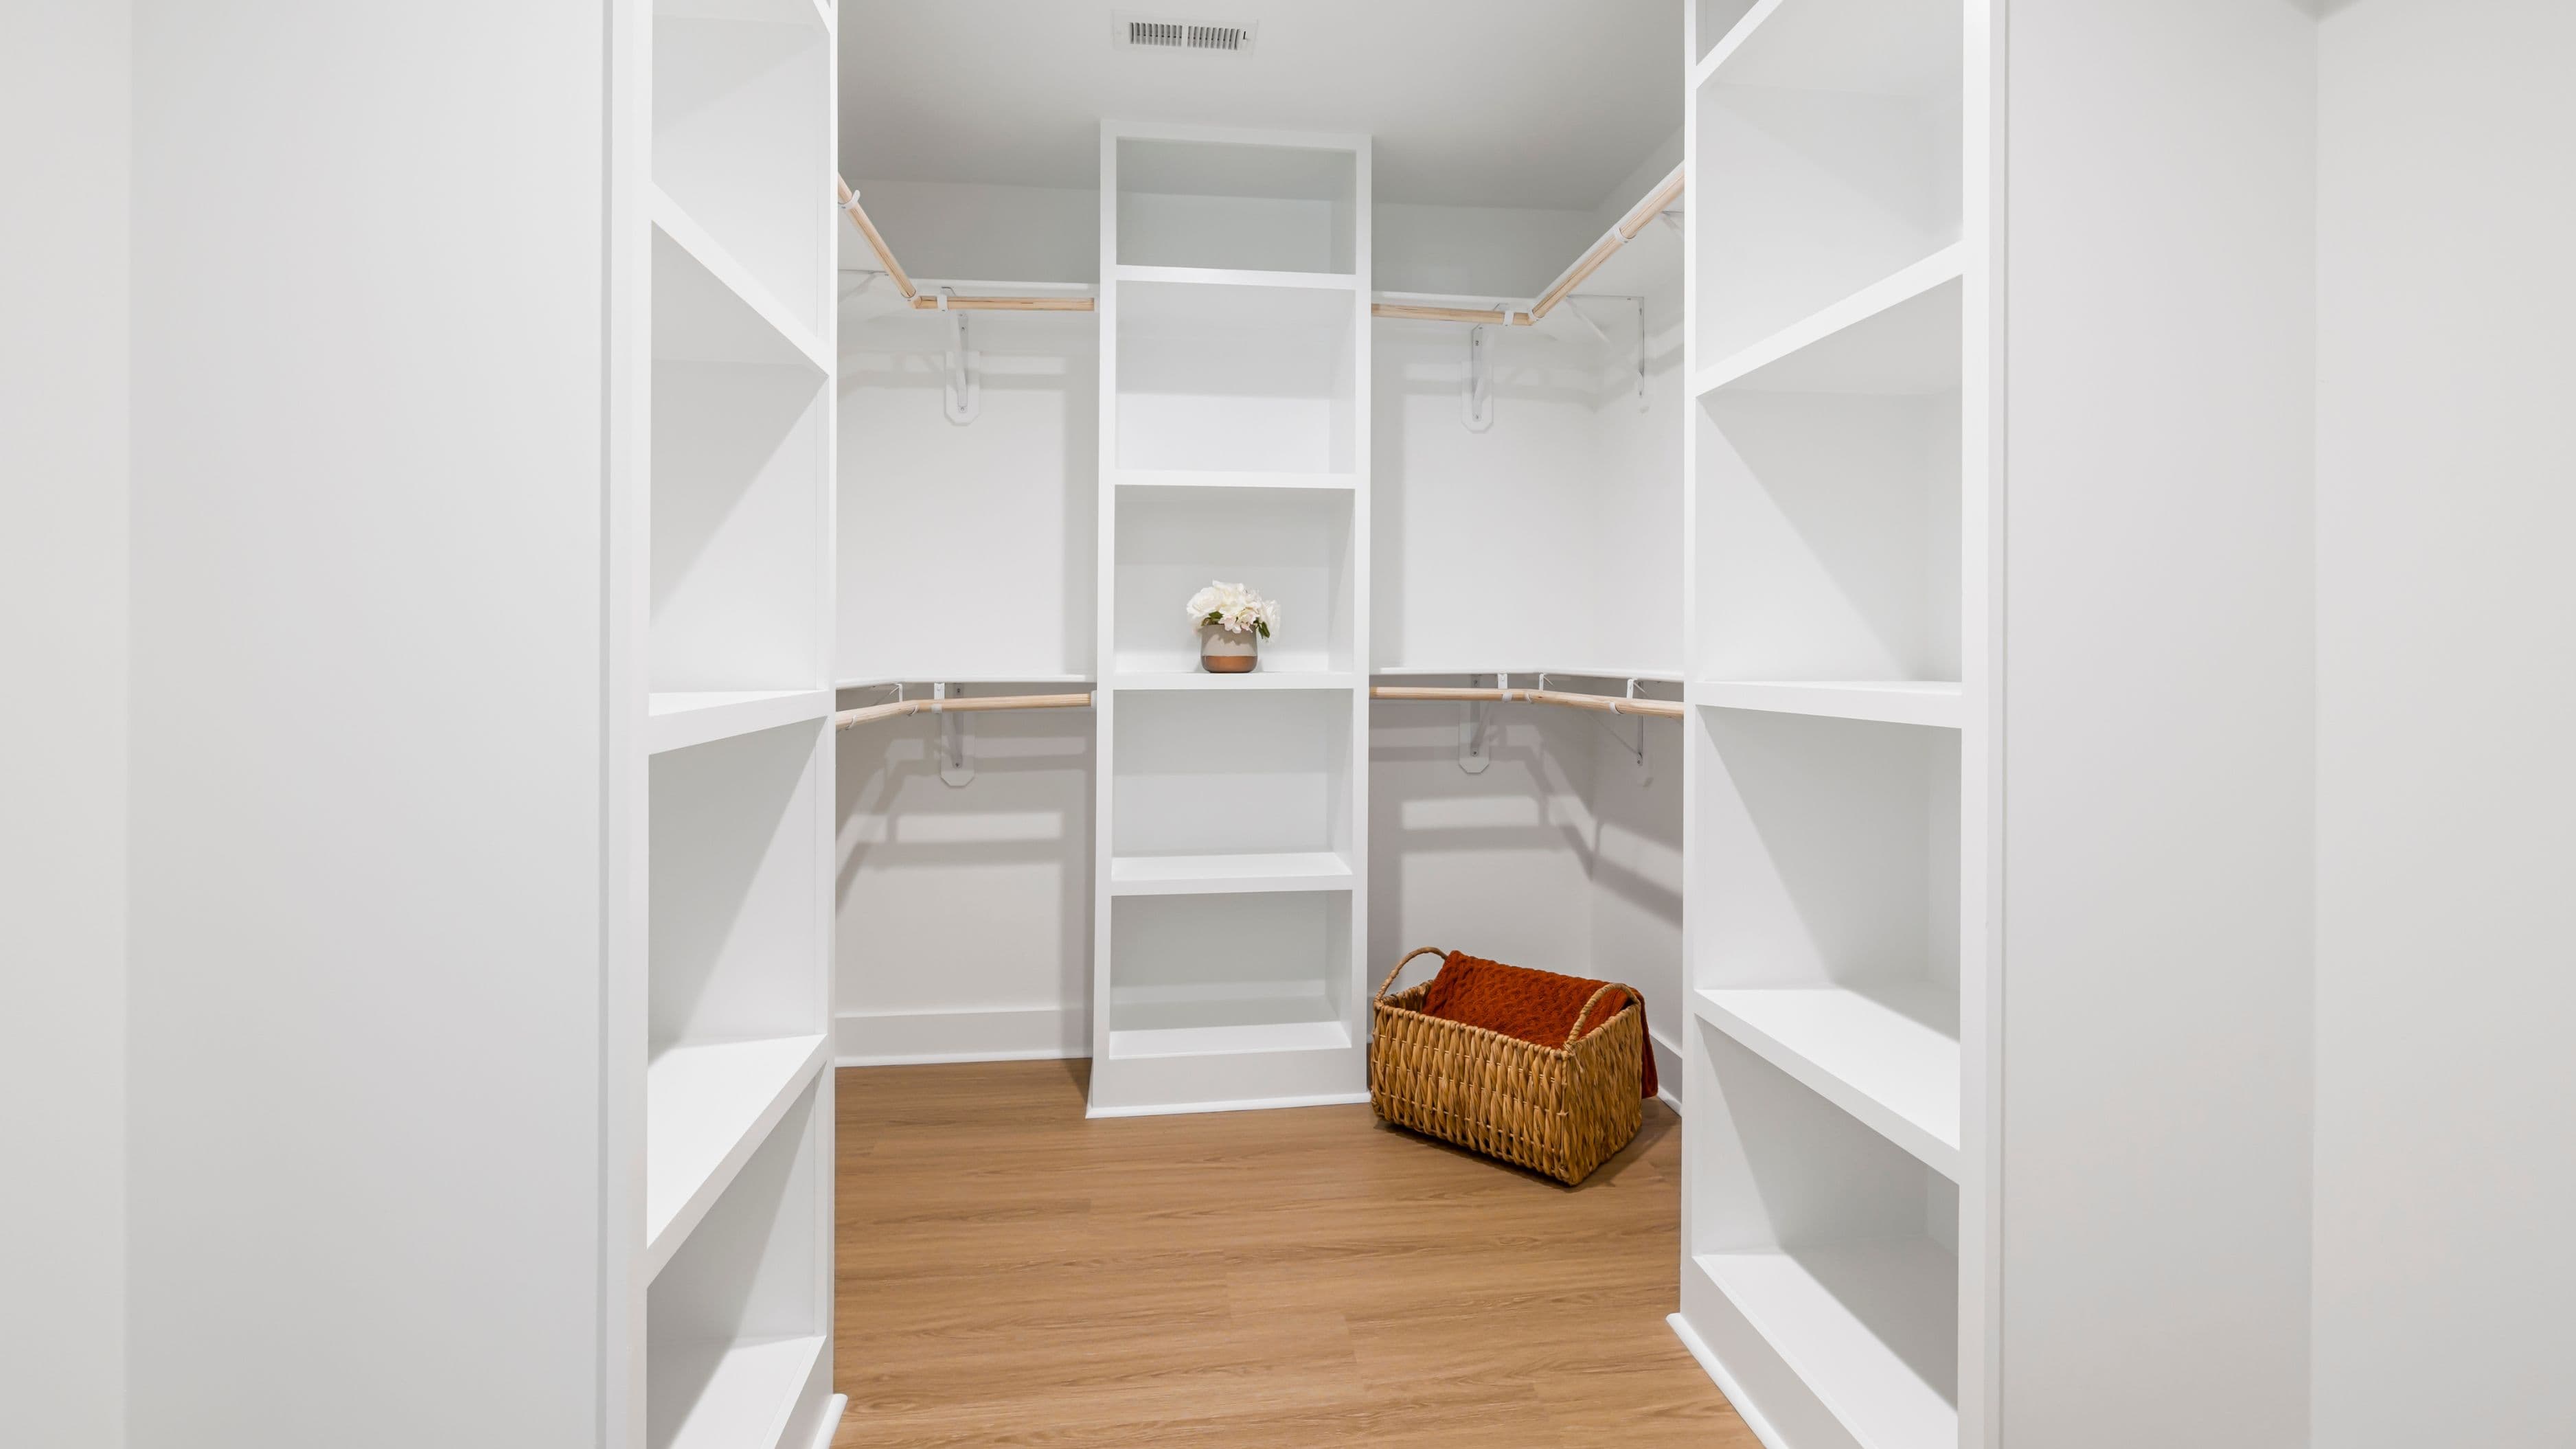
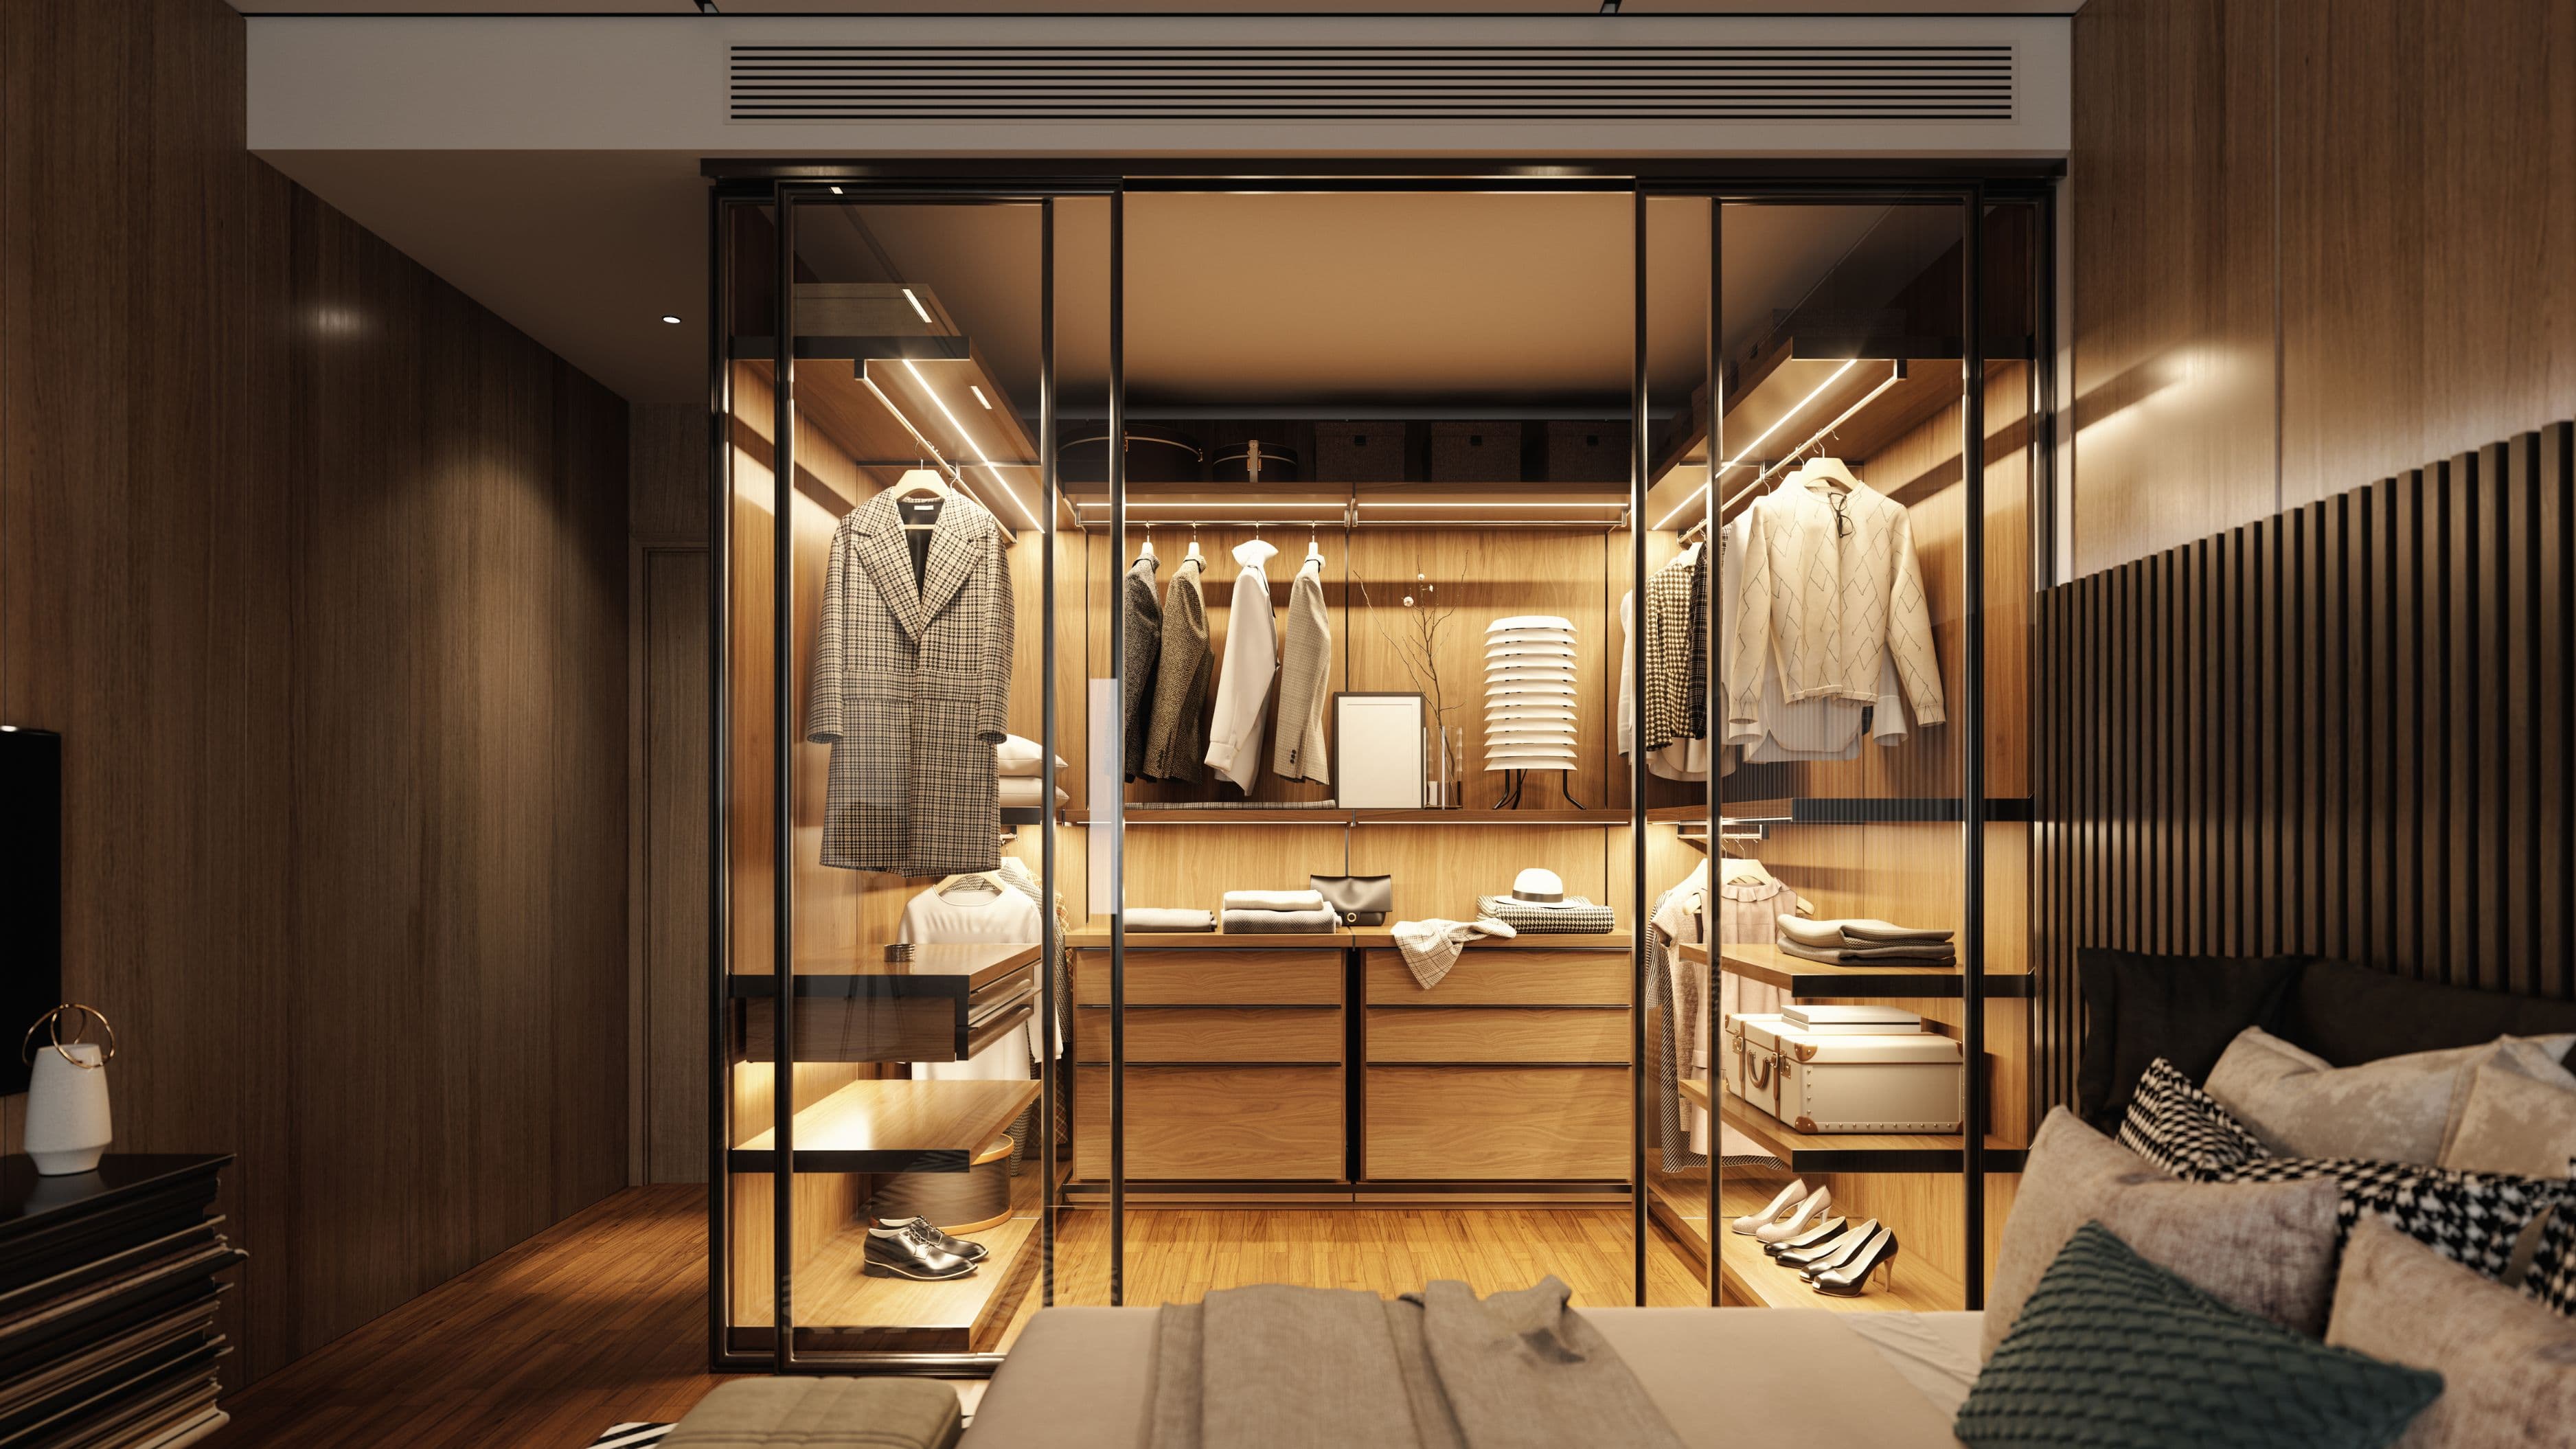
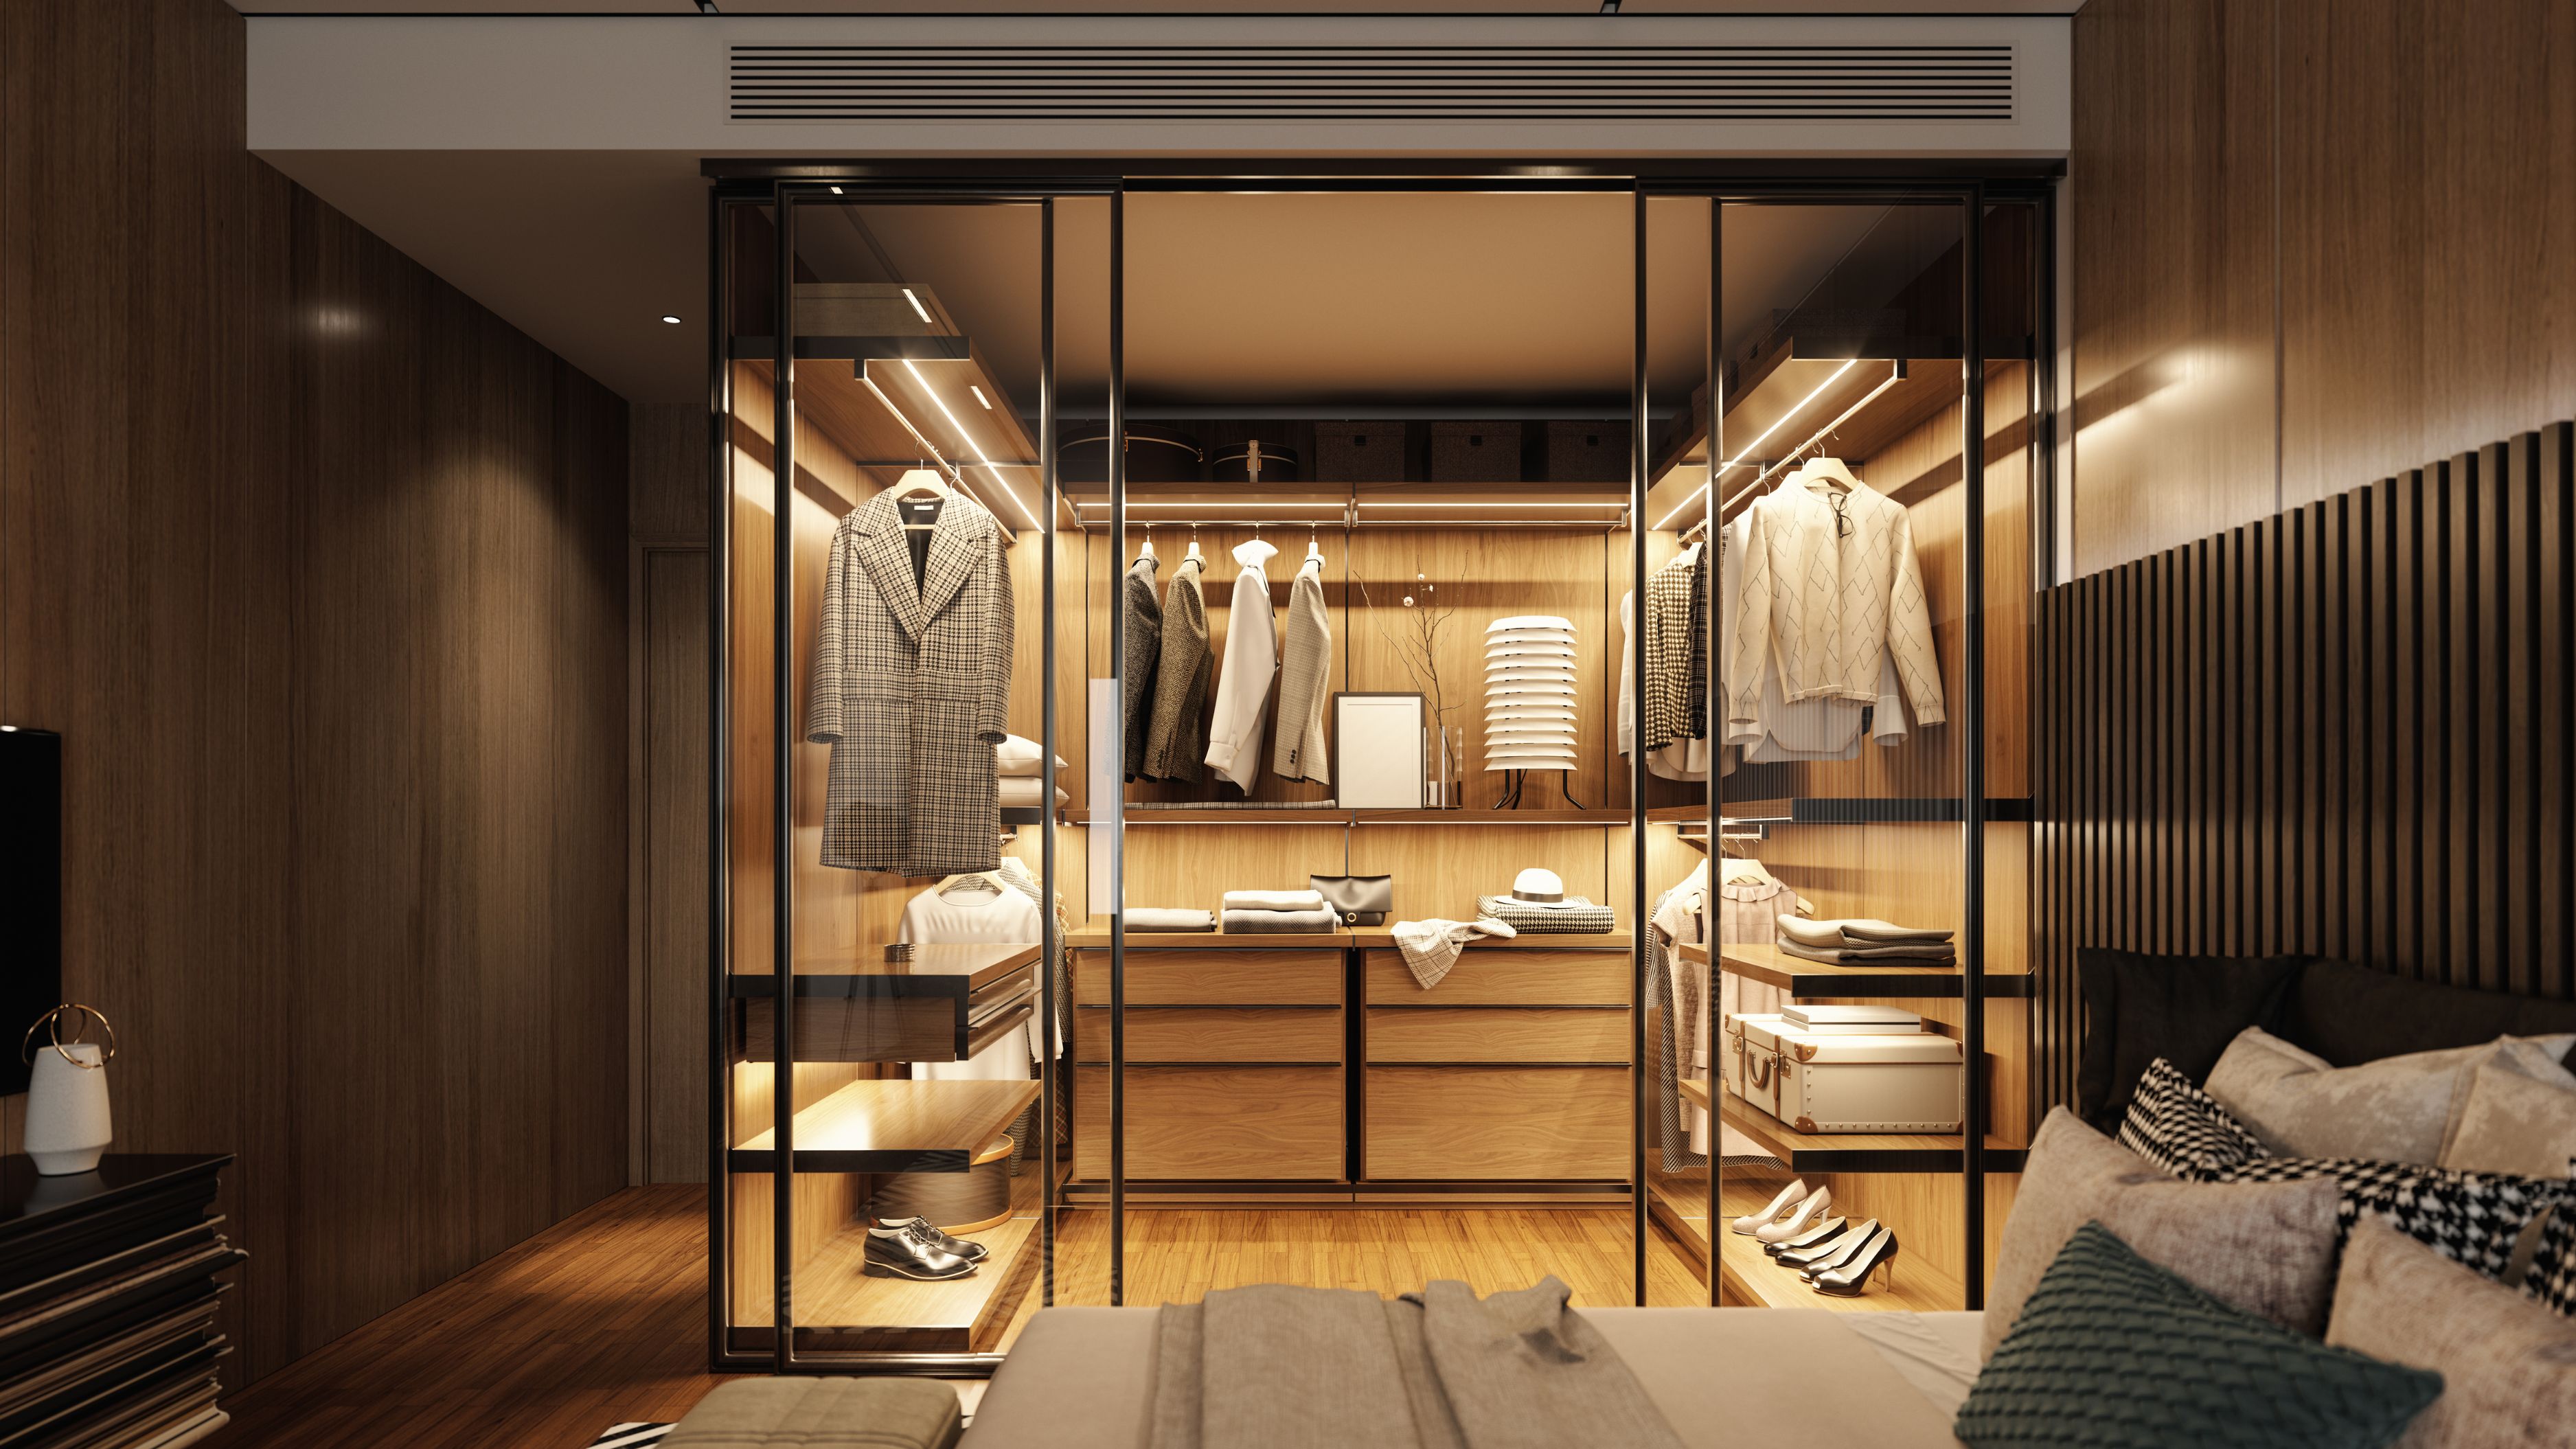
A well-functioning layout typically includes double-hung rods for shorter items like shirts and folded pants on one section, single long-hang rods for dresses and coats on another, and a mix of shelving and drawer space for folded items and accessories. Building around your actual habits, not a generic template, is what makes the difference between a closet that stays organized and one that becomes cluttered within a few months.
Cost level: Low to Medium (planning time, no direct cost beyond your own measurements)
Step 4: Choose Your Storage System
Once your layout is planned, you'll need to decide between a few storage system approaches, each with different cost and customization trade-offs.
Wire shelving systems are the most budget-friendly option, typically ranging from $150 to $400 for a small closet, and are relatively easy to install yourself with basic tools. Wood shelving and closet systems offer a more finished look and better durability for heavier items, generally running $400 to $1,200 depending on materials and whether you're installing pre-made units or custom-built shelving.
Fully custom closet systems, professionally designed and installed, offer the most tailored fit for your specific space and needs but come at a significantly higher cost, often $1,500 to $5,000 or more depending on size and materials, which is worth factoring in against how long you plan to stay in the home.
Cost level: Low to High (depending on system chosen)
Step 5: Address Lighting
A walk-in closet without adequate lighting undermines its own usefulness, since you need to actually see what you're choosing between. If your closet is enclosed with a door, plan for either a ceiling-mounted fixture or LED strip lighting along shelving, both of which are relatively affordable additions that make a meaningful difference in daily usability.
If you're not comfortable running new electrical wiring yourself, this is a reasonable point to bring in a licensed electrician, particularly if your existing setup doesn't have a nearby power source to extend from.
Cost level: Low to Medium ($100–$400 for basic lighting, more if new wiring is required)
Tips for Success
Building in a bit of flexible or adjustable shelving, rather than fully fixed shelving, gives you room to adjust the layout as your storage needs change over time, which matters more than it seems during the initial planning phase. Measuring your existing wardrobe volume honestly, rather than optimistically, before finalizing your storage plan prevents the common outcome of a closet that looks great empty but overflows within a year.
Common Mistakes to Avoid
Don't sacrifice too much bedroom floor space in pursuit of closet square footage. A walk-in closet that leaves your bedroom feeling cramped or awkward to navigate isn't a net improvement to your home's functionality, even if the closet itself looks great.
Don't skip proper ventilation consideration if you're fully enclosing the space, since poor airflow can lead to musty odors or moisture issues over time, particularly in humid climates.
Don't underestimate lighting needs. A dim, poorly lit closet undermines the daily usability of the entire project, regardless of how well the shelving and layout were planned.
What This Project Realistically Costs and Takes
For a modest conversion using an existing closet footprint with wire shelving and basic lighting, expect a total cost in the $500 to $1,500 range and a weekend to a few days of work for a reasonably handy DIYer. A full partition-wall build with custom shelving and electrical work climbs significantly higher, often $3,000 to $8,000 or more, and typically requires professional help for the framing, electrical, and drywall stages.
FAQ
How much space do I actually need for a walk-in closet? A minimum of about 4 to 5 feet of width works for single-sided storage with a walkway, while 6 to 7 feet allows storage on both sides comfortably.
Can I convert a bedroom closet into a walk-in without hiring a contractor? For modest expansions using existing closet space with wire or basic shelving systems, many homeowners can complete this as a DIY project, though framing new walls or adding electrical work often benefits from professional help.
Will a walk-in closet reduce my bedroom's resale value if it makes the room smaller? It depends on the room's original size and local market expectations. In many markets, a well-designed walk-in closet adds value, but reducing a bedroom below a certain minimum square footage can occasionally affect how the room is classified in listings, so it's worth checking local norms before finalizing your plan.
📚 Sources
"Closet Design Guidelines" – National Association of Home Builders – https://www.nahb.org/
"Home Renovation Planning" – U.S. Department of Housing and Urban Development – https://www.hud.gov/
"Electrical Safety for Home Projects" – U.S. Consumer Product Safety Commission – https://www.cpsc.gov/Safety-Education/Safety-Education-Centers/Electrical-Safety